
 admin
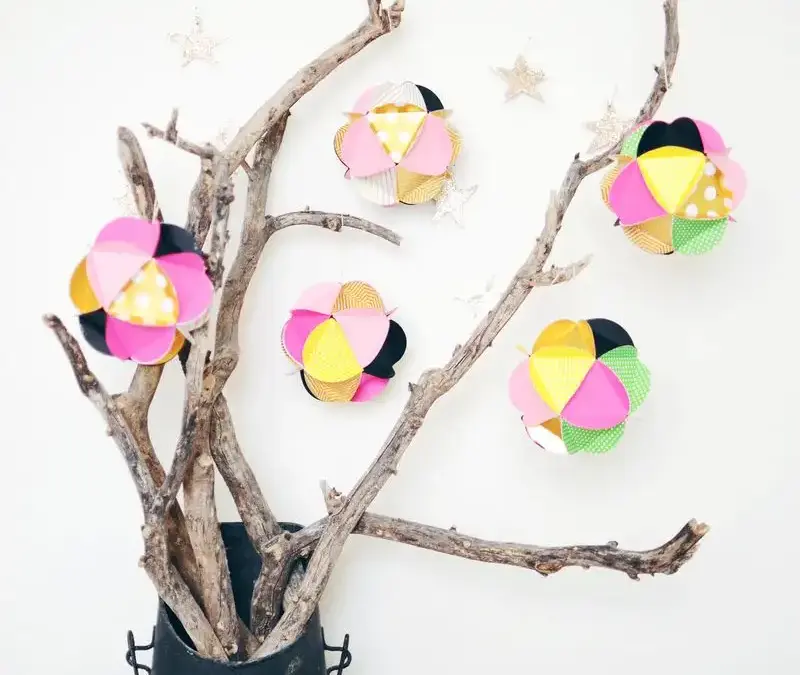
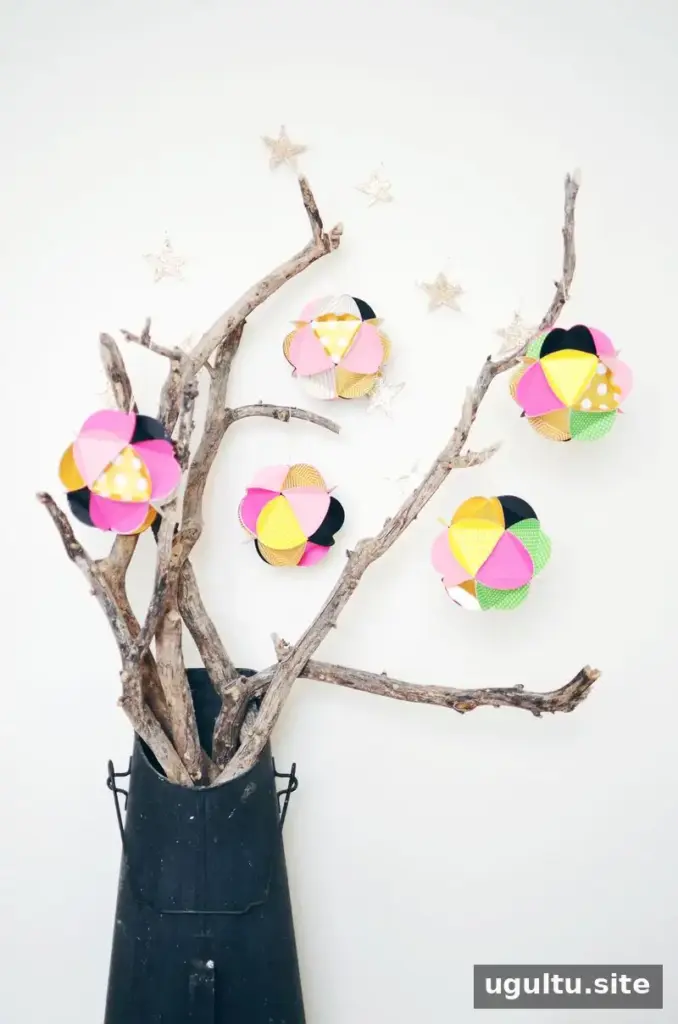
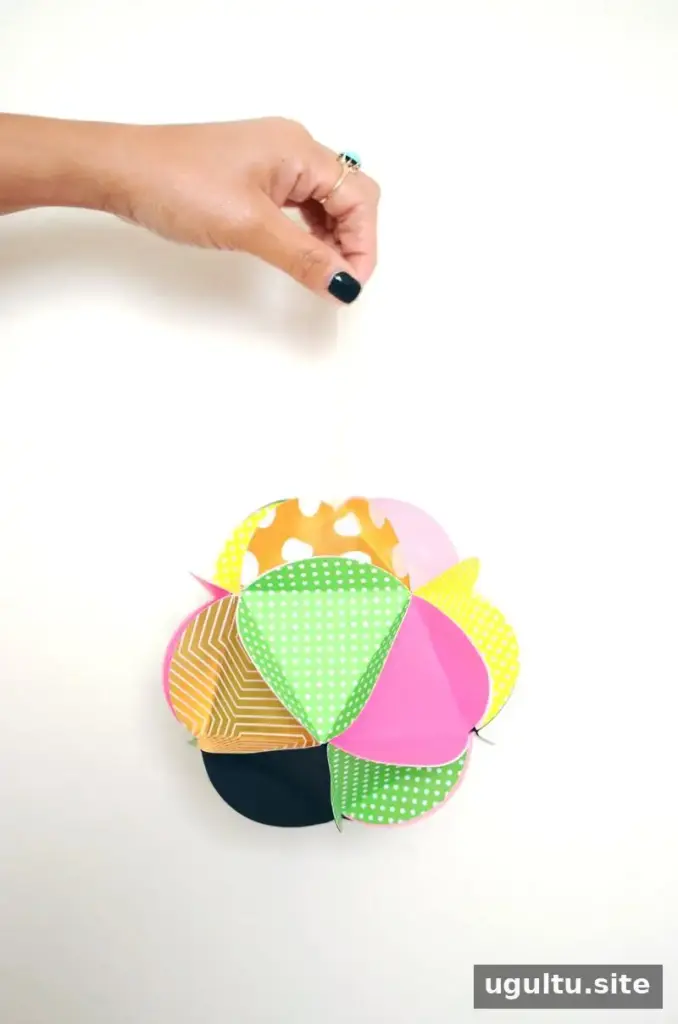
Paper ball ornaments are a simple way to add a handmade touch to holiday decorating. Made from folded cardstock circles, these dimensional decorations can be customized with bright colors, metallic shades, or any combination that suits your space. A 3-inch circle punch creates ornaments about 6 inches across, while a smaller punch can be used for a smaller finished ball.
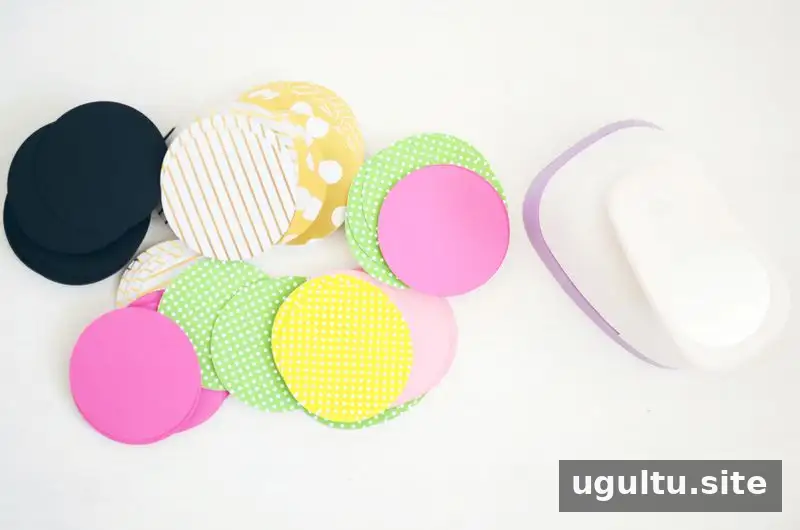
Supplies for Paper Ball Ornaments
Gather the materials before you begin. Cutting and folding all the circles first makes assembly easier and helps keep the finished ball even.

- Cardstock in various colors
- 3-inch circle punch
- Ruler
- Pencil
- Scissors
- Glue
- Paintbrush
- String or twine
How to Make Paper Ball Ornaments
Step 1: Cut out the circles
Cut out 20 circles for each ornament. A 3-inch circle punch makes a paper ball about 6 inches across. To create a smaller decoration, choose a smaller circle punch. Keep the circles together as you work so you can check that you have the full set of 20.
Step 2: Make a folding guide
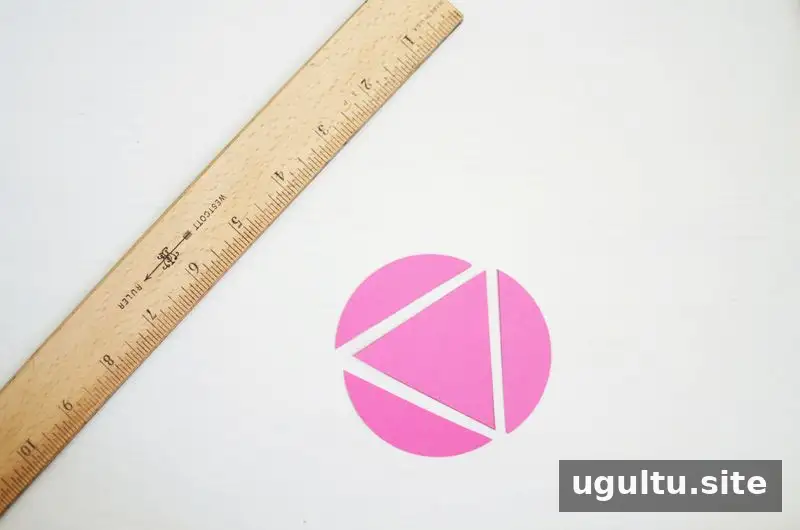
Draw an equilateral triangle inside one paper circle, then cut out the triangle. This piece will serve as a template for folding the remaining circles. A ruler can help you draw straight sides and keep the folds consistent.
Step 3: Fold each circle
Use the triangle template to mark or guide the folds on each circle. Fold all three sides inward toward the front of the paper. Try to make the folds line up in the same way on every piece, since consistent folds help the sections fit together neatly.
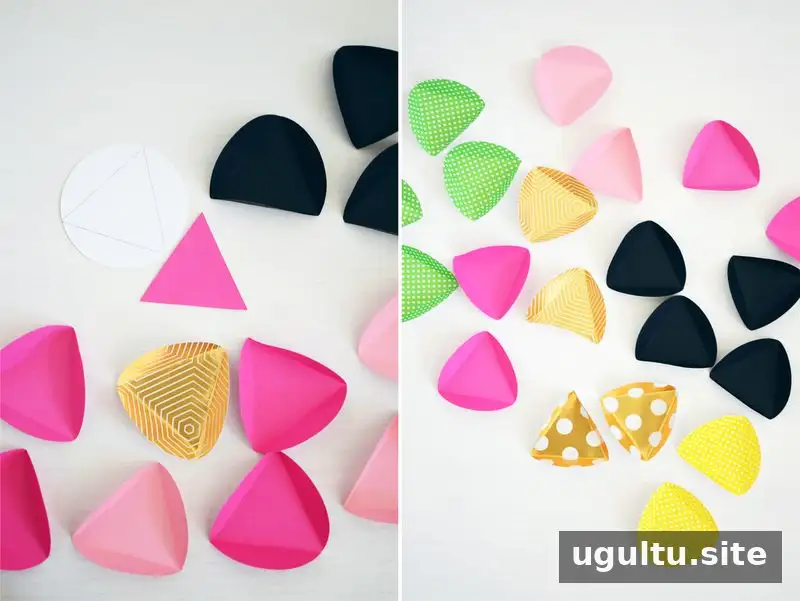
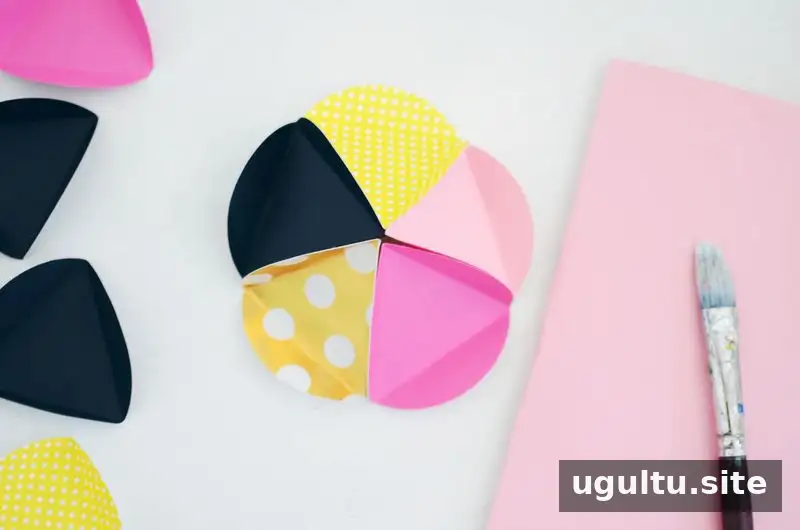
Step 4: Assemble the top and center
Use a paintbrush to spread glue over one flap on each piece. Join two circles with their triangle points facing the same direction, then glue three more circles to them. These five connected circles form the top of the ball.
Next, glue 10 circles together to make the center section. Alternate the direction of the triangle points so they face up and down in turn. Attach this section to the five-circle top. Apply glue carefully to the flaps and check the alignment as you go.

Step 5: Add the hanging loop
Cut a 16-inch length of string, or choose a length that suits how you plan to hang the ornament. Tie several knots at one end, making a knot large enough that it will not slip through the ball. Insert the loop through the top center of the ornament before closing the bottom section.
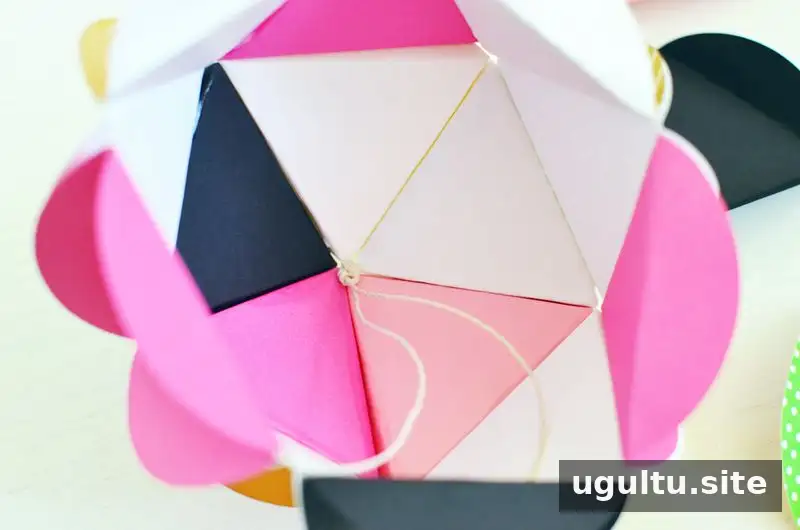
Step 6: Finish the ball
Glue the remaining five circles together and attach them to the ornament to form the bottom. Make sure the triangle points face the same direction within this section. Check that the pieces are joined securely, then allow the glue to dry before hanging the finished decoration.
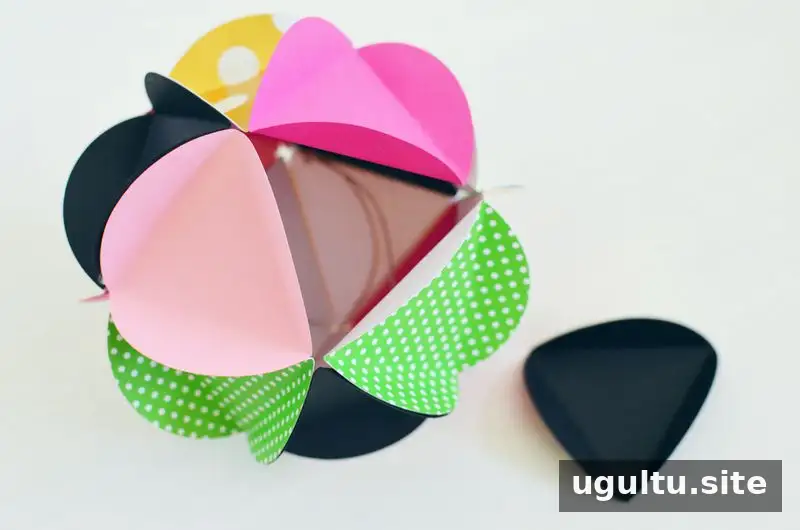
Ways to Use Paper Ball Ornaments
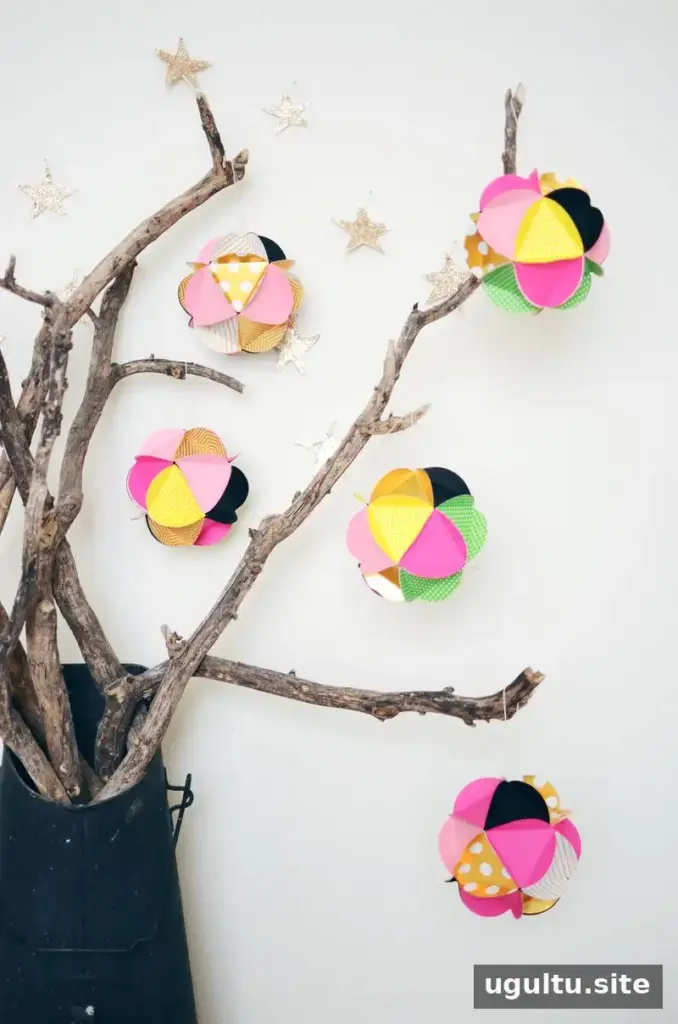
These paper decorations can be used beyond a traditional holiday tree. Hang one as part of a mobile, display it with other seasonal decorations, or use it as an alternative to a bow on a gift. For a personal touch, write a short message on each circle before folding and assembling the paper ball. If making several ornaments, try coordinating cardstock colors so they look cohesive when displayed together.
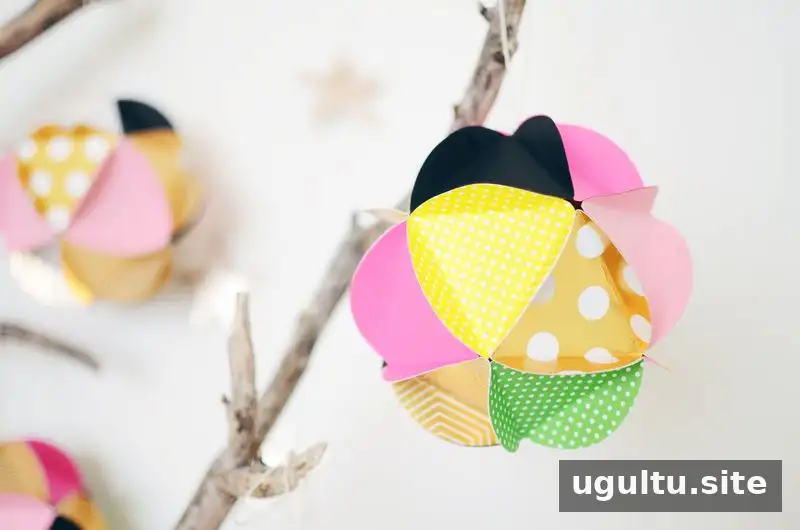
With a few basic supplies and 20 folded circles, paper ball ornaments can become a colorful accent for many kinds of celebrations. Choose the circle size and cardstock colors to suit your display, and make sure the hanging loop is secure before putting the finished ornament in place. —Rubyellen


