
 admin
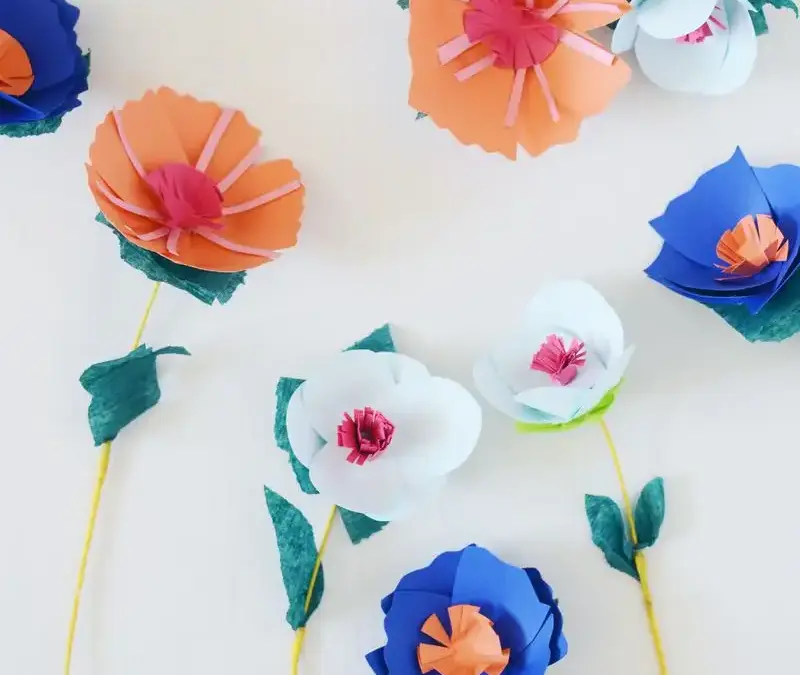
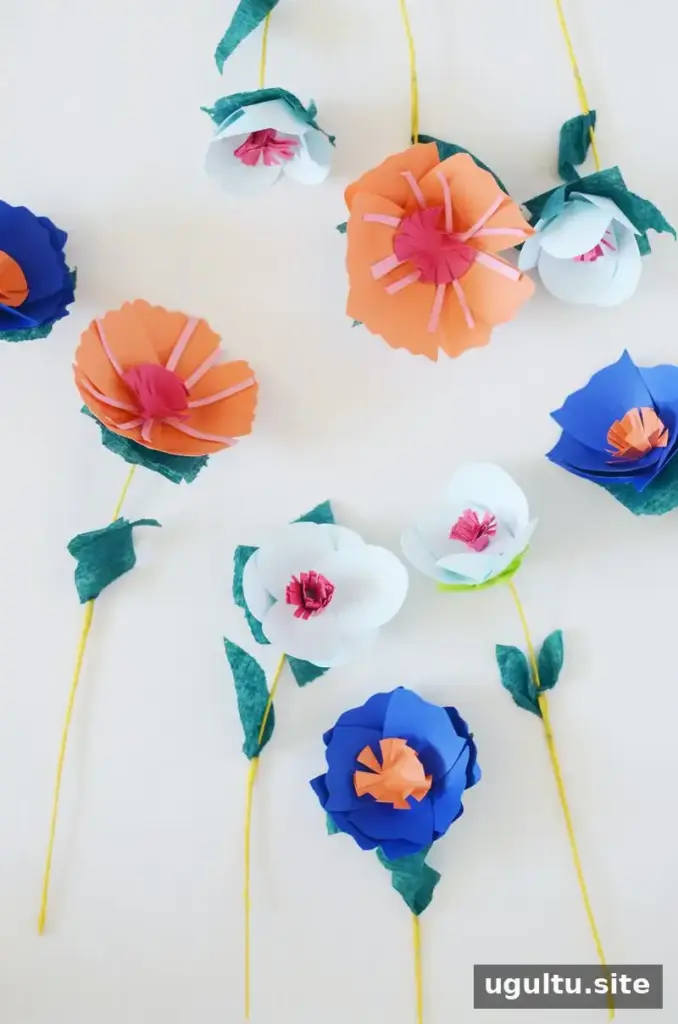
A paper flower bouquet is a thoughtful handmade gift for neighbors, teachers, friends, or anyone you would like to thank. Unlike fresh flowers, these blooms can be kept as a colorful decoration, and you can customize the petal shapes and colors to suit the recipient or occasion. Follow the steps below to make a simple paper flower and arrange several blooms into a bouquet.
Materials for a Paper Flower Bouquet
Gather your supplies before you begin. Having the petals, stem, and flower center ready makes assembly easier.
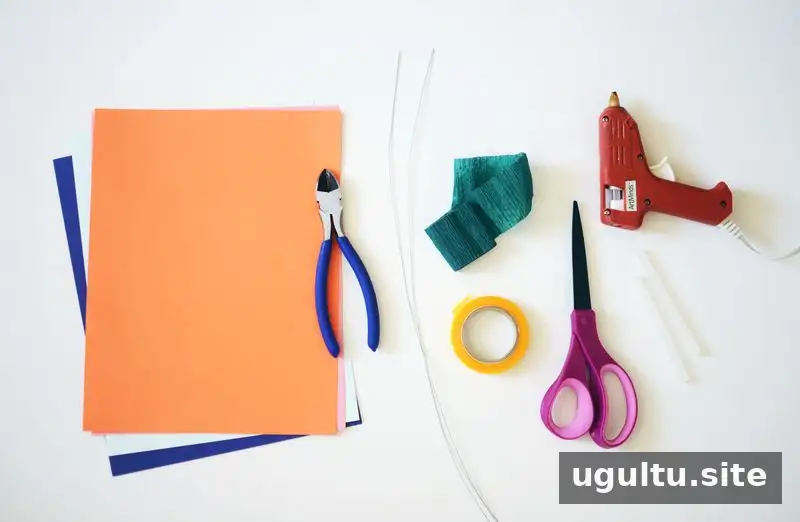
- Paper flower template
- Cardstock in various colors
- Green crepe paper streamer
- Floral tape
- Floral stem wire
- Glue gun and glue stick
- Wire cutter
- Scissors
Use scissors for the paper pieces and a wire cutter for the stems. Take care when working with hot glue, and let glued areas set before handling them.
How to Make the Paper Flower
Step 1: Prepare the stem
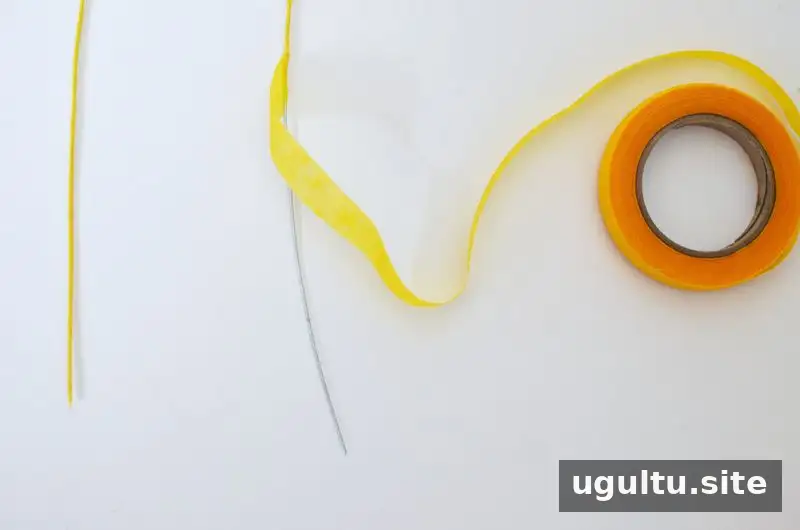
Cut a piece of floral stem wire to your desired stem length. Wrap the full length of the wire with floral tape. Keeping the wire covered from the beginning makes it easier to finish the stem neatly.
Step 2: Cut the flower pieces
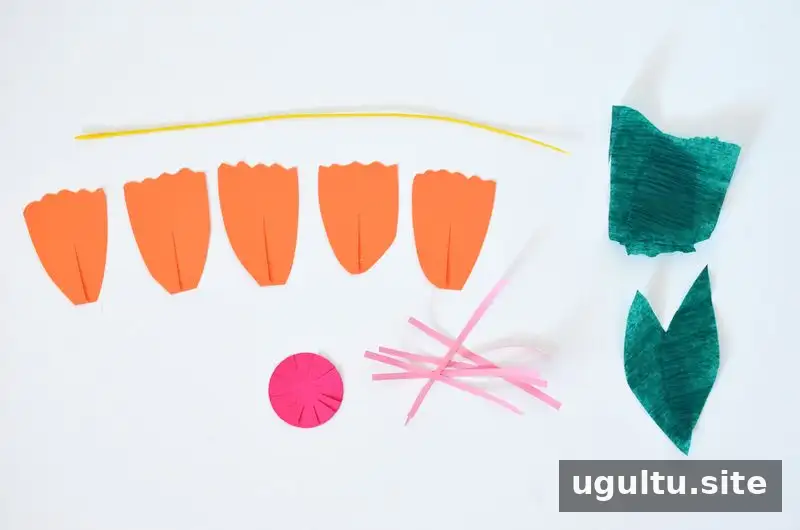
Use the template to cut out the petals, flower center, and leaves from cardstock. Tear two 2 1/2-inch strips of green crepe paper for the calyx. Cut a slit from the base of each petal up to its middle. Keep the cuts consistent so the petals are easier to shape and layer.
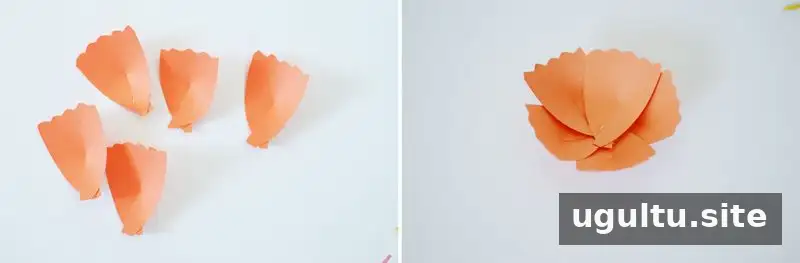
Step 3: Shape and layer the petals
Add a small dab of glue near the base of a petal, on one side. Bring the other side over it and press the overlap in place. This creates a gentle upward curve. Hold the paper briefly while the glue sets, then repeat with the remaining petals.
Place a dot of glue over the overlapped base of a petal and attach another petal on top. Continue adding petals around the flower, adjusting their positions as you go. The number of layers is flexible, so you can choose a fuller or simpler look.
Step 4: Add the flower center
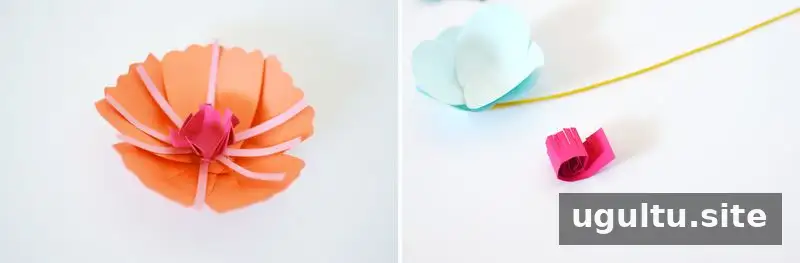
For one center style, cut thin strips of paper and glue them into the middle of the flower. Cut a small circle, make a cut spiraling from its outer edge toward the center, and glue it over the strips.
For a fringed center, cut a 1-inch-by-4-inch strip of paper. Make slits 3/4 inch deep along one long edge. Add a dab of glue, roll the strip, and secure the end with another dab. Glue the finished fringe into the flower’s center. Mixing different center styles with different petal shapes gives each bloom a distinct appearance.
Step 5: Attach the calyx and flower
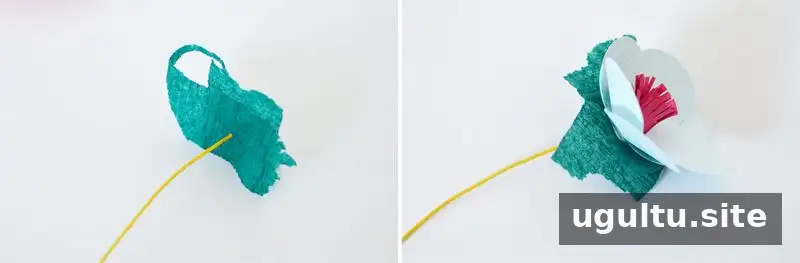
Poke the wire through the center of both 2 1/2-inch crepe paper strips. Fold about 1/2 inch of the wire end to a 90-degree angle, then use a dab of glue to secure the paper. The green crepe paper forms the calyx. Add more glue and attach the base of the flower on top.
Step 6: Add a leaf
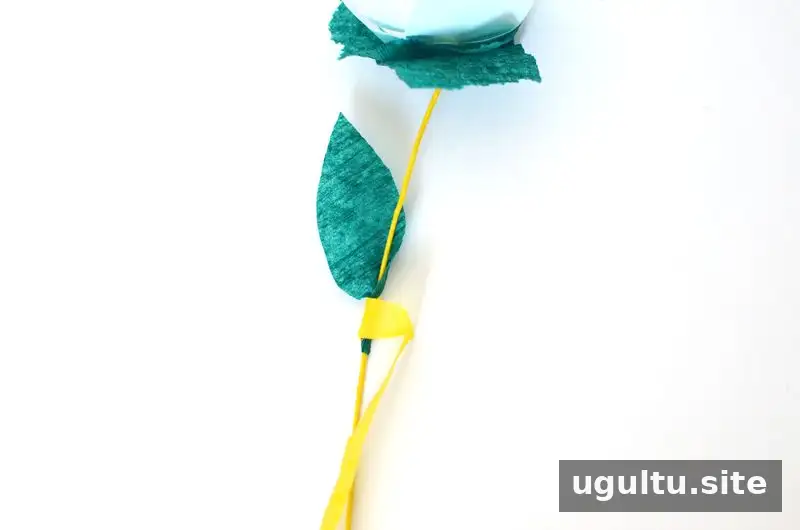
Wrap the bottom of a paper leaf around the stem and secure it by winding floral tape around the area. Position the leaf where it looks balanced against the flower head.
Arrange and Personalize Your Bouquet
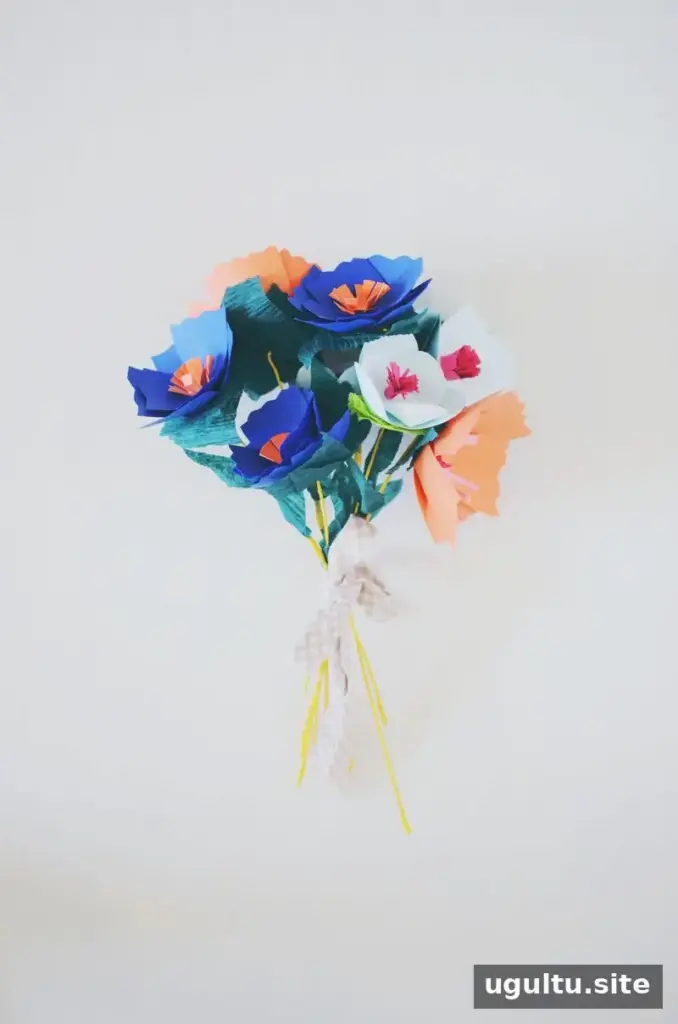
Once you know the basic process, experiment with different petal shapes, cardstock colors, and flower centers. The same method can also be used to make giant flowers by using whole sheets of cardstock for the petals.
Combine several finished stems to create a paper flower bouquet, or give a single flower as a small gesture of appreciation. A short note explaining why you are thankful for the recipient can make the handmade gift feel more personal. —Rubyellen


