
 admin
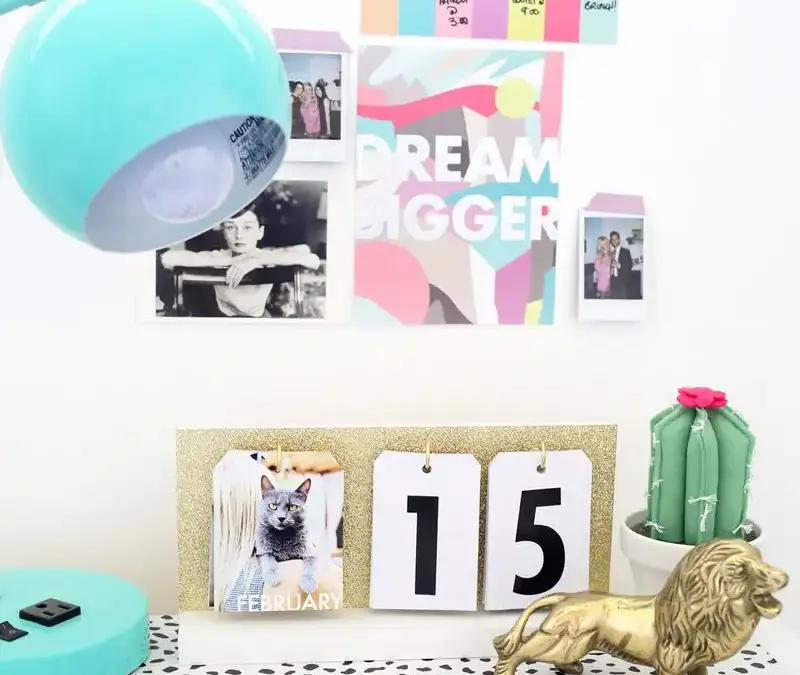
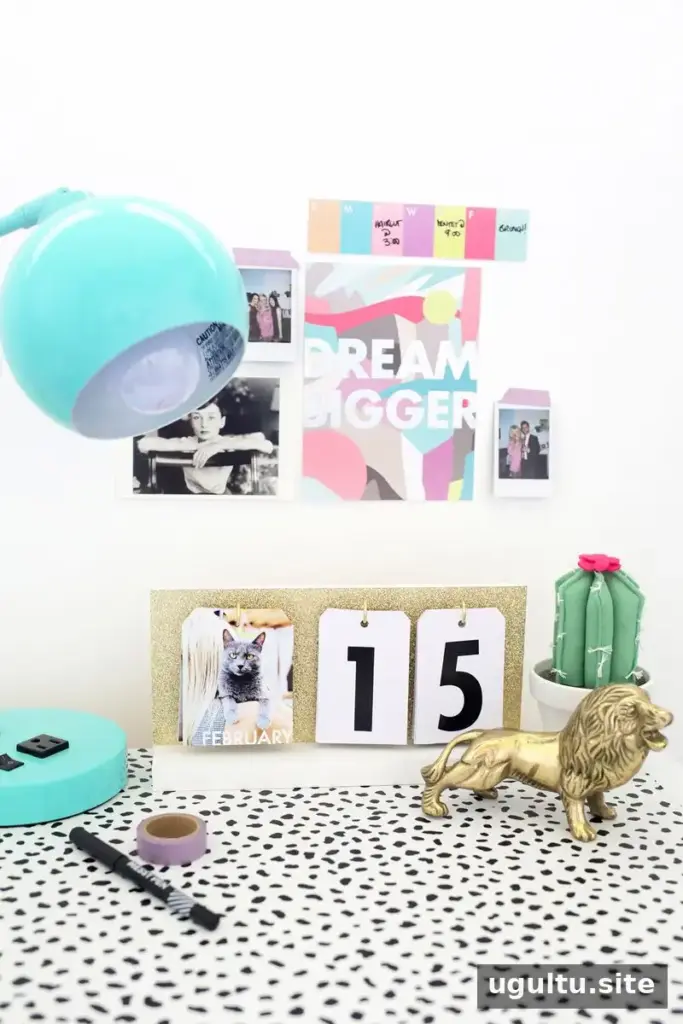
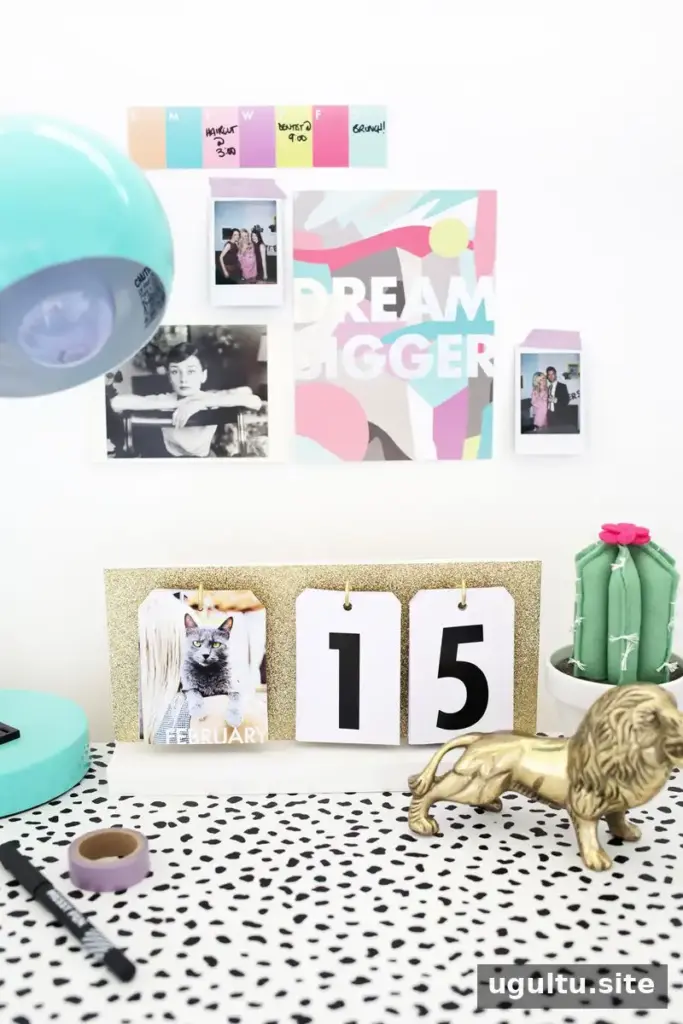
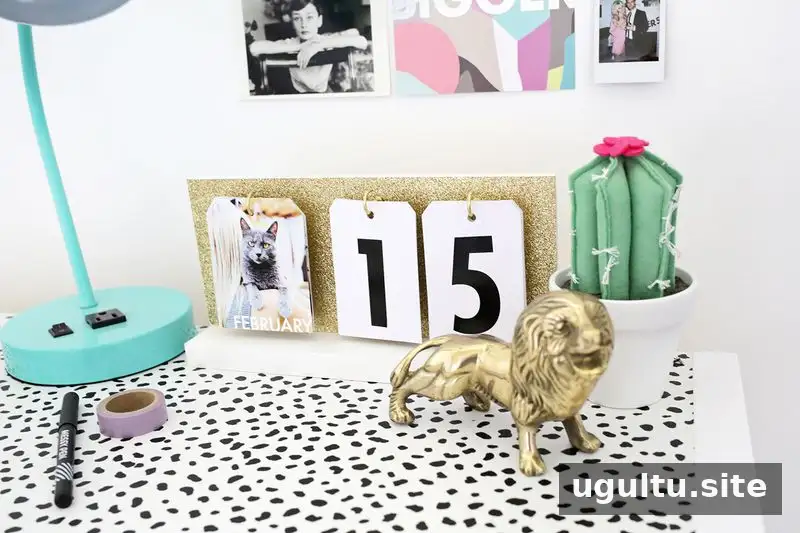
A perpetual flip calendar DIY project creates a reusable way to show the month and date without replacing the calendar each year. Photo-covered month tags and changeable number cards hang from hooks on a tabletop sign, so you can update the display by flipping the tags. It can also serve as a visual countdown to a special event.
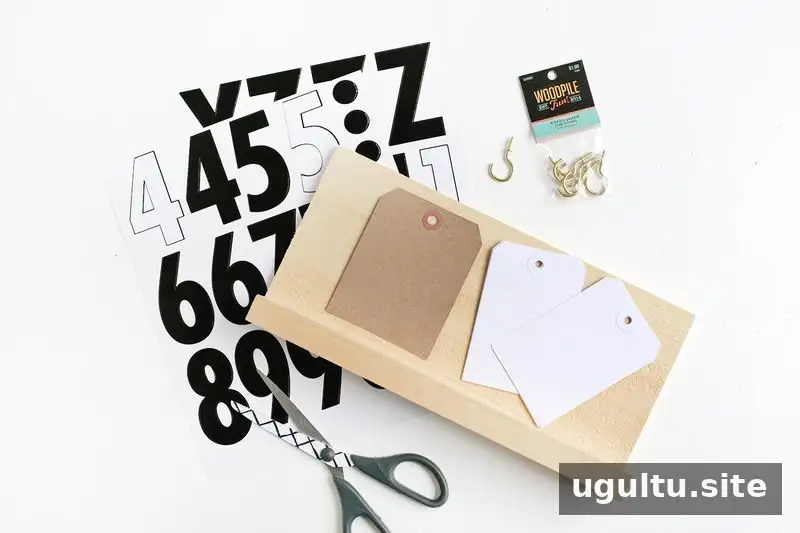
Materials:
- Wooden tabletop sign
- Small brass cup hooks
- Glitter cardstock
- Glue
- Blank gift tags: larger tags for the months and smaller tags for the date numbers
- Large number stickers
- Small hole punch
- Photo printer
How to Make a Perpetual Flip Calendar DIY
1. Prepare the month cards
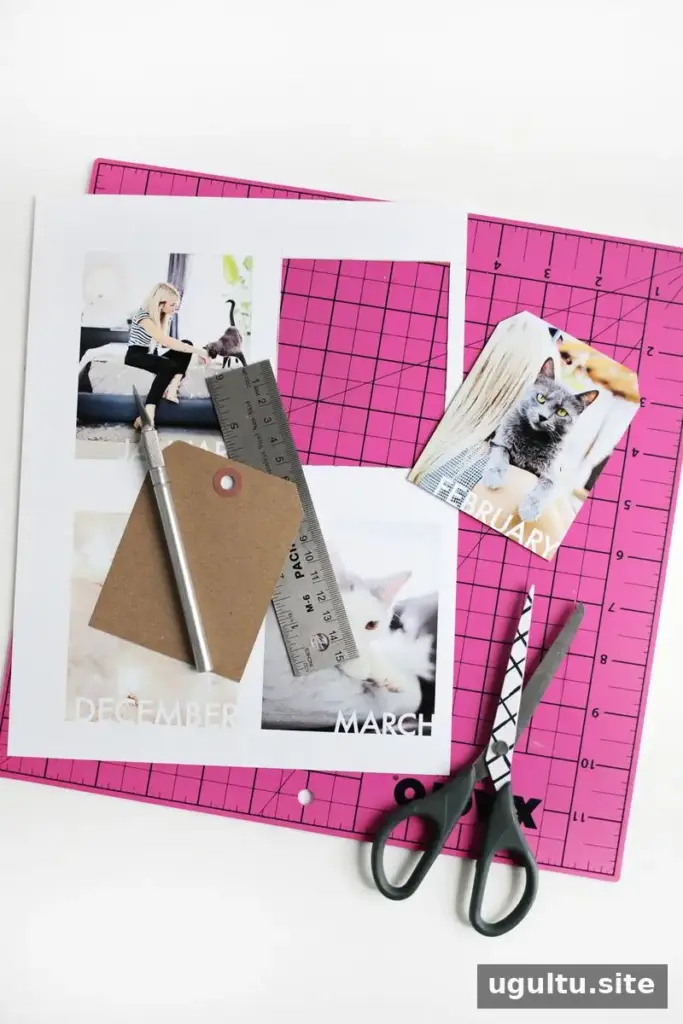
Check the size of the sign before trimming the gift tags. Each tag should fit comfortably on the display, with space for one month card and two number cards. Print 12 photos sized to fit the larger tags. Add a month name to each image using photo-editing software or letter stickers.
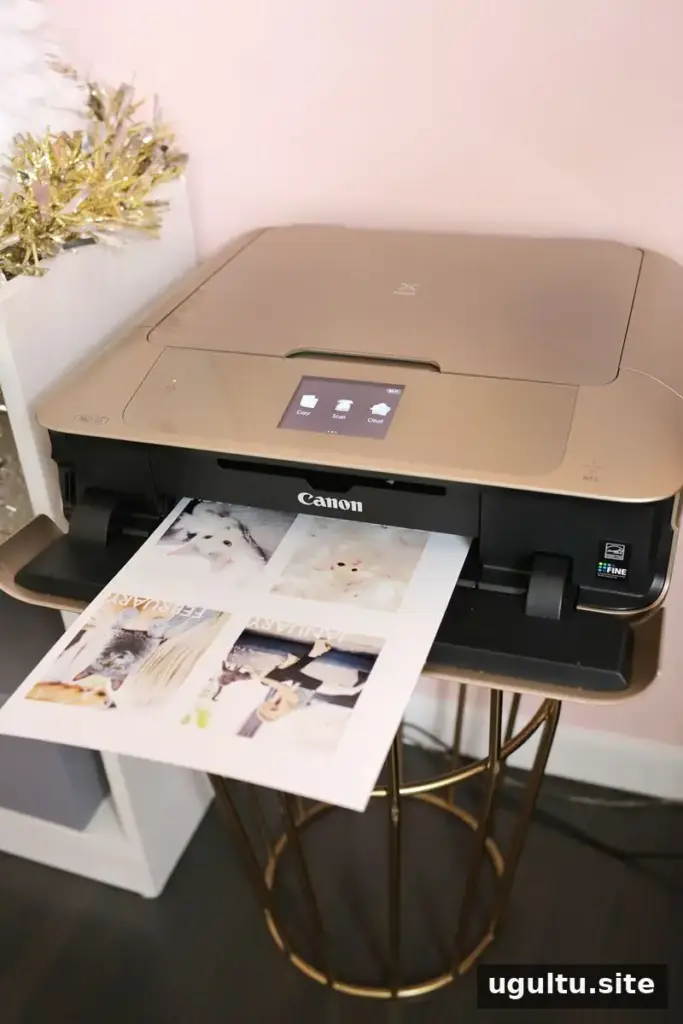
If you are arranging the images digitally, laying out several months on one page can help streamline printing. Print a test image first to confirm that the dimensions work with your tags.
2. Assemble double-sided tags
Cut out each photo and glue it to the front of a month tag. Trim any paper extending beyond the edges, then punch a hole near the top of the card. Attach the next month’s photo to the reverse side. Continue until all 12 months are represented. Double-sided cards keep the display compact while allowing the month to be changed by turning the tag over.
3. Make the date number cards
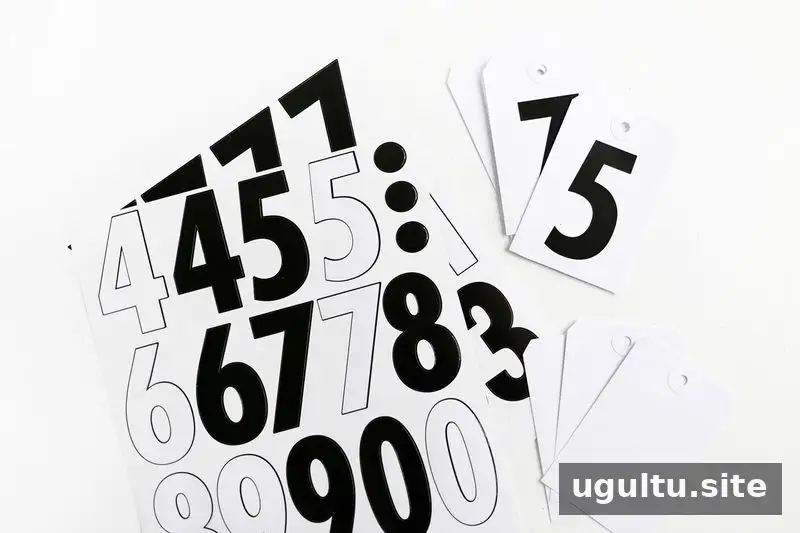
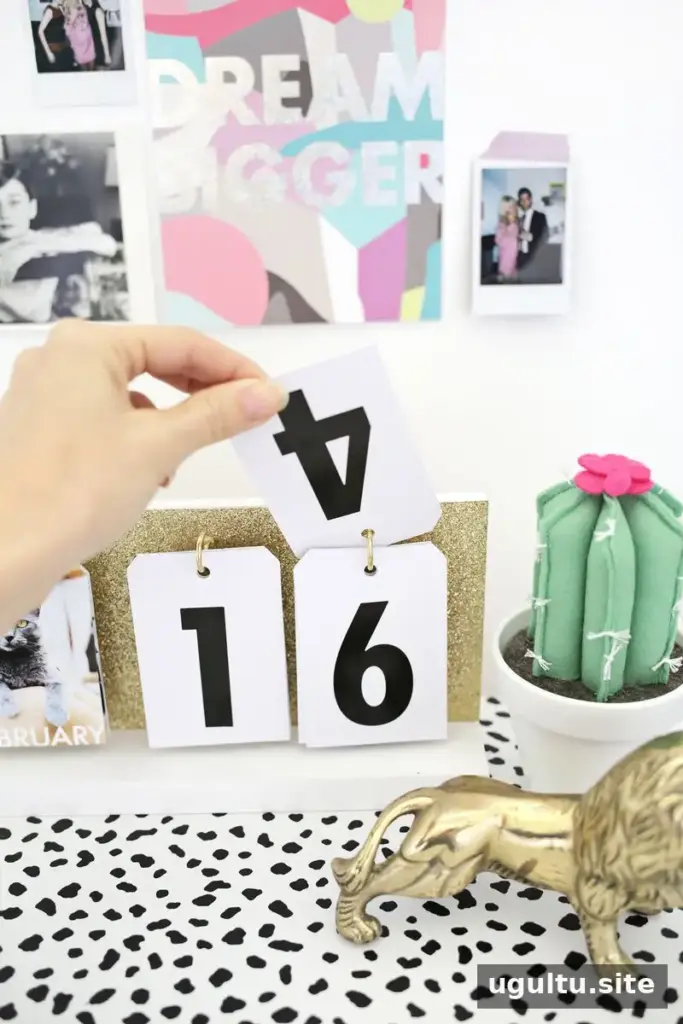
Use number stickers to prepare cards for the two date positions. The first position needs digits 0 through 3, and the second needs digits 0 through 9. Add different digits to the front and back of a tag where possible to reduce the number of cards hanging from each hook. Check that the cards can be turned easily and that the digits remain clear when displayed.
4. Finish the sign and attach the hooks
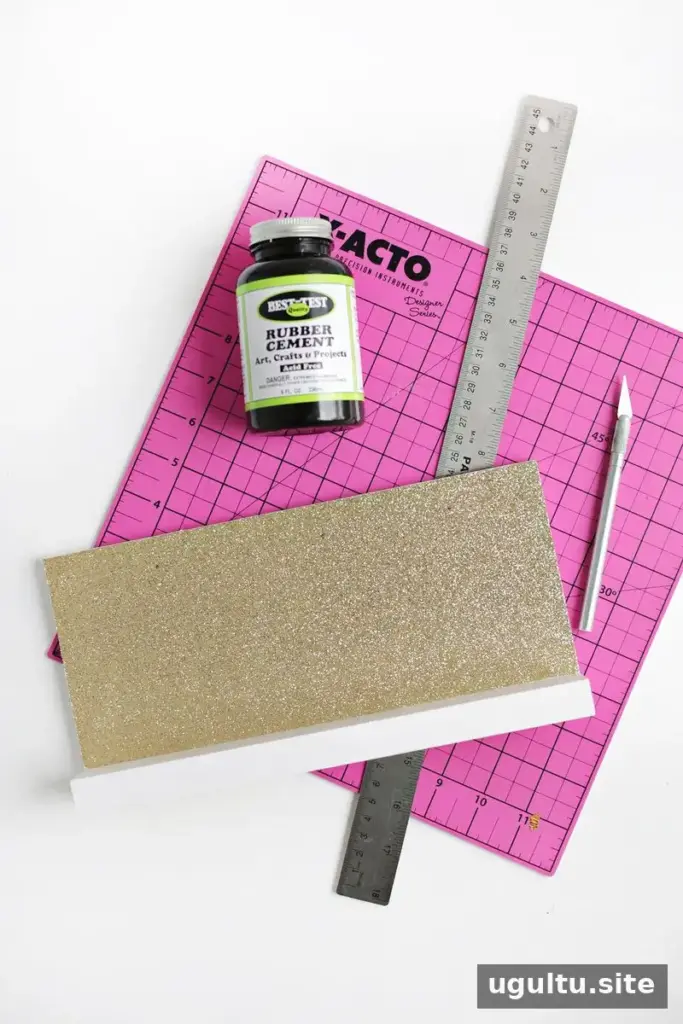
Paint or stain the bottom and sides of the tabletop sign, then let the finish dry. Cut glitter cardstock to fit the back of the sign and glue it in place. Before installing the hooks, lay out the month and date tags on the backing and mark the desired positions. This dry layout helps keep the spacing even.
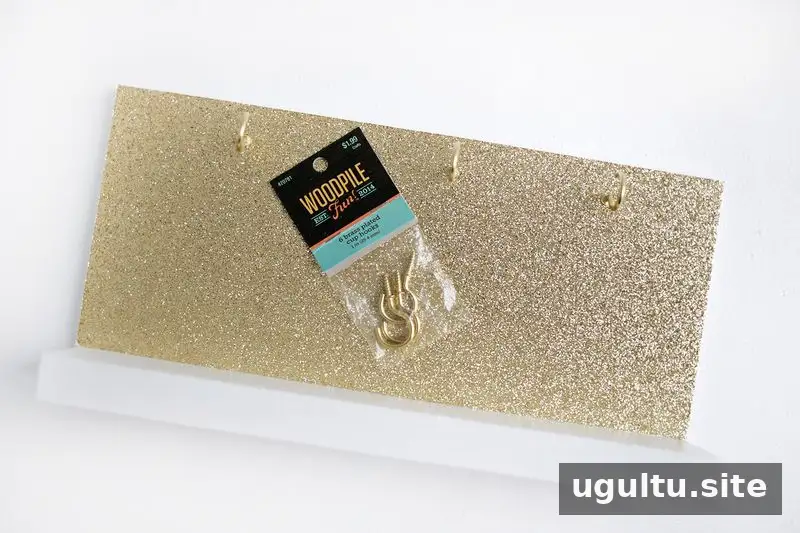
Screw the cup hooks into the marked spots. If they are difficult to install by hand, make small pilot holes with a drill bit first. Keep the holes shallow and use care when handling tools. Hang the month card and two date cards in order, then turn the tags as needed to display the current date.
Using Your Reusable Calendar
This calendar can be set to a new date each day and reused from year to year. It is also useful for counting down to a trip, celebration or other upcoming event: changing the number cards makes the passing days easy to see. The month photos can be chosen to suit the display, and the tags can be replaced if they become worn.
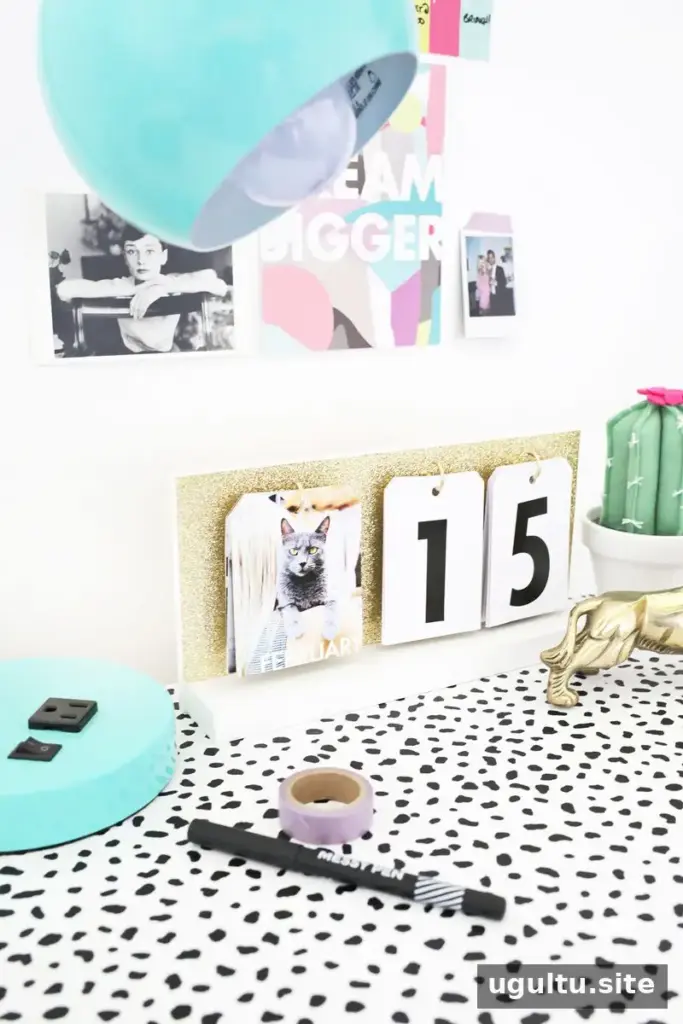
A perpetual flip calendar DIY project combines a simple craft with a practical date display. Before hanging it, confirm that the tags turn freely and that the number cards can show every date you need. — Laura


