
 admin
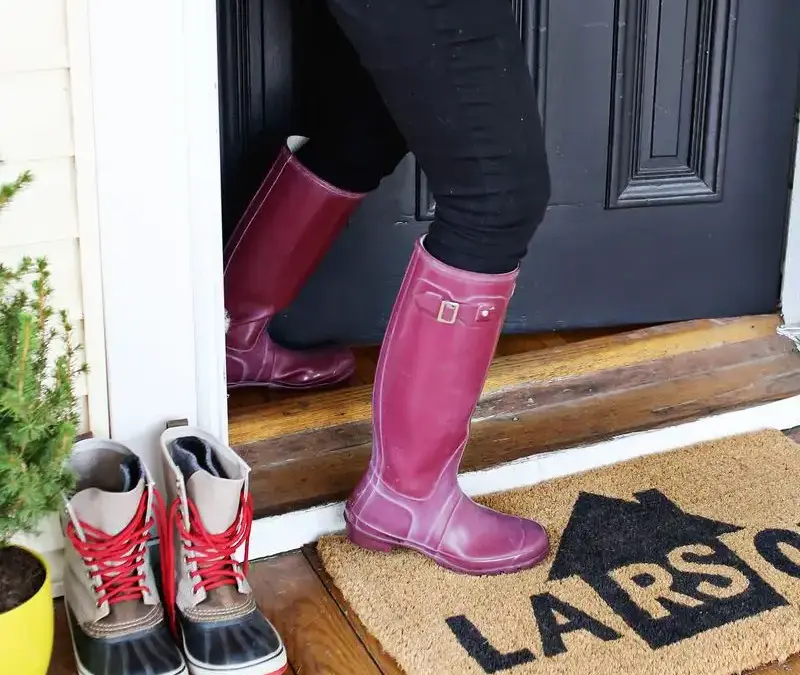
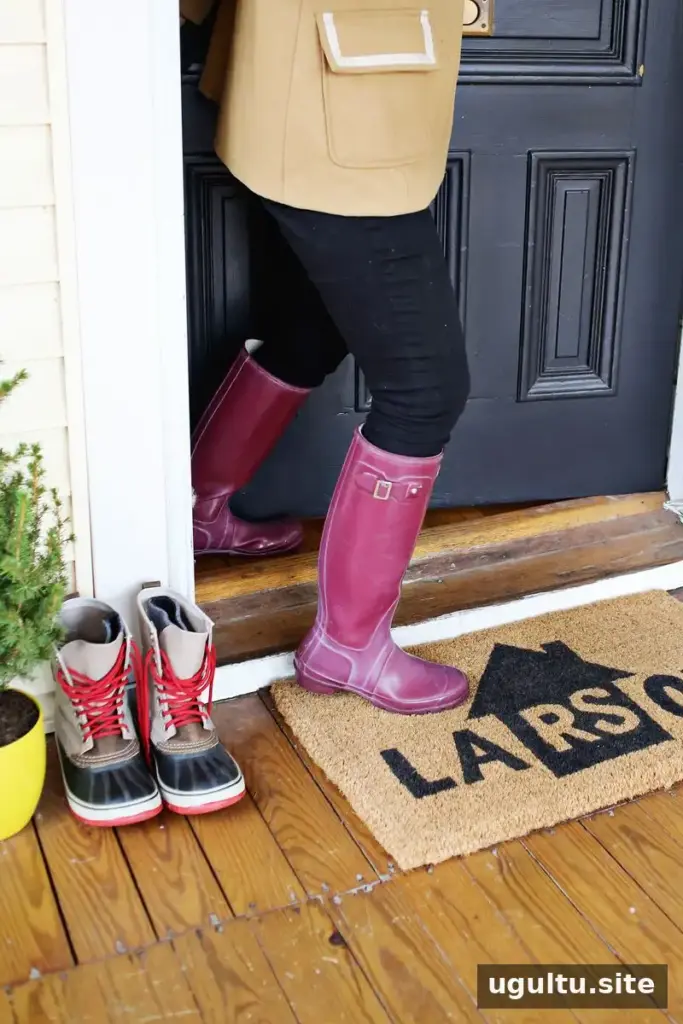
A personalized welcome mat can help guests identify your home while adding a personal touch to the entryway. With a plain mat, porch paint, and a contact-paper stencil, you can create a design featuring a family name or a shorter nickname. Choose lettering that is easy to read from a few steps away, and check the mat’s dimensions before you begin so the design fits comfortably.
How to Make a Personalized Welcome Mat
This project uses a simple stencil to transfer a name and house motif onto a mat. Work on a protected, flat surface, and check the paint label for guidance on suitable surfaces and drying conditions.
Supplies
- Plain welcome mat
- Porch paint
- Contact paper
- Small, stiff brush
- Craft knife and cutting mat
- Ruler and pencil or marker
- Tape to secure the stencil
Plan and Cut the Stencil
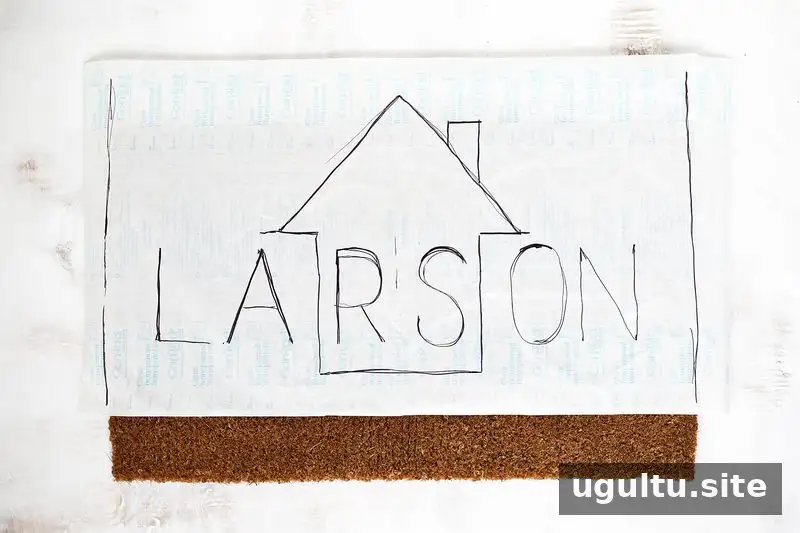
Cut a piece of contact paper slightly larger than the mat. Mark the mat’s edges on the contact paper to establish the design area. Write the name on the non-peel-off side of the paper, keeping it within those boundaries. If you want the name centered, begin with the middle letter or letters and work outward. A ruler can help you draw a simple house outline around the center of the name.
For a more consistent typeface, print the name at the size you want and use the printed letters as a tracing guide. Hand-drawn lettering can also suit this project; prioritize thick, legible shapes over intricate details that may be harder to cut and paint.

If you start with thin letter outlines, draw around them to create thicker shapes that will show clearly on the mat. Place the contact paper on a cutting mat and carefully cut out the letters and house outline with a craft knife.
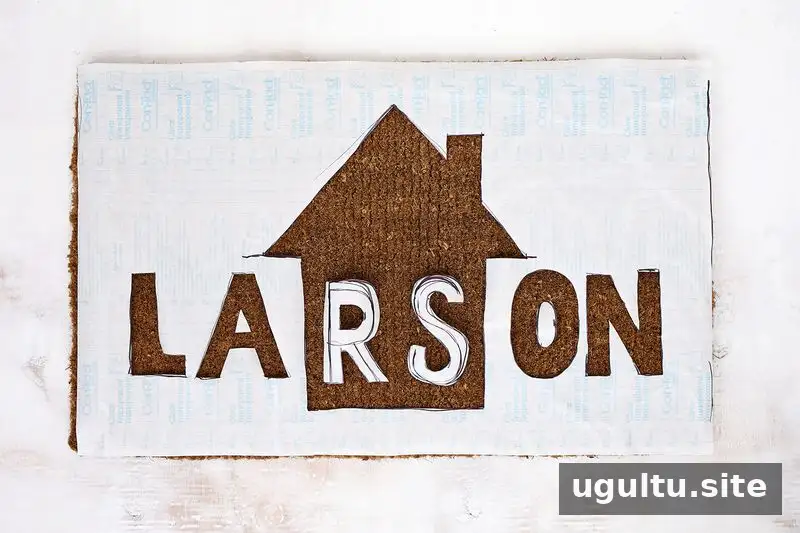
Keep the cut-out pieces that form the centers of letters, such as the inside of an O or A. These pieces are needed to preserve the shape of the lettering when you paint.
Apply Paint and Finish the Mat
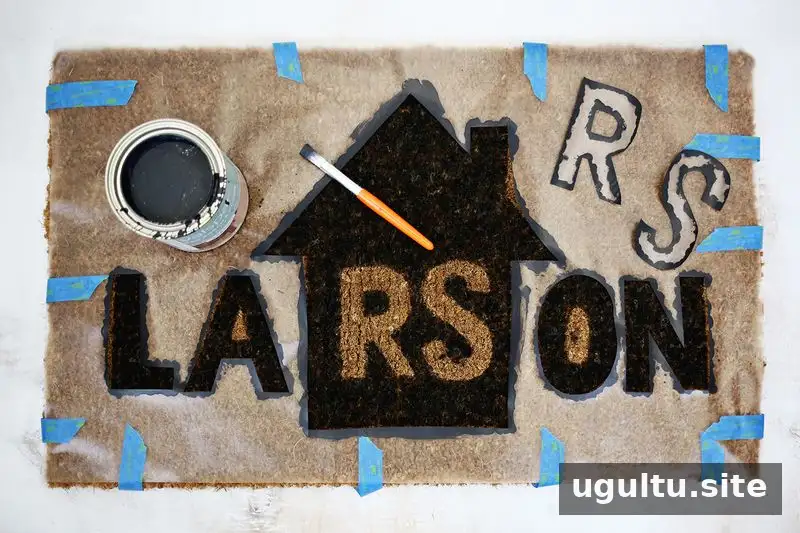
Peel the backing from the contact paper and position the stencil on the mat. Since textured fibers may not hold the paper firmly, tape its edges to the underside of the mat to keep it in place. Hold the small letter pieces steady as needed, then dab porch paint onto the exposed areas with a stiff brush. Press the brush gently into the mat’s fibers for coverage, taking extra care near the stencil edges to prevent paint from spreading beyond the design.
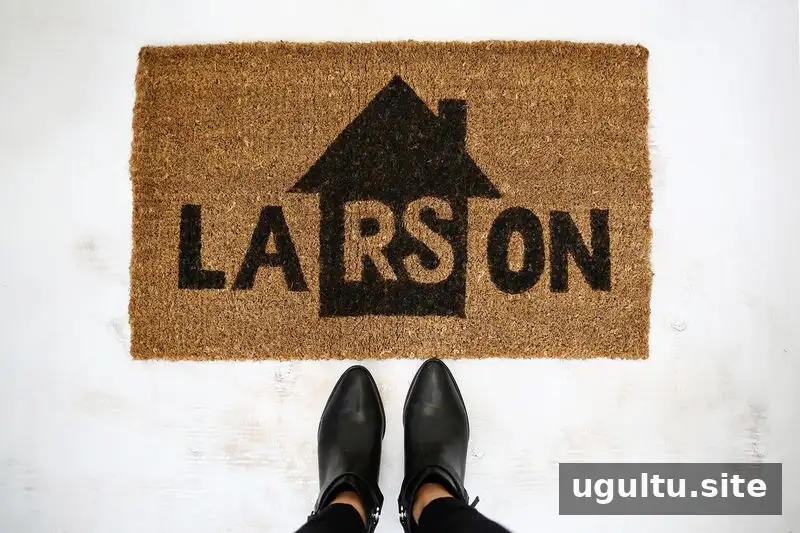
Let the paint dry according to the product instructions before lifting the stencil. Check the lettering and touch up small uncovered areas if needed. Allow any touch-ups to dry before placing the mat at the entrance.
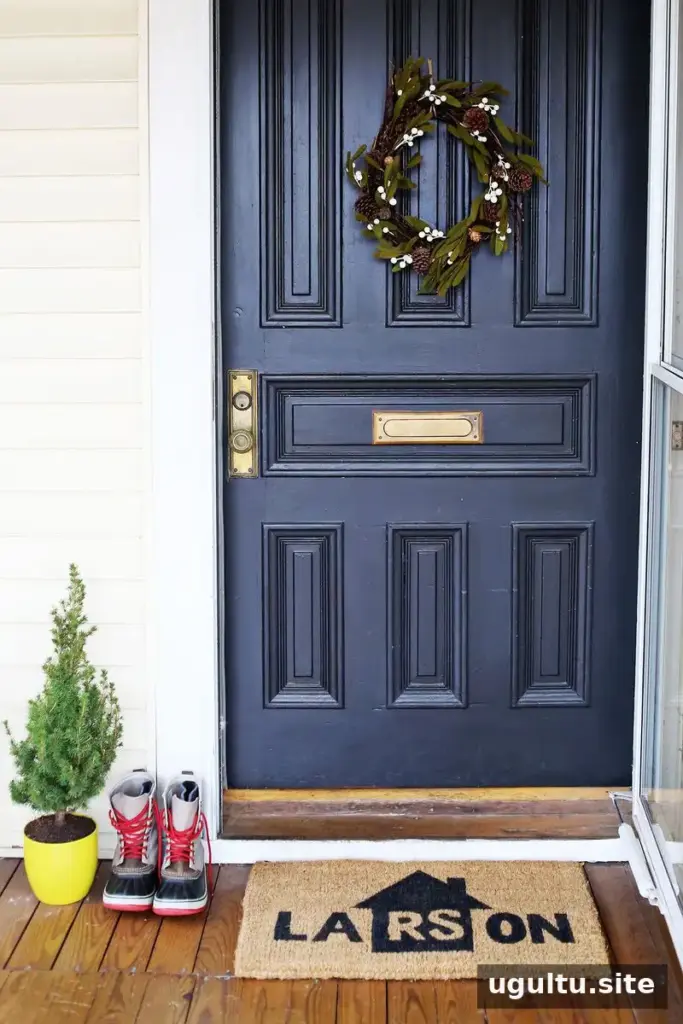
Tips for a Readable Custom Mat
- Measure the usable surface first, especially if the mat has a border or curved edges.
- Use a shorter nickname or another brief word if a long surname does not fit.
- Keep the design simple so the name remains easy to recognize and stencil.
- Test the paint and stencil technique on a small, inconspicuous area if you are unsure how the mat’s texture will behave.
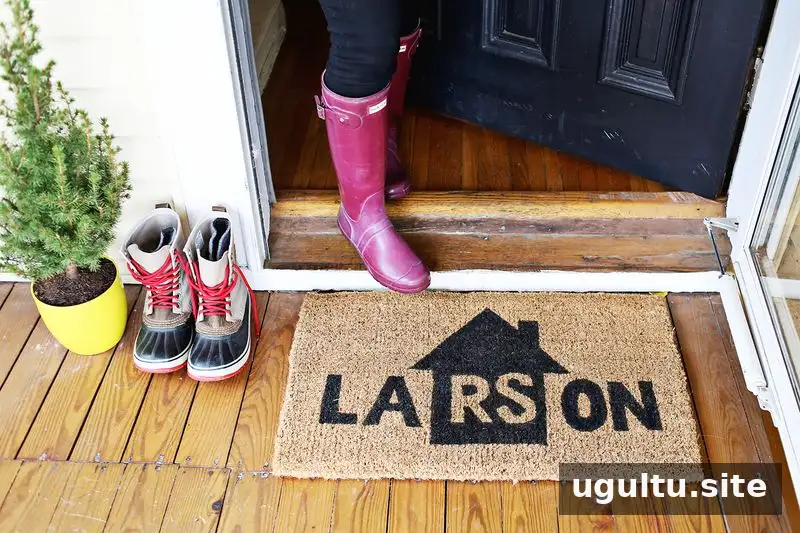
A personalized welcome mat is a practical afternoon project that gives the entryway a distinctive look. A well-spaced name, a secure stencil, and careful dabbing can help create a neat design. For longer surnames, a shorter nickname can make the layout easier to fit. — Laura


