
 admin
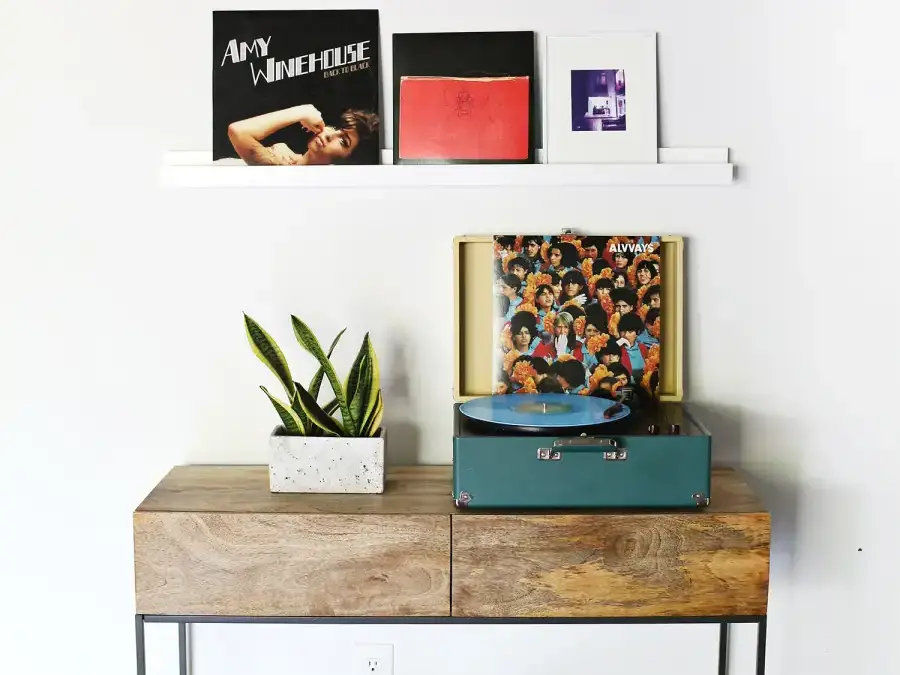
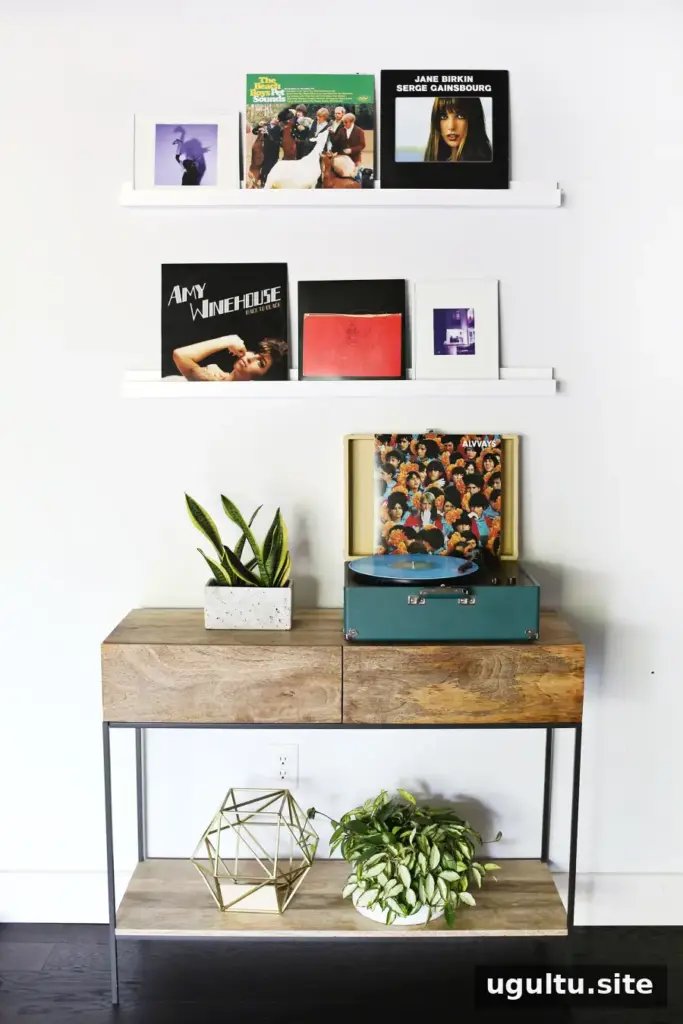
A photo ledge DIY project is a practical way to fill an empty wall while keeping your display easy to update. Instead of committing to one large piece of art, you can arrange framed photos, records, sheet music, or other lightweight keepsakes—and switch them around whenever you like.
This ledge was designed for the wall above a small side table in a studio. Its length can be adjusted to suit your space, making it a useful option for a narrow wall or a spot where a larger frame might feel overwhelming.
Why make a photo ledge?
A ledge gives you flexibility: lean framed pictures against the wall, layer items for a relaxed look, or change the arrangement with the seasons. Before building, measure the available wall space and consider what you plan to display. This helps you choose a practical length and avoid making the shelf wider than the area can comfortably accommodate.
Printed photographs can be combined with records and personal mementos for a more individual display. If you are printing several images at once, arranging different photo sizes on a single sheet can help you choose the proportions that work best for the ledge.
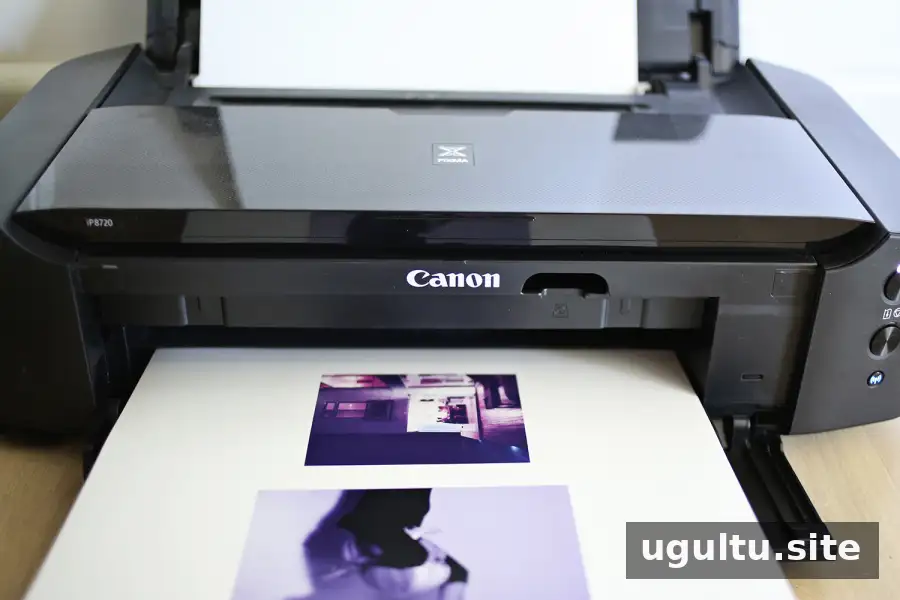
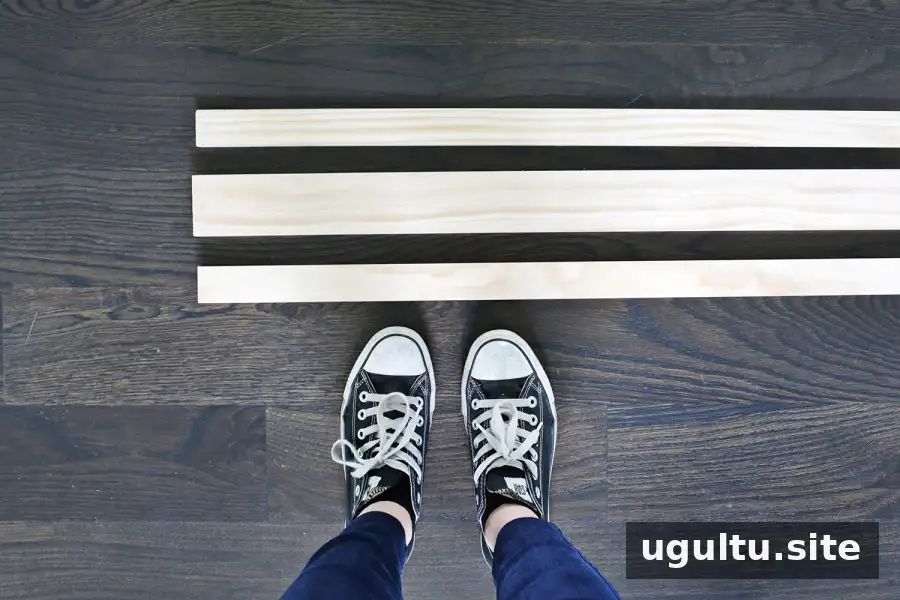
Photo ledge DIY supplies
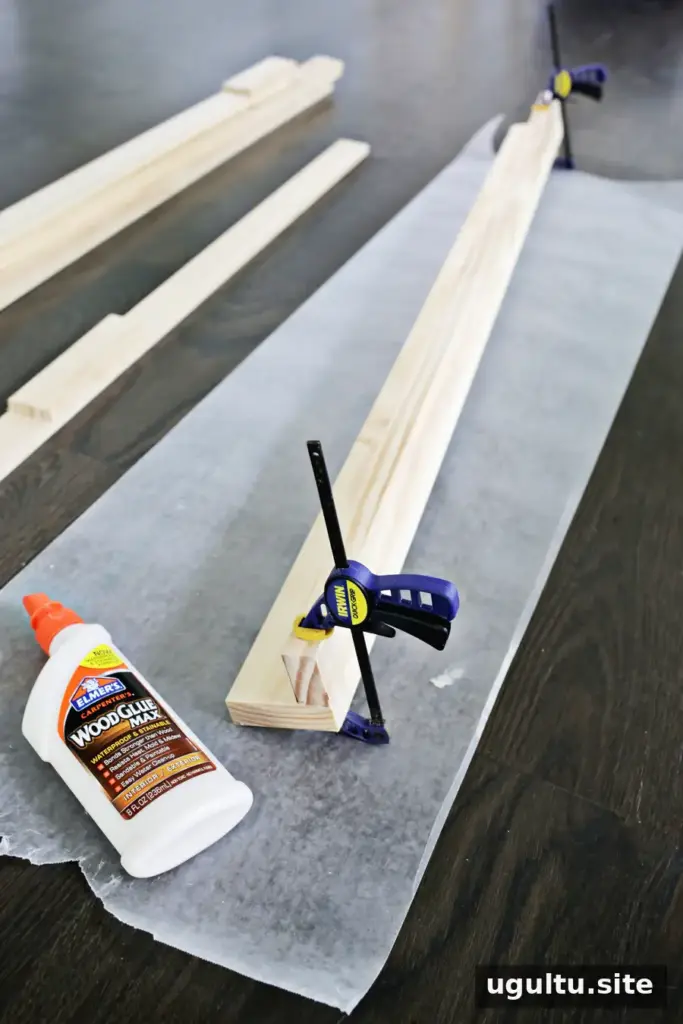
Gather these materials and tools before you begin:
- One 2.5-inch x 0.75-inch board
- One 1-inch x 0.75-inch board
- One 1.5-inch x 0.5-inch board; these may only be available in lengths of about 3 feet, so a longer ledge may require two pieces
- Jigsaw, chop saw, or a lumber-store cutting service
- 1-inch nails
- 1.25-inch wood screws
- Wood glue and small clamps
- Drill
- Keyhole hangers
- Paint or wood stain
How to build the photo ledge
- Measure and cut the boards. Decide how long the ledge should be, then cut all three board sizes to the same length. If you do not have the right cutting tools, ask whether the lumber store can cut the boards to your measurements.
- Join the back and bottom. Apply wood glue along the edge of the 2.5-inch x 0.75-inch board. Position the 1-inch x 0.75-inch board against it to form the back and bottom of the ledge. Clamp the pieces together and let the glue set for a few minutes.
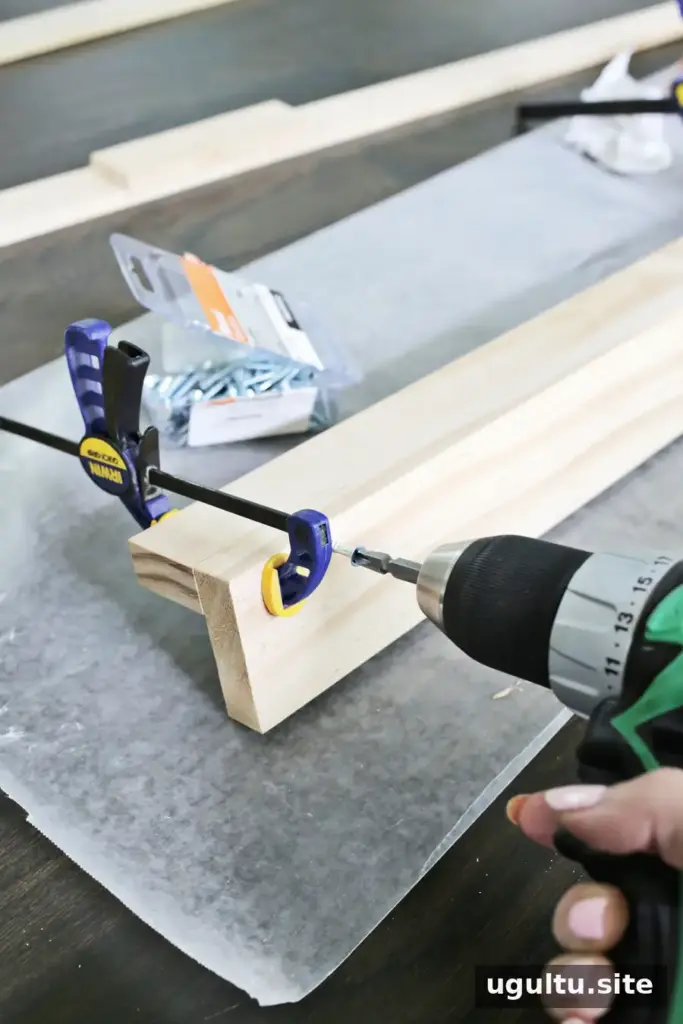
Drive wood screws through the back of the larger board into the smaller board to reinforce the joint. Placing the screws through the back keeps their heads out of view when the ledge is installed.
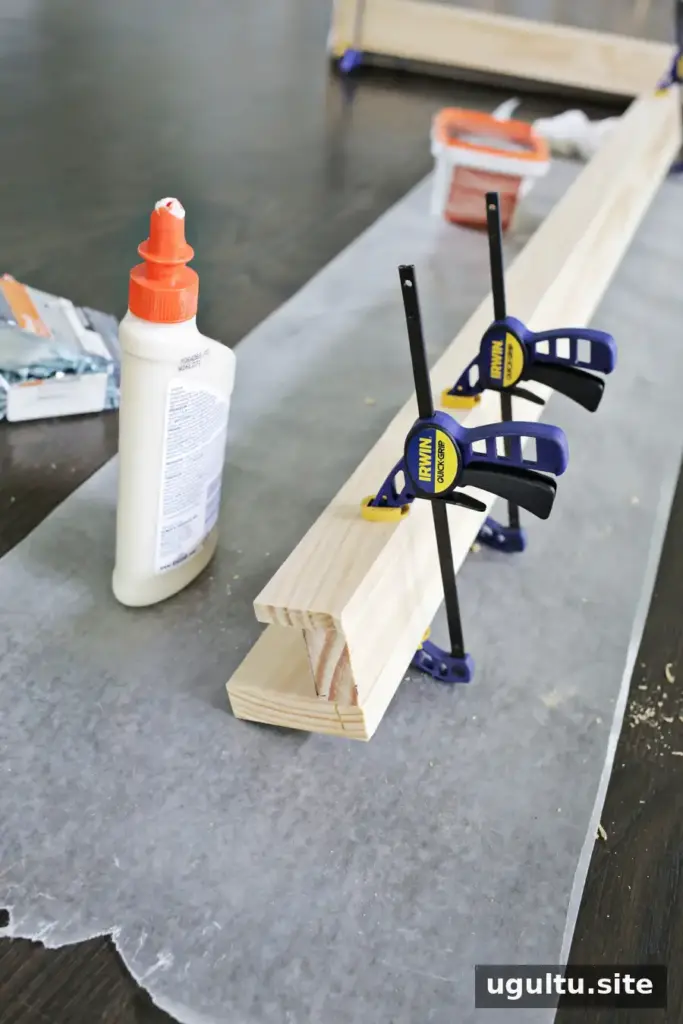
- Attach the front lip. Glue the 1.5-inch x 0.5-inch board to the open edge of the 1-inch x 0.75-inch board. Clamp the pieces together and allow the glue to set.
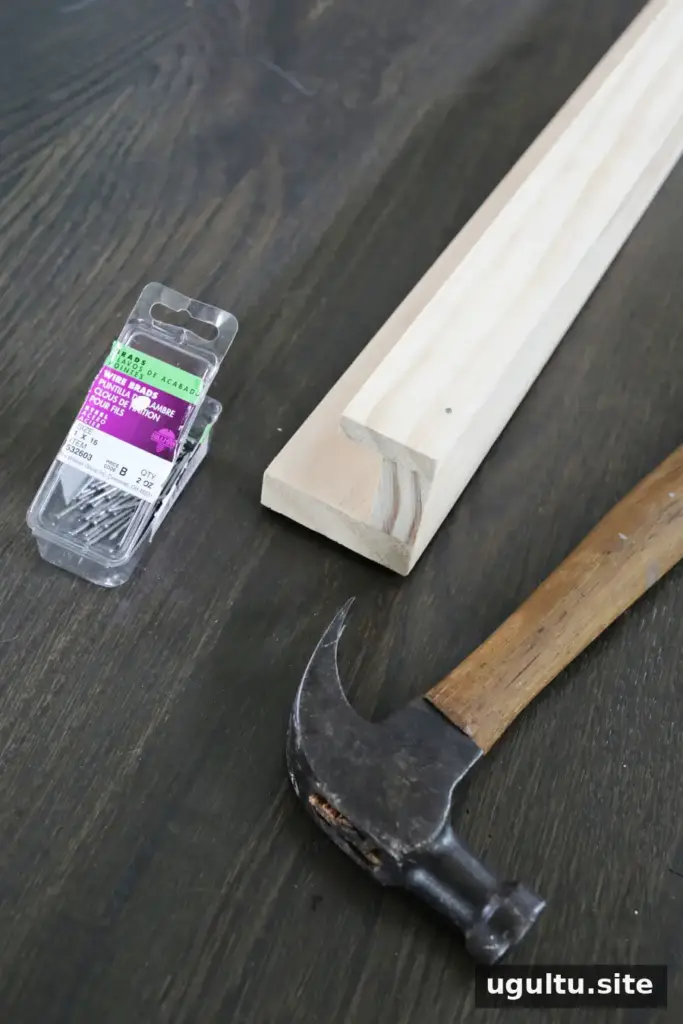
Remove the clamps once the glue has set, then add a few small nails along the joint to secure the front board. Take care to position the nails so the pieces remain aligned.
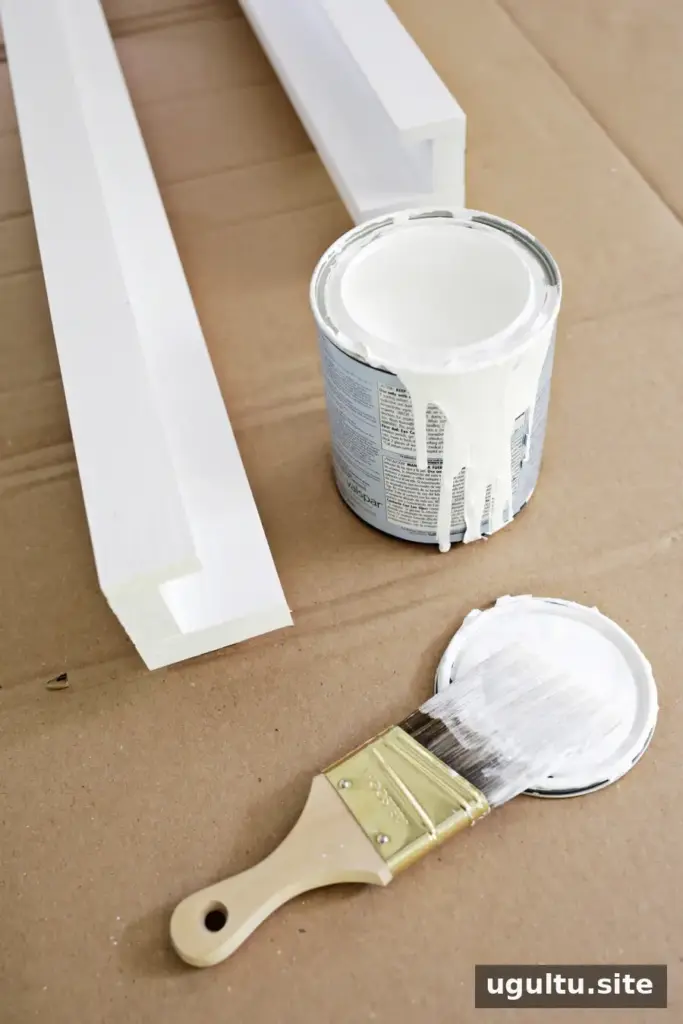
- Finish and hang the ledge. Attach keyhole hangers to the back, then paint or stain the boards in your chosen color. Let the finish dry before hanging the ledge or placing items on it.
Choose wall fasteners that suit your wall type and the expected weight of the ledge and its contents. Use a level when positioning the hanging points so the shelf sits straight.
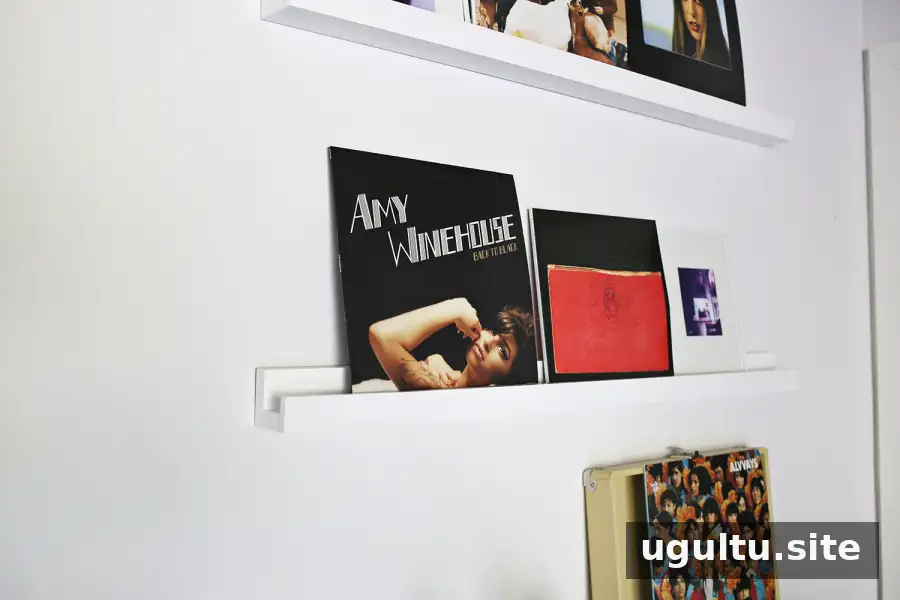
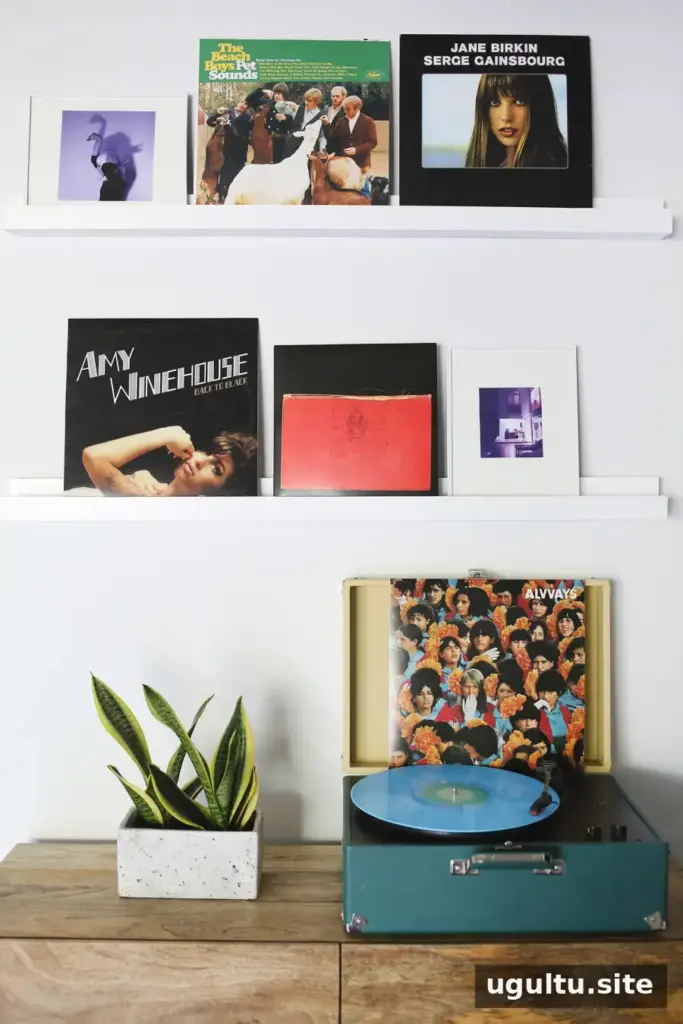
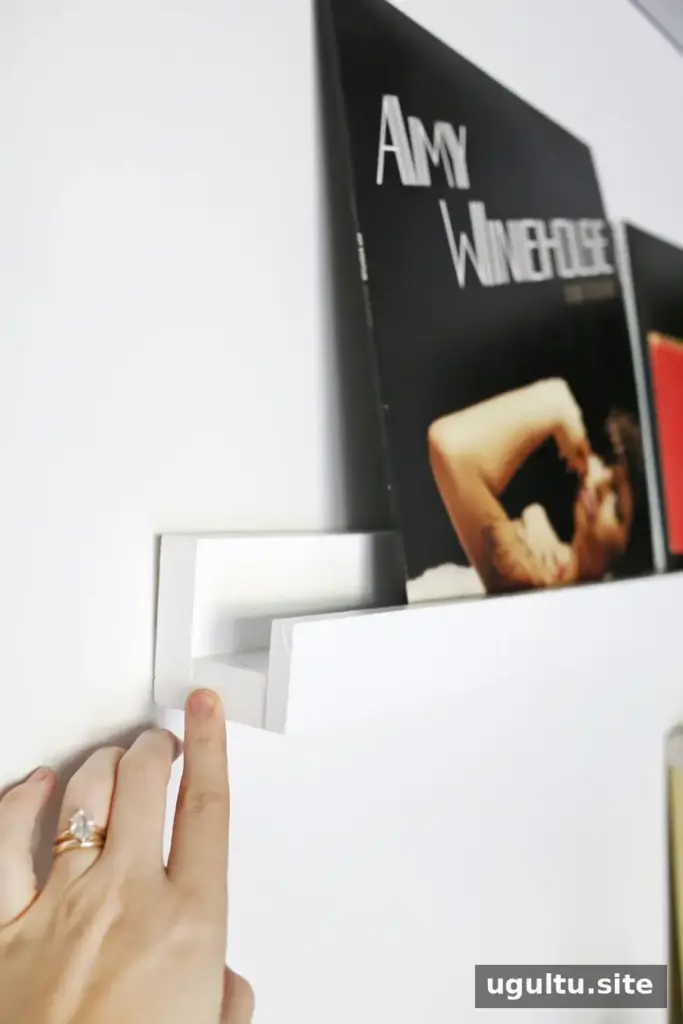
This project can be completed in a day, tailored to the dimensions of your space, and made with a modest selection of materials. Once it is installed, the display can evolve without needing to replace the shelf. A carefully measured photo ledge DIY is an easy way to add a personal, changeable feature to a room.
— Elsie


