
 admin
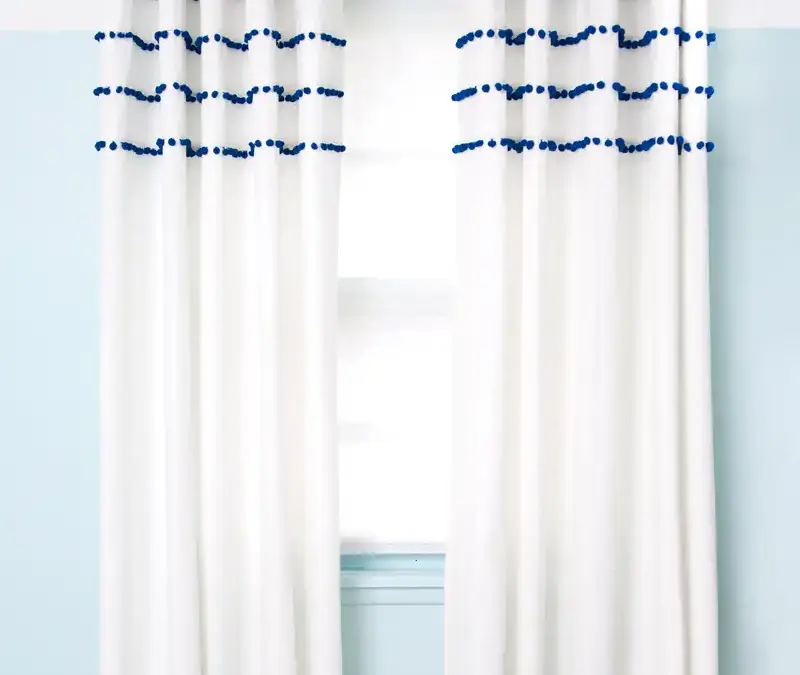
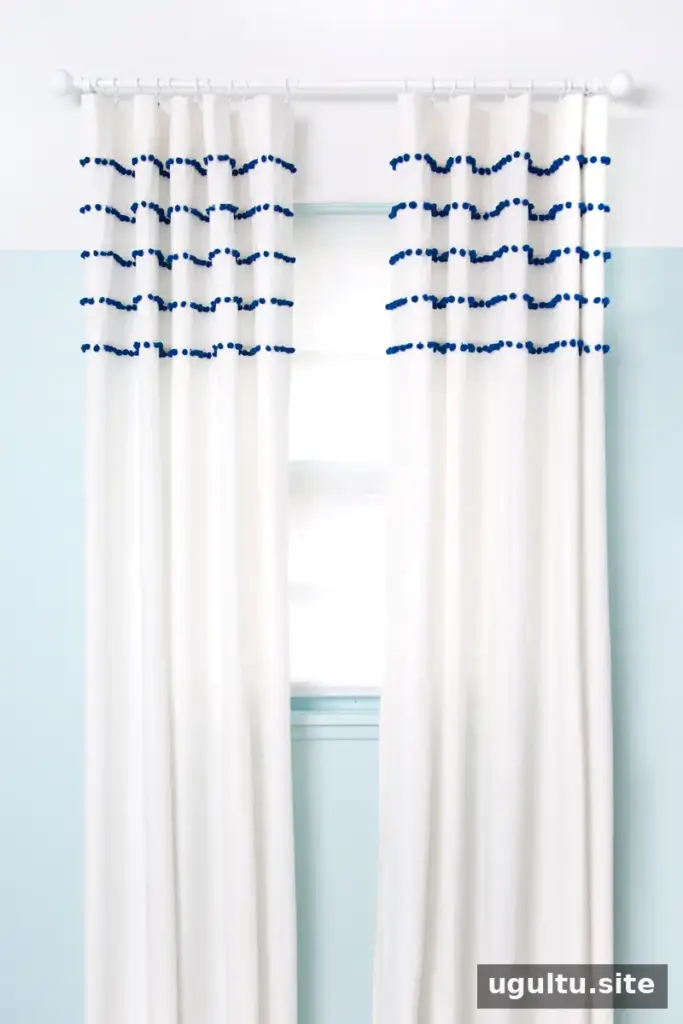
Pleated pom pom curtains add a playful detail to plain window panels without making a room feel overly busy. This project places rows of pom pom trim inside narrow fabric pleats, creating a neat finish that works well in a bedroom, living space, or kitchen. Using ready-made curtains can simplify the process, but choose panels with enough extra length to allow for the pleats and any final hemming.
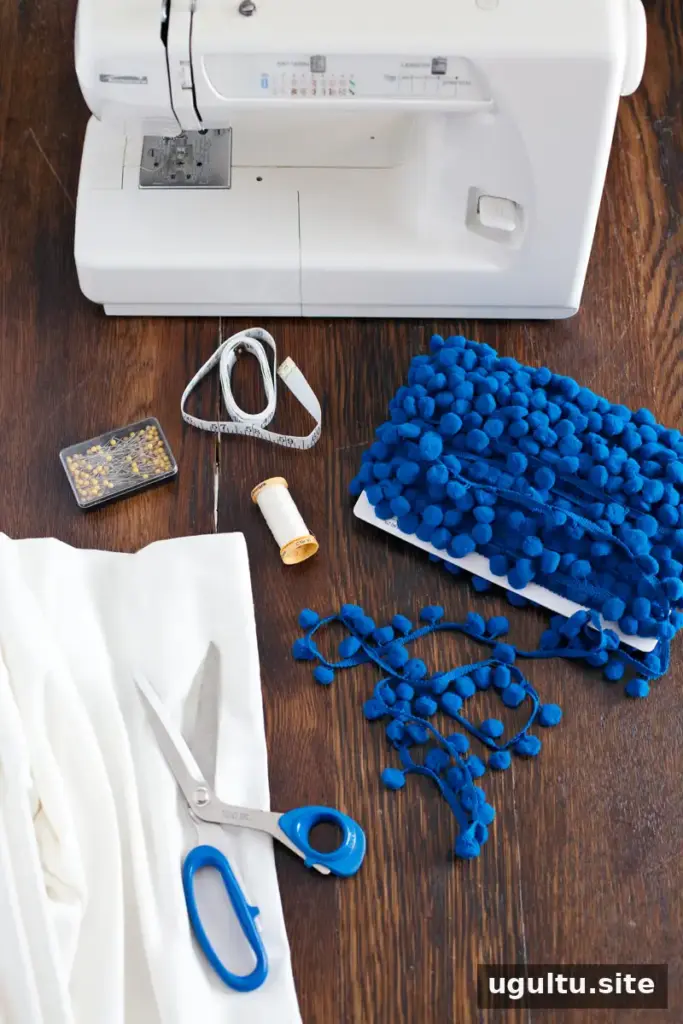
Supplies
- A pair of long curtain panels
- Thread that matches the curtain fabric
- Pom pom trim
- Fabric scissors
- Straight pins
- Tape measure
- Iron and ironing board
- Sewing machine
Original material cost: $63
The original project used 20 yards of trim because it was sold in five-yard increments. The trim cost $22, with $16 shipping, and the pair of curtain panels cost $25, bringing the total to $63. Prices and availability vary, so measure your panels and check how trim is sold before ordering. For two panels with matching rows, allow enough trim for both curtains and a little extra for handling.
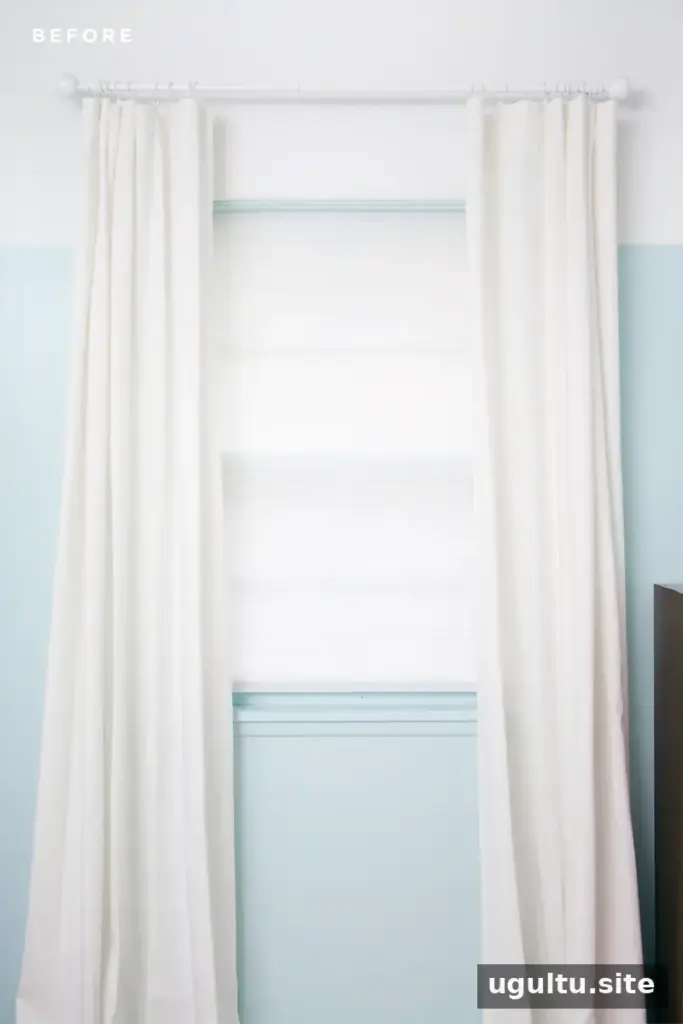
Before you begin: Select curtains several inches longer than your desired finished length. The amount of extra fabric depends on how many rows you add and the width of each pleat. Measure the window and decide on the finished curtain length first; this makes it easier to plan the placement of the trim.
How to Make Pleated Pom Pom Curtains
1. Press the first pleat
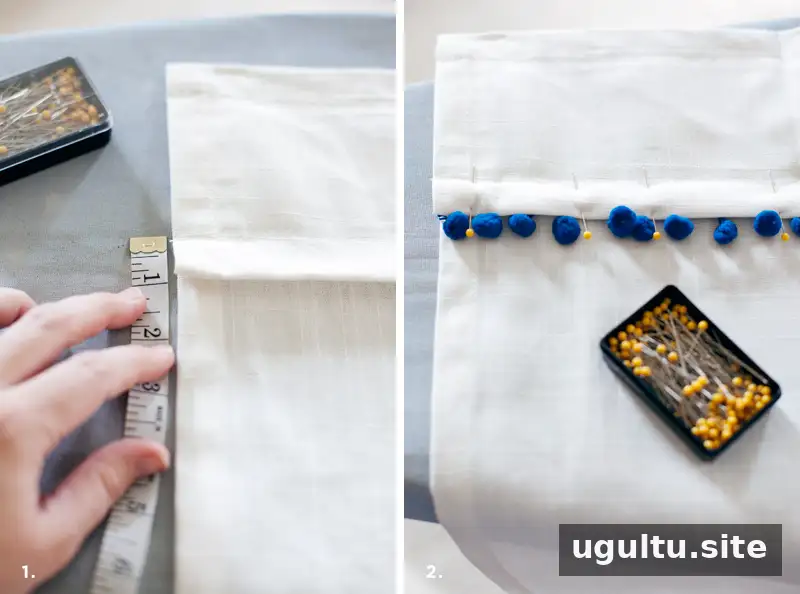
Make a 3/4-inch pleat just below the curtain panel’s top hem, then press it flat with an iron. Pressing before sewing helps keep the fold even across the full width.
2. Position and sew the trim
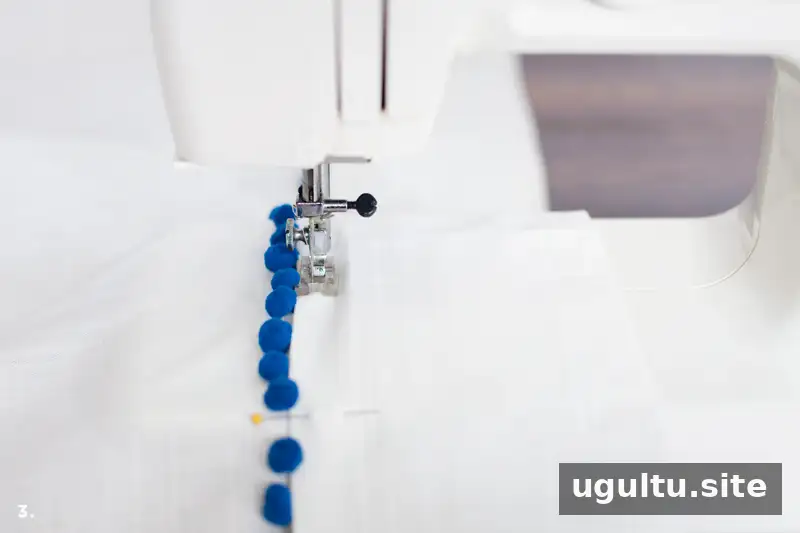
Pin the pom pom trim inside the pleat so the pom poms show below the fold while the trim’s band stays tucked underneath. Stitch near the lower edge of the pleat, sewing directly over the concealed band. A wider stitch can make sewing quicker; the trim is held within the fold, so this seam does not need to carry the curtain’s hanging weight.
3. Mark and add the remaining rows
Measure three inches down from the bottom of the first pleat and use straight pins to mark a line across the panel. Press a second 3/4-inch pleat along the marked area, keeping it parallel to the first. The fold can sit slightly above or below the pins, as long as the spacing is consistent.
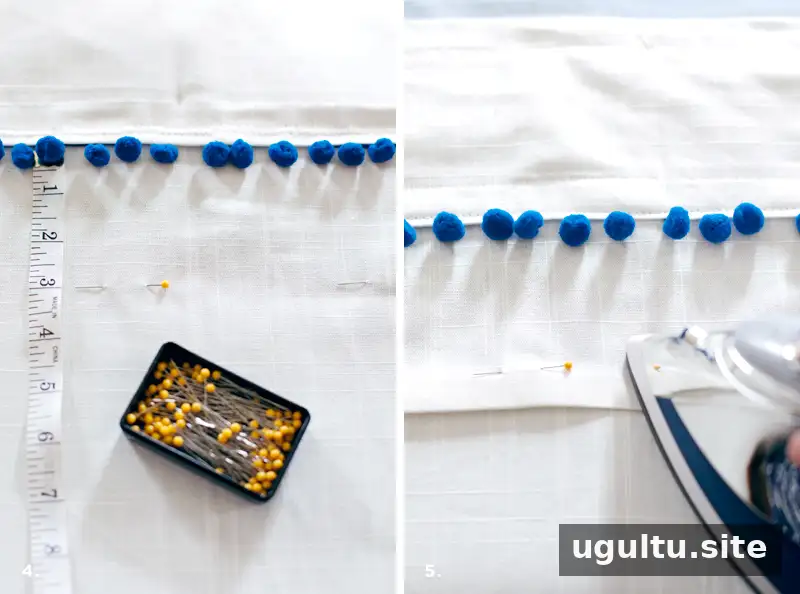
Repeat the process: tuck the trim into each pressed fold, pin it in place, and stitch along the band beneath the fabric. Five pleats per panel provided a balanced look in the original project, but the number can be adjusted to suit the panel length and desired style. Leave enough fabric below the lowest row for a clean hem.
4. Match the second panel and finish
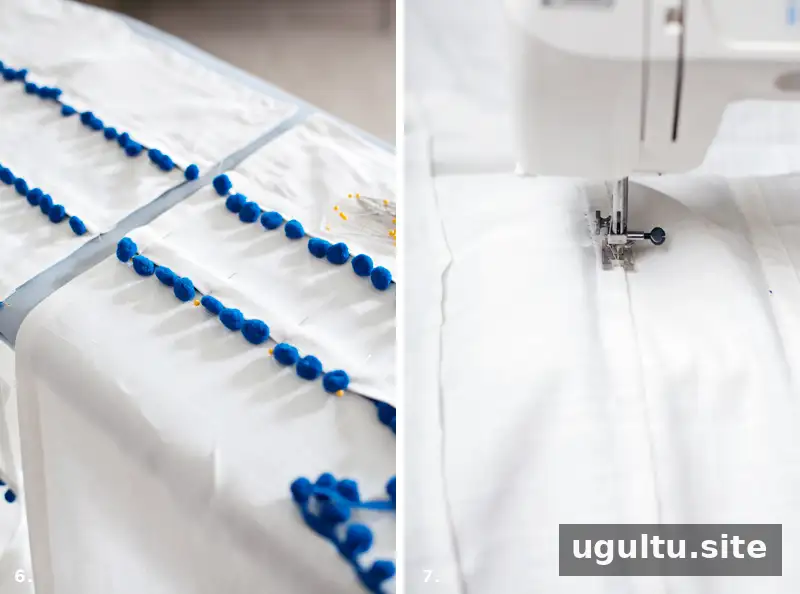
Before pressing pleats into the second curtain, lay both panels side by side and compare the row positions. Matching the spacing helps the curtains look even when hung together. Once the trim is secured, turn each panel over and stitch along the loose upper edge of every pleat on the reverse side.
Hang the curtains to check their finished length. If the panels need shortening, pin the desired hem while they are hanging or laid flat, press the fold, and sew it in place. Always check both panels before trimming or hemming so their lengths remain consistent.
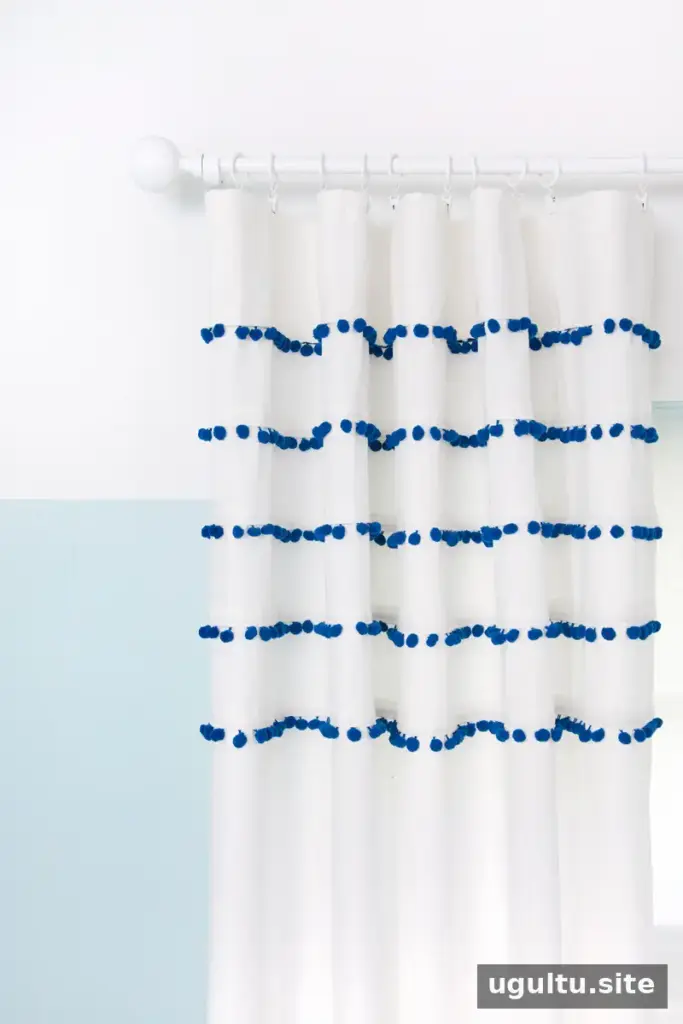
Rows of trim can continue farther down the curtain for a more decorative effect, but additional pleats use more fabric and require more pressing. A subtle trim color against a light curtain can keep the pattern understated. Plan the finished length before adding many rows, since each pleat takes up some of the panel’s length.
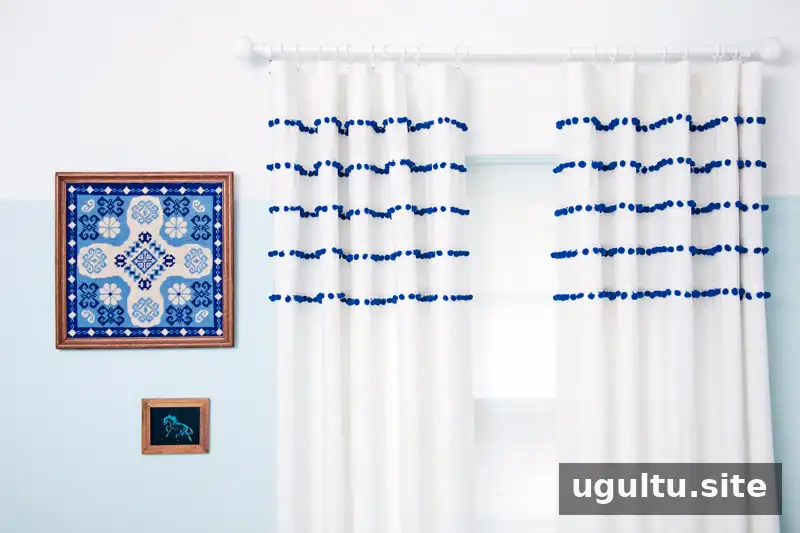
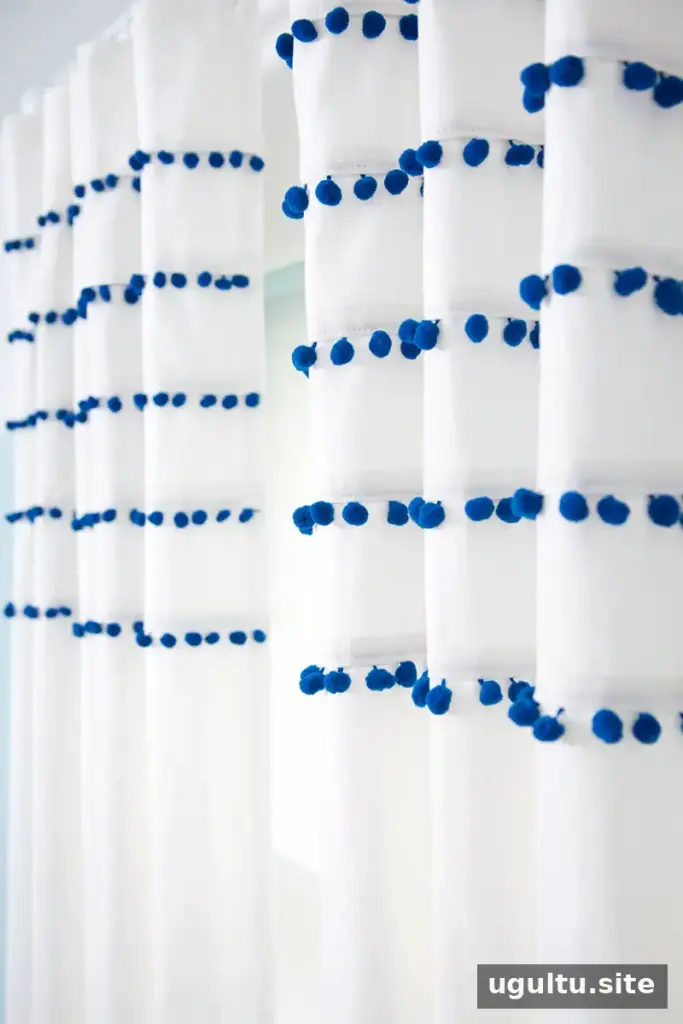
The finished look combines a touch of vintage-inspired whimsy with a clean, simple curtain shape. The same technique can also suit shorter cafe curtains. For an even result, keep the pleats parallel, compare both panels as you work, and check the hanging length before completing the hems.
—Mandi


