
 admin
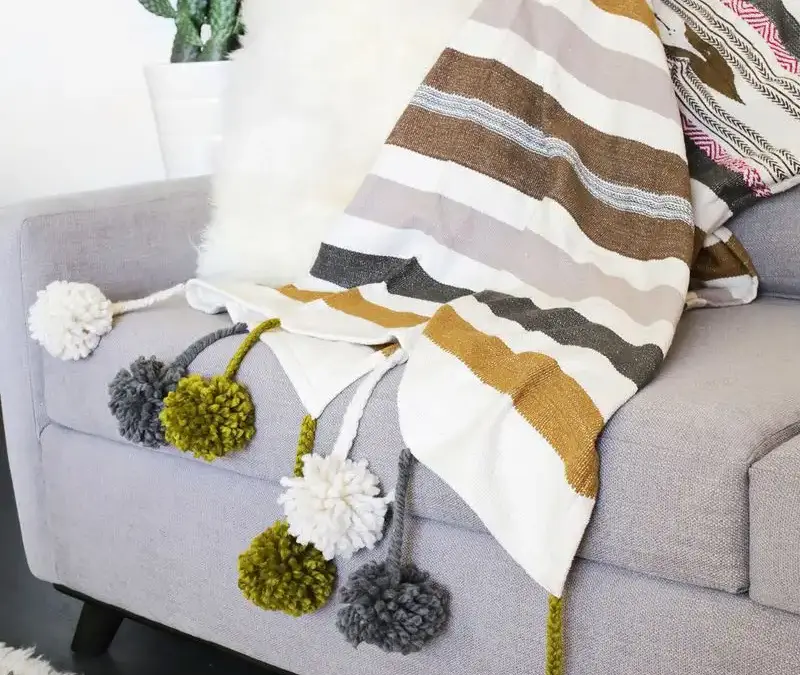
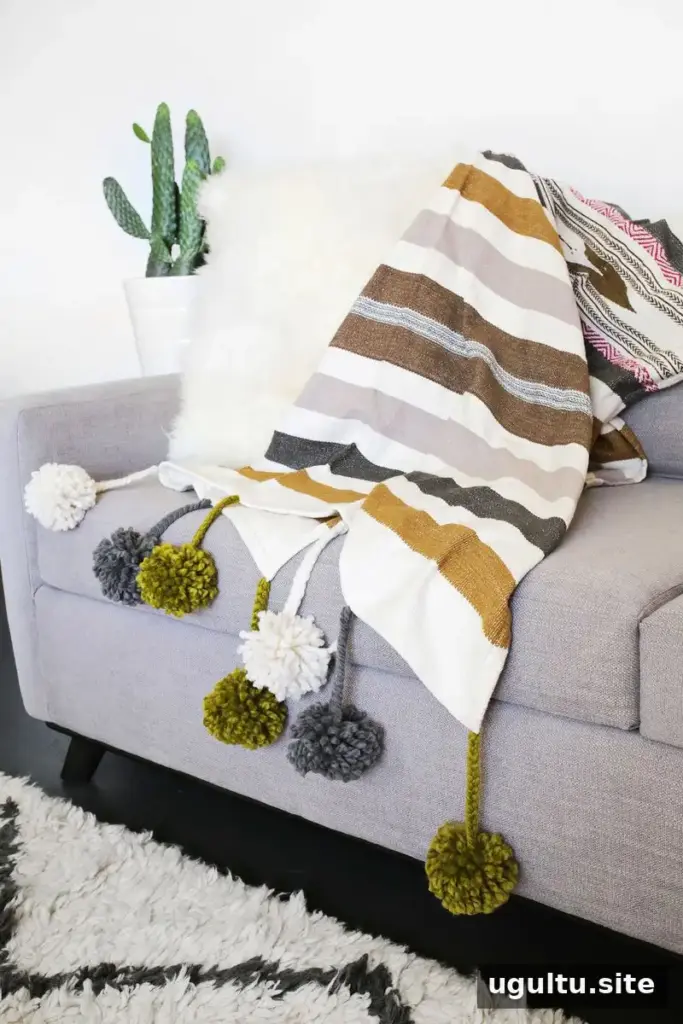
A plain throw can be turned into a cozy, personalized accent with this pom-pom blanket DIY. Oversized yarn pom-poms and braided ties add texture to a blanket’s edges, making it a simple project for refreshing a sofa or preparing for cooler evenings. Choose a washable blanket and yarn if you want the finished piece to be easier to care for.
Pom-Pom Blanket DIY: Materials and Preparation
Before beginning, check that the blanket has plain edges. Existing fringe or tassels should be removed before adding the new trim. Use thick, machine-washable yarn for the pom-poms and coordinating thread to attach them securely.
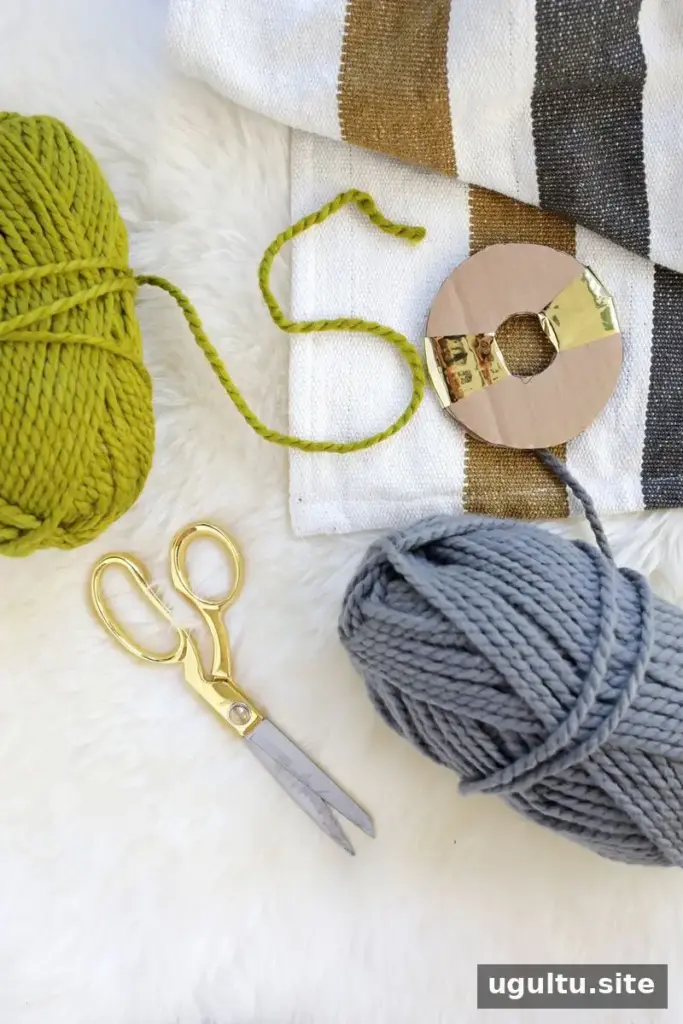
Supplies:
- Thick, machine-washable yarn
- A blanket with plain ends, or ends with removable fringe or tassels
- A yarn needle and a regular sewing needle
- Thread in colors that match the yarn
- Cardboard
Work on a flat surface, and keep the yarn and blanket colors nearby as you go. Matching thread helps the stitches blend into the trim.
How to Make Yarn Pom-Poms
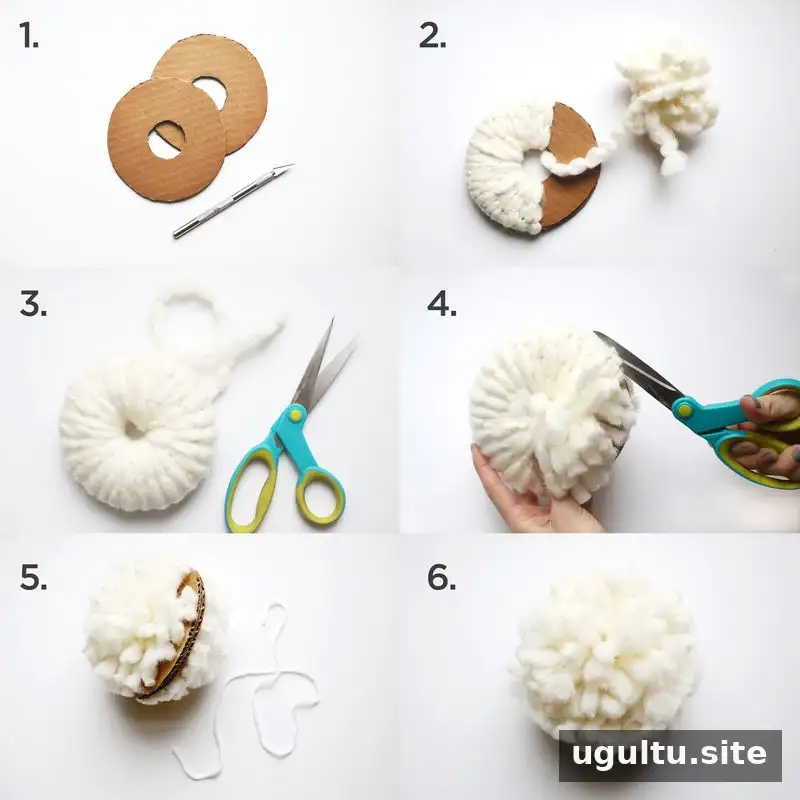
Make the pom-poms before attaching them to the blanket so you can decide how many you need and keep their sizes consistent.
- Cut two cardboard circles about 5 inches wide, each with a 2-inch hole in the center. A craft knife can help cut the shapes; use it carefully on a suitable cutting surface.
- Stack the cardboard rings. Wind thick yarn through the center and around the rings until the cardboard is covered.
- For a fuller pom-pom, wind a second layer of yarn around the rings until you return to the starting point.
- Slide scissors between the two cardboard rings and cut the wrapped yarn all the way around the outer edge.
- Cut a piece of thin yarn and place it between the cardboard layers. Tie it tightly around the center of the cut strands to hold the pom-pom together.
- Carefully remove the cardboard rings. Fluff the pom-pom and trim any strands that extend noticeably farther than the others.
A yarn needle can be used to string the finished pom-poms onto thin yarn. Bells can also be threaded on as optional decorative accents.
Attach the Pom-Poms to the Blanket
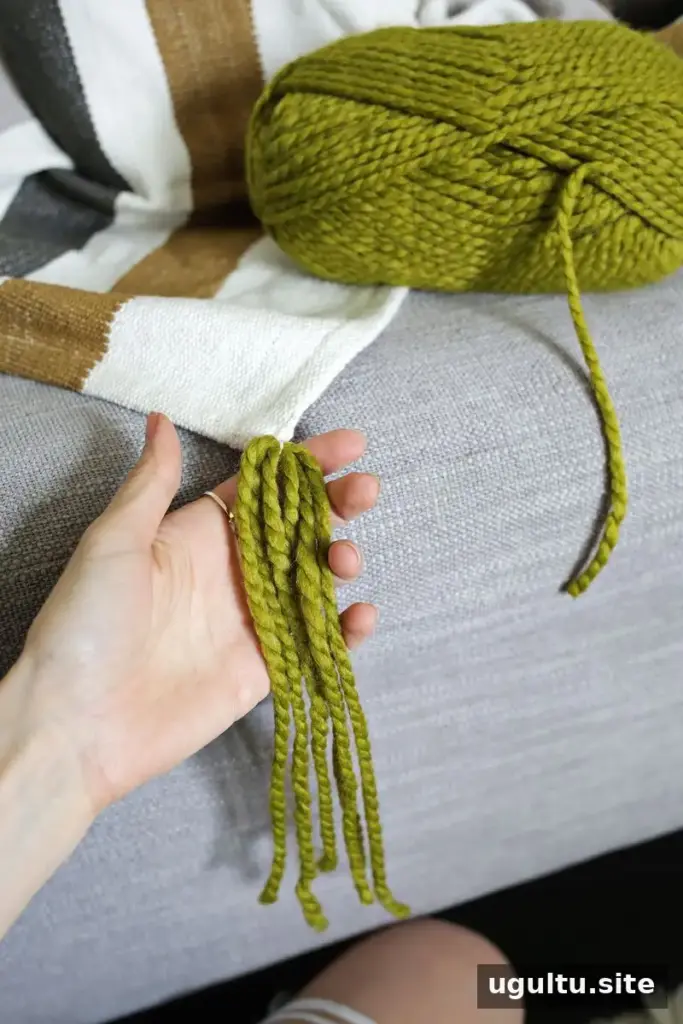
Once you have made the number of pom-poms you want, cut three pieces of matching yarn, each about 20 inches long. At the point along the blanket edge where you want a pom-pom, use the yarn needle to thread the three pieces halfway through the edge. You should then have six strands of equal length.
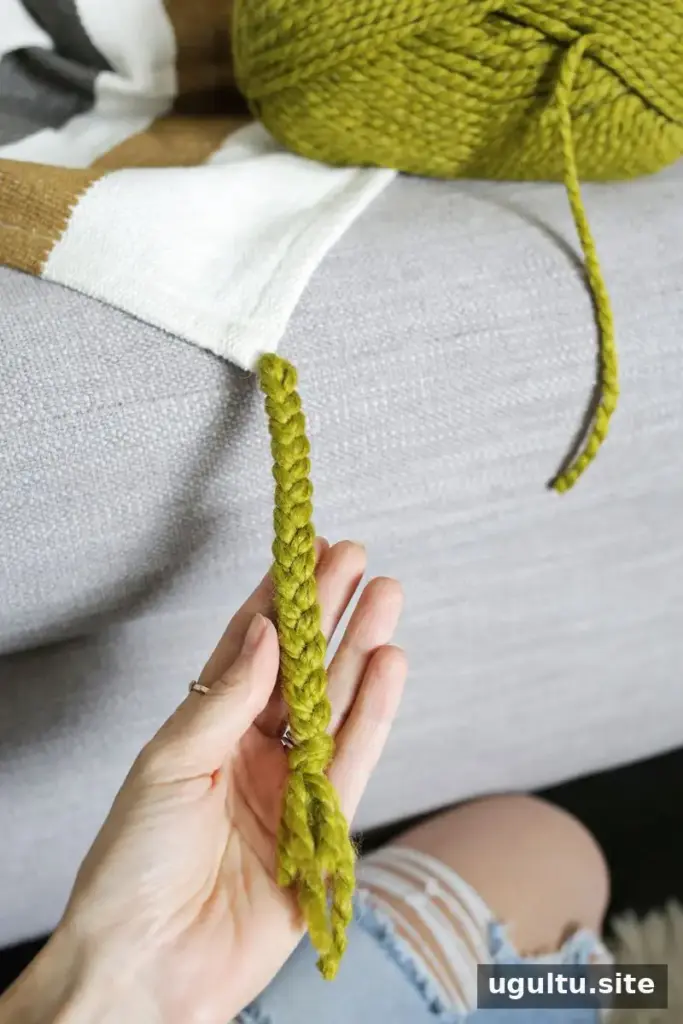
Braid the six strands together. Tie a knot at the desired length to create a neat end for the pom-pom. A shorter braid keeps the decoration close to the blanket edge, while a longer one gives it more movement.
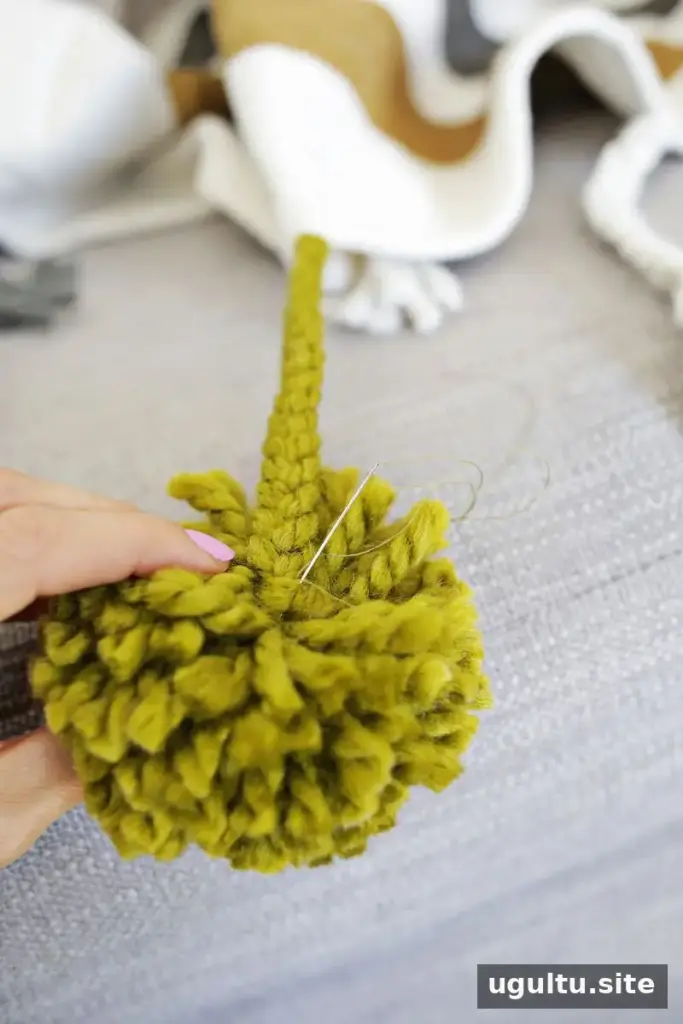
Use a regular needle and matching thread to sew a pom-pom securely onto the knot at the end of each braid. Check that the stitches hold the pom-pom in place before moving on to the next one.
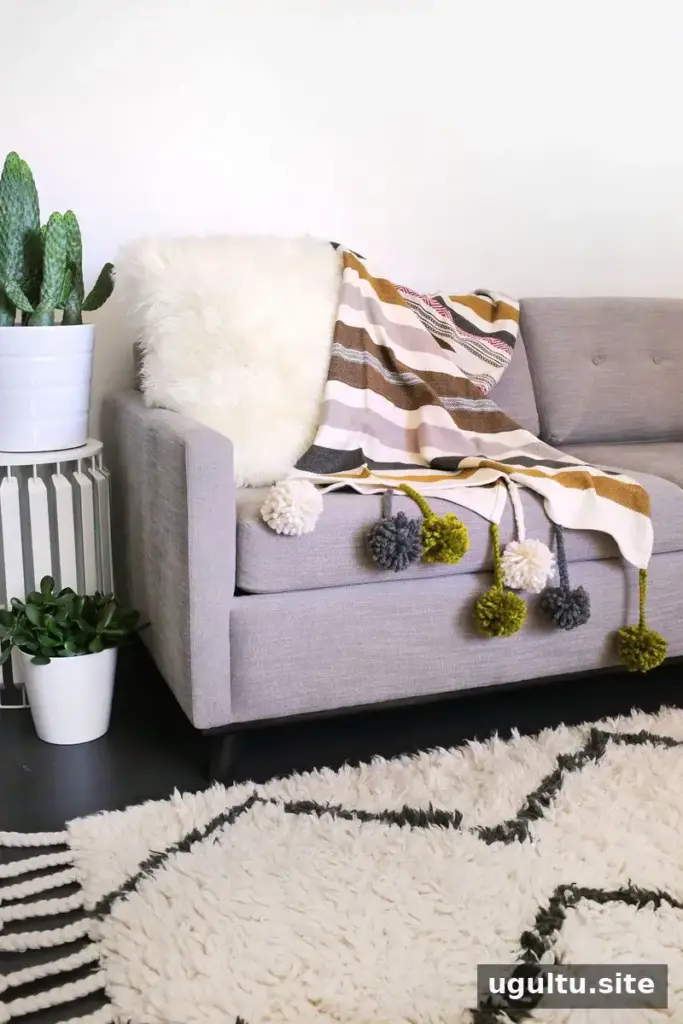
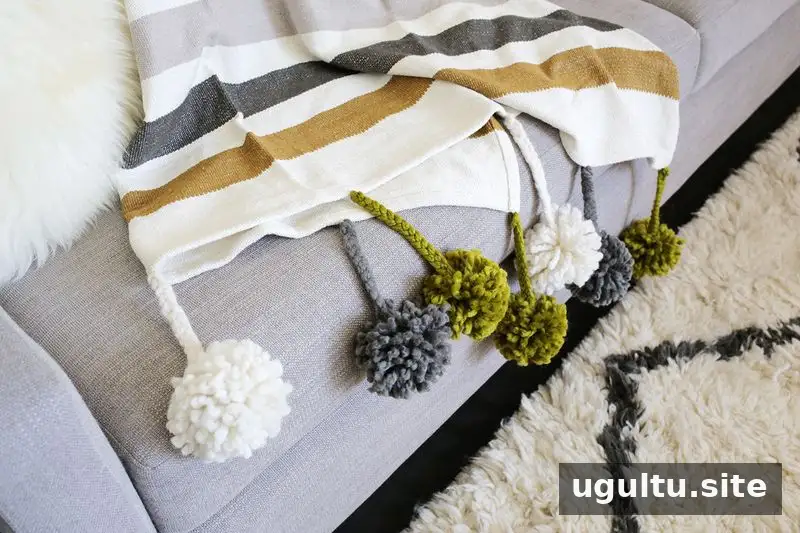
The braided strands create a decorative connection between each blanket edge and pom-pom. Larger pom-poms make a bolder accent, while smaller ones offer a subtler finish. The same technique can also be used along the top or bottom of a duvet cover or on the ends of pillows.
Care and Finishing Tips
If both the yarn and blanket are machine washable, follow their care labels when laundering the finished project. Secure attachment points and trim loose yarn before use. For a coordinated look, choose yarn that complements the blanket and the room where it will be used.
This pom-pom blanket DIY is an adaptable way to add handmade texture to a plain throw. Make as many pom-poms as you like, adjust the braid length, and finish each one carefully for a practical decorative update.
Project by Laura.


