admin
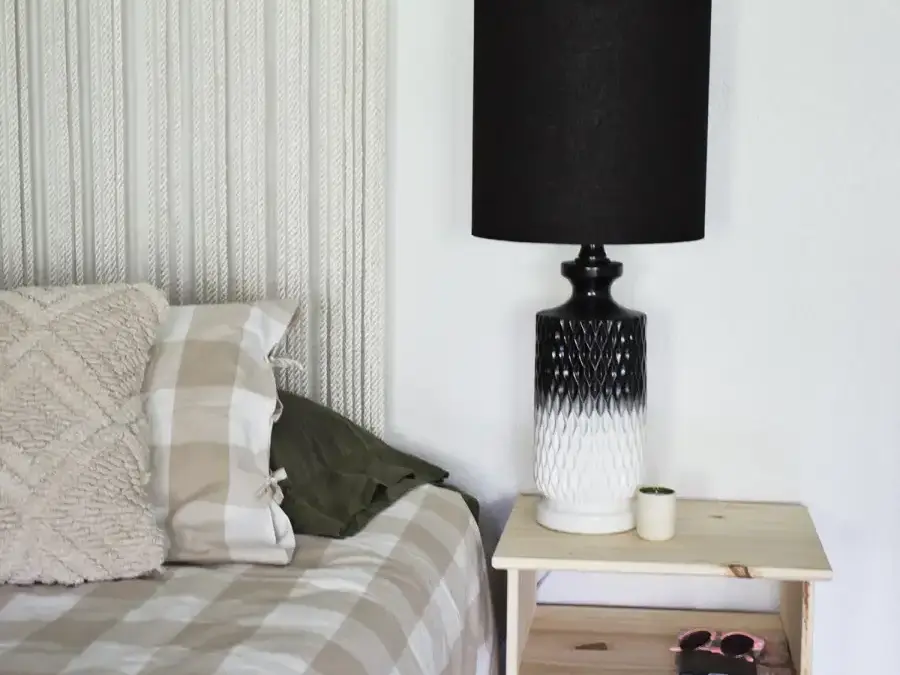
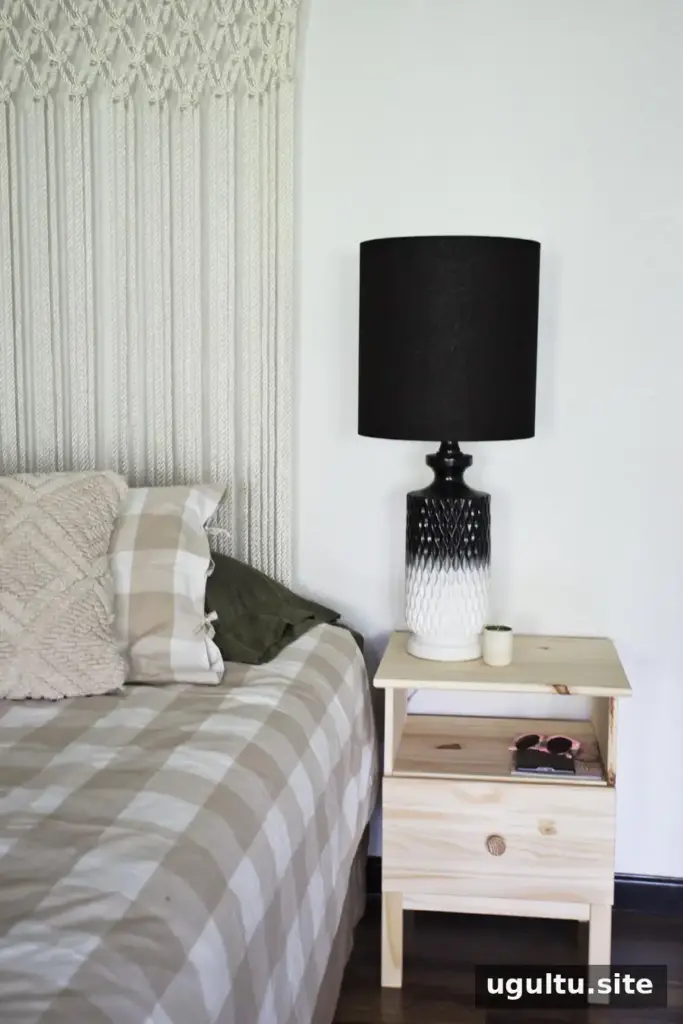
Bedside lamps can provide softer light for reading or winding down when a bedroom’s main fixture feels too bright. This simple makeover turned two inexpensive thrift-store ceramic lamps into a coordinated pair, using paint and shades to better suit the room.
Why Add Bedside Lamps?
A bright overhead fixture is useful when getting ready, but it may not create the relaxed atmosphere you want in the evening. Table lamps placed beside the bed offer a more focused, adjustable source of light. Before shopping, consider how much space you have on each table and whether you want matching lamps or a coordinated mix.
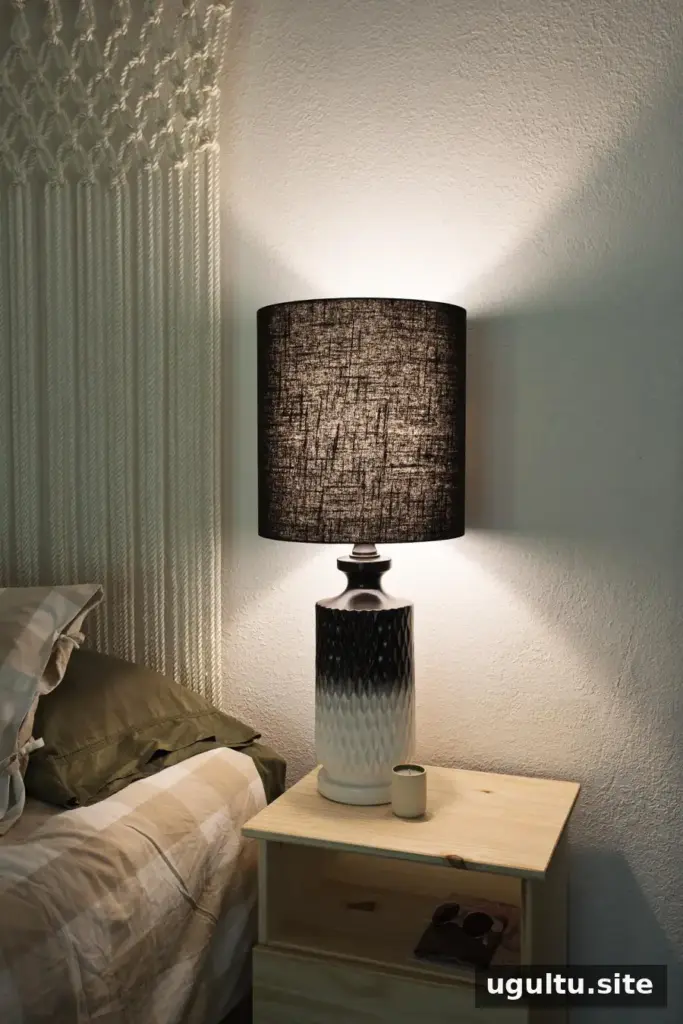
The bedroom’s new ceiling fixture provided plenty of brightness, but a softer option was needed for reading and relaxing. Rather than spend a lot on new lamps before settling on a style, the plan was to look for secondhand bases that could be updated.
Finding Affordable Ceramic Lamp Bases
Thrift and vintage shops can be useful places to find lamp bases with appealing shapes at a lower cost. In this case, a pair of ceramic lamps had a silhouette that already worked for the room. Finding two similar lamps also made it easier to create a balanced look on either side of the bed.
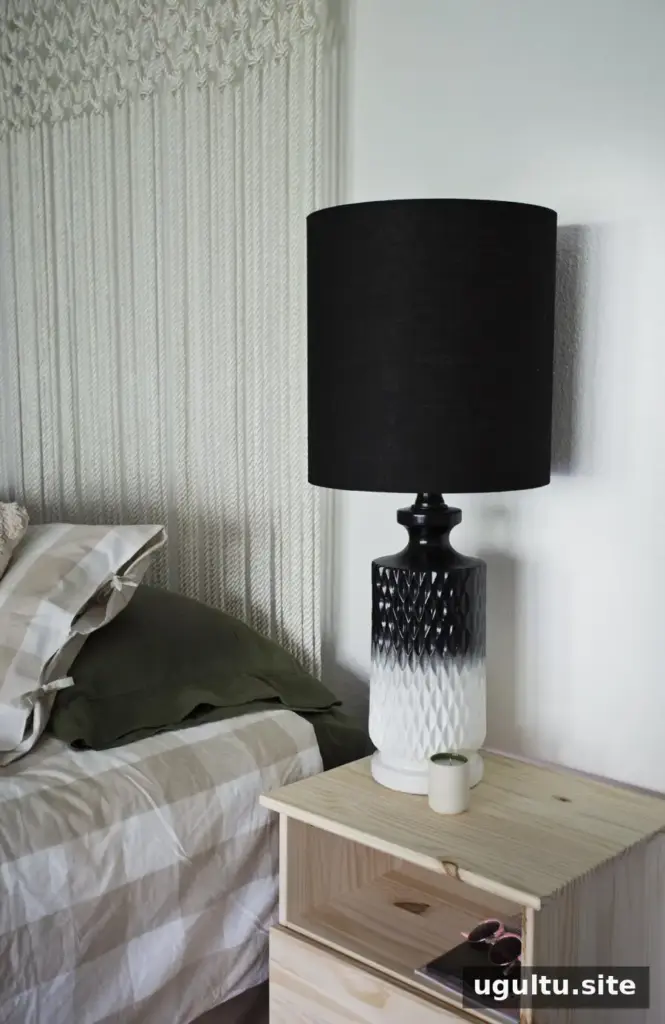
The lamps needed a little cosmetic attention, but their shape and matching pair made them a promising project.
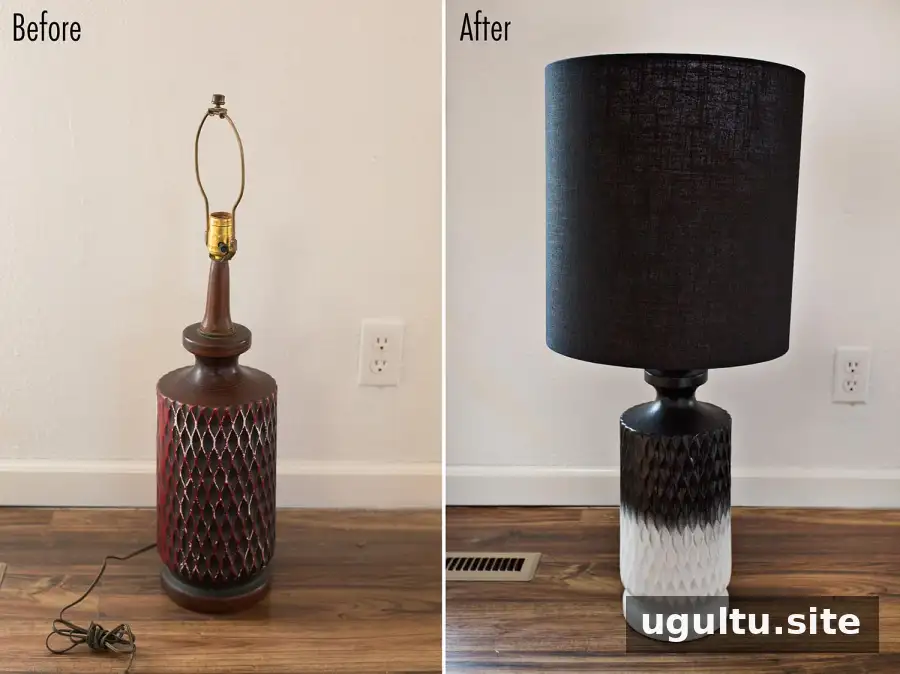
Each lamp cost $4.48. They could not be tested in the store because bulbs were unavailable, so they were cleaned and checked at home. Both worked. When buying secondhand lighting, inspect the cord, plug, socket and switch, and do not use a lamp with damaged or frayed wiring. If you are unsure about its condition, ask a qualified electrician to check it.

Painting the Lamp Bases
After confirming that the lamps worked, the makeover plan was a half-black, half-white finish. Spray paint was used, with tape covering the areas that were not meant to be painted. Follow the paint manufacturer’s directions, work in a well-ventilated area, and protect nearby surfaces. Unplug the lamps before cleaning or painting, and keep paint away from electrical components, sockets and fittings.
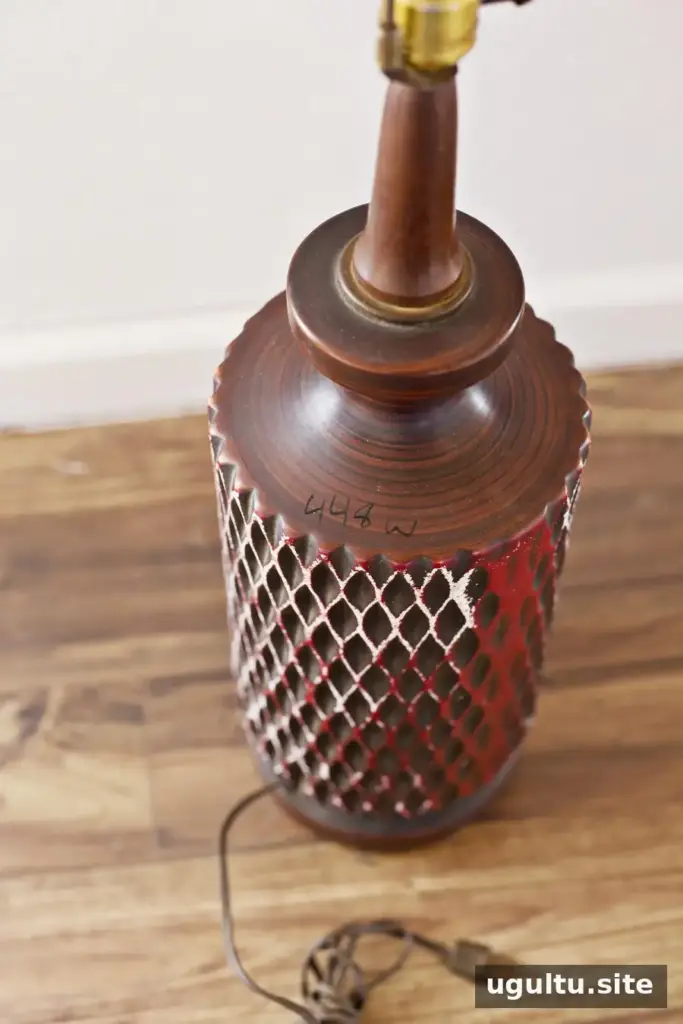
The cords were painted white to blend with the walls. For a safer alternative, avoid applying paint to electrical cords, since it can affect their insulation. A properly sized cord cover can help a cord blend into the room instead.

Choosing Shades for Bedside Lamps
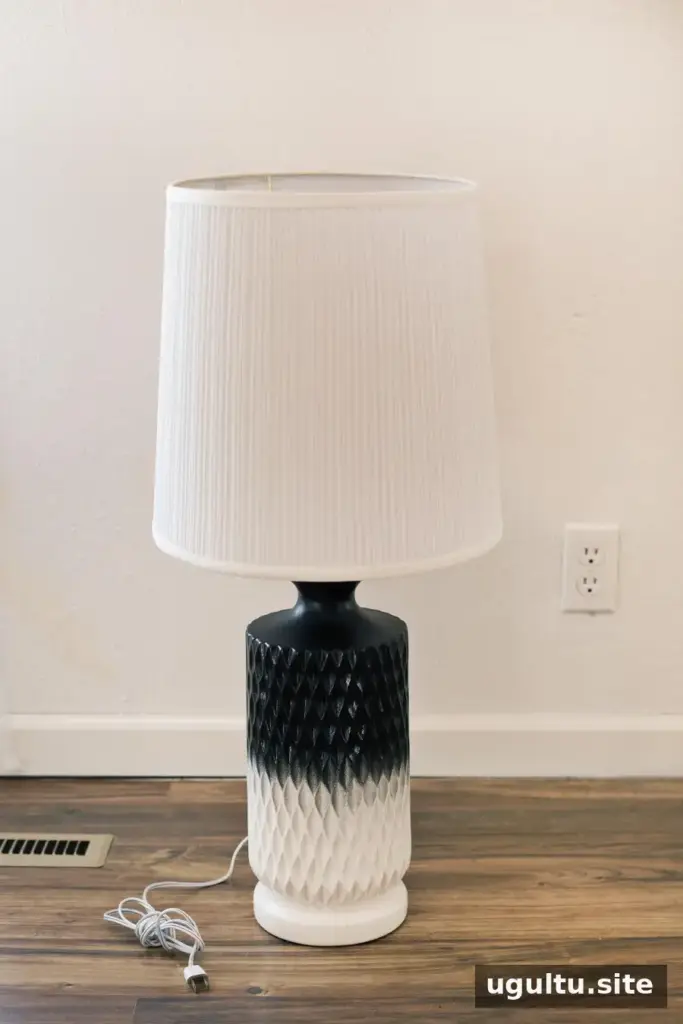
Once the bases were painted, shades and bulbs were added. The first shades were the largest available at the hardware store, but their color did not feel right with the updated bases. Rather than decide immediately, the lamps were left in the room for a few days to see how they looked in everyday use.

The initial shades did not suit the design, so black drum shades became the preferred option. Local shops did not have large enough black shades, and the online options were priced at $45–60 each. That was much more than the $4.48 paid for each lamp base, but the shades were chosen because they better matched the intended look.
When selecting shades, check their proportions against both the base and the bedside table. Shade color and material can also affect the character of the light, so consider whether you want a brighter reading light or a softer glow. Use compatible bulbs and follow the lamp and bulb manufacturers’ guidance.
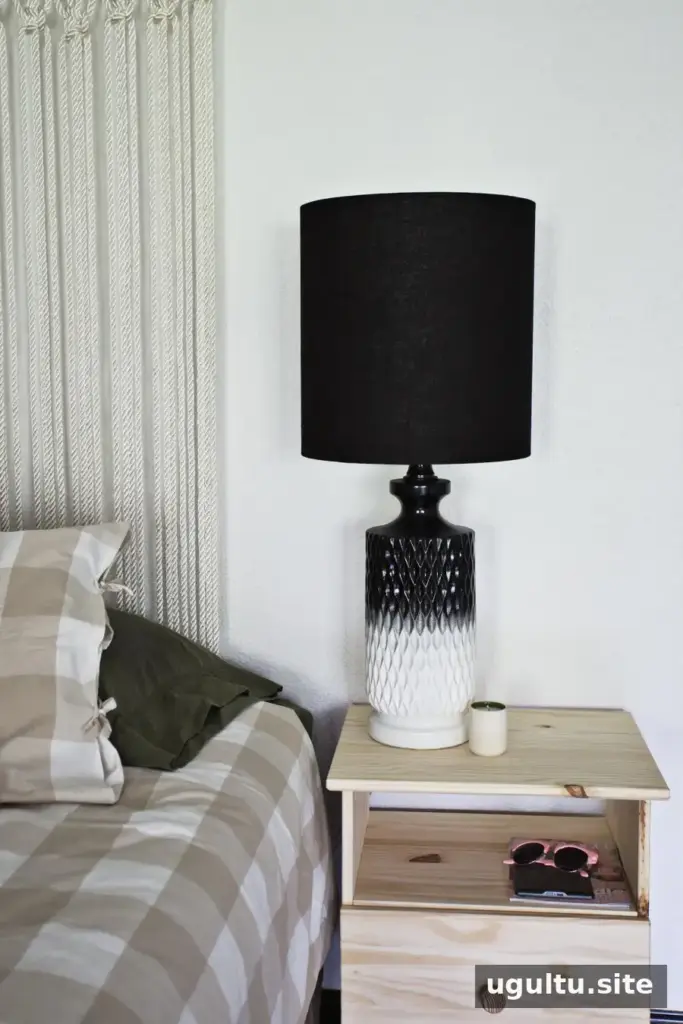
The black shades completed the look and softened the light, which suited the room’s need for a more relaxed evening atmosphere. Taking a little time to live with the first version helped clarify what needed to change.
Final Thoughts on This Bedside Lamps Makeover
This project shows how secondhand finds can be adapted to fit a room without replacing everything. The ceramic bases provided an affordable starting point, while the paint and larger black shades brought the pair together. For anyone planning a similar update, test and inspect secondhand lamps safely, plan the finish before painting, and budget for shades as part of the total project cost.
With a little planning, bedside lamps can be both practical and personal. Emma