
 admin
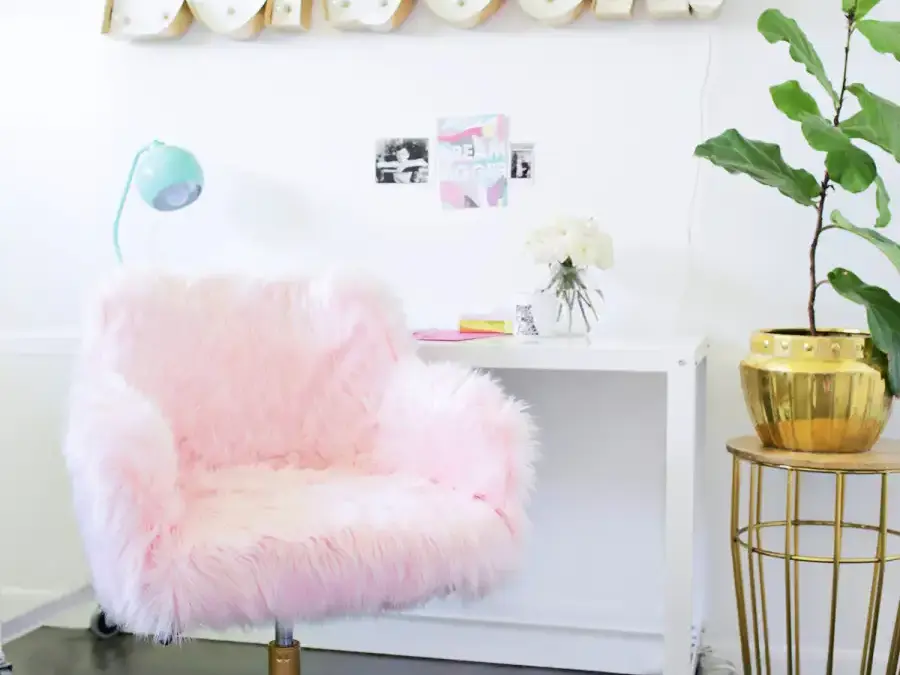
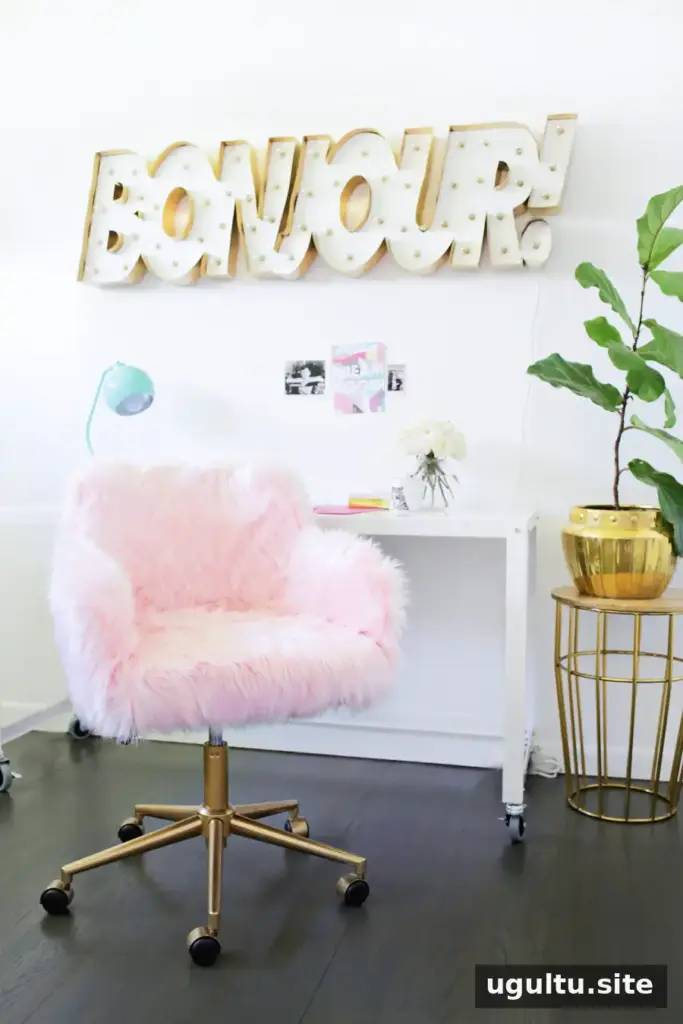
A faux fur office chair makeover can add color, texture and personality to a work or craft room. This project transforms a simple gray chair with blush faux fur and gold-painted details. The result is a bold accent piece, so consider how its color and texture will work with the rest of your room before choosing your fabric.
In a small bedroom or home office, a distinctive chair can make a noticeable difference without requiring a full room redesign. Starting with an existing chair also lets you update its appearance while keeping its original base and adjustable mechanism.
Choosing a chair for a faux fur office chair makeover
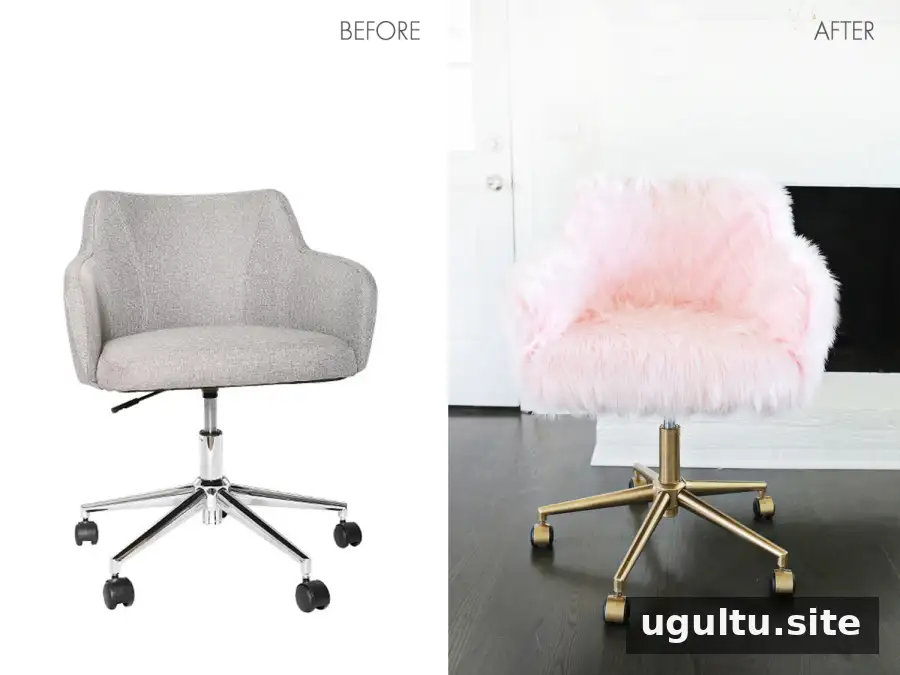
Choose a chair with a shape that can be covered without blocking its controls or moving parts. A gray office chair with a sculpted back provided a useful base for this makeover. Before buying fabric, check the chair’s dimensions and consider how its arms, seat and back connect. These details affect how the cover needs to be shaped and sewn.
Paint the chair legs and wheels
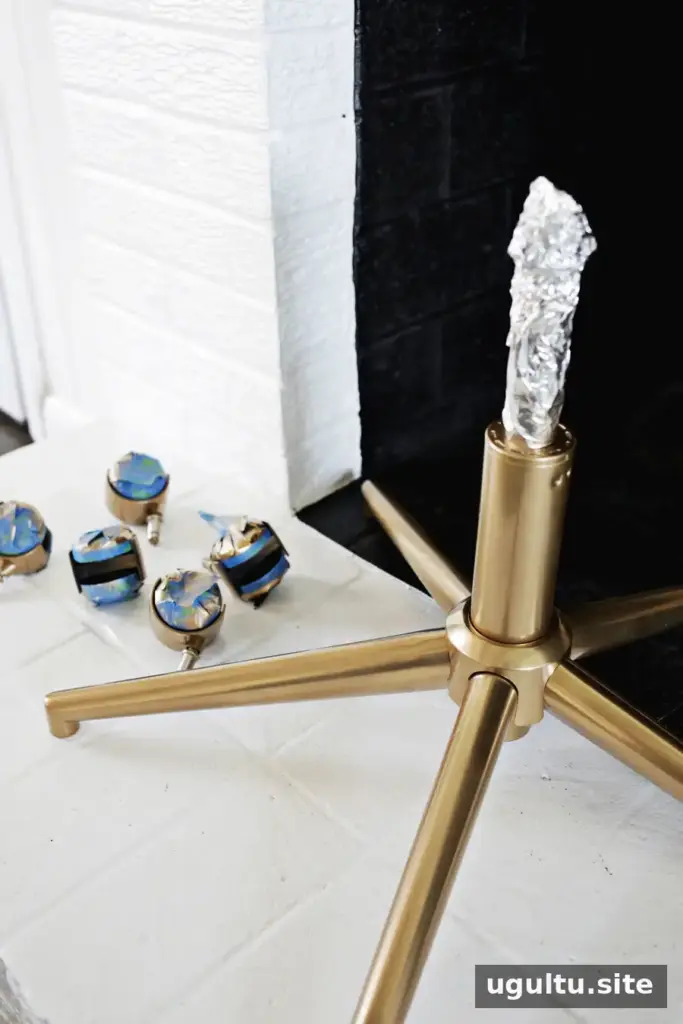
Before attaching the base and wheels, the silver legs and the tops of the wheels were spray-painted gold. Apply a primer suitable for metal first, then follow the paint manufacturer’s directions for application and drying time. Work in a well-ventilated area and protect nearby surfaces from overspray.
The central shaft that fits into the chair base was left unpainted. It needs to remain able to move smoothly for height adjustment, and its deliberately greasy surface is not suitable for paint. Keep paint away from moving parts and any surfaces that need to slide or rotate.
Cut and sew the faux fur cover
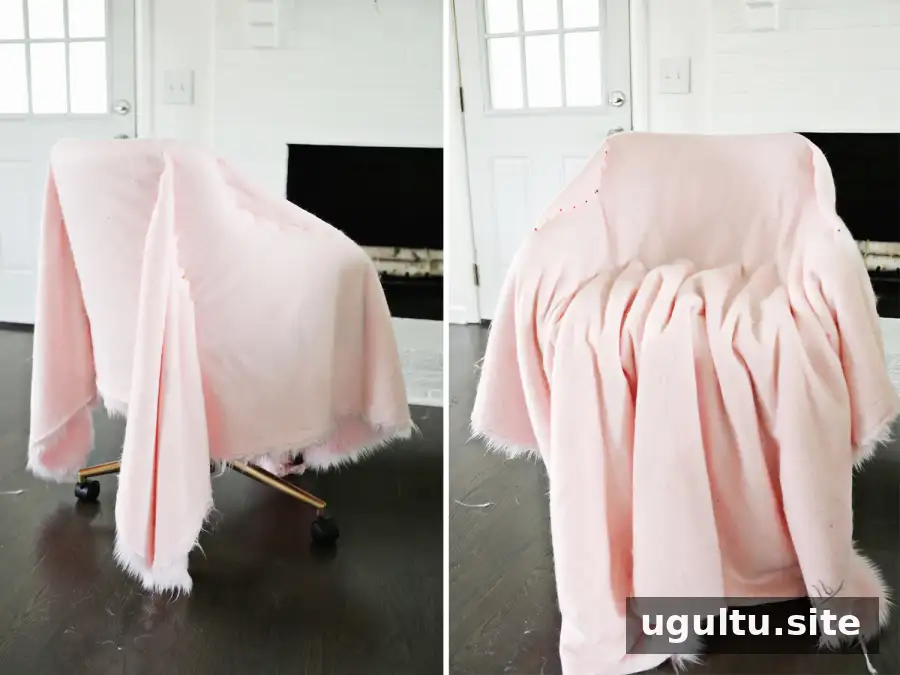
Two yards of blush faux fur were used for the cover. Drape the fabric over the chair with the fur facing down and the excess extending over the front. Gather the fabric at the back in two evenly spaced sections until it fits snugly, then pin the gathers. Smooth the fabric over the front of the backrest and pin the excess above the arms.
Check the direction of the fur before pinning and sewing. The pile should run in the intended direction when the cover is turned right side out; otherwise, the finished chair may look as though the fur is upside down.
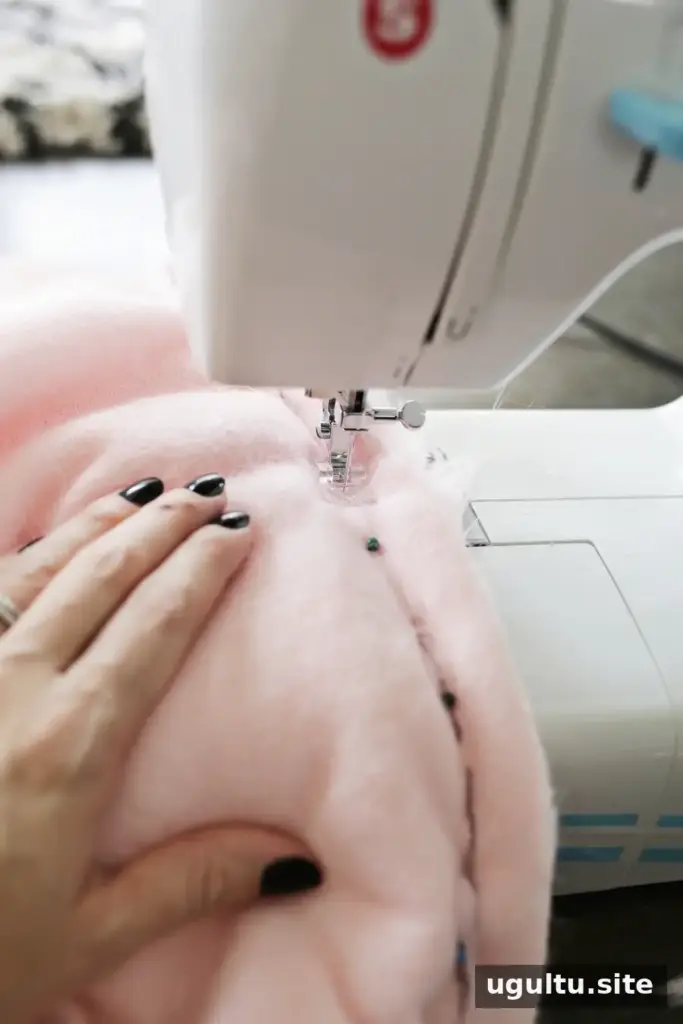
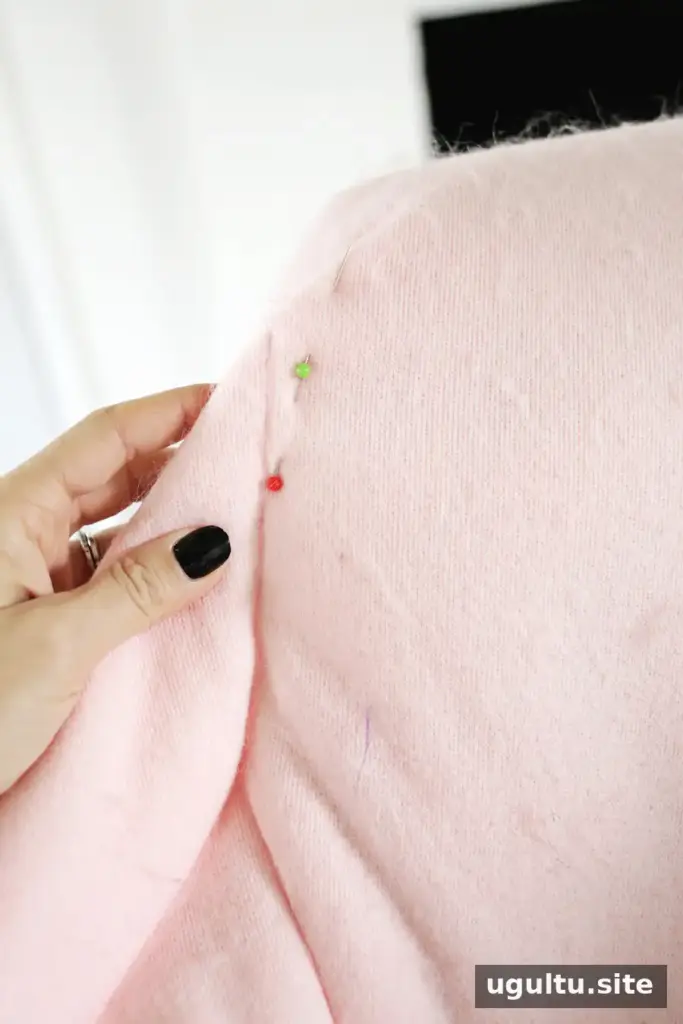
Sew along the pinned lines to shape the cover, then test it on the chair before trimming. Adjust any loose areas so the fabric fits closely. Once the fit is right, cut away excess fabric and leave about a 1/2-inch seam allowance.
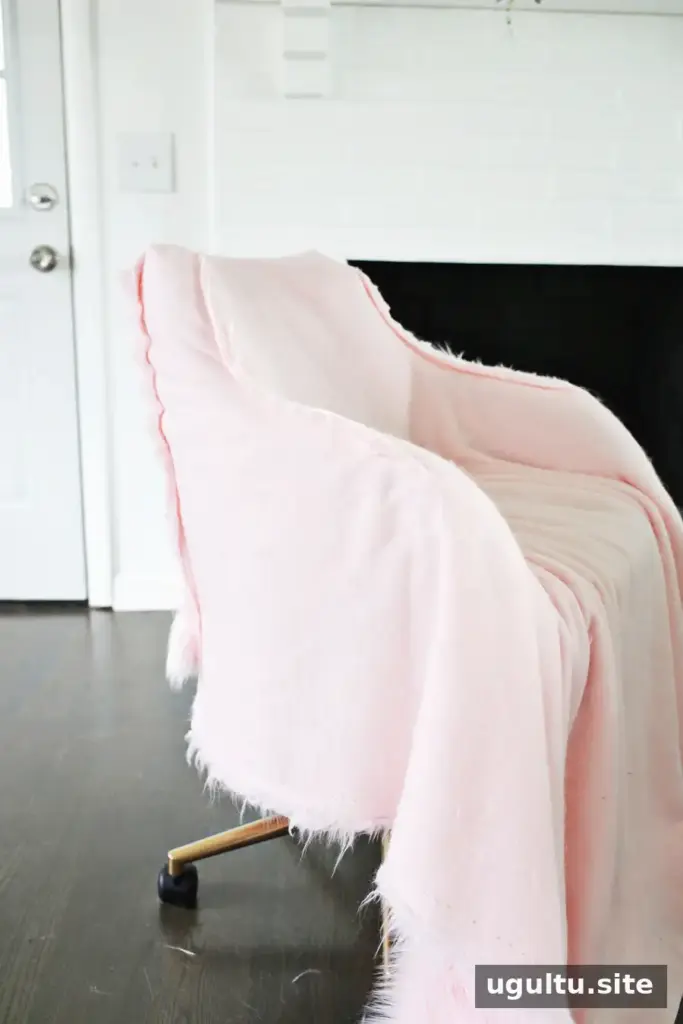
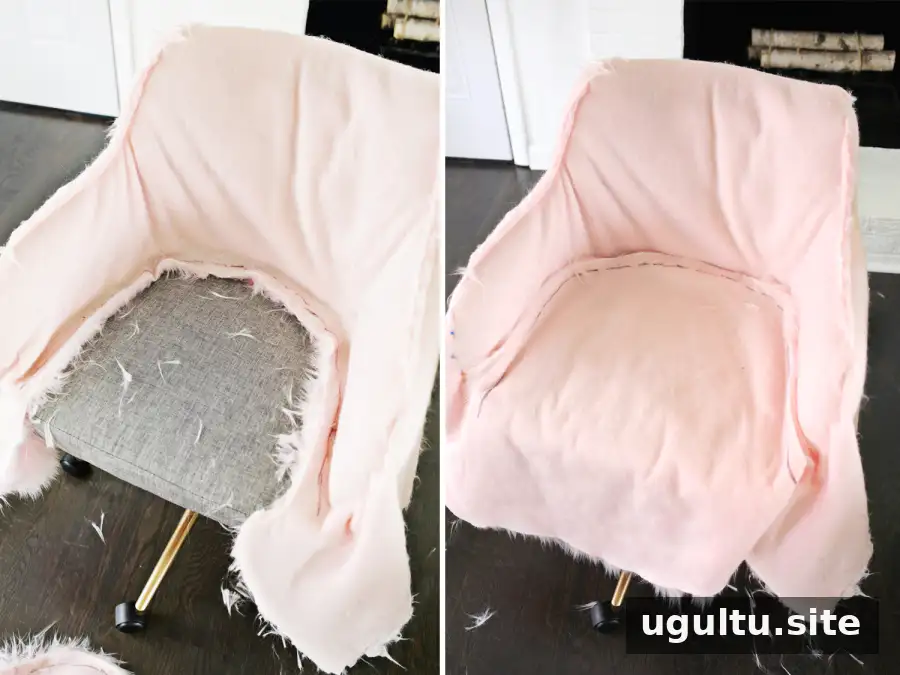
Follow the curve along the bottom of the chair back when trimming, leaving the fabric about 1 inch longer than the point where the back meets the seat. Cut another piece to fit the seat, pin the pieces together and sew them. Test the cover again, make any needed adjustments and check the fur direction before cutting.
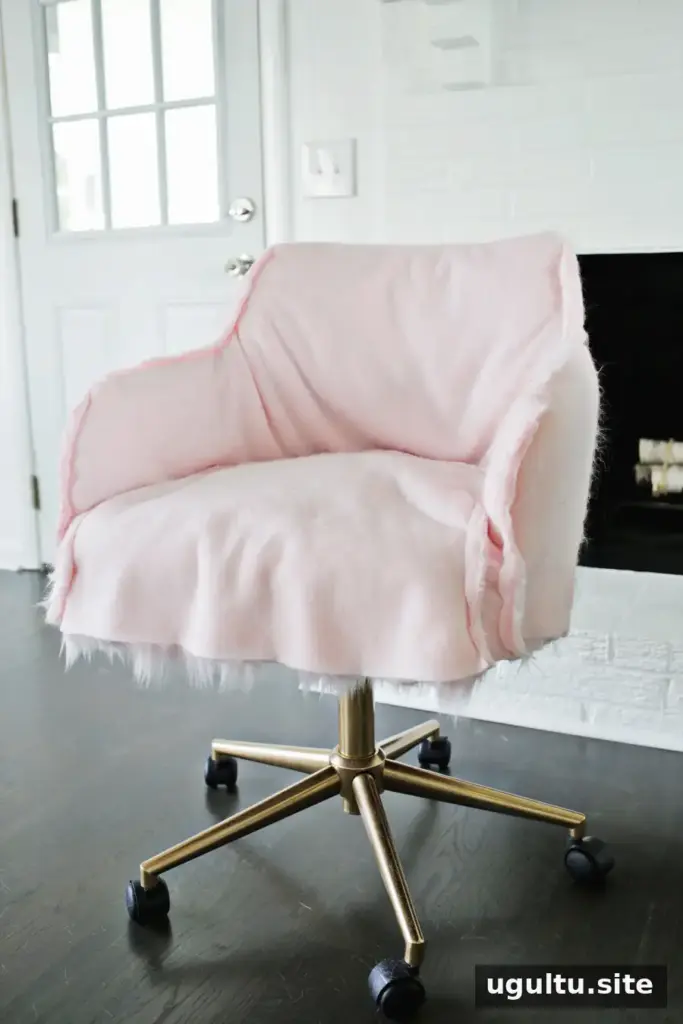
Pinch, sew and trim excess fabric at the front of the chair to achieve a close fit. Turn the finished cover right side out and place it over the chair to check the shape before attaching it permanently.
Attach the cover and finish the makeover
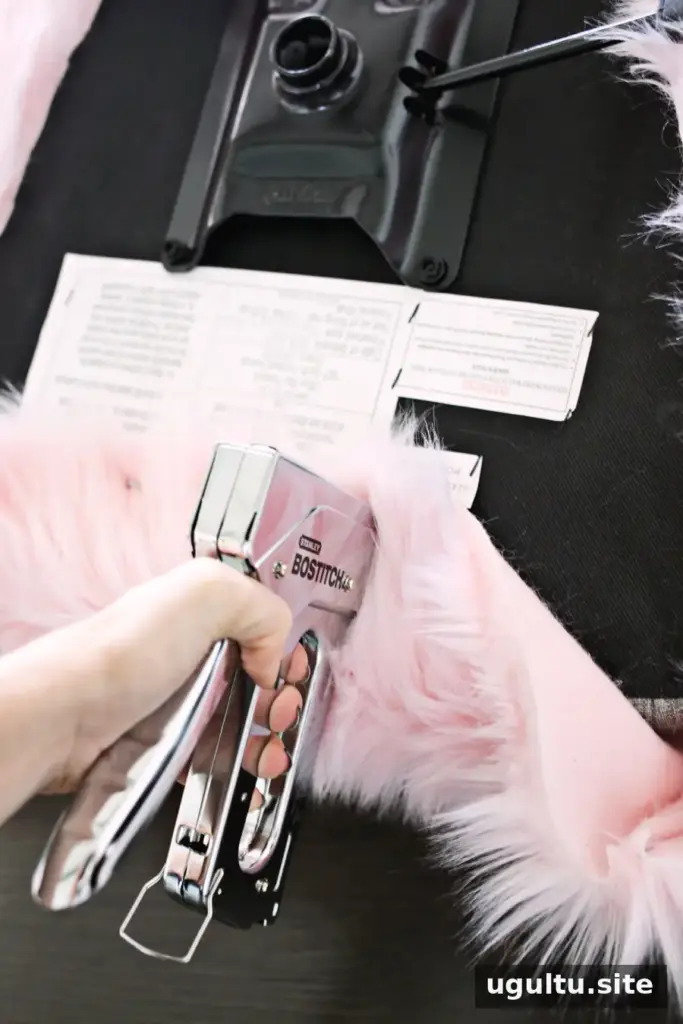
Leave about 5 inches of extra fabric at the bottom of the cover. Fold it underneath the chair and secure it around the underside with a staple gun. Keep the fabric clear of the chair’s adjustment mechanism and other moving parts.
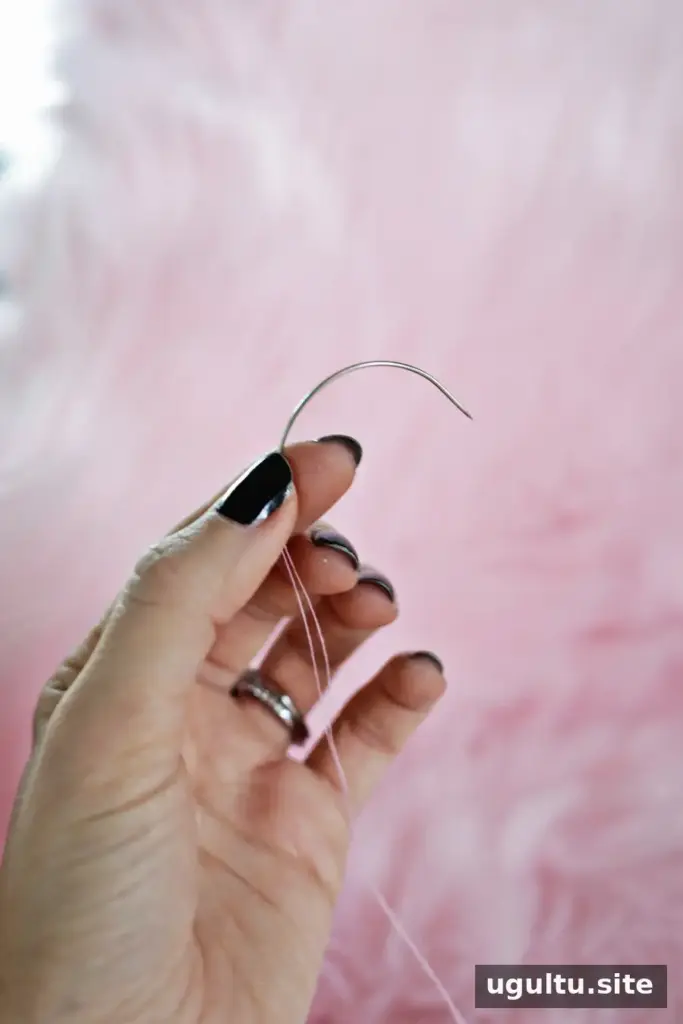
If any section looks puffy or does not lie smoothly against the chair, use a curved upholstery needle and thread to tack the cover to the chair material. This type of needle is useful for stitching on a curved or hard-to-reach surface. Once the fabric sits neatly, trim and arrange the faux fur for an even finish.
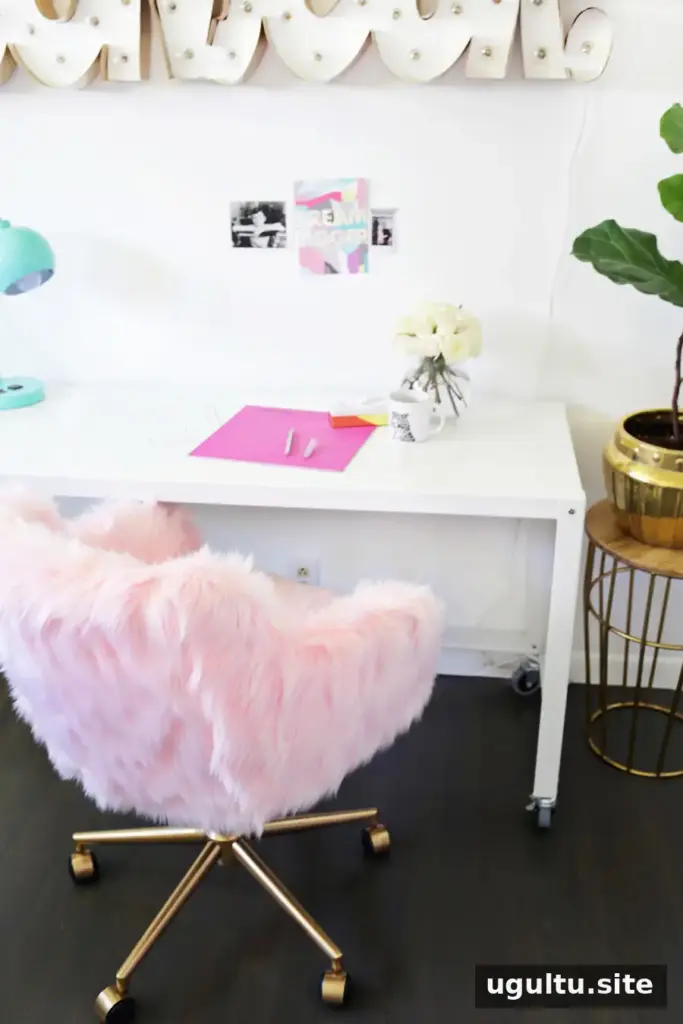
Faux fur can shed during cutting and sewing, so expect some cleanup. Working in a contained space and cleaning up loose fibers as you go can make the process easier. The finished chair adds a playful accent to an office or craft room and pairs especially well with warm metallic details.
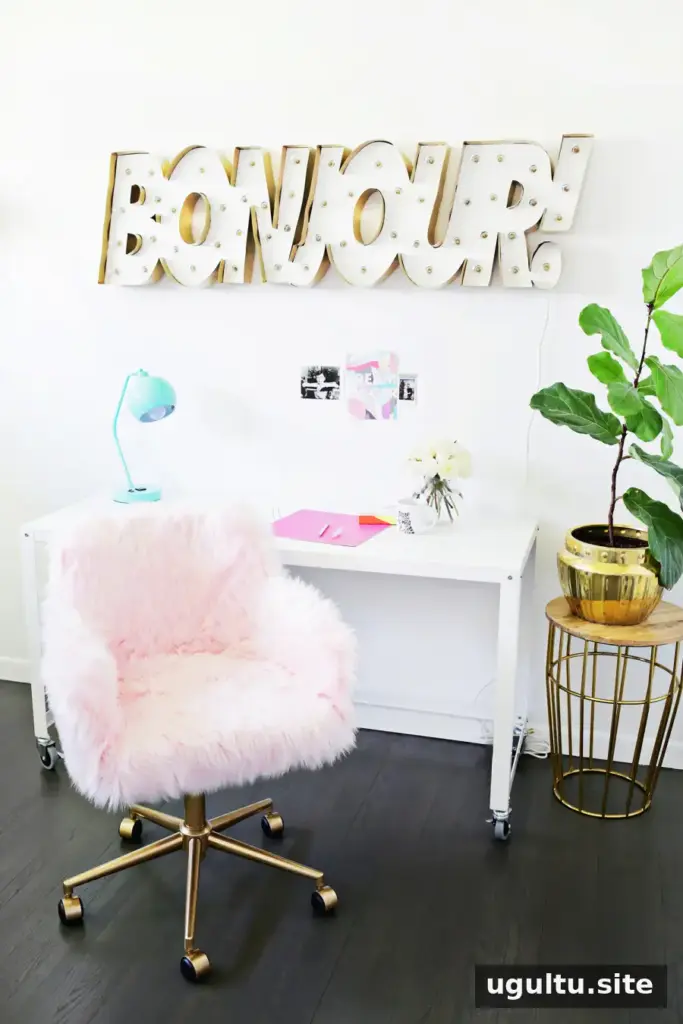
This faux fur office chair makeover is a practical way to refresh a basic chair with fabric, careful fitting and a few painted details. Take time to test the cover before trimming, and keep paint away from moving parts for a result that is both decorative and functional.
— Laura


