
 admin
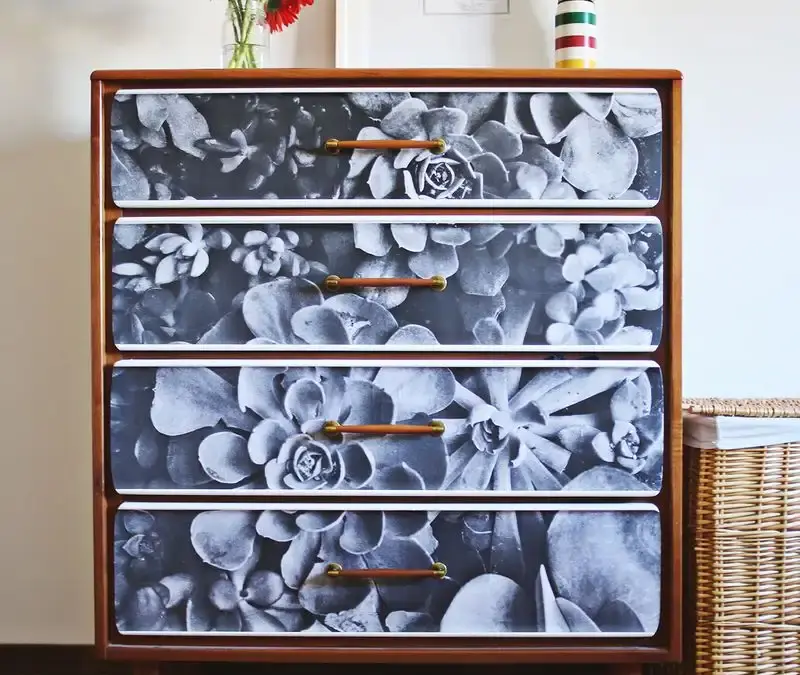
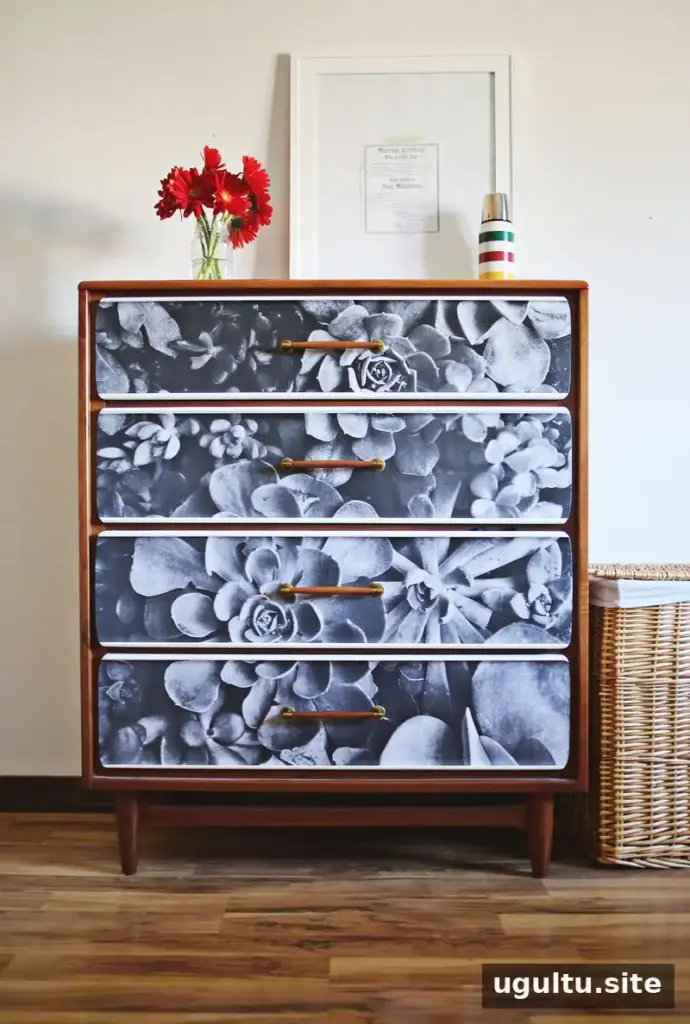
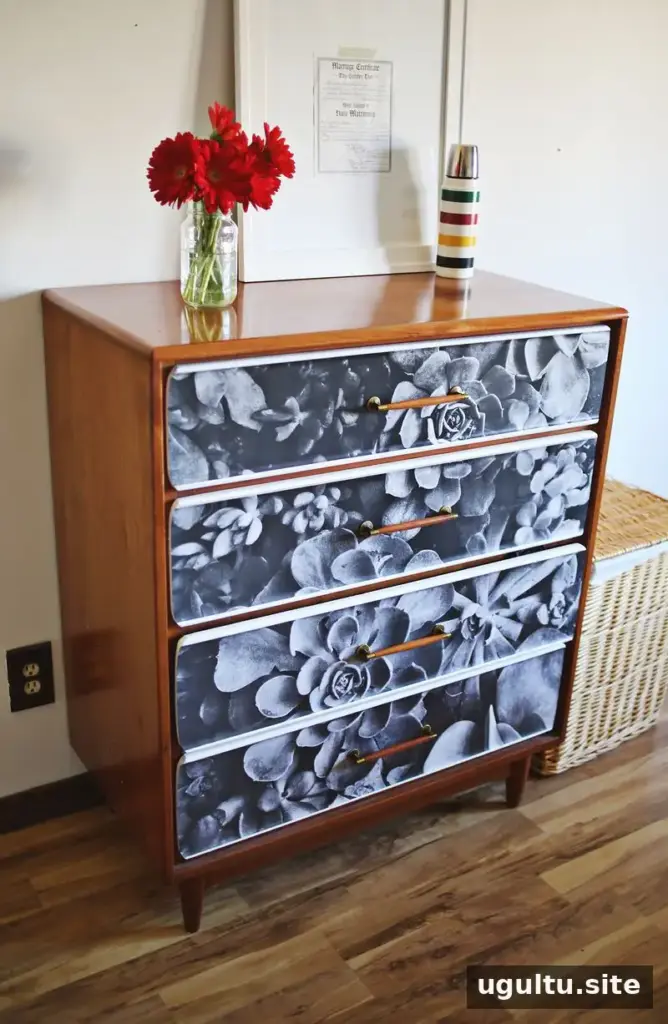
Photo decoupage is a simple way to refresh furniture and give a familiar piece a new look. It can help revive an item that feels dated or add a personal touch to furniture that is still in good condition. This project updates bedroom drawers with a large blue-print copy of a photograph, creating a bold graphic detail without changing the rest of the room.
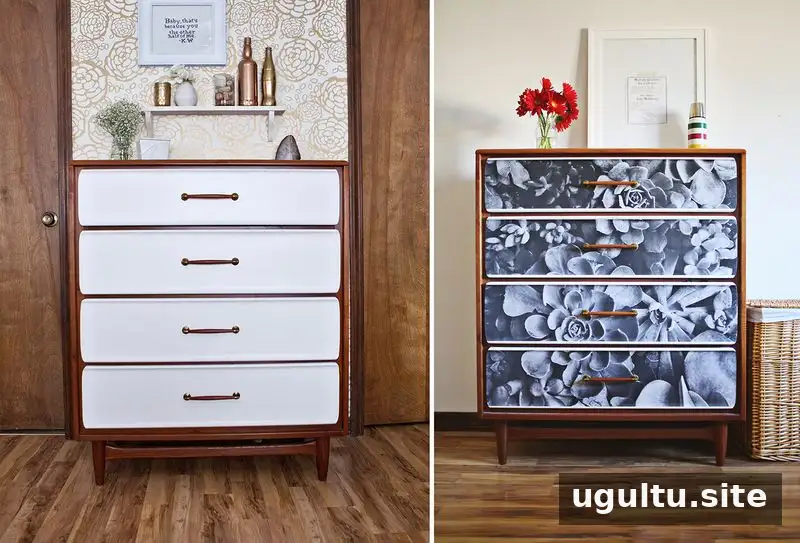
The bedroom drawers were given a new look by covering their fronts with the printed photo. The room had not changed much in a while, so this small update offered a noticeable change without replacing the furniture. Before choosing an image for a similar project, consider where the drawer divisions and handles will fall. Landscapes and abstract images, such as flowers or succulents, can work well because cuts through the image are less likely to disrupt a person’s face or body.
Supplies for photo decoupage
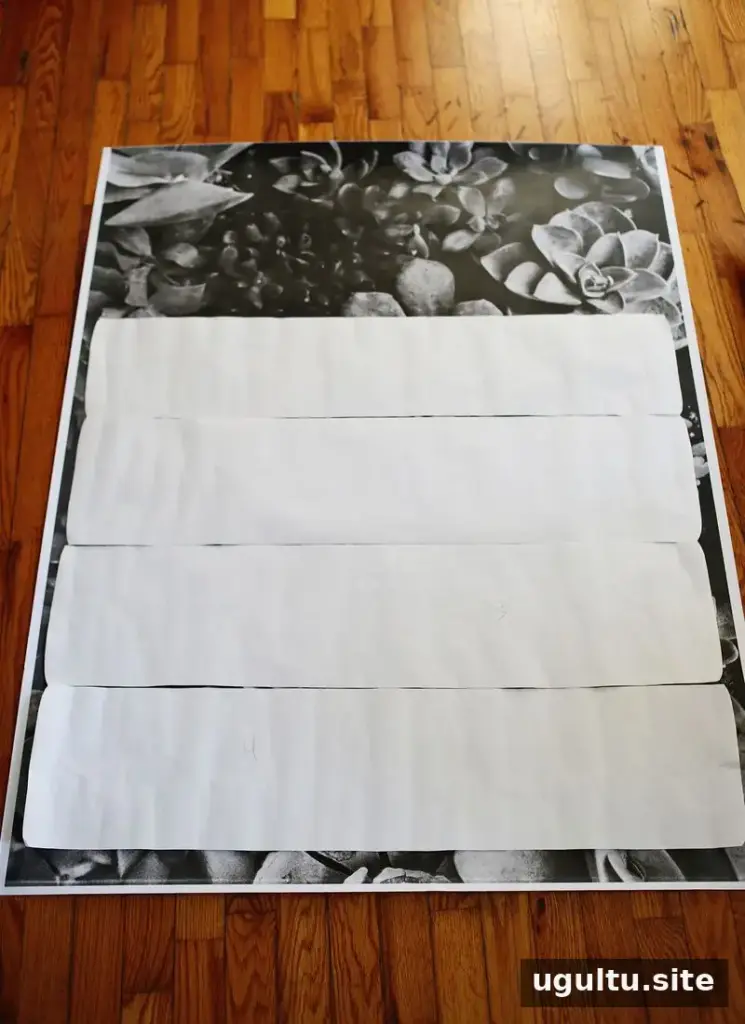
Gather the following materials before starting:
- A blueprint-style copy of a photograph
- Scrap paper for making a pattern
- Decoupage finish
- Foam brushes
- A craft knife
- Painter’s tape
- Foam board or cardboard to help fold and position the paper
The project cost about $14 because the scrap paper and craft knife were already available. Remove the drawer hardware before measuring and applying the print, and keep it in a safe place until the finish has dried.
How to apply a photo to drawer fronts
First, trace the furniture surface onto scrap paper to make a pattern. Use the pattern to cut the printed photo to size. Check the image placement against the drawer fronts before applying any finish, especially if handles or pulls will interrupt the design.
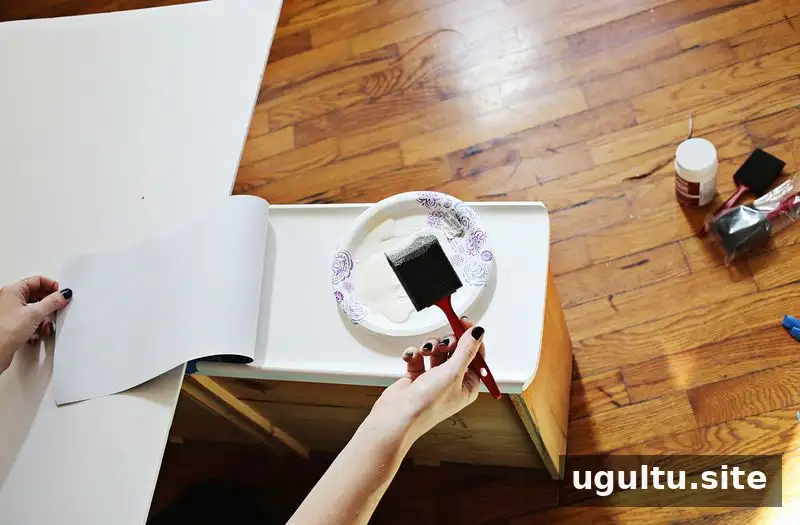
Place the cut photo on a drawer and secure it lightly with painter’s tape. Use a piece of foam board or cardboard to separate the paper at its center, then fold one half back. Brush a thin, even layer of decoupage finish onto the back of that section.
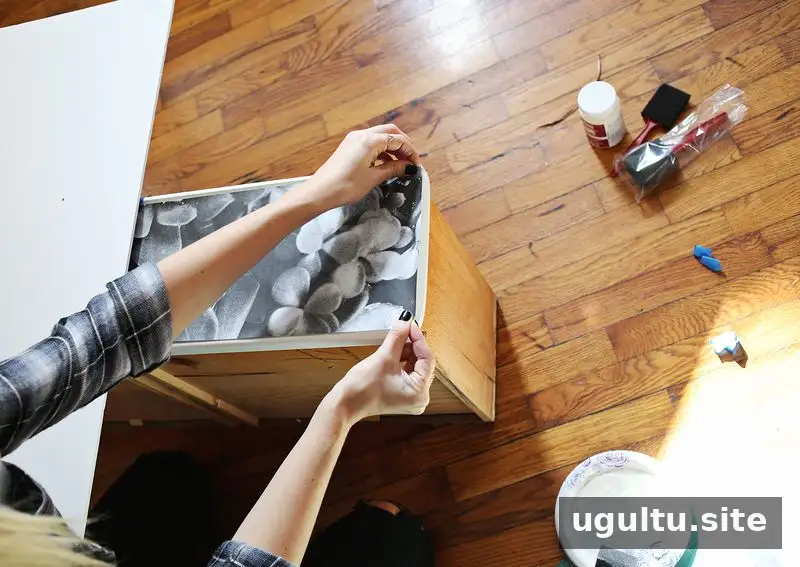
Starting at the center, lay the paper onto the drawer and smooth it gently as you work outward. This helps reduce wrinkles and trapped air. Repeat with the other half, then follow the same process for each drawer. Work carefully around edges and openings so the print stays aligned.
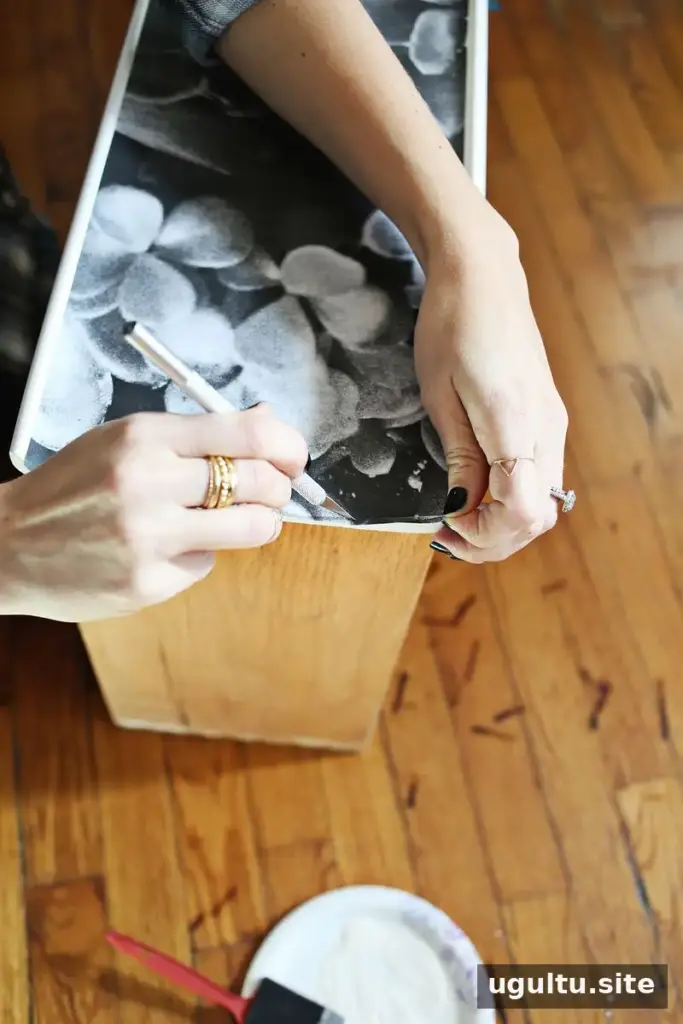
Allow the finish to dry completely before trimming any uneven edges with a craft knife. A careful trim after drying can give the paper a cleaner fit than trying to cut it precisely while it is being applied.
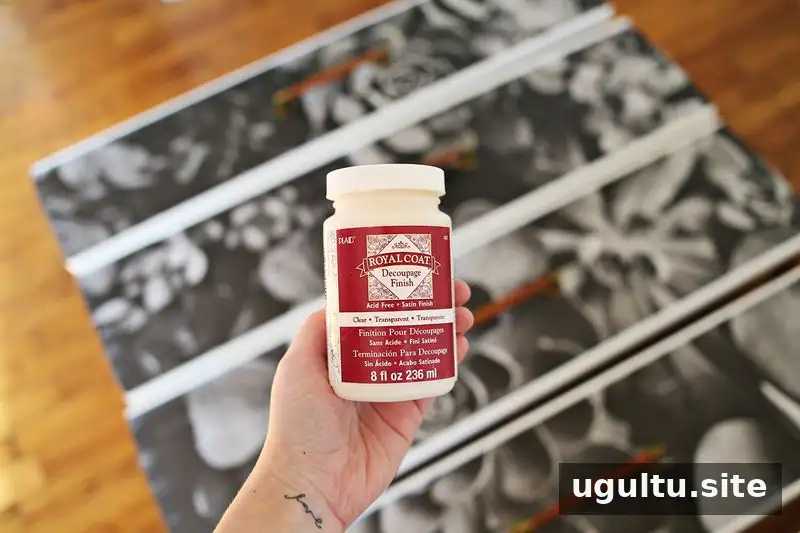
Brush one or two coats of decoupage finish over the front of the paper and let the surface dry fully before reinstalling the hardware. The image may look bubbled while the top coat is wet; in this project, that appearance went away as the finish dried. Follow the product’s drying instructions and avoid handling the drawers until the surface is ready.
Finishing the drawer makeover
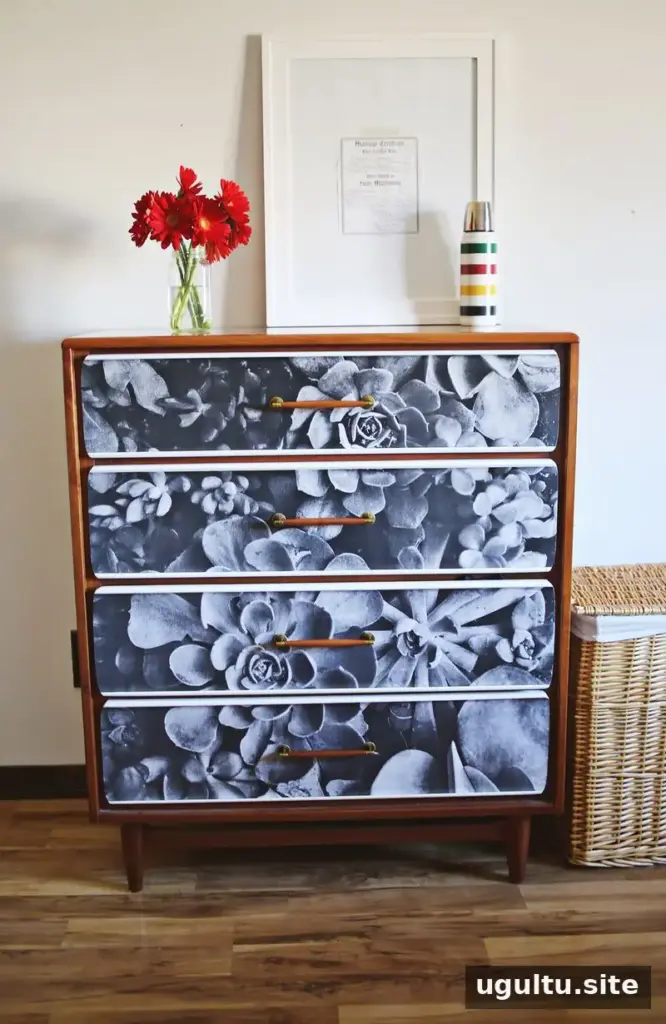
A graphic photo can become a focal point in a simplified bedroom, adding color and personality without requiring a complete room makeover. For a balanced result, choose an image that suits the furniture’s shape and plan its placement around drawer seams and hardware. Photo decoupage is a practical way to personalize drawers while making use of furniture you already own.
— Emma


