
 admin
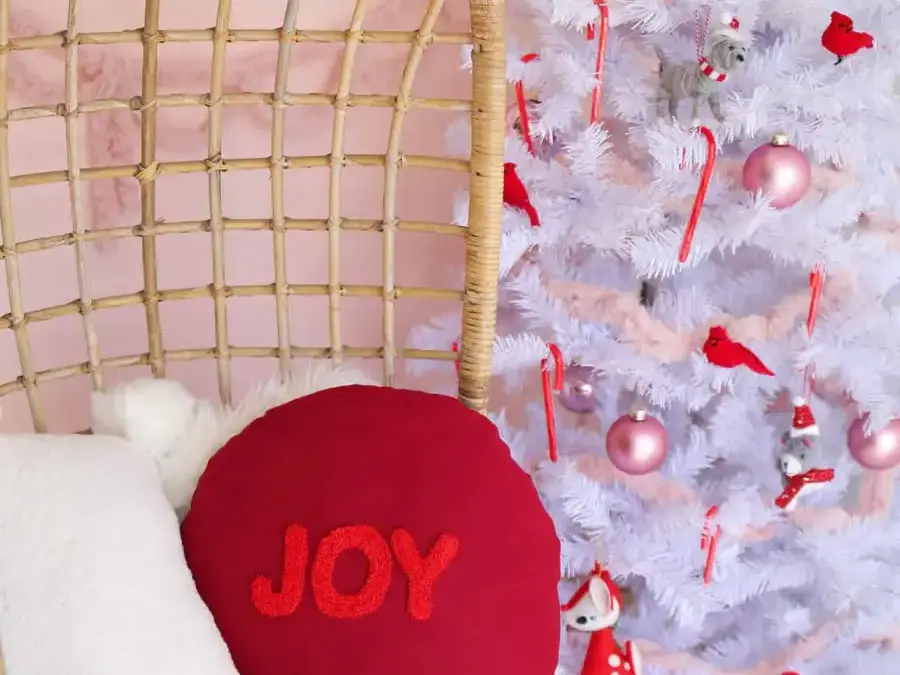
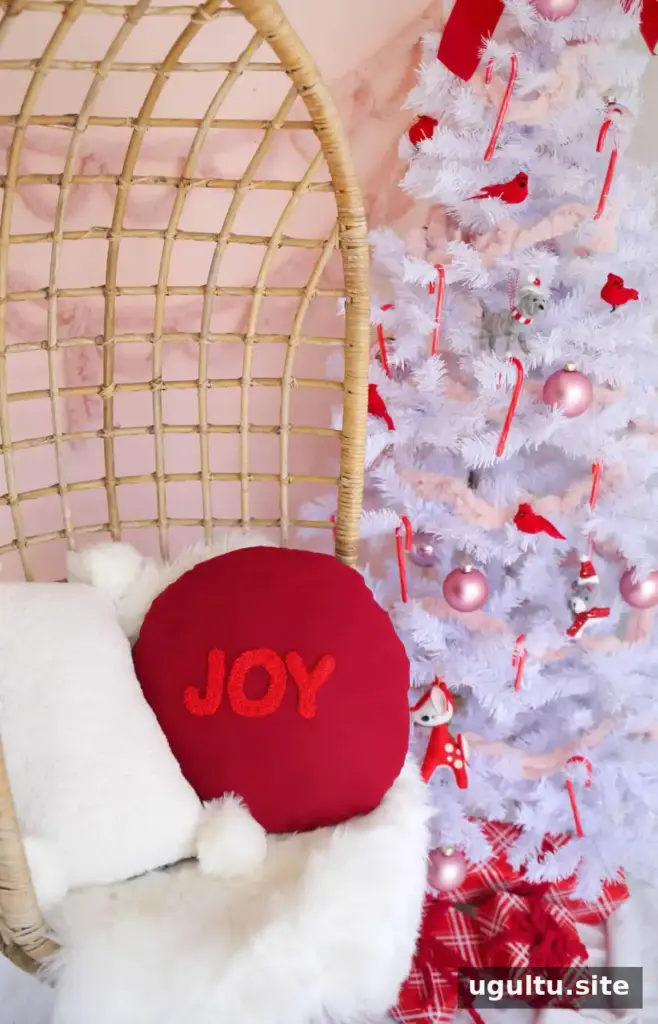
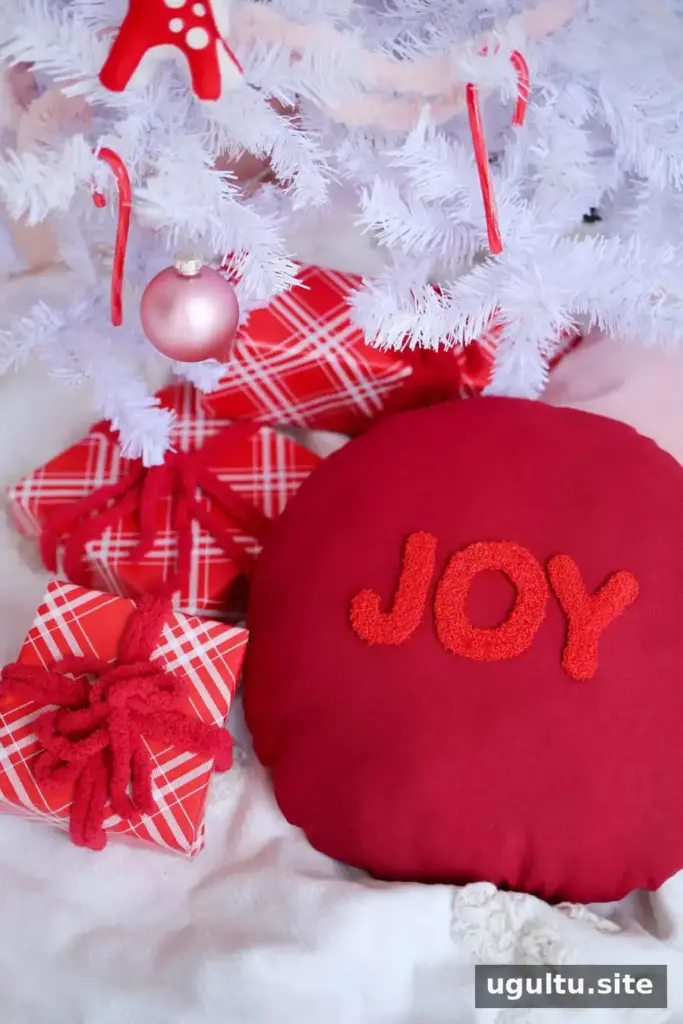
A punch needle embroidery pillow is a manageable way to try punch needle stitching while creating a festive, textured home accent. This round design features the word “JOY” on red linen, so the fabric provides a colorful background without requiring the entire pillow front to be filled. The same method can be adapted for other short words or scaled down for ornaments.
Supplies for a Punch Needle Embroidery Pillow
Gather the materials before stitching. Pre-washing and ironing the linen helps reduce later shrinkage and makes it easier to draw and sew accurately.
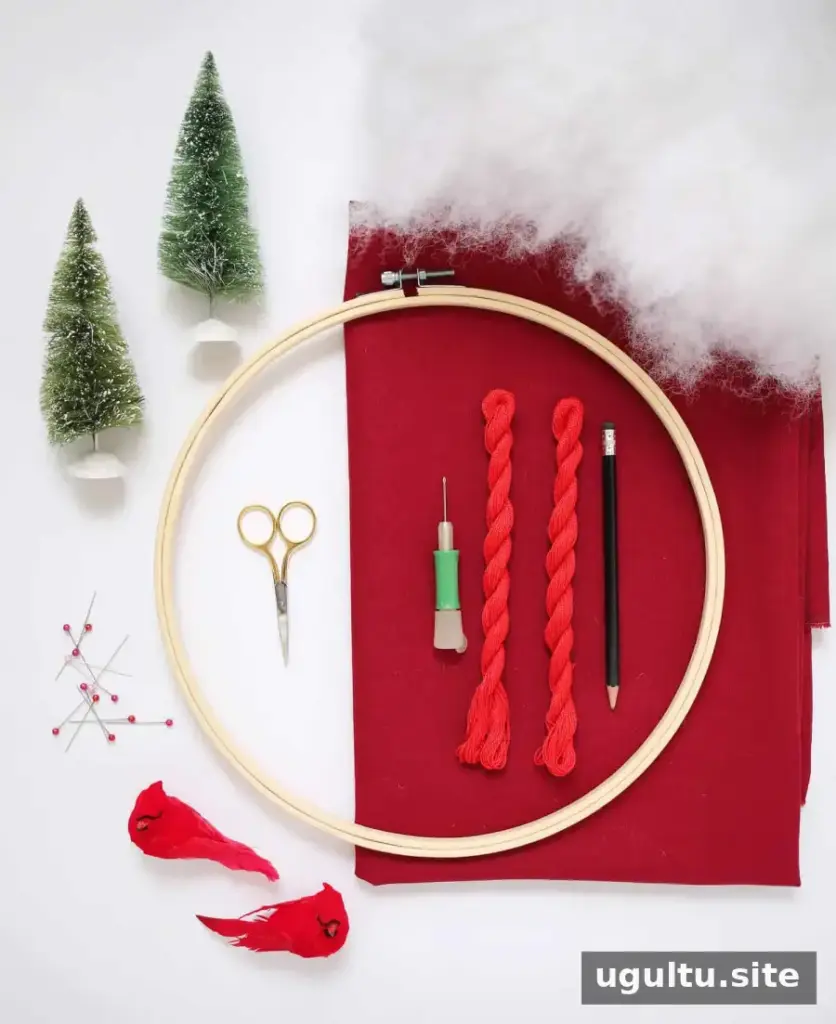
- ½ yard of scooter red linen fabric
- 14-inch wooden quilting hoop
- Boye 2.2 embroidery punch needle
- Three skeins of 6-ply red cotton embroidery floss
- Poly-fil stuffing
- JOY Pillow Template
- Straight pins and scissors
- Sewing machine (optional; the pillow can also be sewn by hand)
- Sharpie
- Iron and ironing board
How to Make the Pillow
1. Cut and hoop the linen
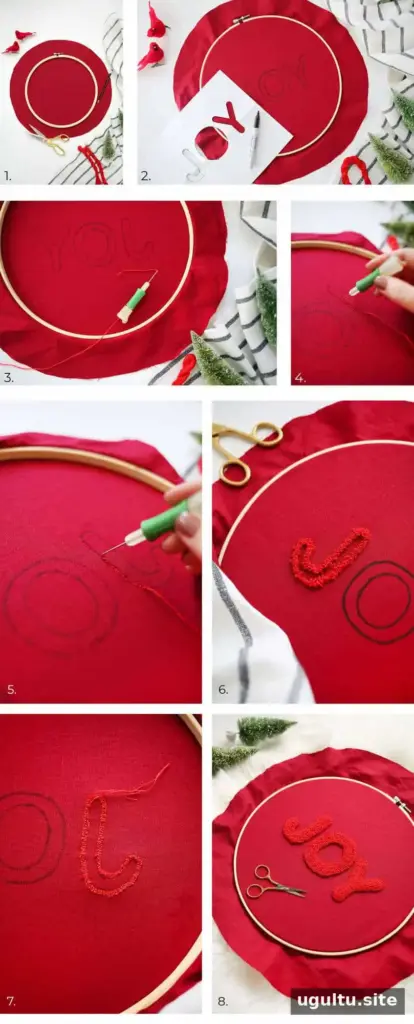
Pre-wash and iron the fabric, then cut two 16-inch circles. Use the hoop as a guide, measuring beyond its edge to make the larger circles. Place one circle in the hoop, center it, tighten the screw, and pull the fabric taut in opposite directions. Even tension helps keep the stitches consistent.
2. Trace the design and prepare the needle
Print the JOY template and trim around the word to make a stencil. Center it in the hoop and trace the letters with a black Sharpie, making sure the lines can be seen from the back of the fabric. Pinning the paper in place can help prevent it from shifting.
Cut a 4-foot length of embroidery floss and separate it into two bundles of three strands. Thread the punch needle according to its instructions. For this project, adjust the needle so about ½ inch extends from the handle, if the needle allows adjustment. Turn the hoop over: the stitching is worked from the back so the loops appear on the front.
3. Punch and fill the letters
Begin just outside a traced line, leaving a tail of about 2 inches. Keep the trailing-thread side of the needle behind the direction of travel, which helps prevent loops from pulling out. Push the needle through until the handle nearly touches the cloth. As you lift it, keep the tip close to the fabric and move forward by roughly the width of the needle.
Work with closely spaced stitches, reloading floss as needed and trimming loose tails as you go. Follow the outlines of the letters, rotating the hoop around curves rather than turning the needle. Three outline rows create a defined border; continue stitching from the outside toward the center to fill each letter. Check the front for gaps and add rows where needed.
4. Sew, turn, and stuff the pillow
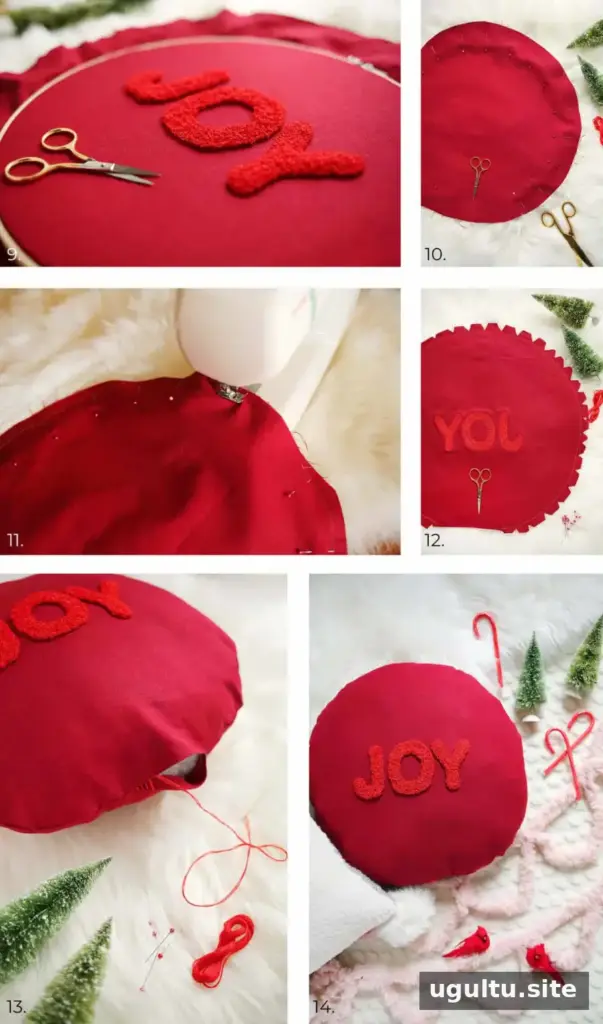
Trim stray strands or loops that sit noticeably higher than the rest, then remove the fabric from the hoop. Place the punched circle with the looped side facing up and lay the second circle on top, right sides together. Pin around the edges, leaving an opening slightly wider than your hand.
Sew around the circle about ¼ inch from the edge, stopping at either side of the opening. Fold the opening’s edges inward and press them with an iron. Cut small triangles around the curved seam, about 1 inch apart, taking care not to cut through the stitching. These small clips help the seam lie smoothly when turned.
Gently turn the pillow right side out through the opening, avoiding pressure on the punched design. Press the seam, fill the pillow evenly with poly-fil, then close the opening with a ladder stitch. Shape and fluff the finished pillow.
Finishing Ideas
A smaller version of the design can be used as inspiration for a coordinating ornament. If adapting the pattern, keep the fabric taut and test the needle and thread combination on a scrap first; this helps check that the loops hold before stitching the final piece.
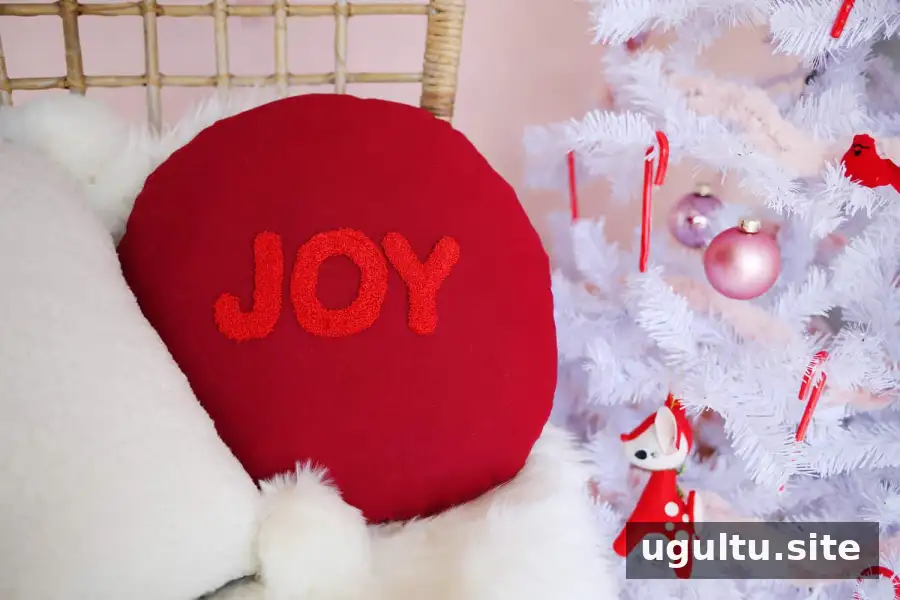
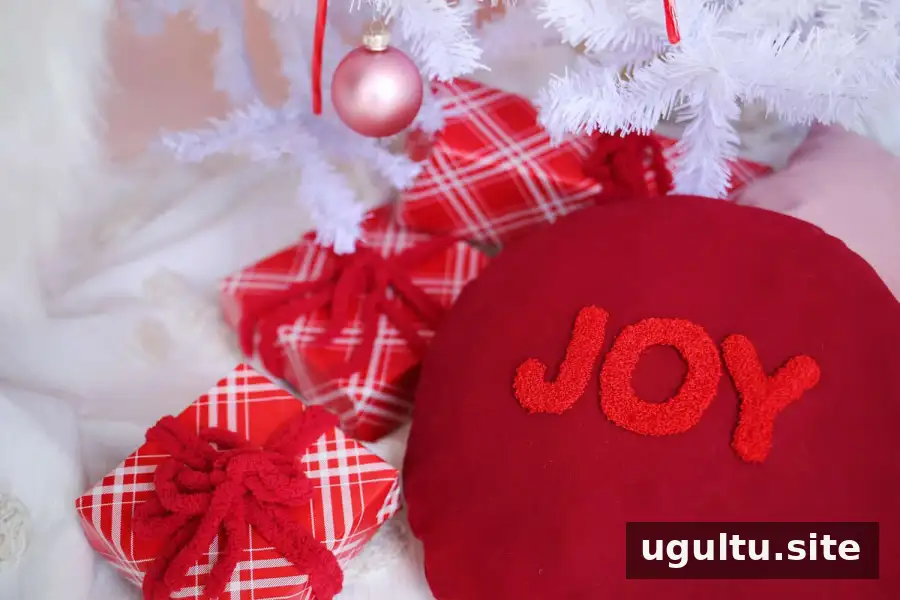
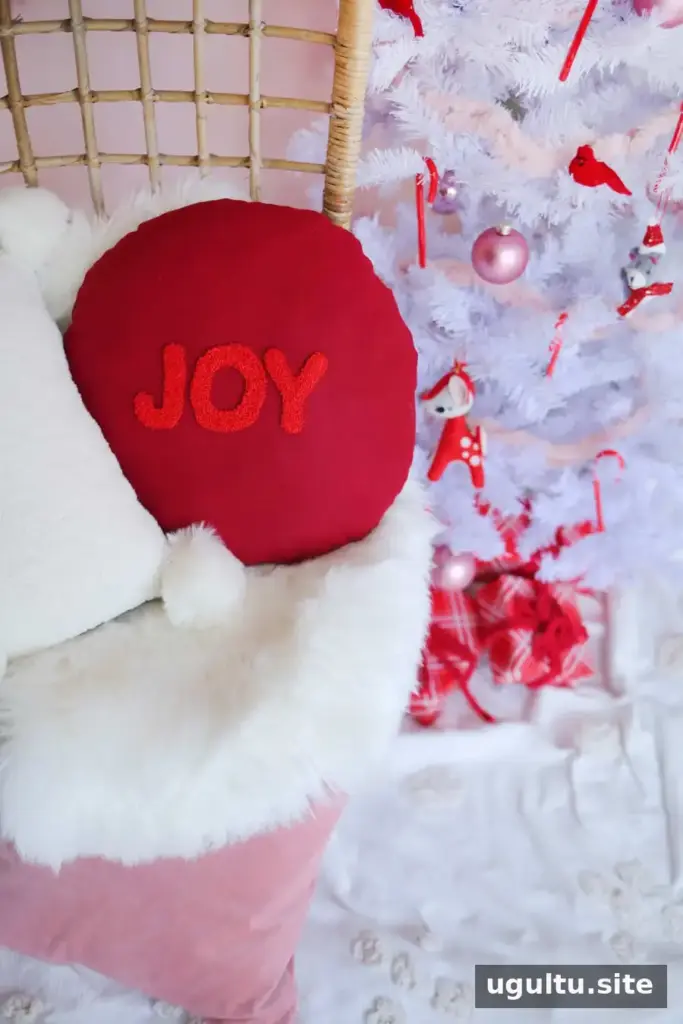
The finished “JOY” design has a decorative, ornament-like look and can add a handmade touch to seasonal décor. This punch needle embroidery pillow uses a simple word, a single thread color, and evenly filled letters to make the stitching approachable. —Rachel


