
 admin
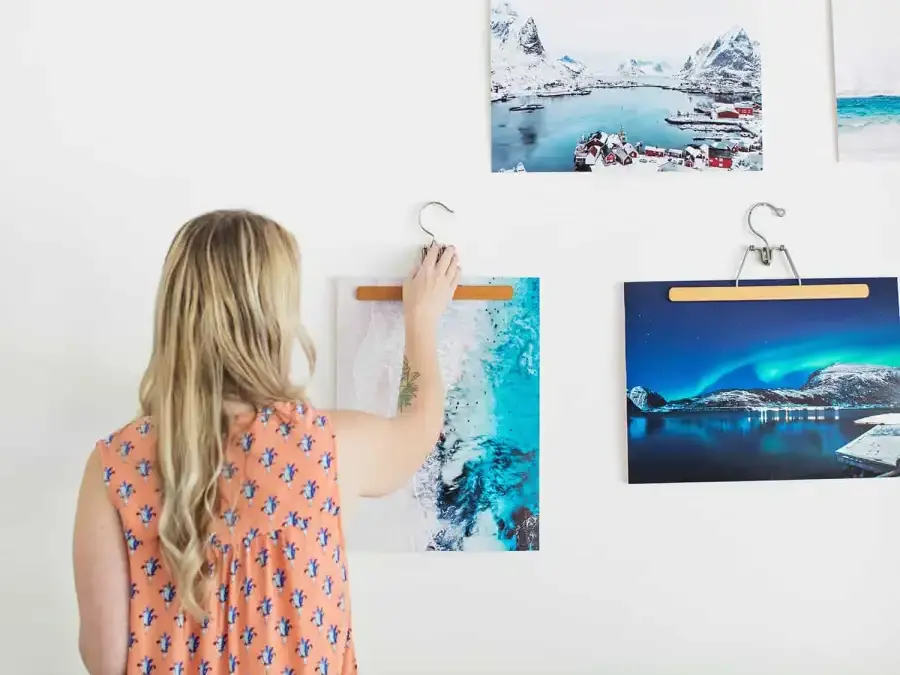

Wooden hanger frames offer a simple, affordable way to display photos or art prints without a traditional picture frame. With a wooden clothes hanger and a few basic craft materials, you can create a small gallery wall or update a print display in about an hour. The key is choosing a soft backing that grips the print without leaving marks.
How to Make Wooden Hanger Frames
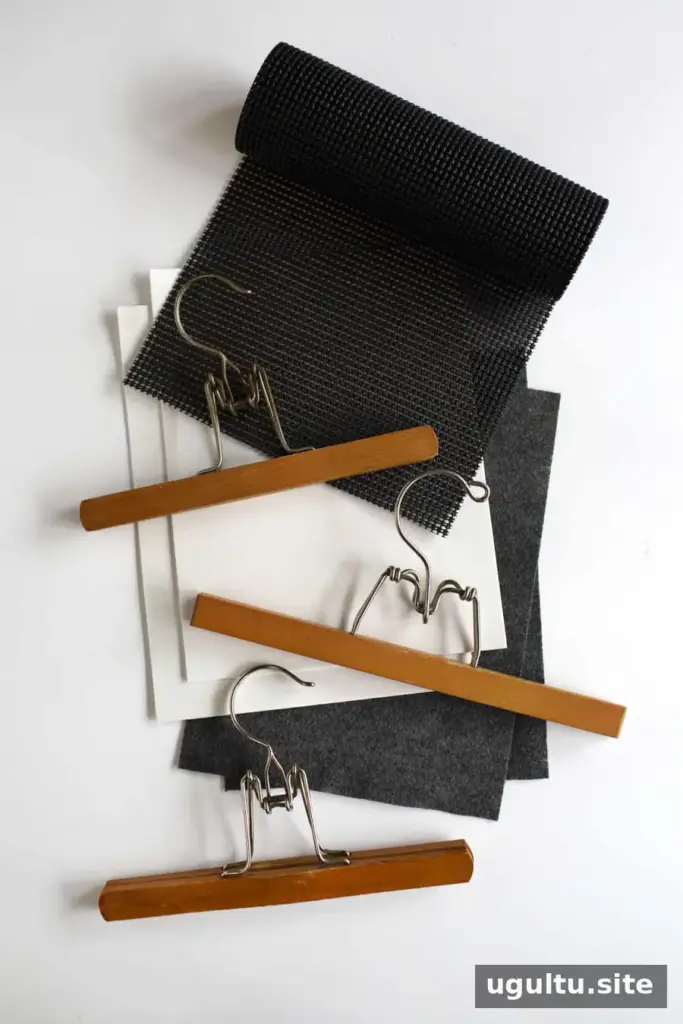
Before assembling your frames, gather wooden clothes hangers, craft foam, poster board, glue, and acid-free glue dots. Check thrift stores for wooden hangers if you want to keep costs low; bags of assorted hangers may be available for just $1–$2. New hangers are another option.

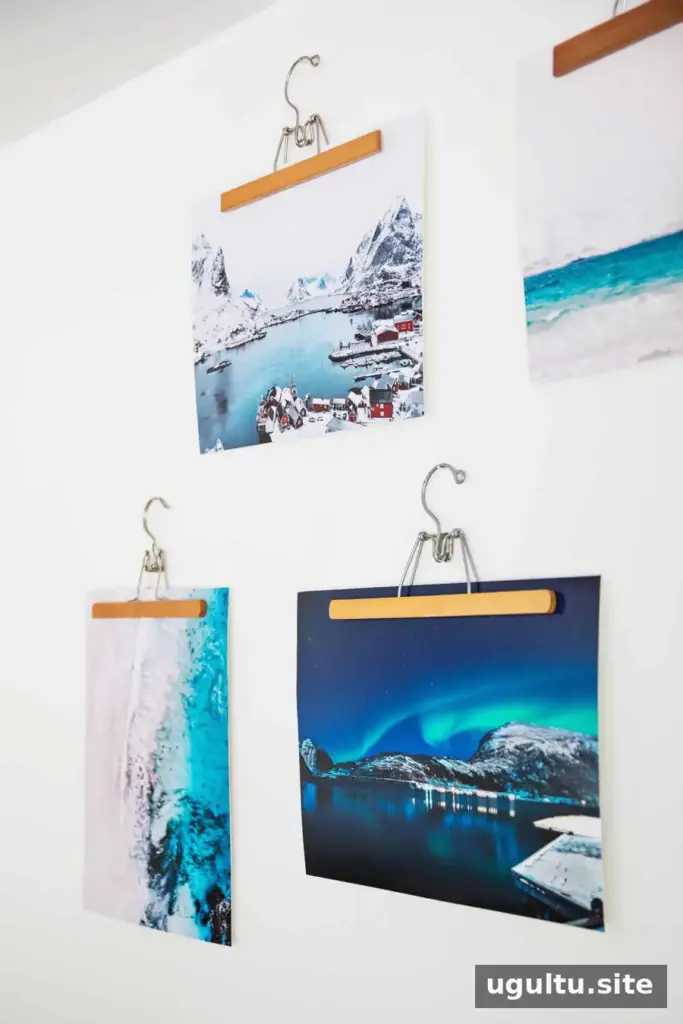
A print placed directly into a hanger may slide or become marked by grooves in the wood. Adding a layer of craft foam inside the hanger helps cushion the print and hold it in place. If you plan to display larger prints, reinforce them with poster board to help prevent the lower edges from curling.
Choose a Backing That Protects the Print
Three materials were tested for the inside of the hanger: felt, shelf liner, and craft foam. Their performance can vary depending on the condition and tightness of the hanger, so consider testing your chosen material with a spare print first.
- Felt: It may work with a tight, newer hanger, but can provide too little grip in a looser vintage hanger. A heavier print may slip.
- Shelf liner: The textured surface can leave indentations on prints, so it is not recommended if you may reuse or move your photos later.
- Craft foam: This option held prints securely without damaging them and worked best with older wooden hangers.
Use craft foam sheets from a craft store or a general retailer. Cut or position the foam so it fits along the inside of the hanger where it meets the print. Avoid letting adhesive spill onto the visible area of the photo.
Assemble and Hang the Frames
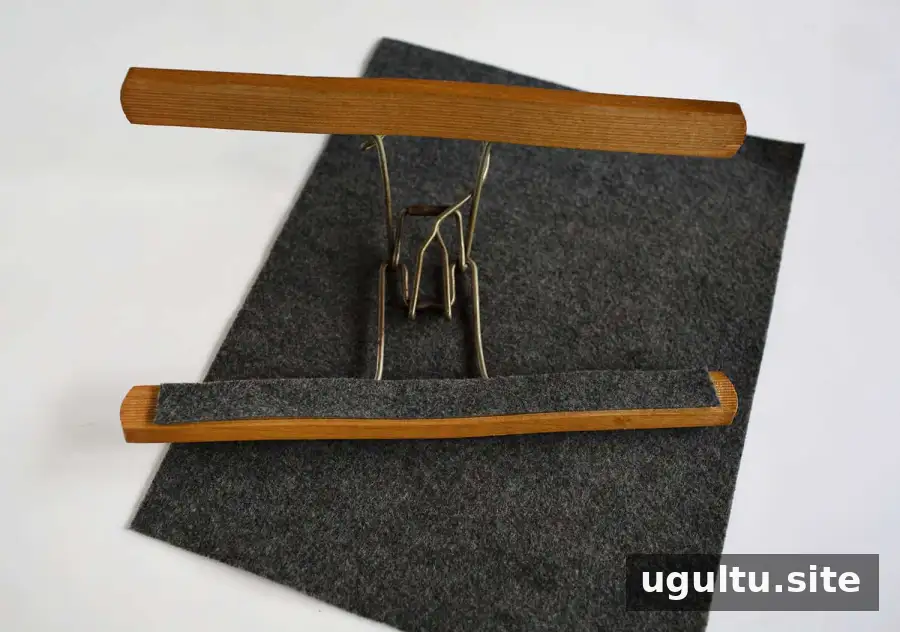
Secure the foam to the wood with glue. The original project used super glue, so follow the adhesive’s label instructions and allow it to set before adding a print. Attach the print to a piece of poster board with acid-free glue dots. This added support can help keep the print flat, particularly in humid conditions.
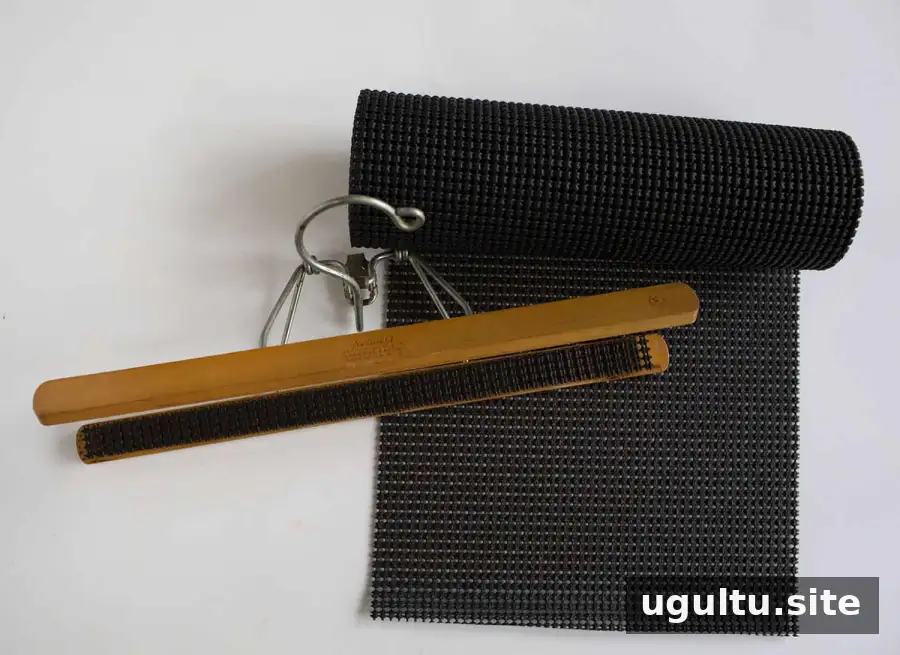
If you are using a vintage hanger, check that the print is held firmly before hanging it. A loose fit can allow the photo to slide, especially if the print is large or heavy. Adjust the foam backing as needed, and handle the print by its edges to reduce marks.
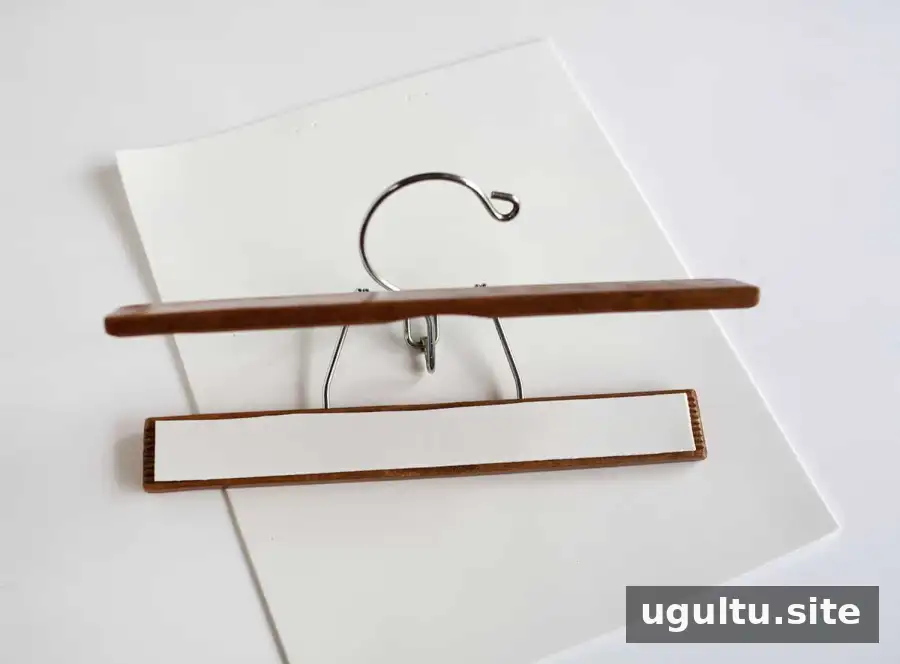

The finished frames can be arranged as a mini gallery wall or used individually. Before hanging, check that each print sits straight and that the hanger’s gripping surface does not press into the image. If your room is humid, poster board reinforcement can help reduce curling at the lower edges.
Are Wooden Hanger Frames Right for Your Space?
Wooden hanger frames are a practical choice when you want an informal photo display using easy-to-find materials. Craft foam is the best-supported option among the tested backings, while felt may suit a particularly tight hanger. Avoid textured shelf liner if protecting the print matters. A quick fit test before assembly can help you choose the right combination for your hanger and artwork.

The project takes about an hour and can be adapted to different photos and prints. For a sturdy result, use a well-fitting hanger, a protective foam layer, and poster board when needed.
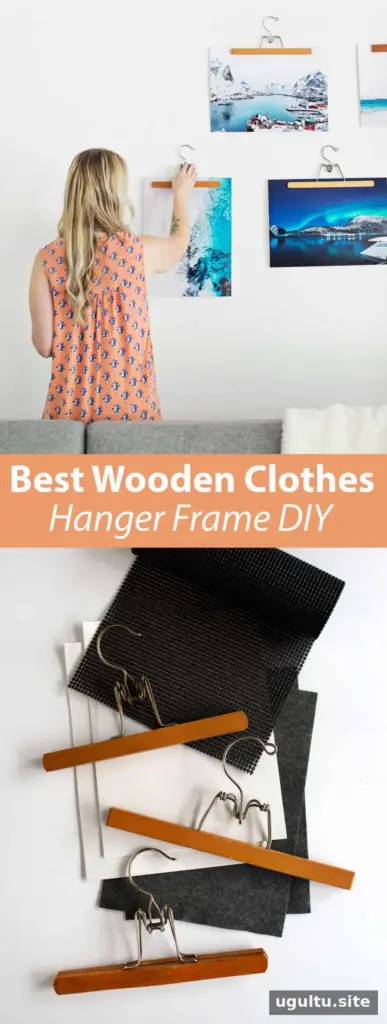
— Emma


