admin
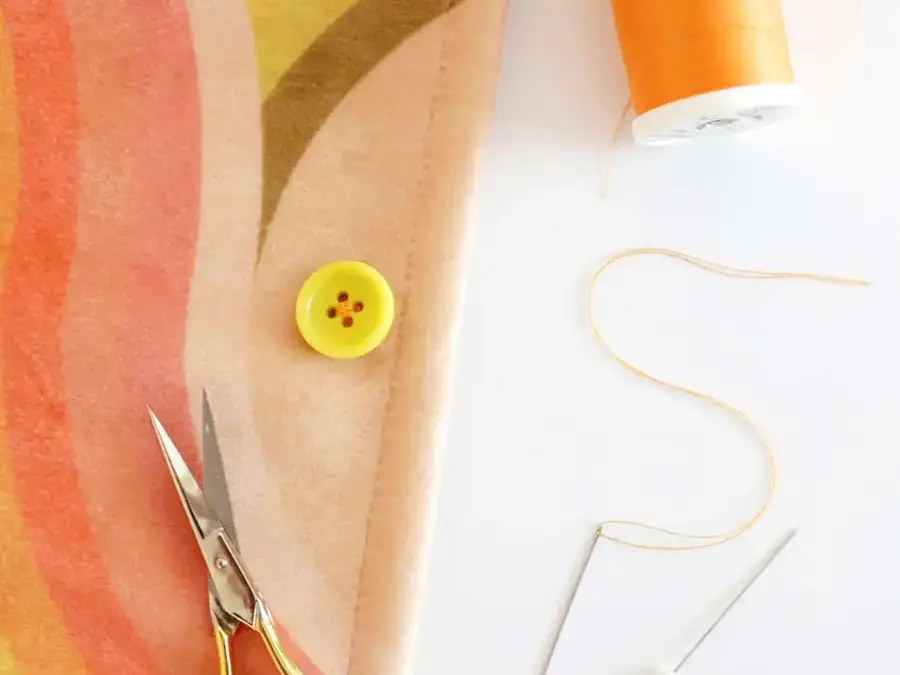
Learning how to sew a button is a useful skill for quick clothing repairs. With a needle, thread, and a few simple supplies, you can securely replace either a flat button or a shank button at home. The method takes about five minutes and works for buttons on shirts, jackets, and coats.
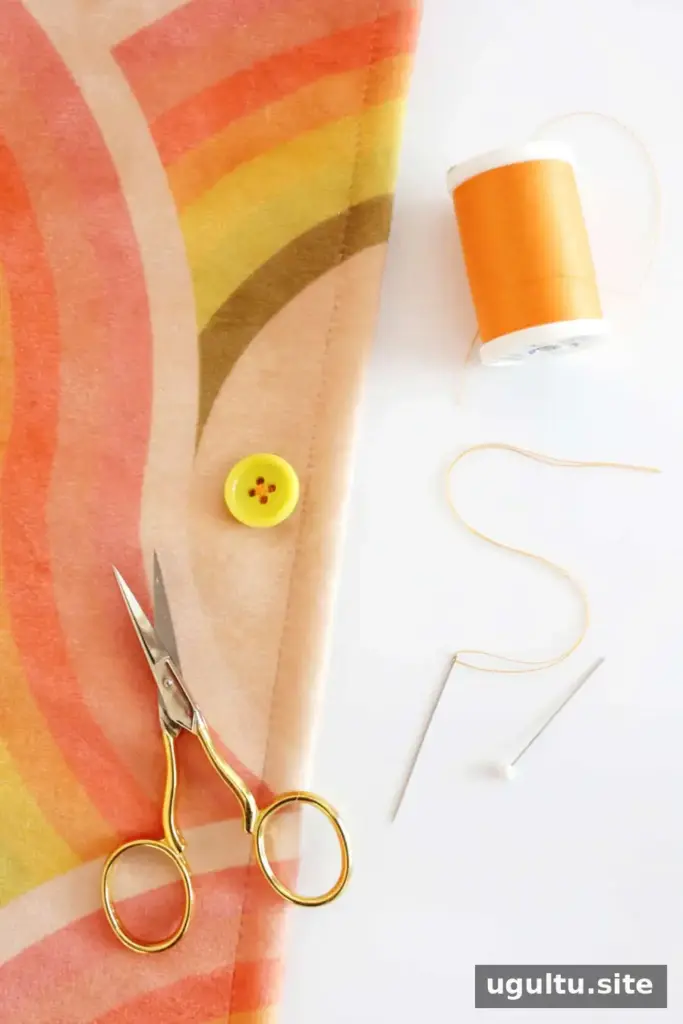
Flat Buttons and Shank Buttons: What Is the Difference?
A flat button has two or four holes, and the stitches pass through those holes from the front of the garment. A shank button has a loop on its underside, so the thread is hidden beneath the button. The shank also leaves space between the button and fabric, which is helpful for thick buttonholes, such as those on wool coats.
Practical tip: Check the button style and the thickness of the fabric before you begin. A flat button may need extra space to fit through a thick buttonhole.
Frequently Asked Questions
What needle and thread should I use?
A regular hand-sewing needle and all-purpose thread work for most buttons. If you are using heavy thread, choose a needle with an eye large enough to pass it through easily. For a coat button that gets frequent use, heavier-duty thread can provide added strength. If you are replacing one button among several, matching the existing thread color helps the repair blend in.
How do I keep a flat button from sitting too tightly?
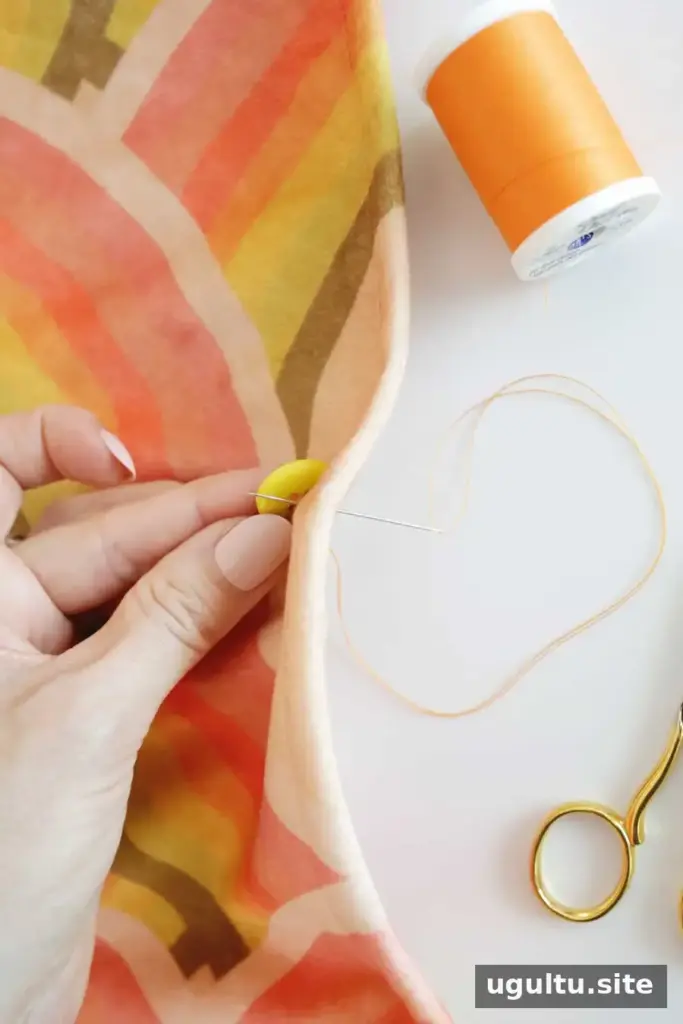
Place a straight pin between the button and the fabric while sewing. The pin acts as a spacer. Remove it before wrapping the thread around the stitches to form a small thread shank.
Supplies for Sewing a Button
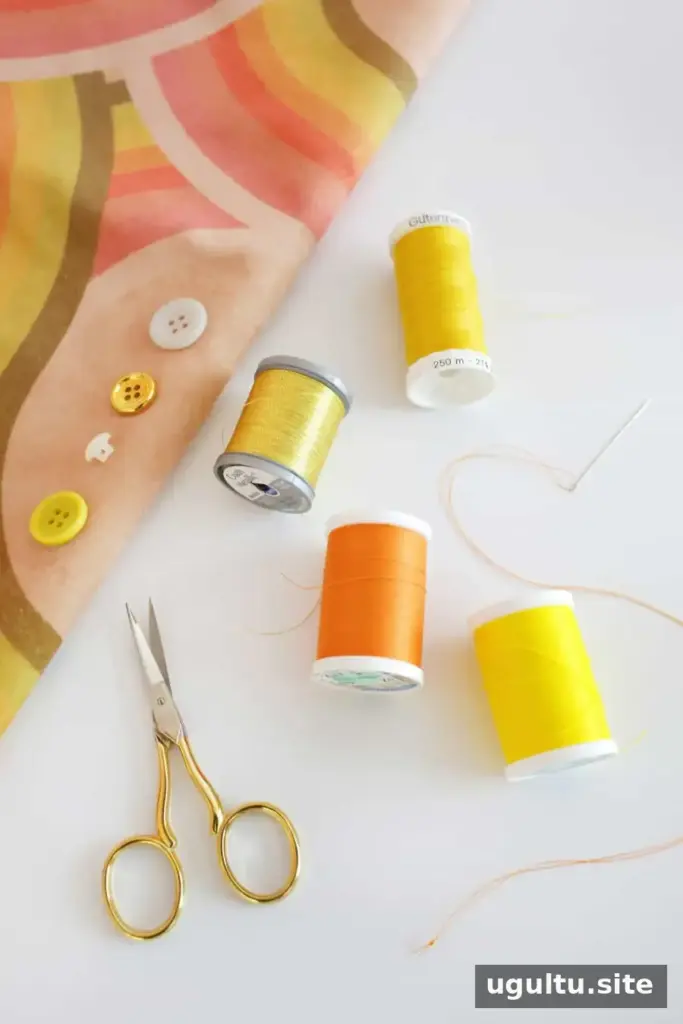
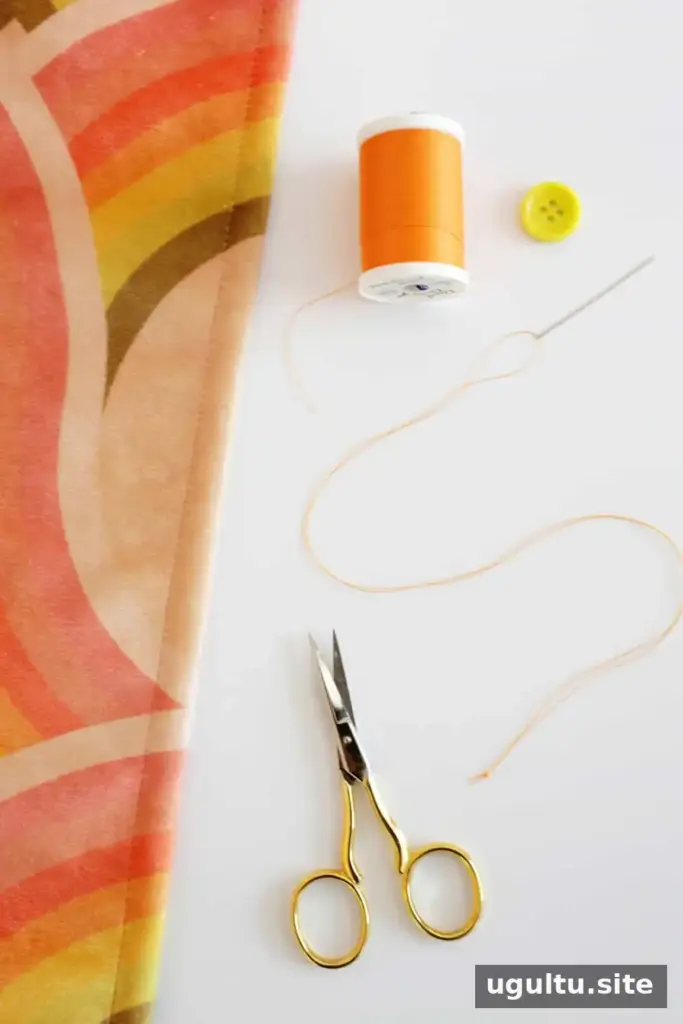
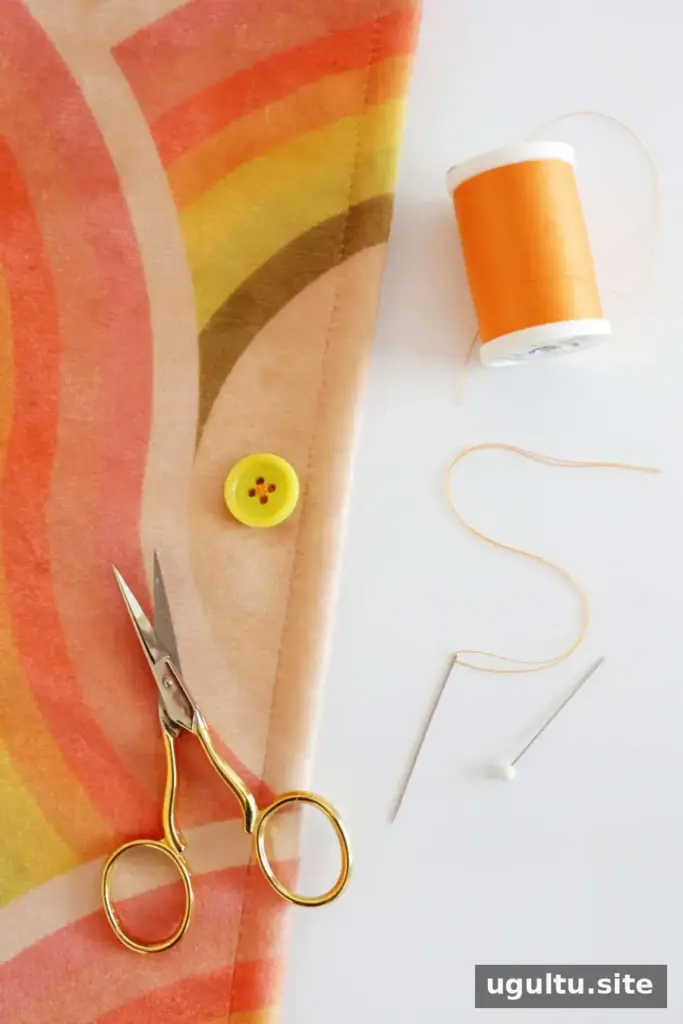
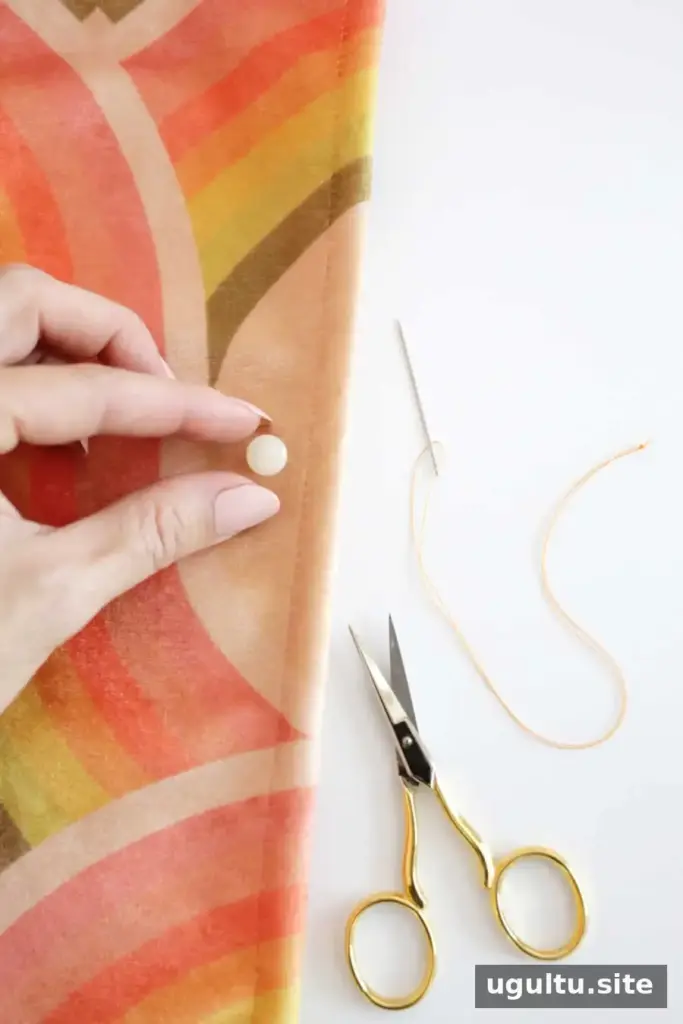
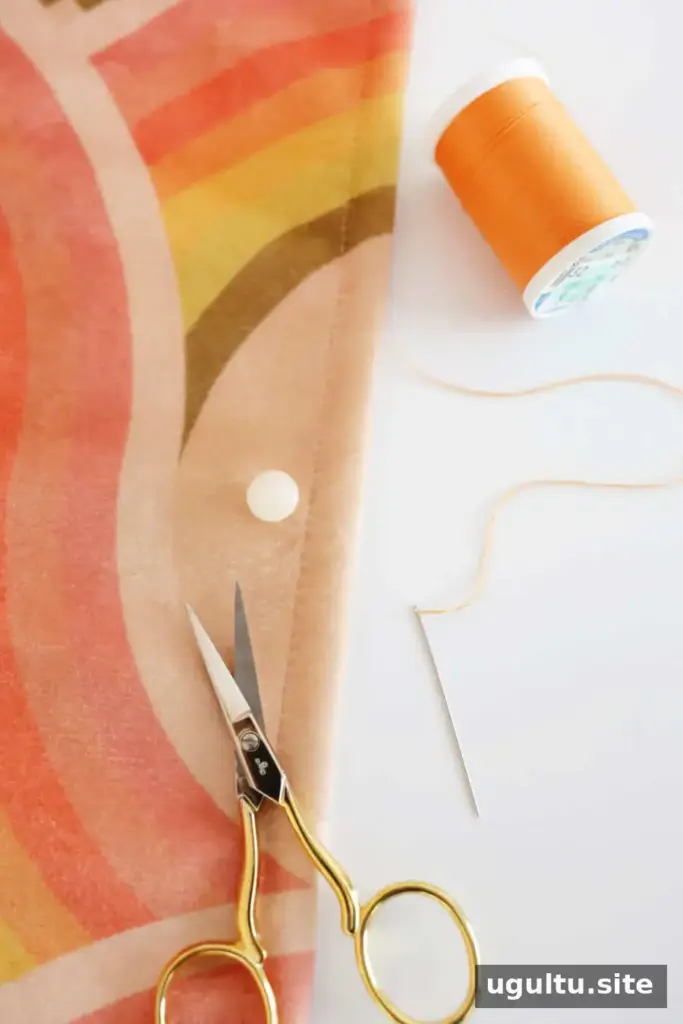
- One flat button with two or four holes, or one shank button
- Thread: regular weight for most garments; heavier thread can be used for larger coat buttons
- A hand-sewing needle
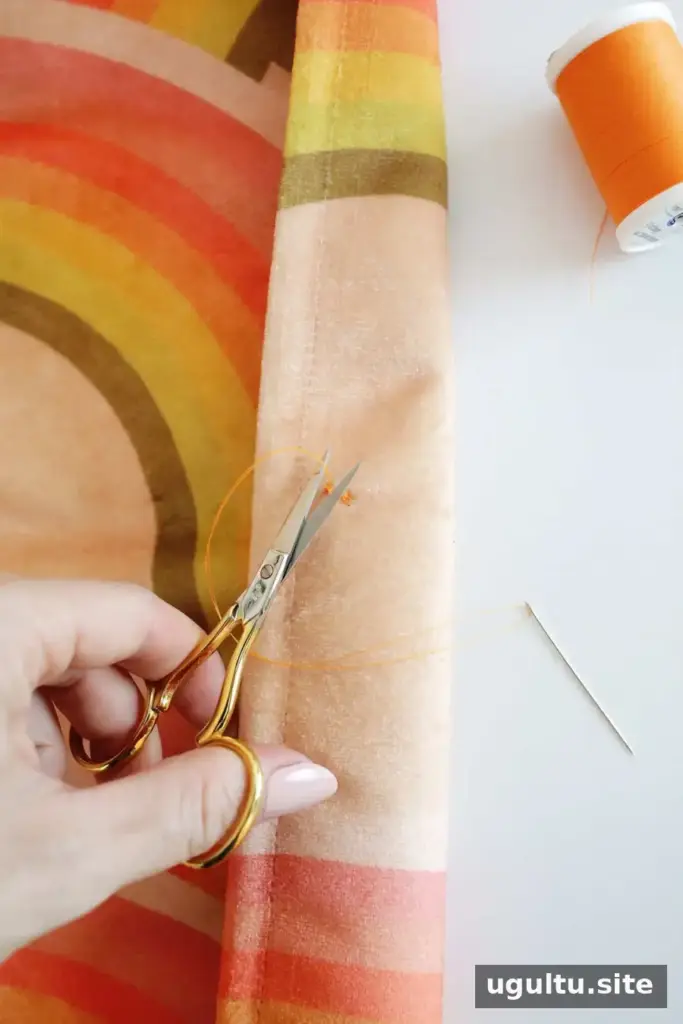
- Scissors
- A straight pin for a flat button
- A disappearing marking pen, optional
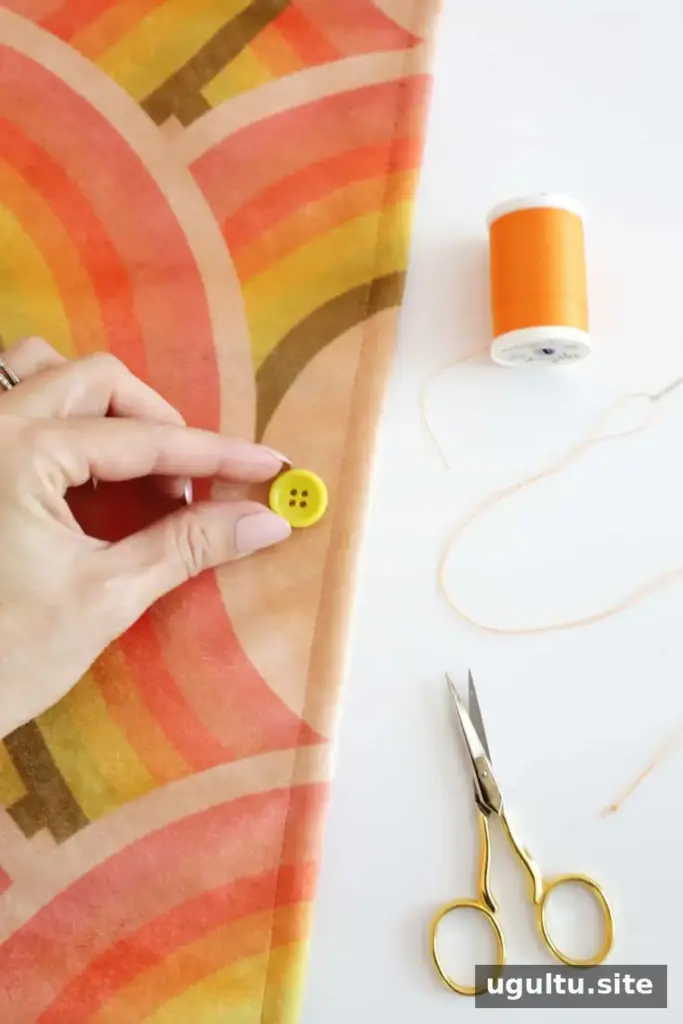
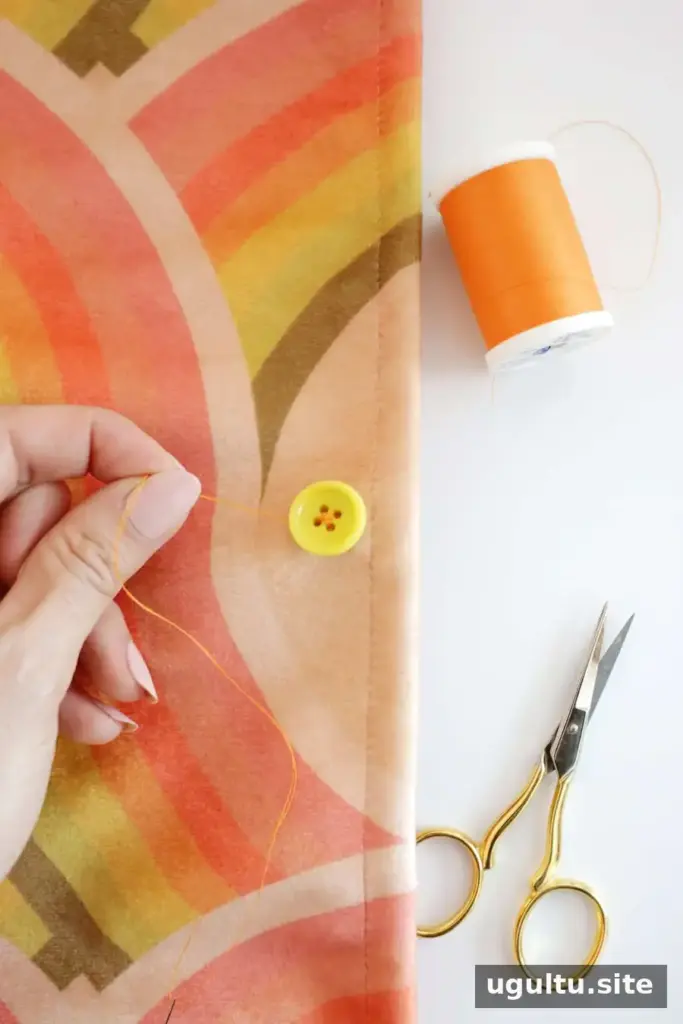
For either button style, cut about 24 inches of thread. Thread the needle so the two ends are even, then tie them together in a knot. Before stitching, place the button where it belongs and check that its position lines up with the buttonhole and any nearby buttons. Mark the spot with a disappearing pen if that makes positioning easier.
How to Sew a Flat Button
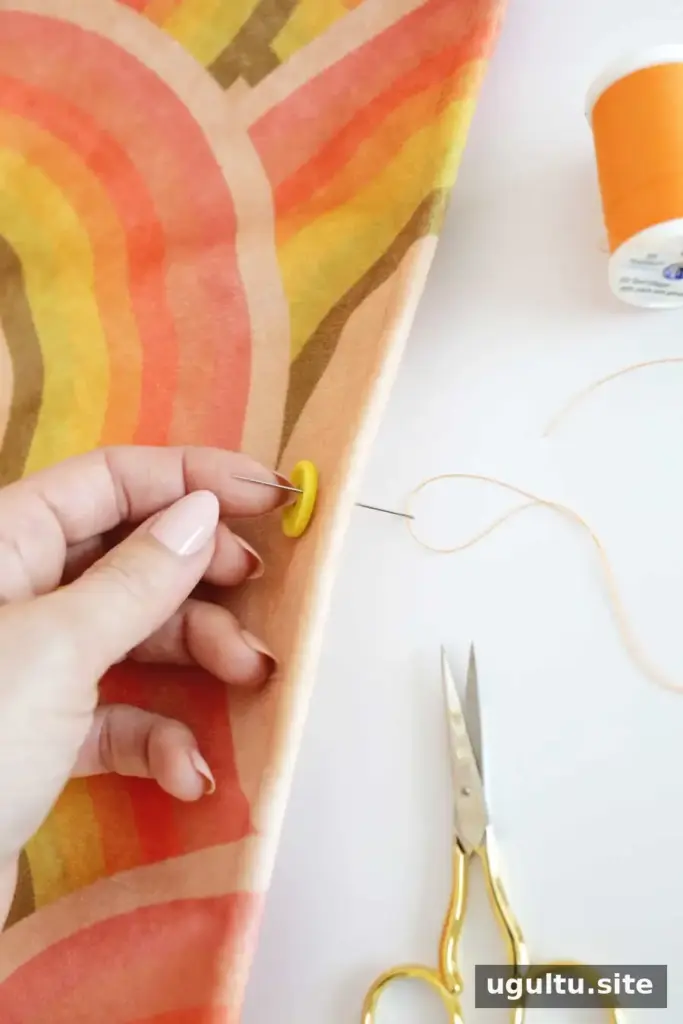
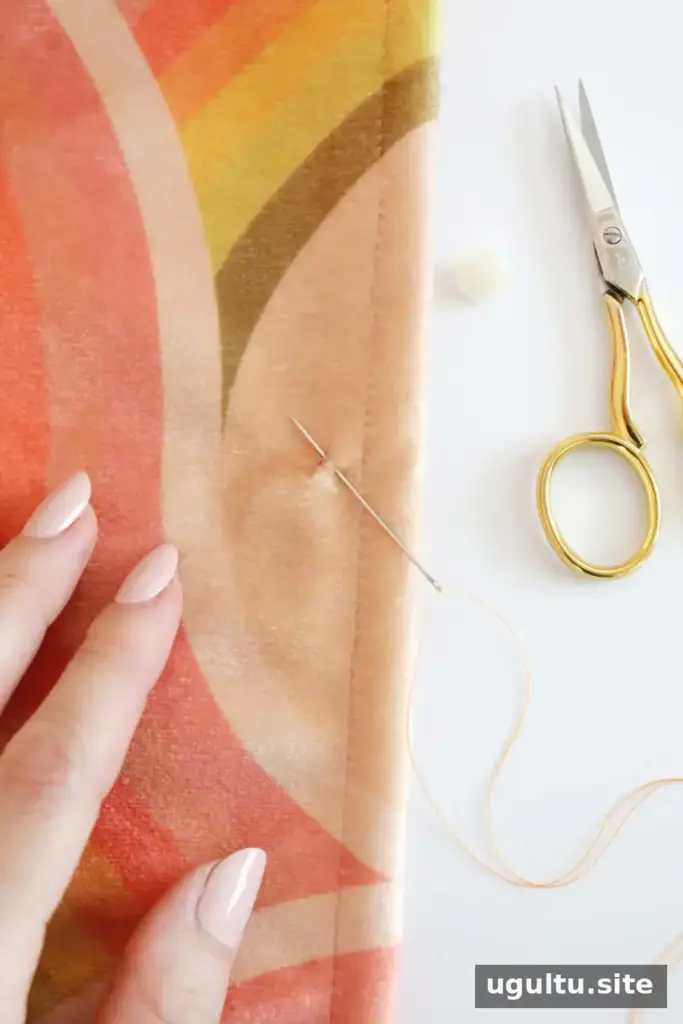
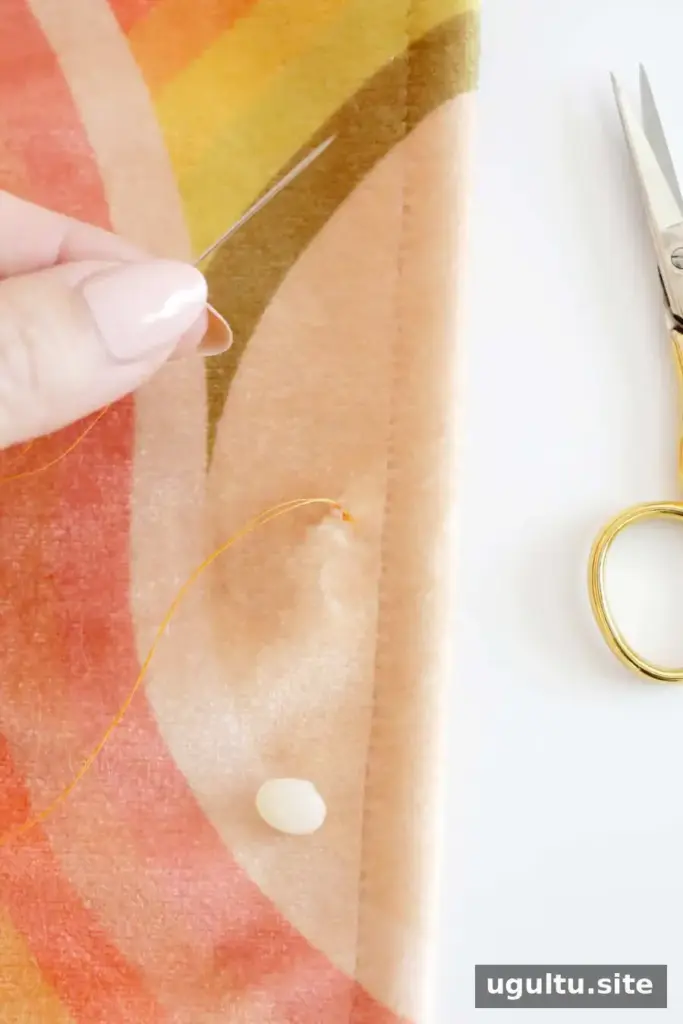
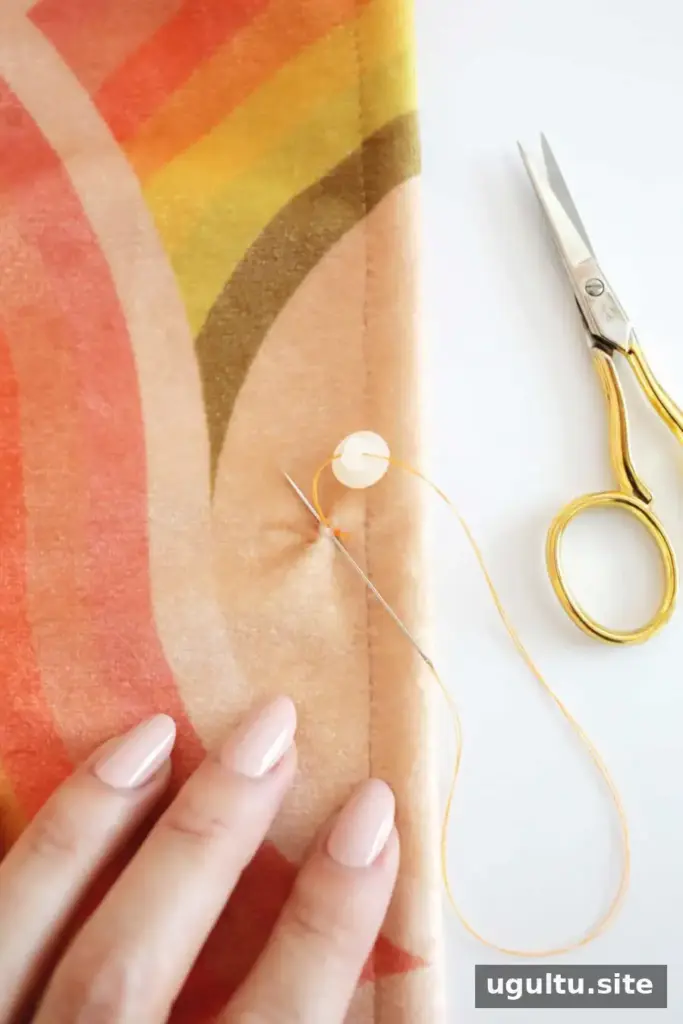
- Bring the needle up through the fabric. Start on the underside of the garment and pull the thread through until the knot rests against the fabric.
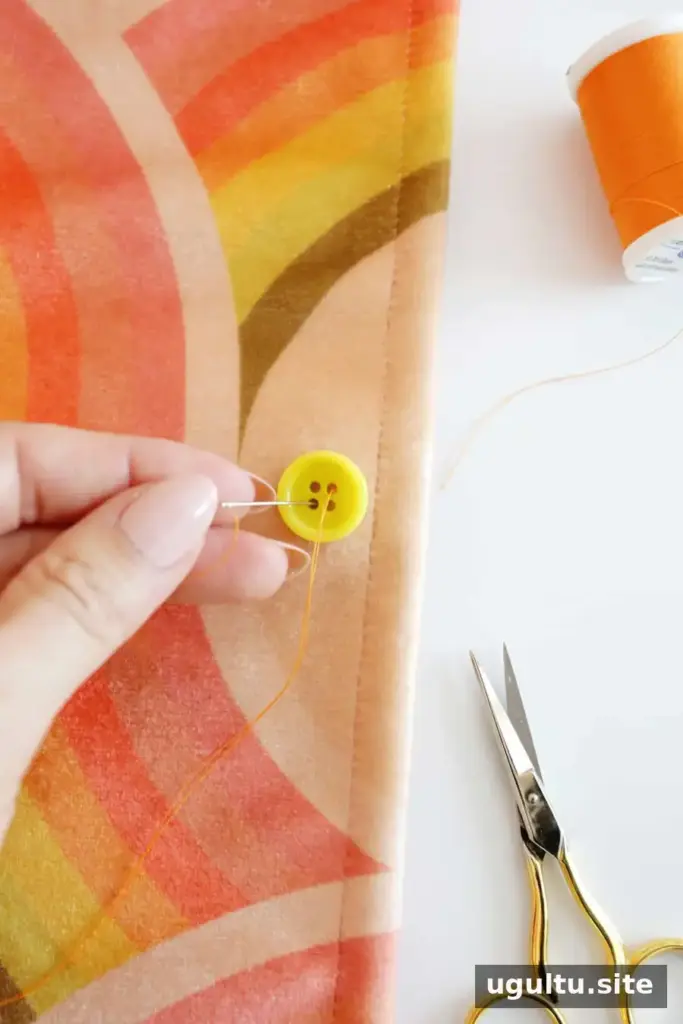
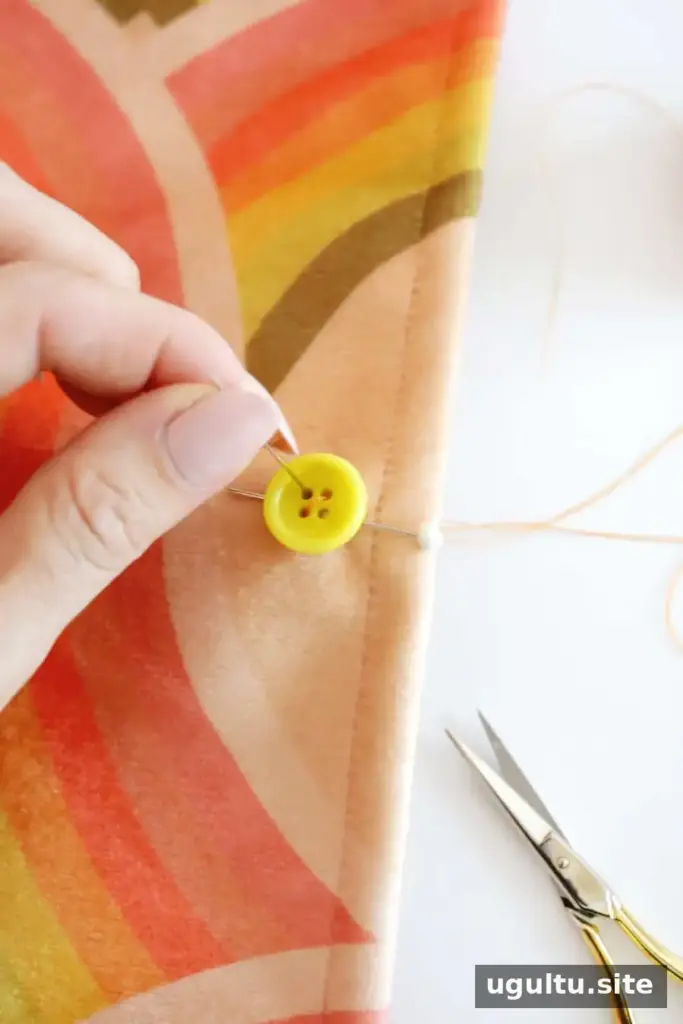
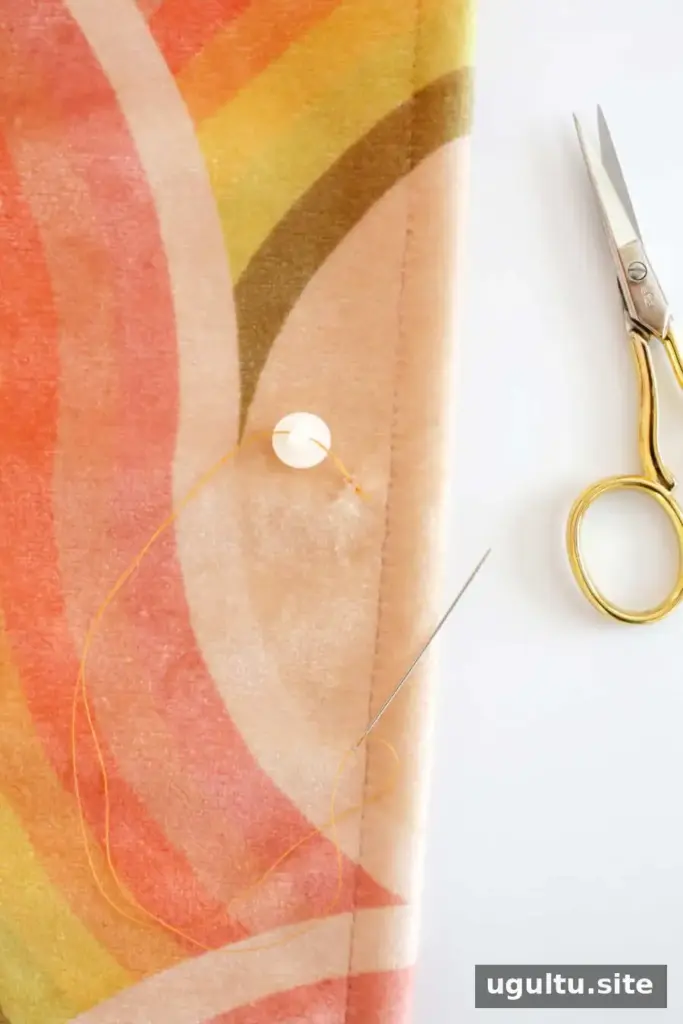
- Stitch through the buttonholes. For a two-hole button, pass the needle through one hole and back down through the other. For a four-hole button, stitch between diagonal holes to form an X.
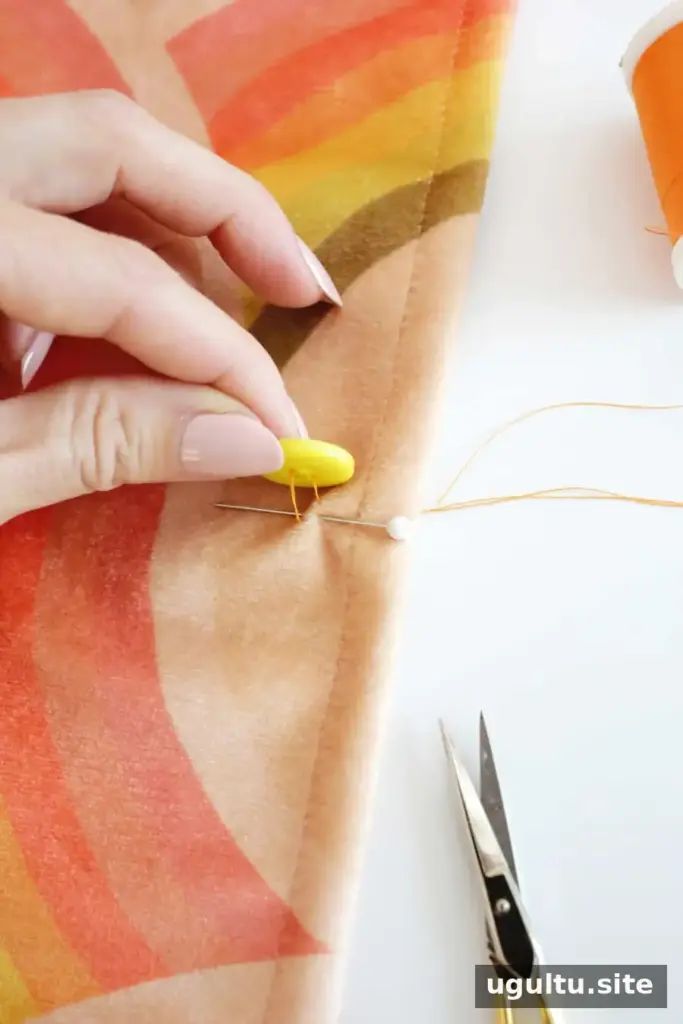
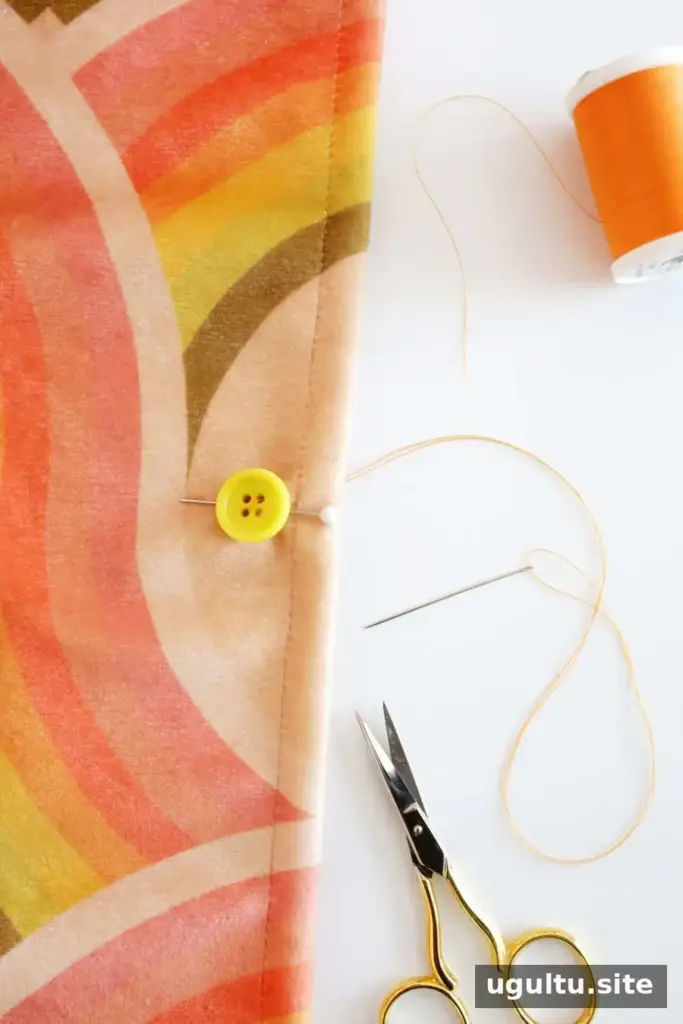
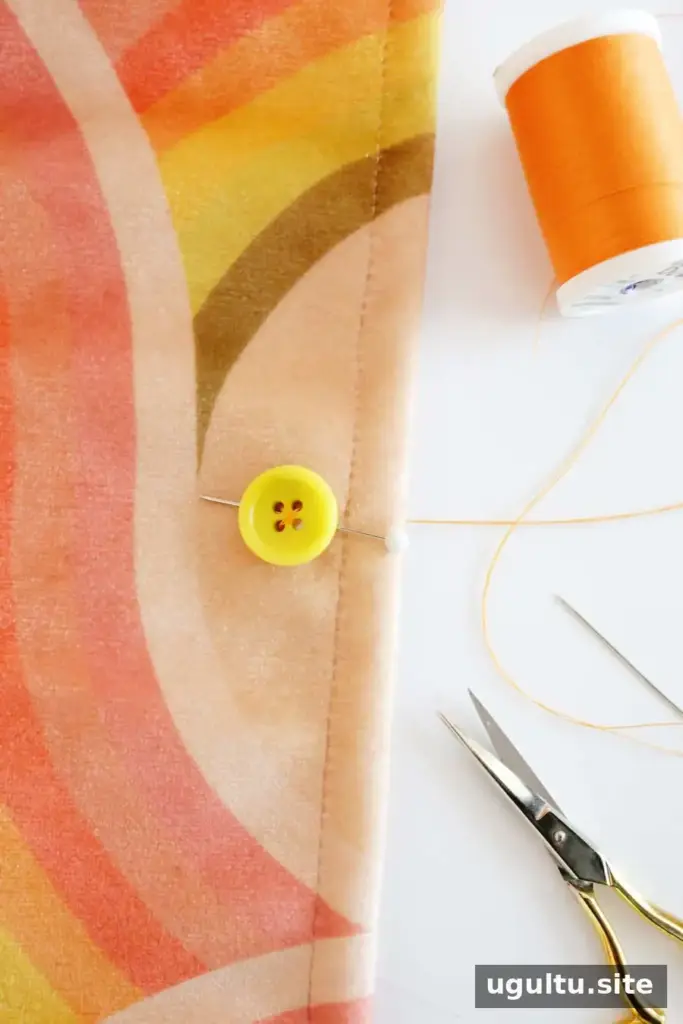
- Use a spacer. Set a straight pin between the button and fabric, across the center of the stitches. This leaves room for the button to fasten comfortably.
- Repeat the stitches. Continue passing the needle through the holes and fabric several times. Check that the button feels secure with a gentle pull.
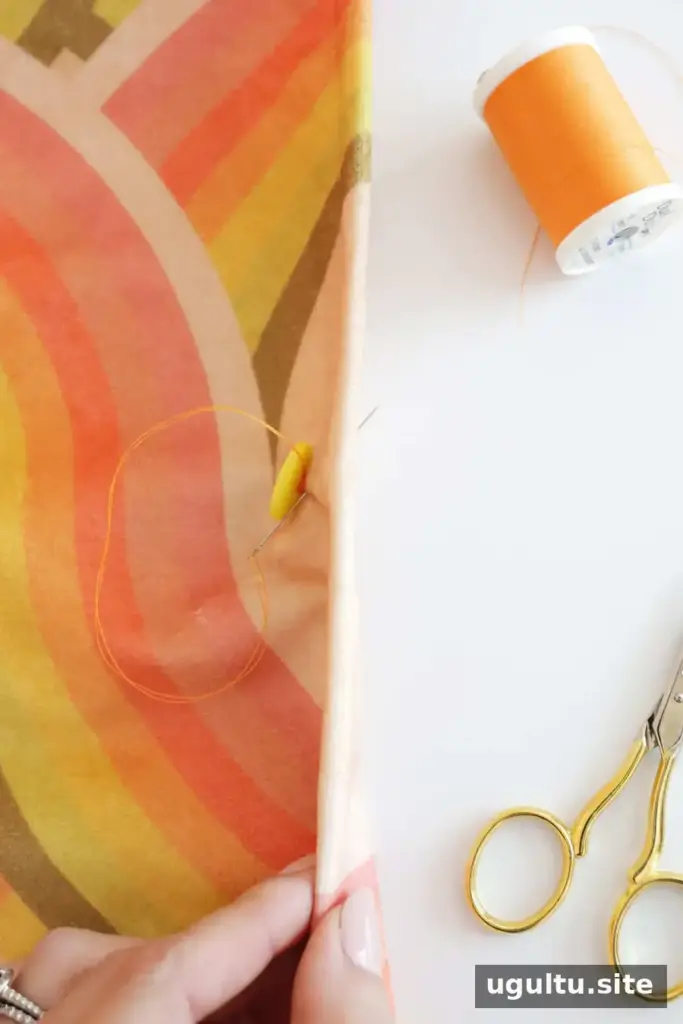
- Make a thread shank if needed. On the final pass, bring the needle out beneath the button rather than through a hole. Remove the straight pin, then wind the thread around the stitches between the button and fabric. This creates space under the button. A decorative button that does not pass through a buttonhole may not need this extra spacing.
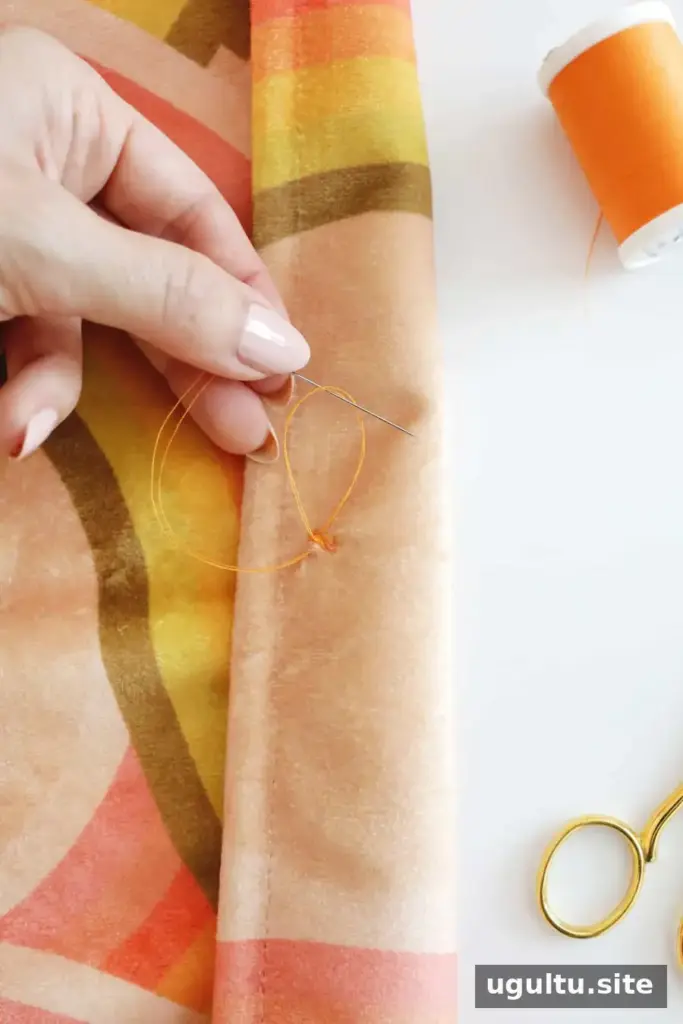
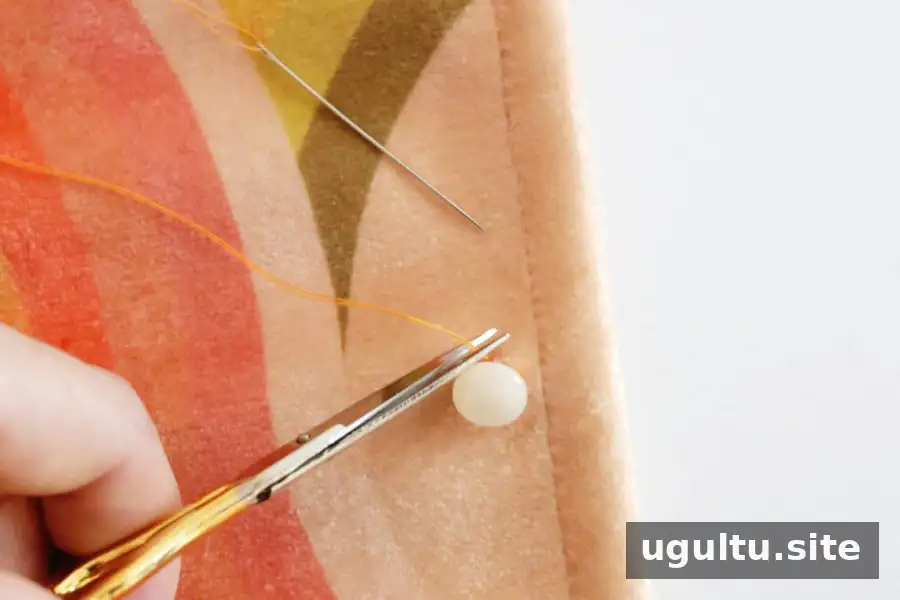
- Knot the thread on the underside. Push the needle through the fabric beside the stitches. Catch a small amount of fabric, leaving a loop of thread, then pass the needle through the loop and pull tight. Trim the thread close to the knot.
Tip: Keep the button aligned with the other buttons as you sew. For four-hole buttons, use the same stitch pattern as the remaining buttons on the garment when possible.
How to Sew a Shank Button
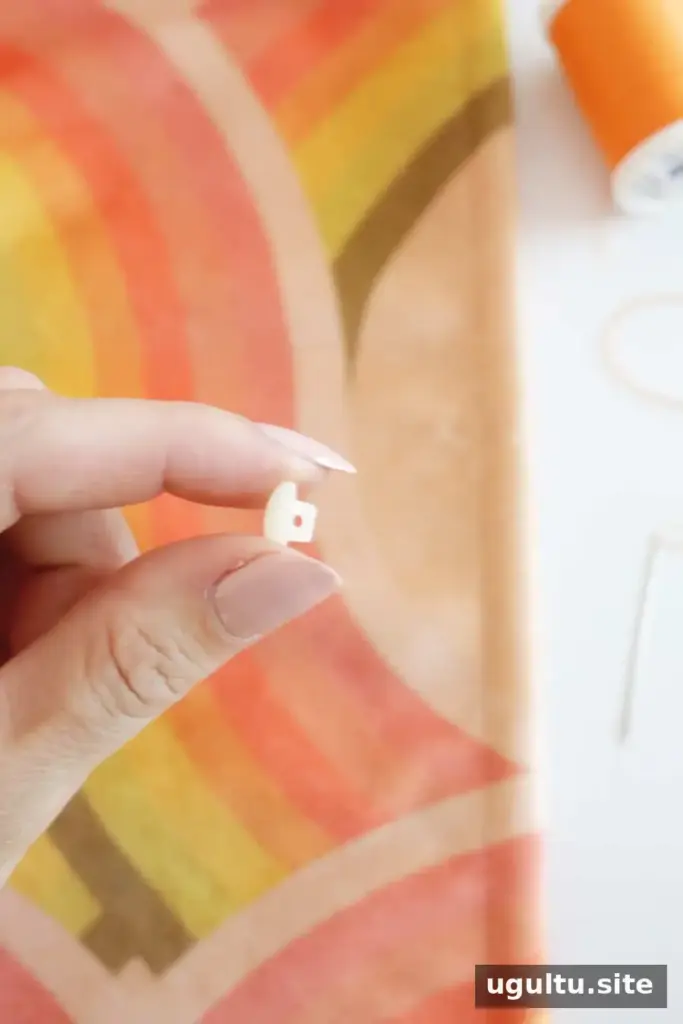
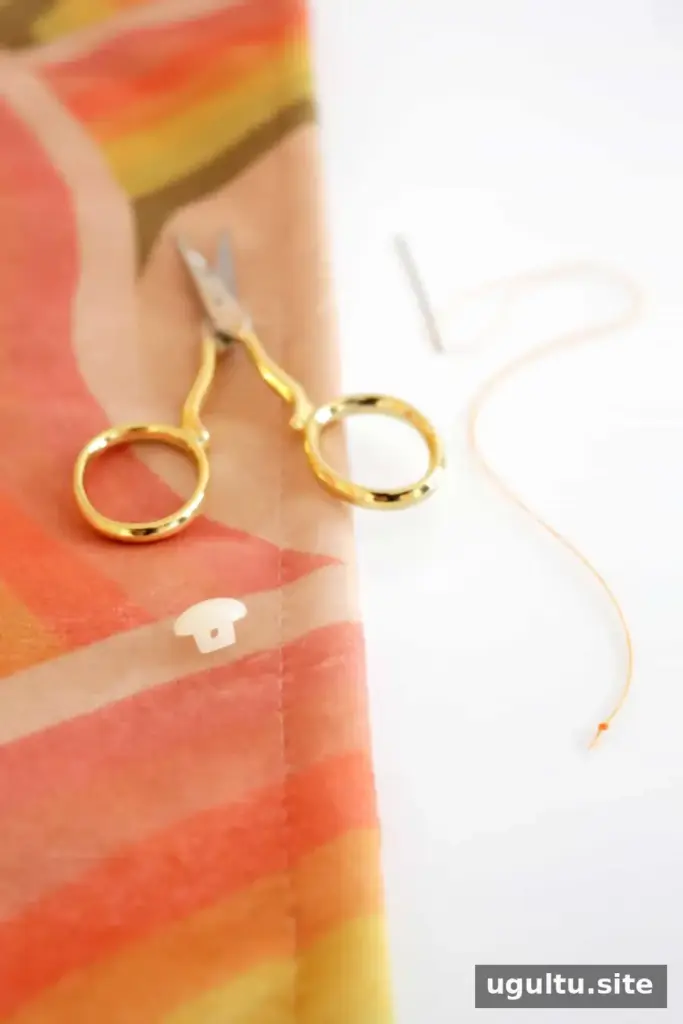
Shank buttons attach through the small loop on the underside, rather than through holes on the front. The same 24-inch length of thread and a regular hand-sewing needle are suitable for most repairs.
- Position the button. Place it where it lines up with the buttonhole. Use a disappearing marking pen to mark the location if helpful.
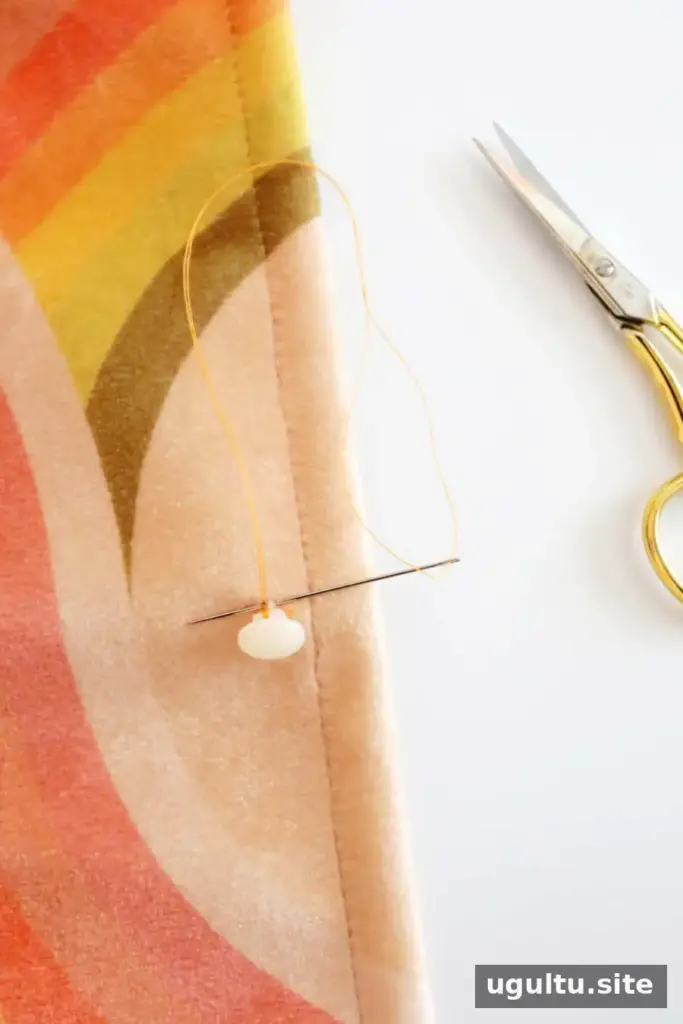
- Start from the underside. Push the needle through a small section of fabric at the marked spot and pull the thread through until the knot stops it.
- Pass the needle through the shank. Guide the needle through the loop on the button’s underside.
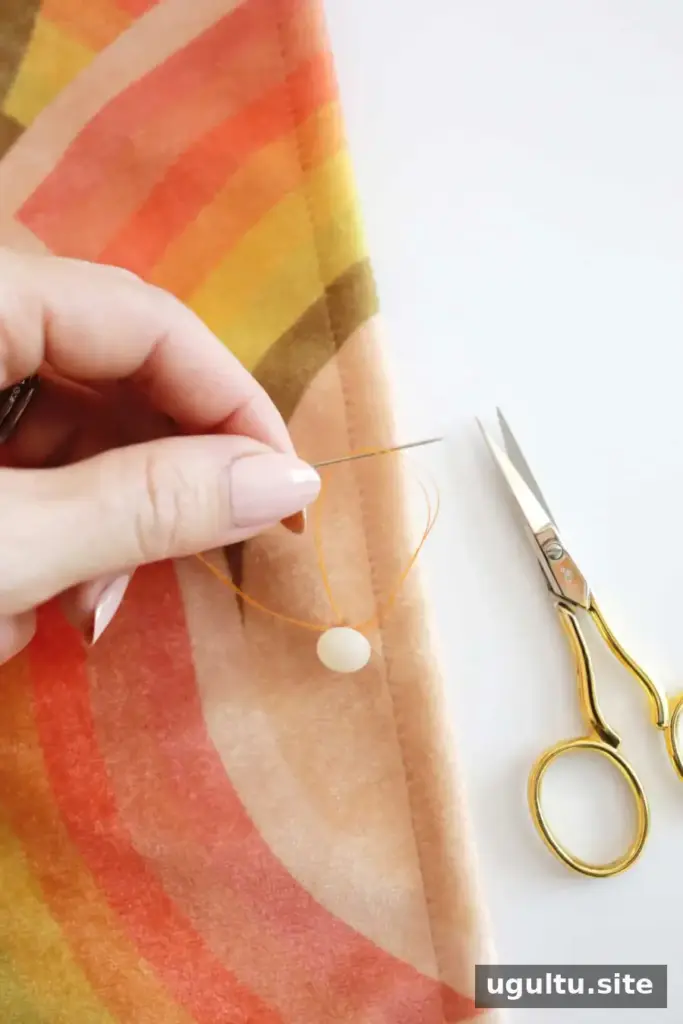
- Secure the button. Pass the needle through a small section of fabric again, then through the shank. Repeat these passes several times until the button feels secure when gently pulled.
- Tie off the thread. Make a final pass through a small section of fabric, leaving a loop before pulling the thread through. Pass the needle through the loop and tighten it into a knot. Cut the thread close to the knot.
Avoid pulling the stitches so tightly that the fabric puckers. A neat, secure attachment should hold the button in place without distorting the garment.
Quick Project Details
- Cost: $1
- Yield: 1 button
- Active time: 5 minutes
- Total time: 5 minutes
Conclusion
Knowing how to sew a button makes it easier to handle a loose or missing button without replacing the garment. Use the hole-stitching method for a flat button and the underside loop for a shank button. Choose thread suited to the garment, position the button carefully, and finish with a firm knot on the underside.
— Laura