admin
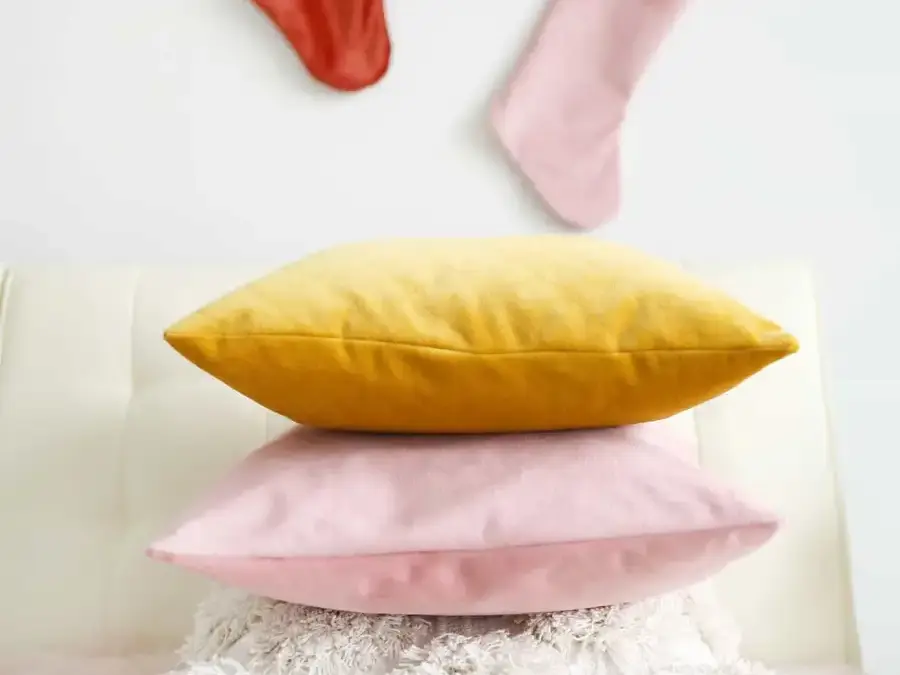
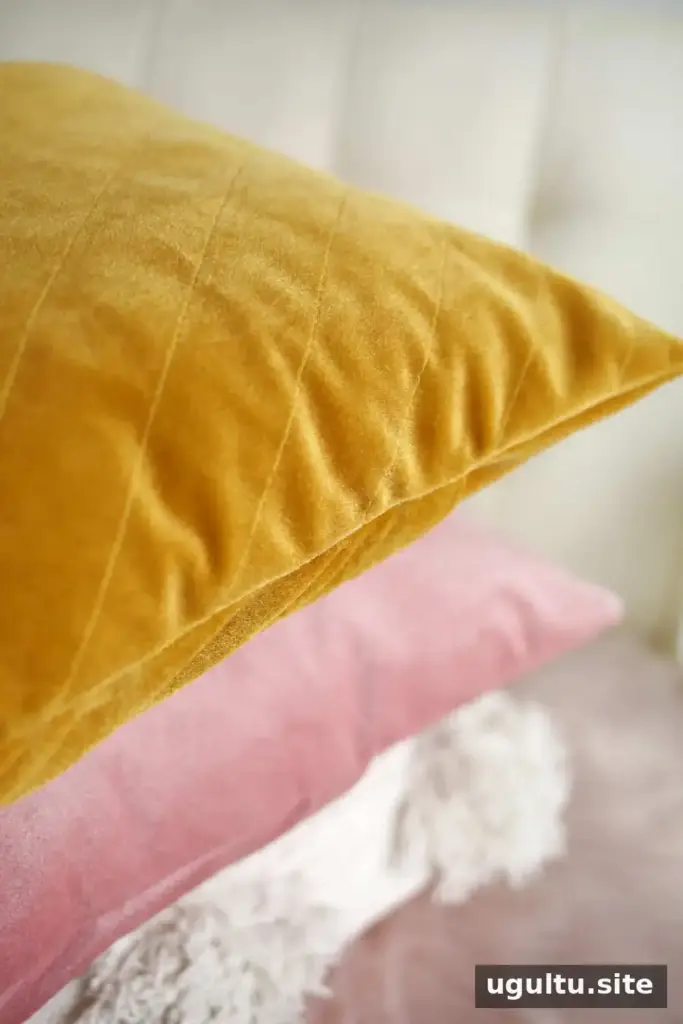
A quilted velvet pillow can add texture and warmth to a sofa or bed, and its envelope back makes it easy to remove the cover when you want to change your decor. This sewing project uses straightforward stitch lines to create a subtle quilted pattern, with optional star shapes for extra detail. You will need a sewing machine and the ability to sew a mostly straight line.
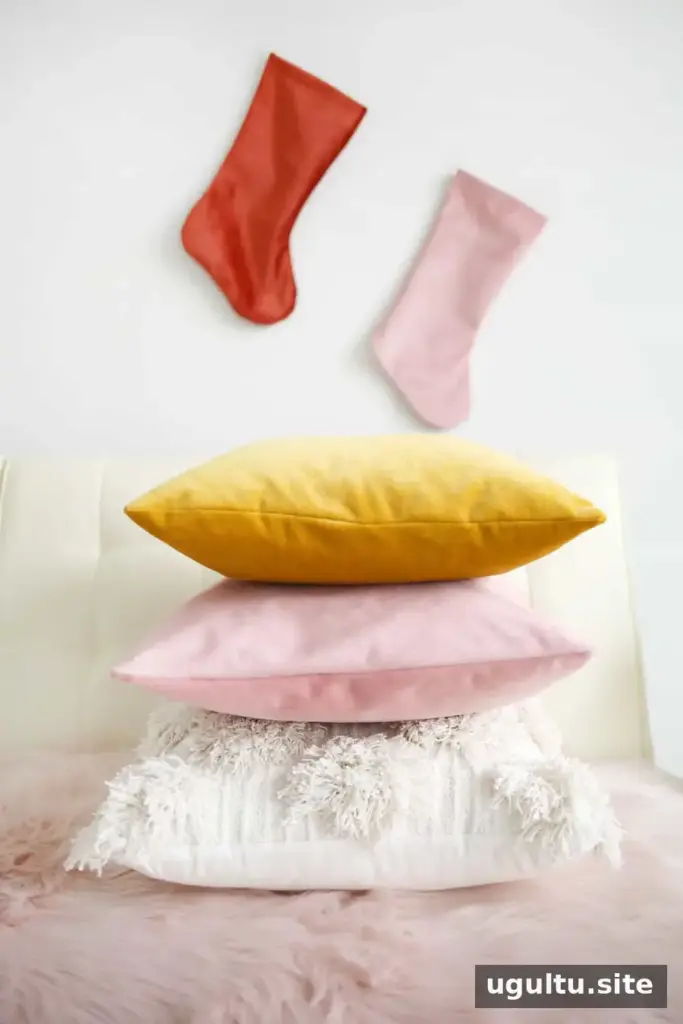
Velvet catches the light and gives the finished cushion a rich, soft appearance. Pair it with woven cotton or knitted wool pillows for contrast, or use it as a seasonal accent. The removable envelope cover is also practical for routine cleaning; follow the care instructions for your particular fabric.
How to Make a Quilted Velvet Pillow
The instructions below use a 16″ × 16″ pillow insert as the example. Cut the front panel to match the insert’s dimensions rather than adding extra room. A larger cover can look loose and floppy once the insert is inside.
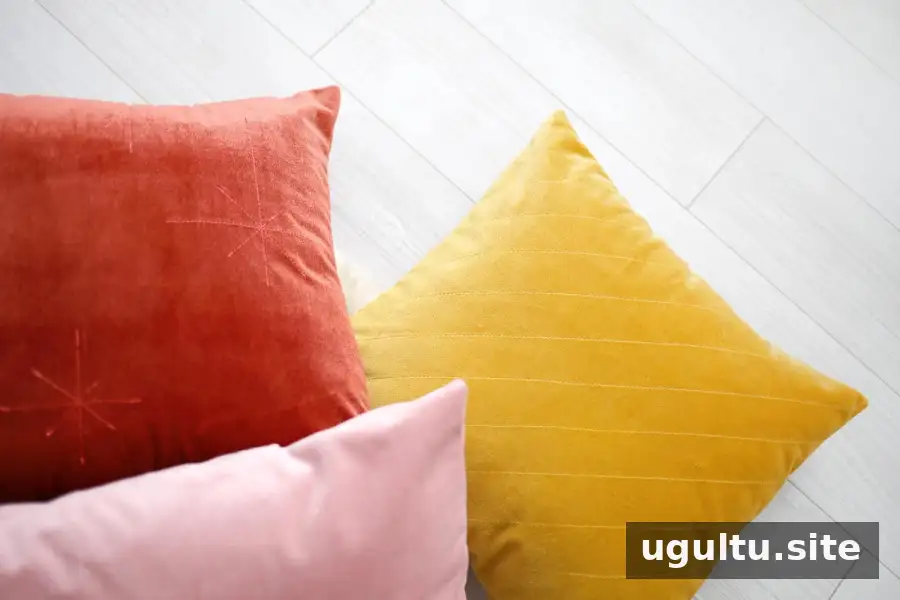
For the stitched design, use evenly spaced lines or draw star shapes on the wrong side of the front panel. A ruler helps keep lines consistent. If you are unsure how velvet will feed through your machine, test your stitch length and tension on a small fabric scrap first.
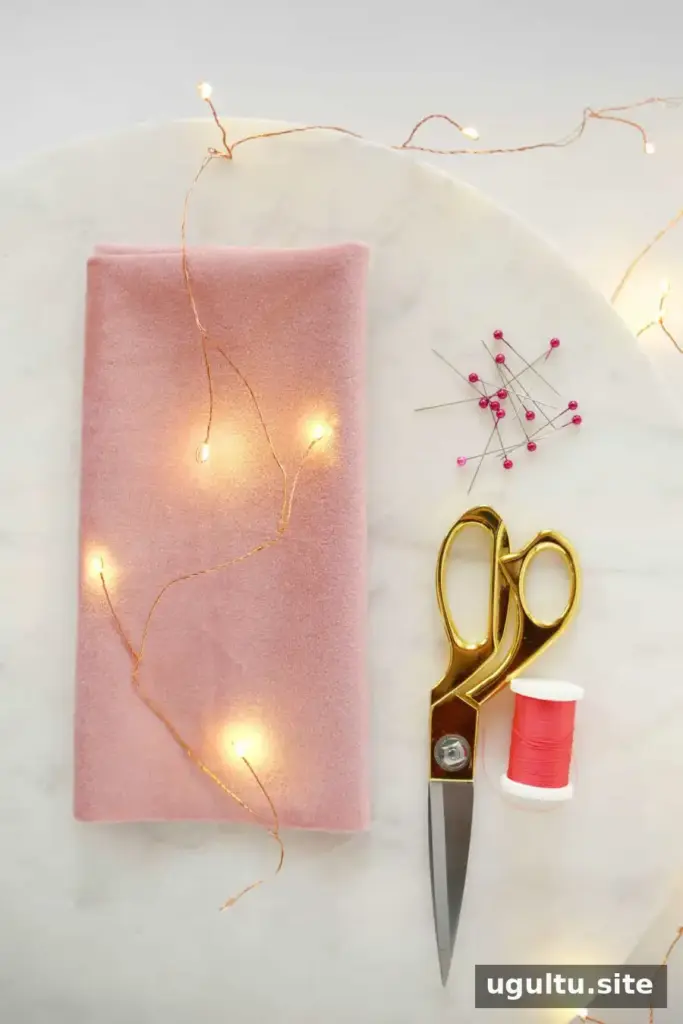
Supplies
- 2/3 yard of wide selvedge pink velvet fabric for 16″ pillows, or 1/2 yard for 12″ pillows
- A pillow insert in the matching size
- Sewing machine and coordinating thread
- Fabric scissors
- Straight pins
- Chalk or a fabric marker
- Acrylic ruler
- Cutting mat (optional)
Step 1: Cut and Mark the Fabric
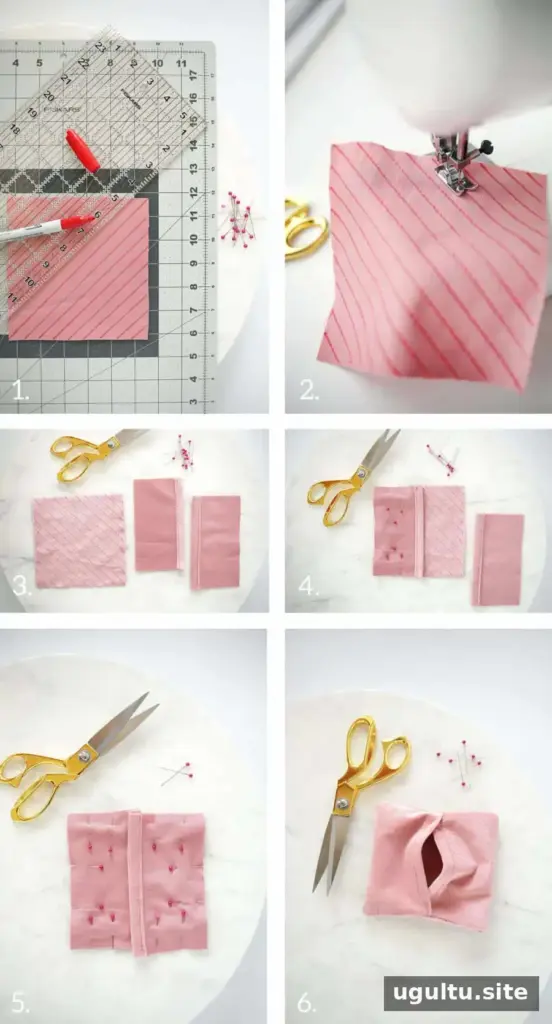
For a 16″ pillow, cut one 16″ × 16″ piece for the front. Cut two 12″ × 16″ pieces for the back. The back panels should overlap by at least 5″ when assembled, creating the envelope opening.
Place the front piece with the velvet side facing down. Use chalk or a marker and an acrylic ruler to mark parallel lines 1/2″ or 1″ apart. Keep the spacing consistent. For a star pattern, draw shapes on the wrong side instead. Secure the ends of each stitch line by backstitching so the seams are less likely to unravel.
Step 2: Sew the Quilting Lines
Stitch along the marked lines with the sewing machine, then trim loose thread ends. Work carefully to keep the fabric aligned as you sew. A small test piece can help you check the result before stitching the pillow front.
Step 3: Hem the Back Panels
On each back panel, fold one long edge toward the wrong side by 1/2″, then fold it another 1/2″ to enclose the raw edge. Pin the fold and stitch along it. The finished hem should leave the right side of the velvet showing.
Step 4: Assemble the Envelope Cover
Place one back panel over the front with right sides facing each other. Align three edges and pin them together. Add the second back panel, also with right sides together, so its hemmed edge overlaps the first panel’s hemmed edge. Check that the overlap is at least 5″ before sewing.
Stitch around the full perimeter, sewing through the layers and removing pins as you go. Keep the seam close to the edge while maintaining an even line.
Step 5: Turn and Insert the Pillow
Turn the cover right side out and gently push out the corners. Insert the matching pillow form through the envelope opening, then adjust the corners and smooth the cover into place.
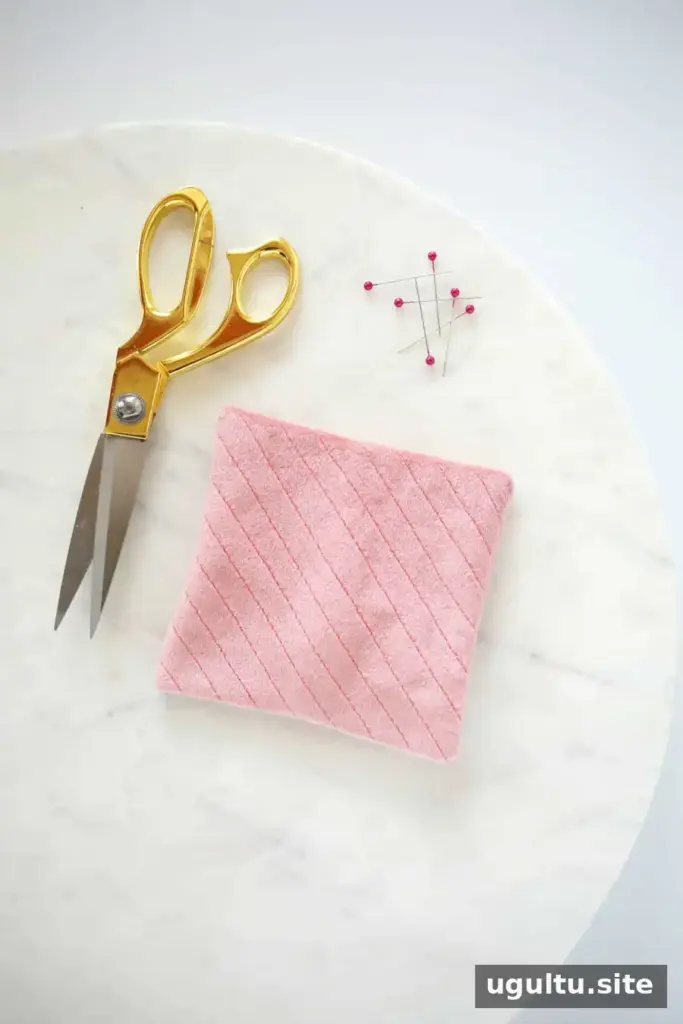
Velvet’s surface can look different as the light changes, giving the finished cover depth and a soft sheen. A faux-down insert can create a fuller look, while an insert that matches the cover size helps the pillow keep its shape.
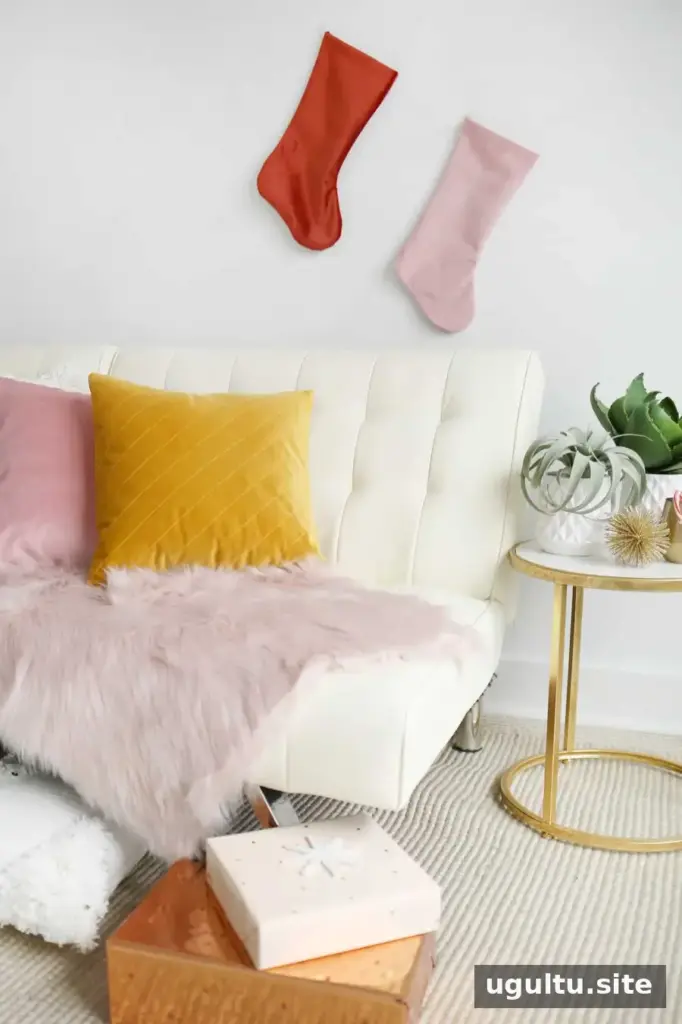

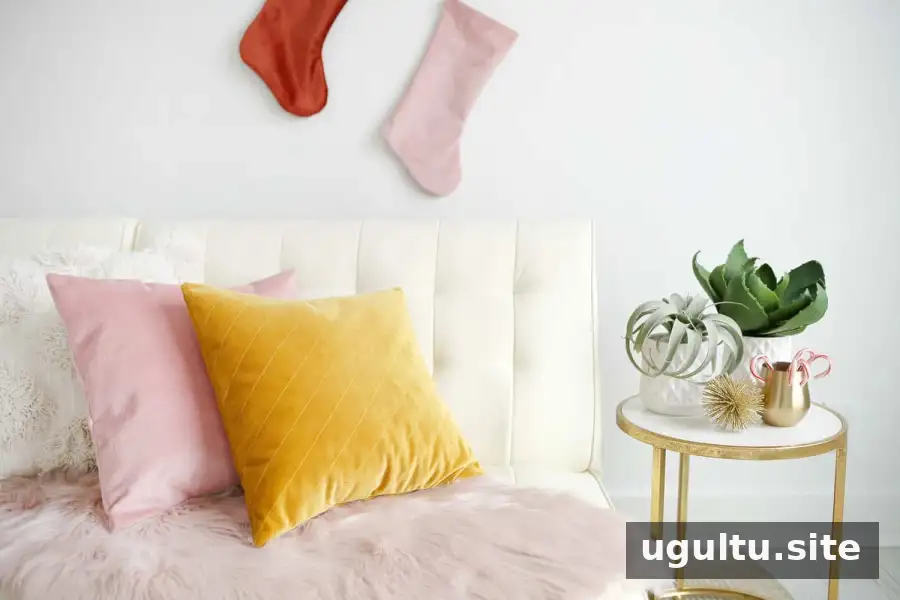
For a neat finish, check that the back panels remain overlapped after inserting the pillow. This envelope-style closure keeps the cover removable without requiring a zipper.
Tutorial by Rachel.
Quilted Velvet Pillow: Final Tips
This quilted velvet pillow project is an approachable way to add a handmade accent to a room. Match the front panel to the pillow insert, keep the quilting lines evenly spaced, and confirm the back overlap before sewing the perimeter. These small checks help the cover fit neatly and make it easier to insert or remove the pillow form.