admin
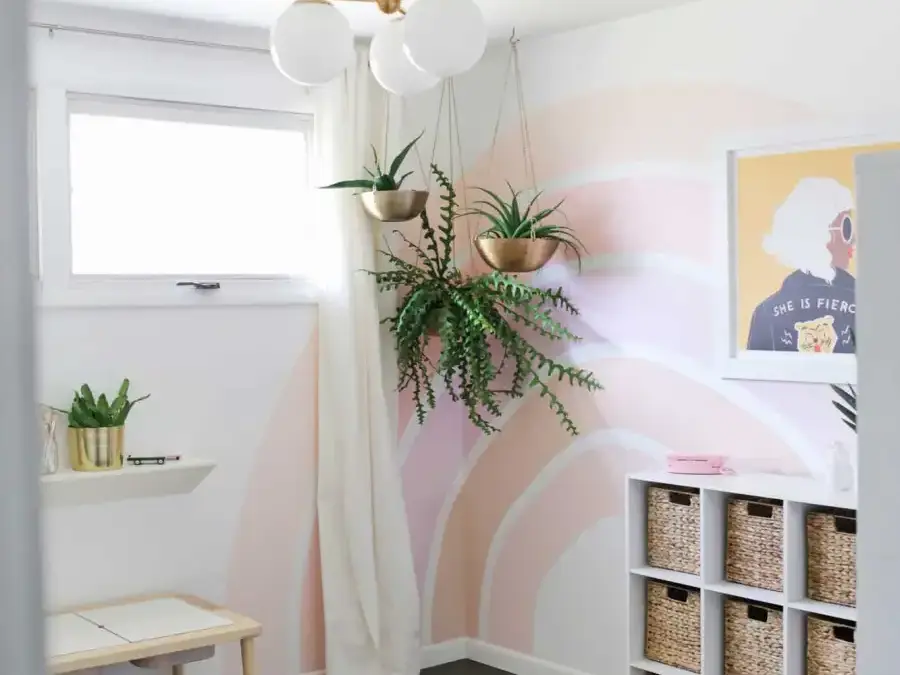
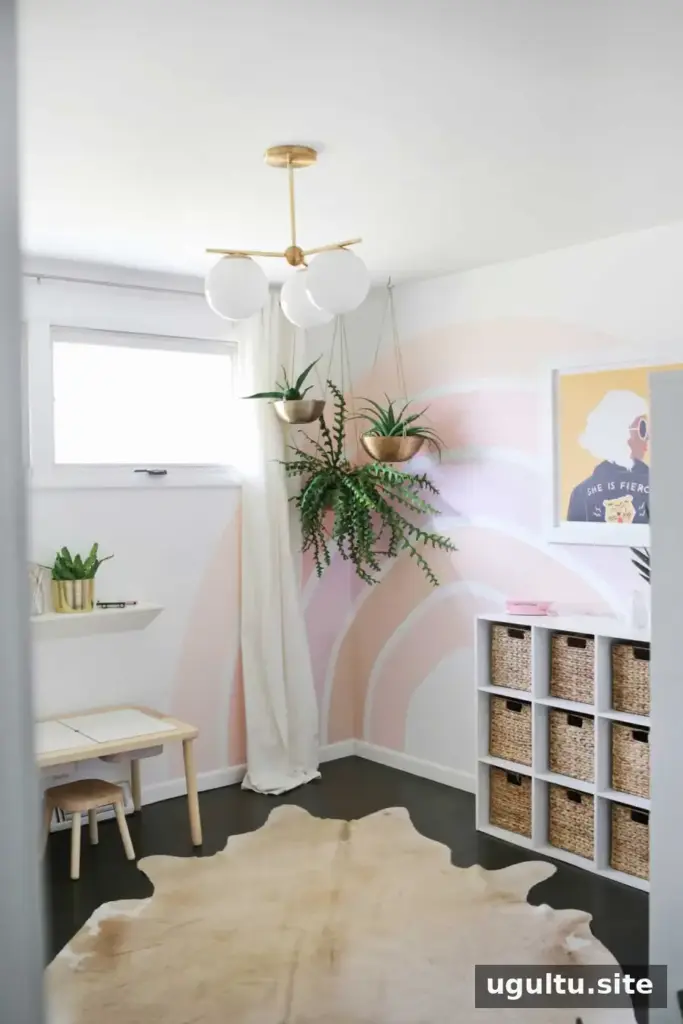
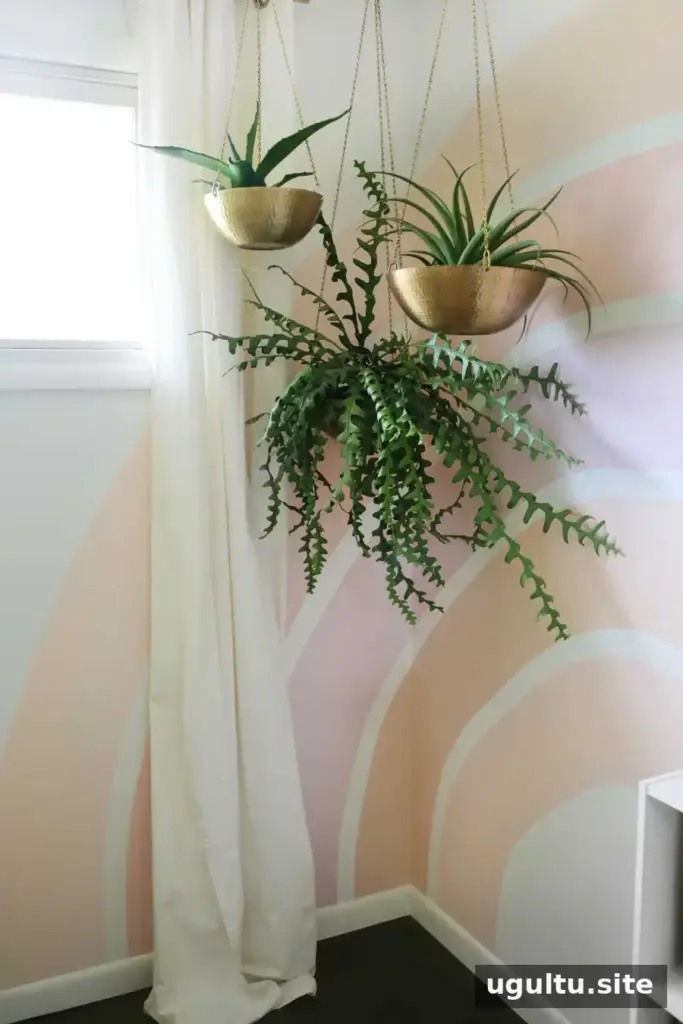
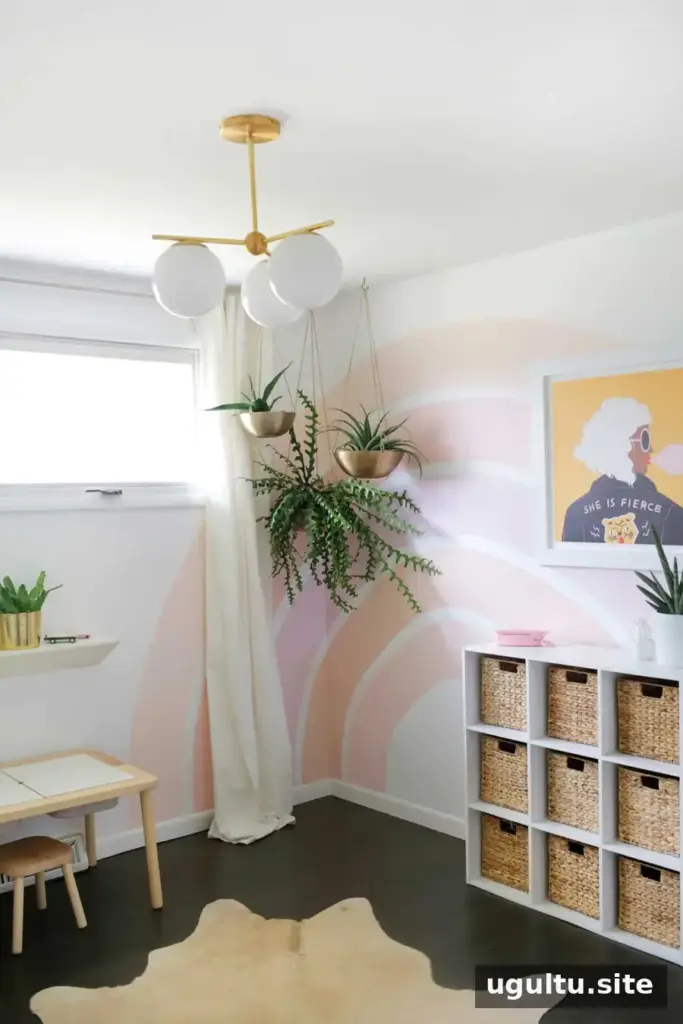
A rainbow corner accent wall can bring color and personality to a room with plain walls or few architectural details. This project uses painter’s tape and a simple spacing guide to create curved bands that wrap around a corner. Choose colors to suit your space, and decide in advance whether you want a precise, symmetrical shape or a more relaxed, hand-drawn look.
Supplies for a Rainbow Corner Accent Wall
Gather your materials before taping so you can work through each band without interruptions. The example uses five shades, listed from the outer band inward:
- Paint in the colors you want for each stripe: Champagne Pink, Baby Blush, Opal Blush, Warm Cappuccino, and Pink Wink
- Paint matching the main wall color
- Painter’s tape and scissors
- Paint brushes and rollers
- Cardboard and a light-colored pencil to make a width guide
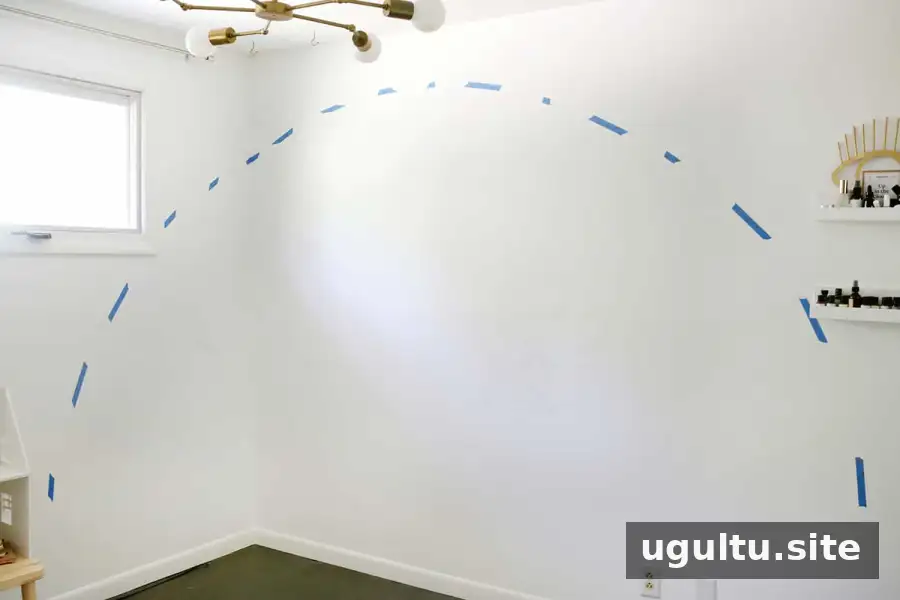
Before you begin, make sure the wall is clean and dry, and protect the floor and nearby furniture. Test your paint colors together if you are unsure how they will look in the room’s lighting.
Mark the Outer Rainbow Arch
Start by using painter’s tape to outline the largest arch. Mark where the two sides will end and place a piece of tape at the highest point of the curve. Add shorter pieces between these points to form the outer edge. The arch can be tall, wide, uneven, or deliberately imperfect; choose a shape that fits the wall and the space around it.
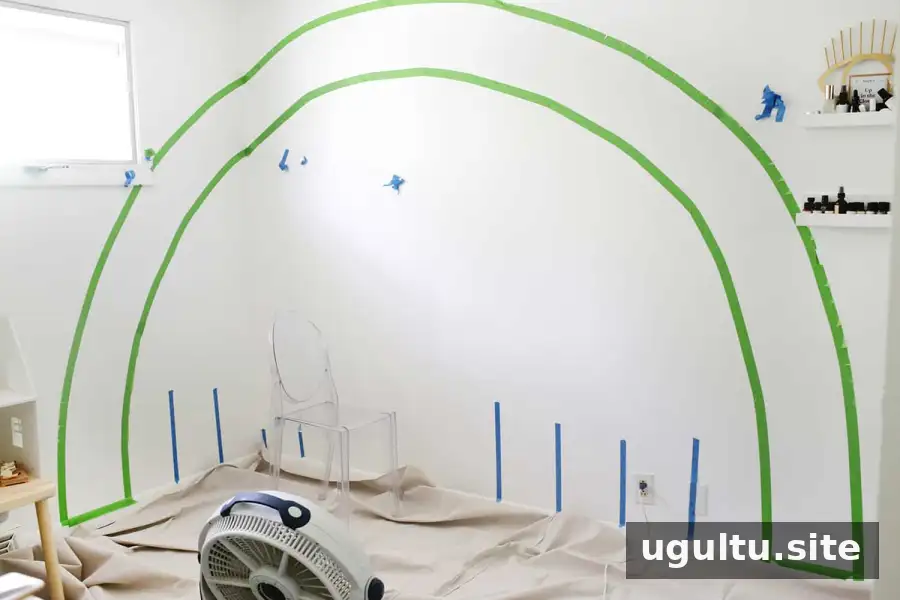
Once the general curve is in place, adjust the tape until the outline looks right from the main viewing angle. Then decide how wide you want each color band to be. Keeping the stripe width consistent helps the finished design look balanced.
Make a Guide for Even Stripes
For 10-inch-wide stripes, cut a piece of cardboard to 10 inches. Attach a very light-colored pencil to one side. Rest the plain edge of the cardboard against the existing tape line and use the pencil to mark the next curve at the same distance. Position the next strip of tape just outside the pencil mark so the line will be covered by paint.
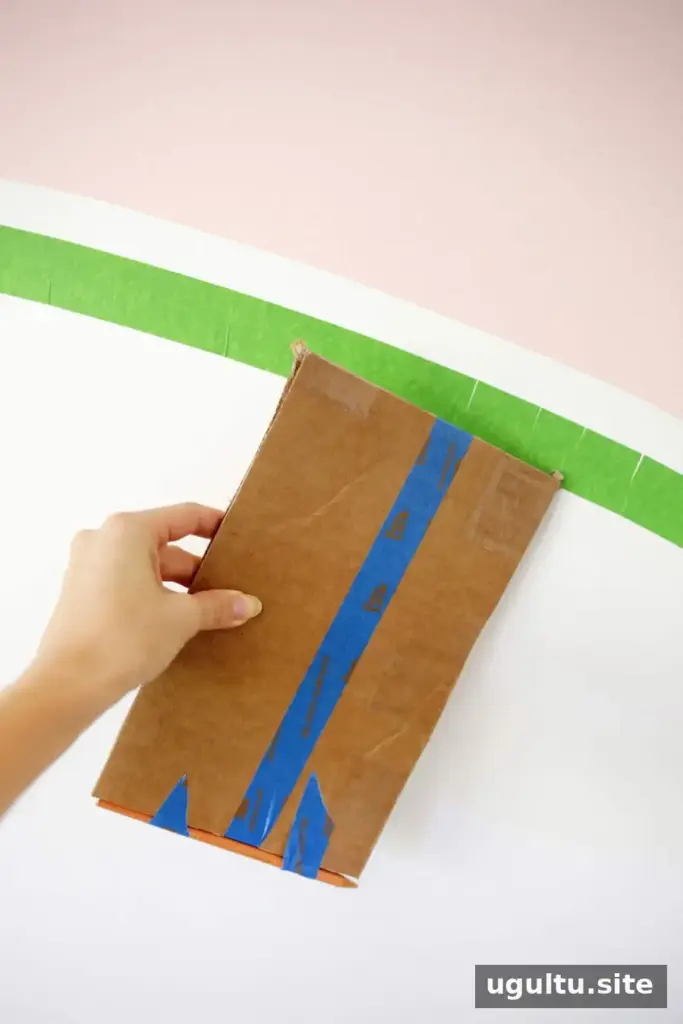
A pale pencil mark is easier to conceal beneath light paint than a standard dark pencil line. Check the guide as you move around the arch, especially near the corner, to keep the bands at a similar width.
Shape the Tape Around the Curve
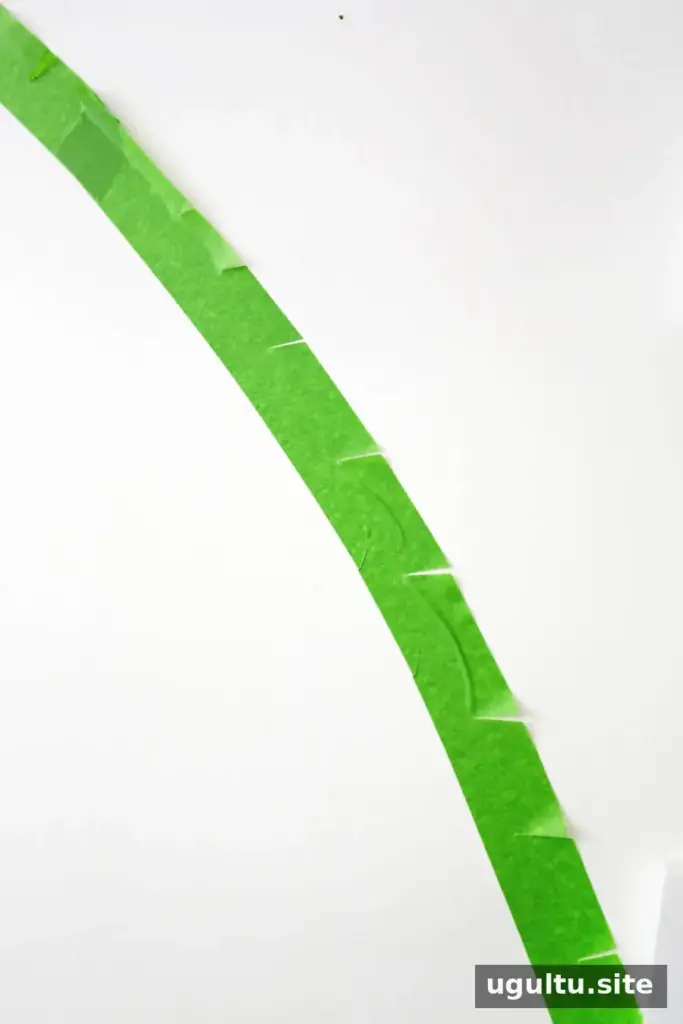
Painter’s tape is straight, so it may not follow a curve smoothly in one piece. For easier shaping, cut the tape lengthwise into narrower strips. Another option is to make small cuts along one edge, stopping around halfway through the tape, so it can bend to match the arch. Apply it gradually and press down the edge that will meet the paint.
Paint for Clean Edges
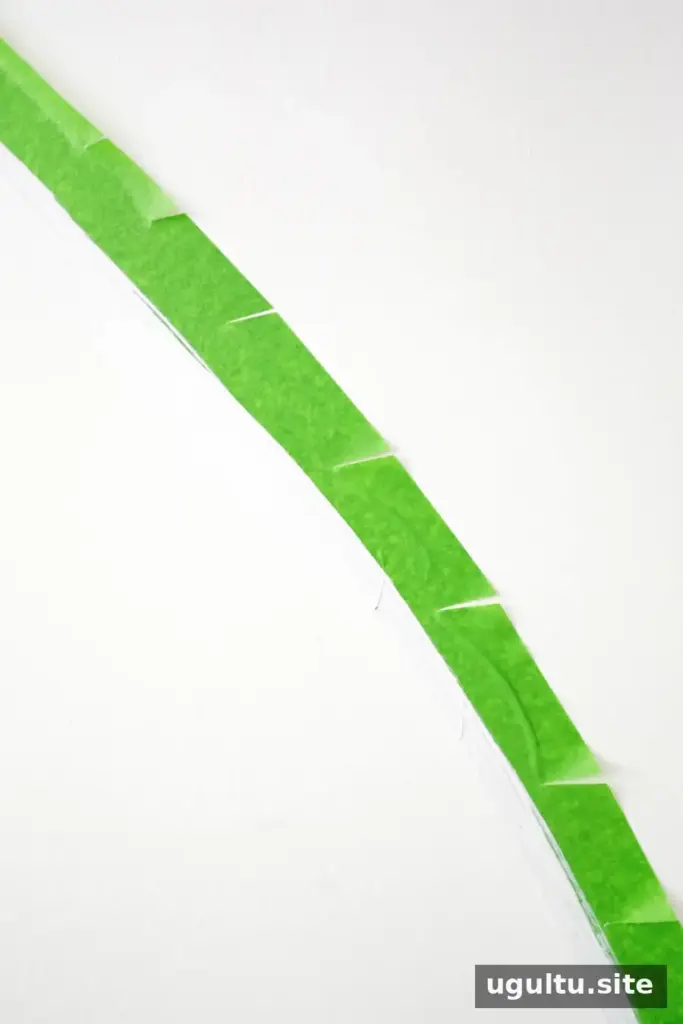
Before applying the stripe color, brush a thin coat of the wall’s original color along the tape seam. Let it dry. If paint seeps beneath the tape, this first coat will match the wall and help prevent the stripe color from leaving a fuzzy edge.
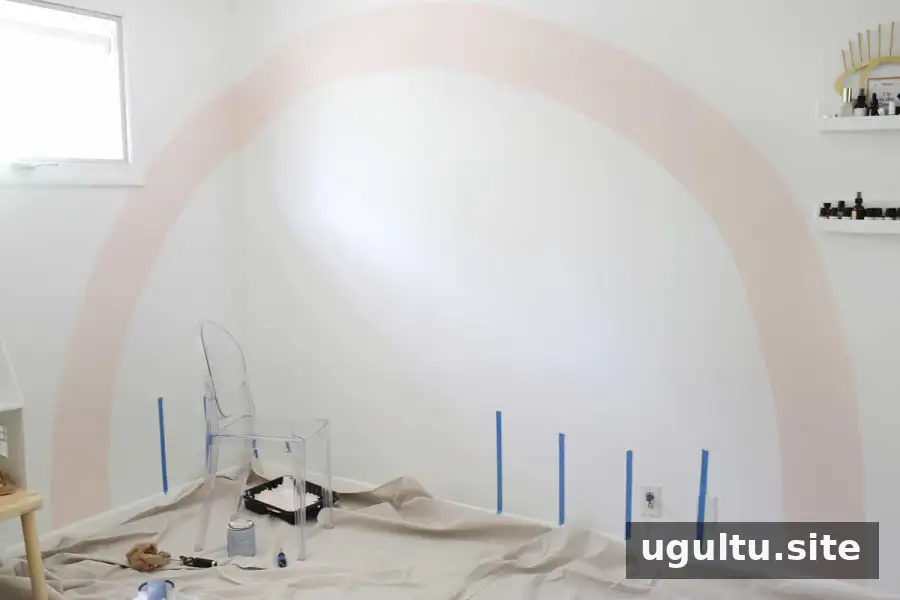
Paint the exposed band with its chosen color, applying additional coats as needed and allowing the paint to dry between coats. Follow the paint label for drying times. Once the paint is dry, carefully remove the tape to reveal the first stripe.
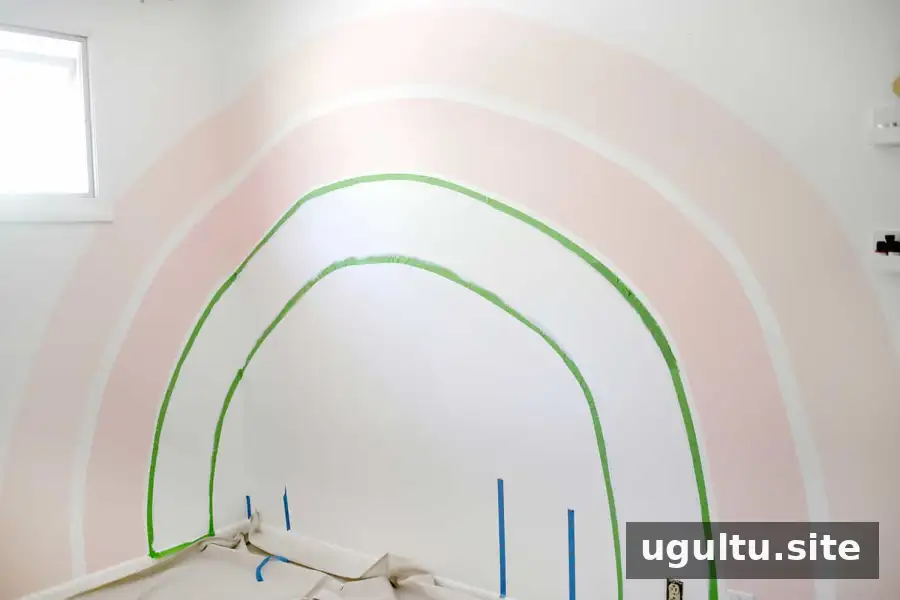
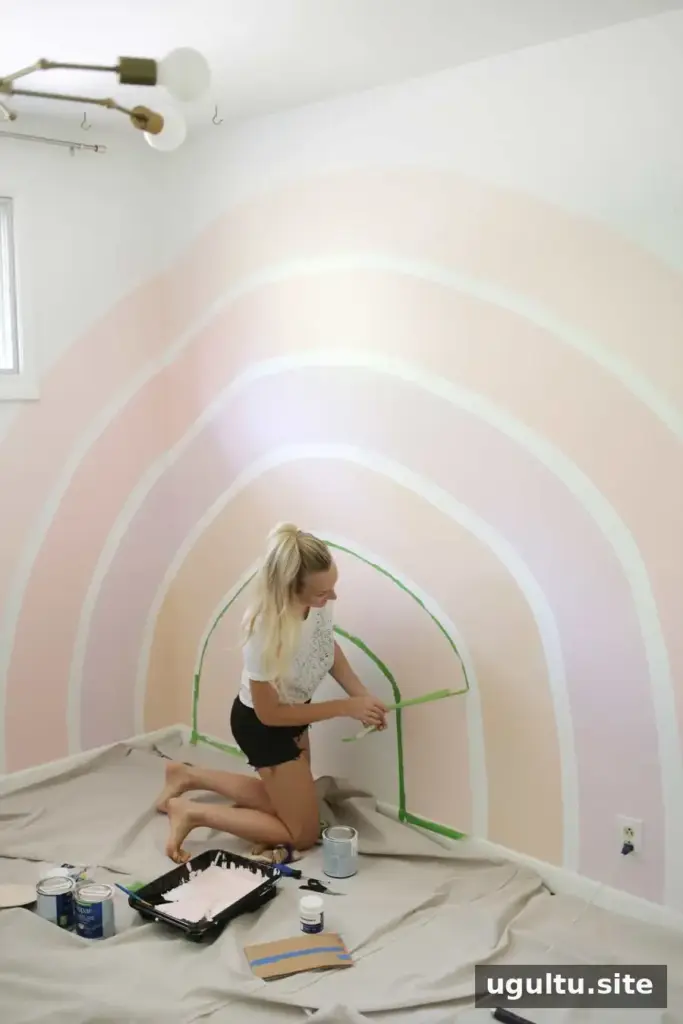
Repeat the process for each inner band: mark the next curve with the cardboard guide, apply tape, seal the edge with the wall color, and paint the stripe. Work one section at a time and let each coat dry before moving on.
Finish and Personalize the Design
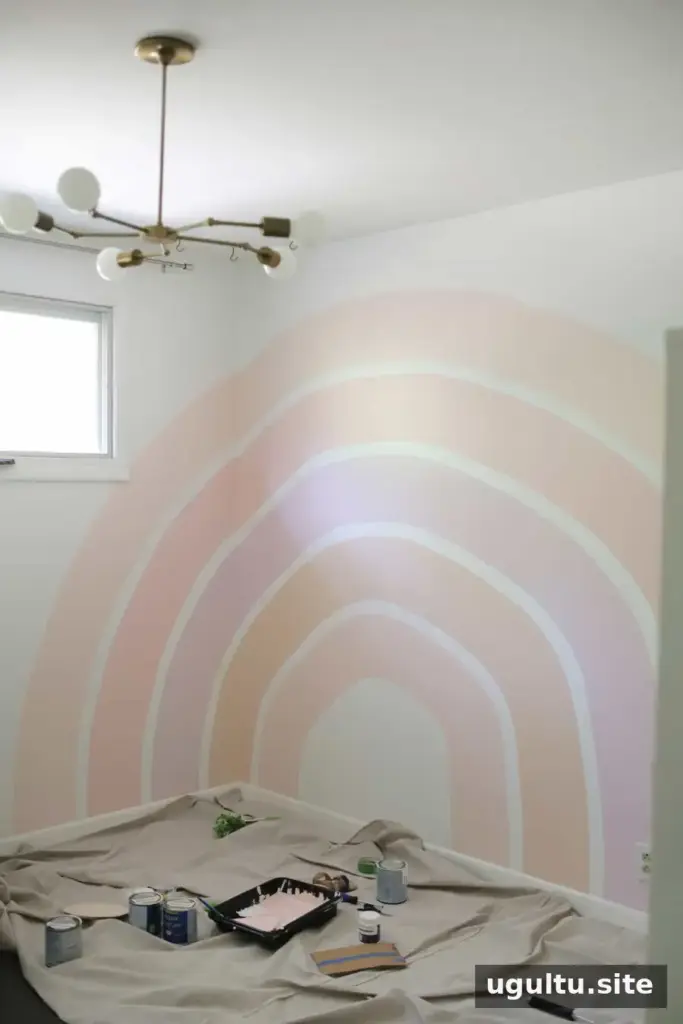
You can measure each band carefully for a uniform result, or estimate the spacing for a softer, less formal look. A slightly imperfect arch can still feel intentional, particularly in a playroom or creative space. Take a step back periodically to check the overall shape before painting the next section.
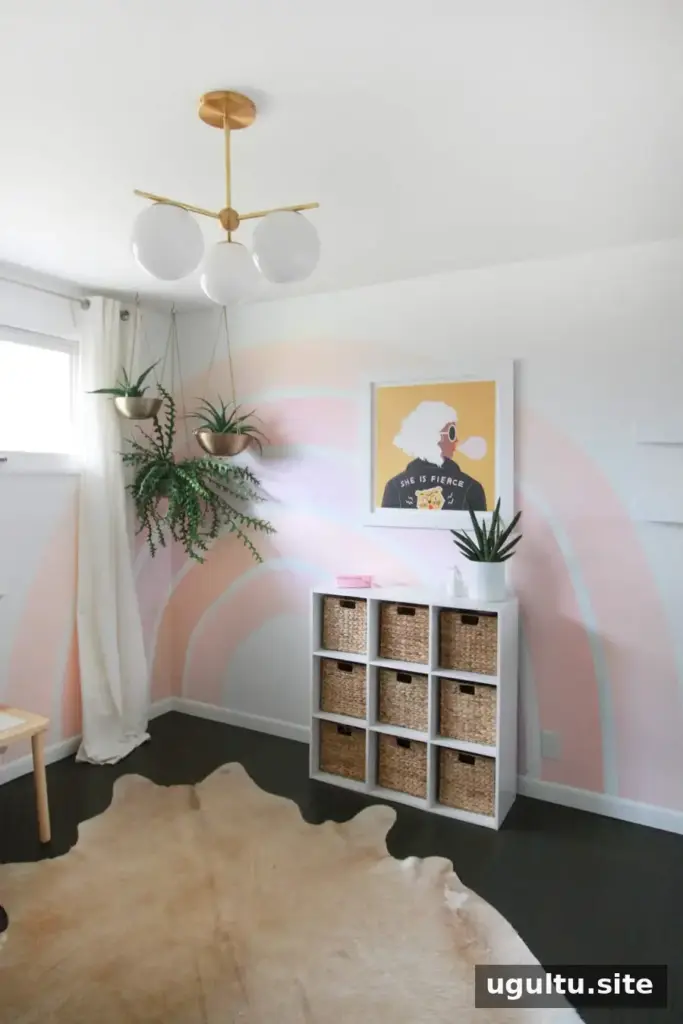
Choose a palette that works with the room: the listed pinks and warm neutrals are one option, but other colors can be used to suit your decor. Allow the final coat to dry fully before placing furniture or wall decor nearby.
Conclusion
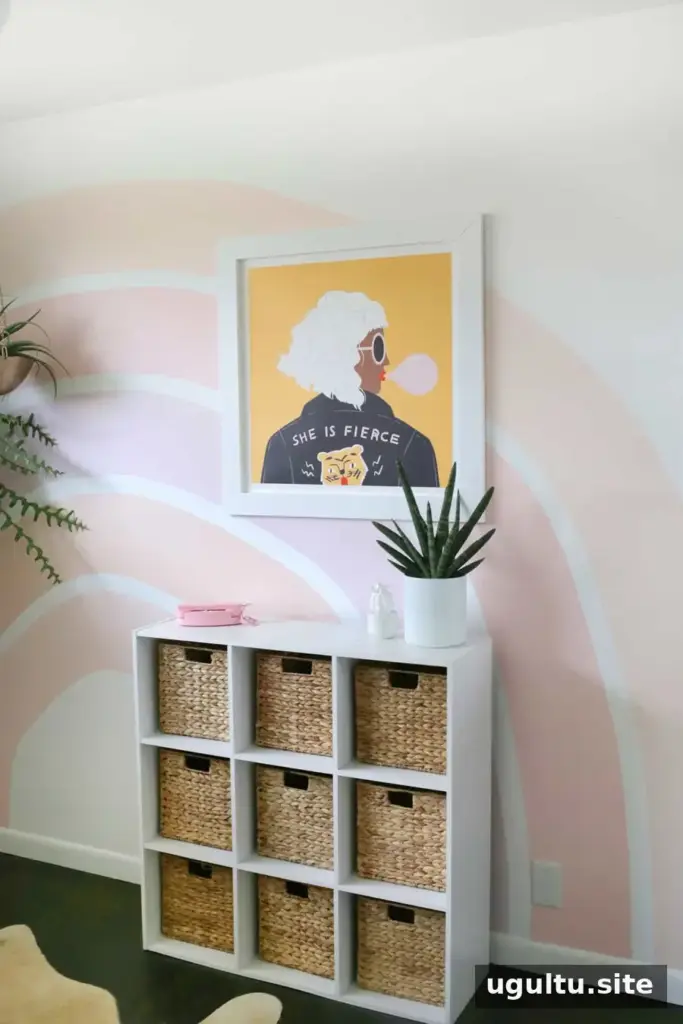
A rainbow corner accent wall is a straightforward way to add a cheerful focal point, with most of the work involving careful taping and allowing paint to dry. Plan the arch, use a consistent guide for the bands, and seal tape edges with the wall color for cleaner lines. Adjust the colors and stripe widths to fit your room, and remember that a relaxed finish does not need perfectly measured curves. Design inspiration: Grace Dille at Flea Style. —Laura