
 admin
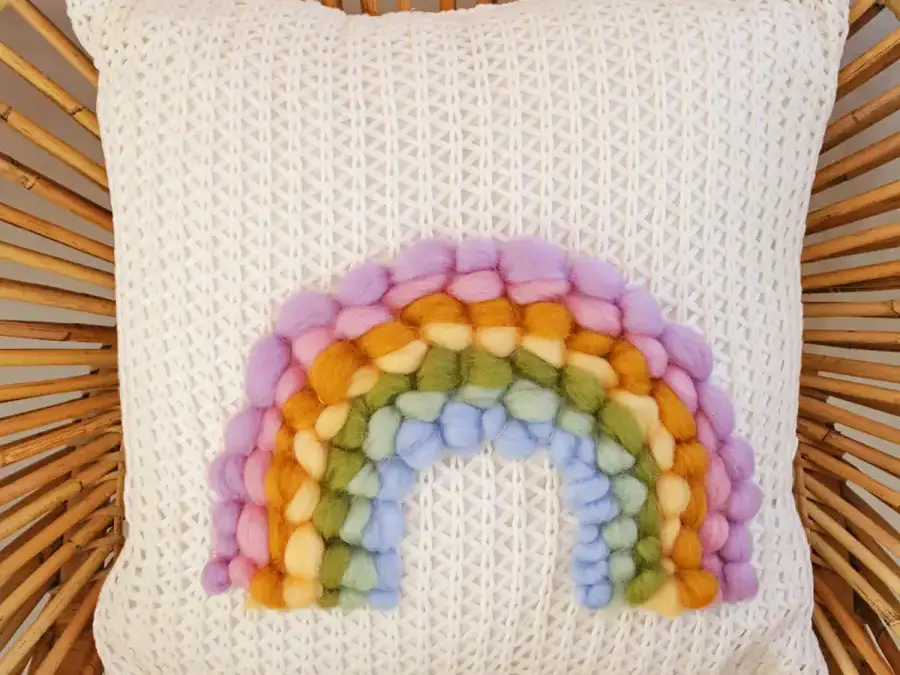
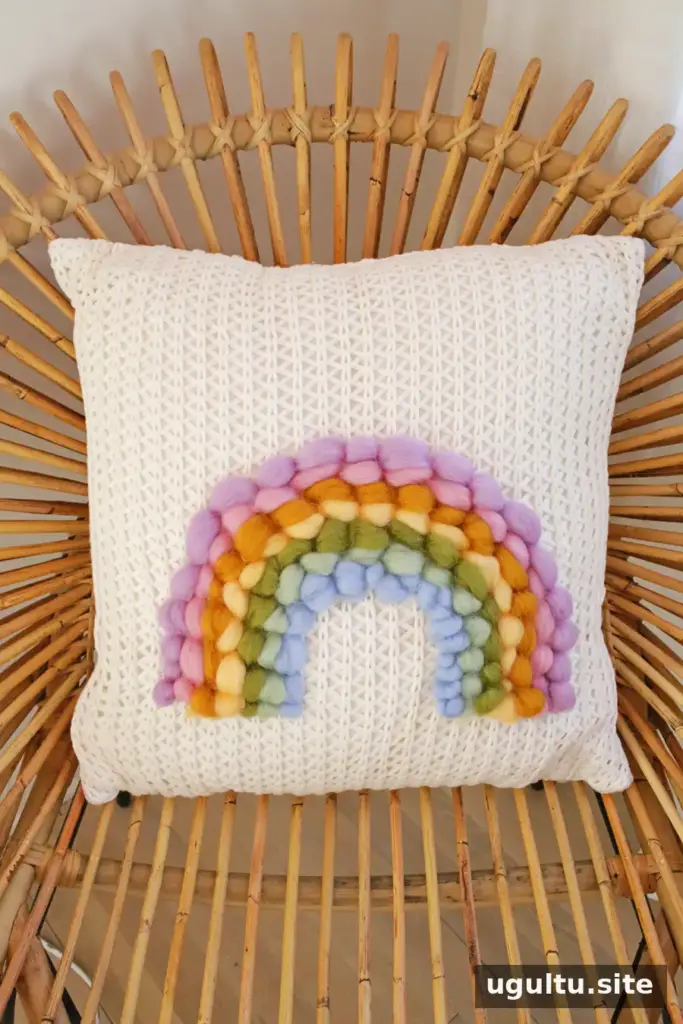
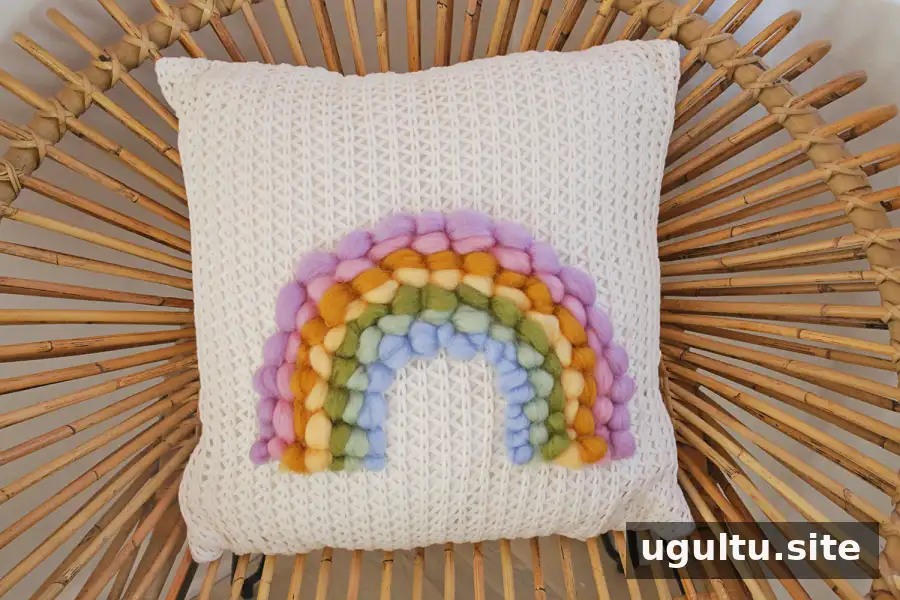
A Rainbow Roving Pillow is a simple way to add soft color and handmade texture to a room. This beginner-friendly project uses embroidery thread and a needle instead of a sewing machine, and it can be completed in about two to three hours. Choose a light-colored pillow as your base so the pastel roving stands out clearly.
Supplies for a Rainbow Roving Pillow
Gather the materials before you begin. A little preparation makes it easier to shape the rainbow and keep the strands in place as you sew.
- Pastel roving
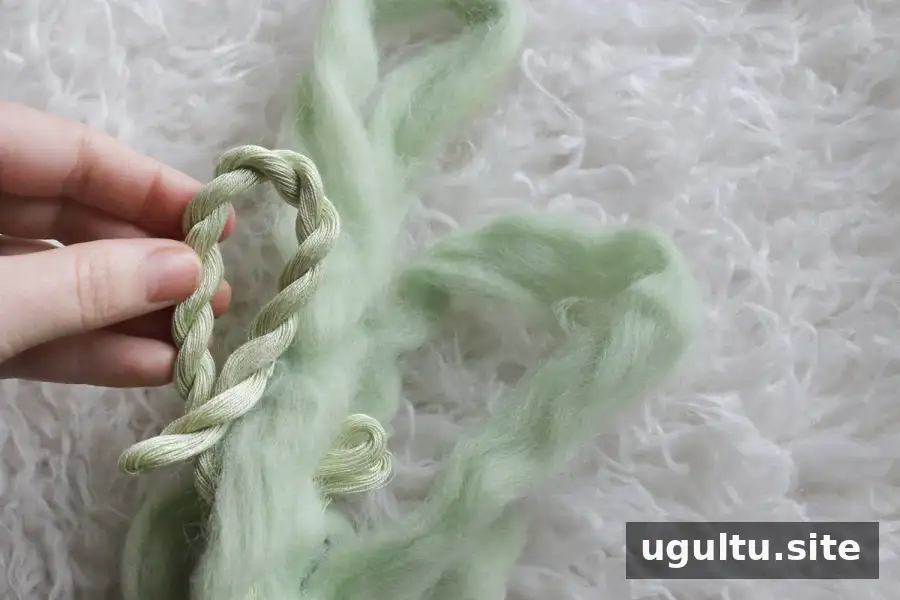
- Embroidery thread in matching pastel colors
- Scissors
- A needle suitable for the embroidery thread
- A pillow with a white or light-colored base
- Tape for marking the design
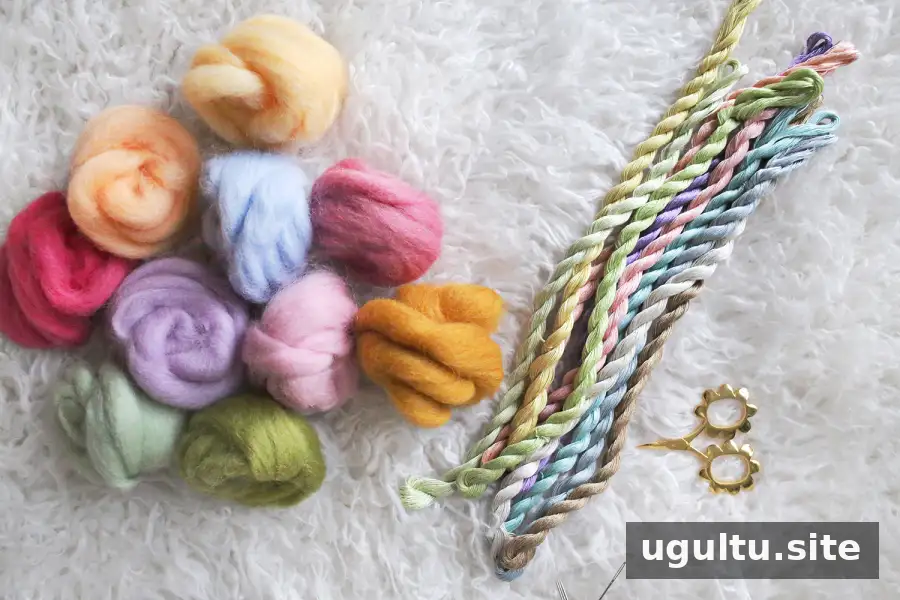
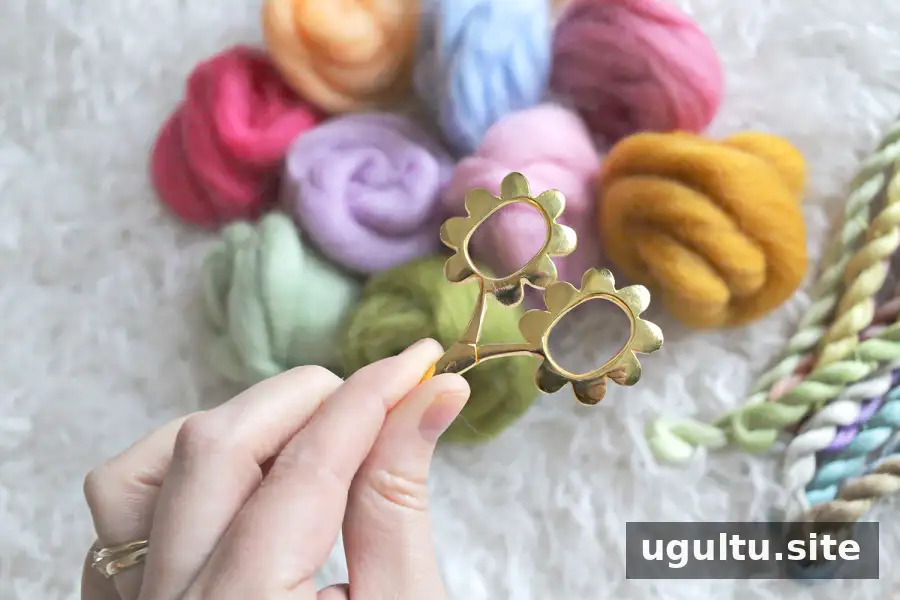
For a balanced look, lay out the roving colors before stitching. Pastels create a subtle, gentle effect, but you can arrange the shades in any order that suits your room. Check that the pillow fabric is easy to sew through by testing a small, inconspicuous area first.
How to Make the Pillow
1. Mark the rainbow shape
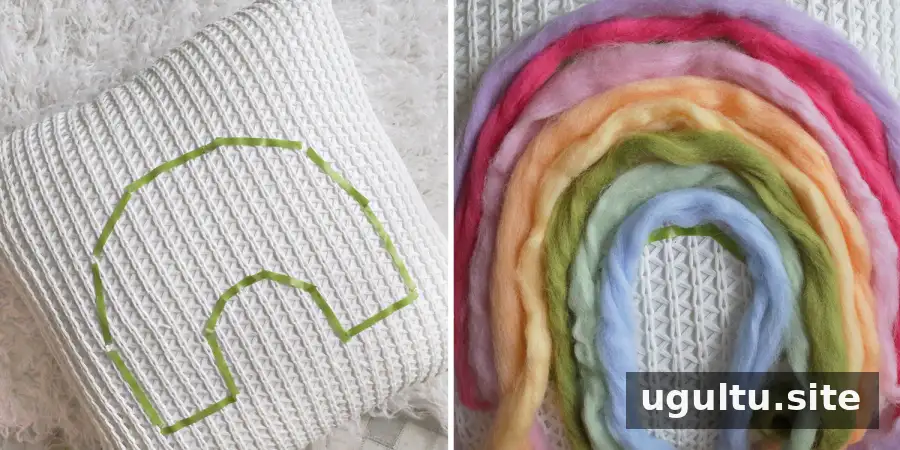
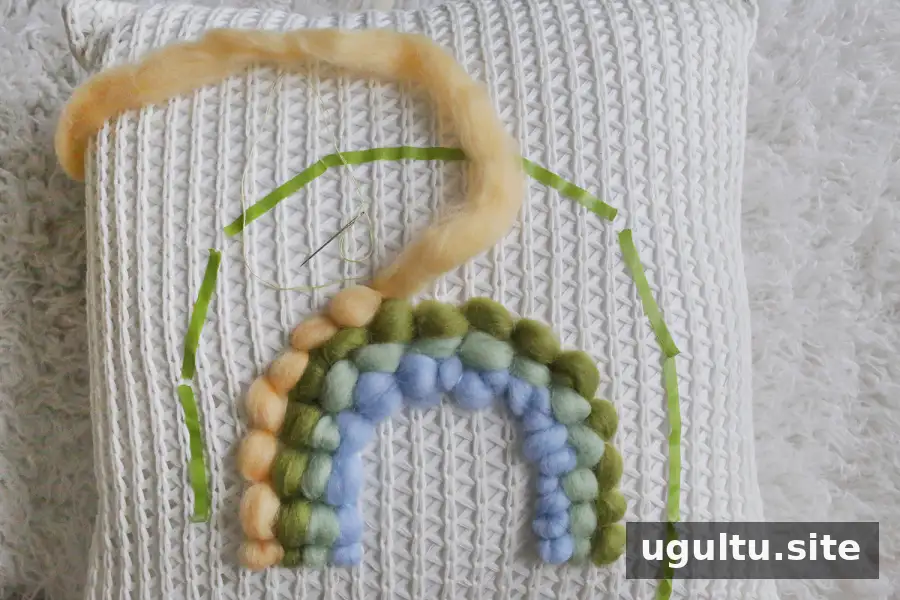
Use tape to outline a U-shaped rainbow on the pillow. The tape is a temporary guide, not a permanent part of the design. If you use short pieces, remove them gradually as you work so they do not get trapped under the stitches.
2. Arrange the roving
Place the roving strands along the taped outline and adjust the colors until the spacing and order look right. Planning the arrangement first helps avoid having to undo stitches later.
3. Tuck the starting ends
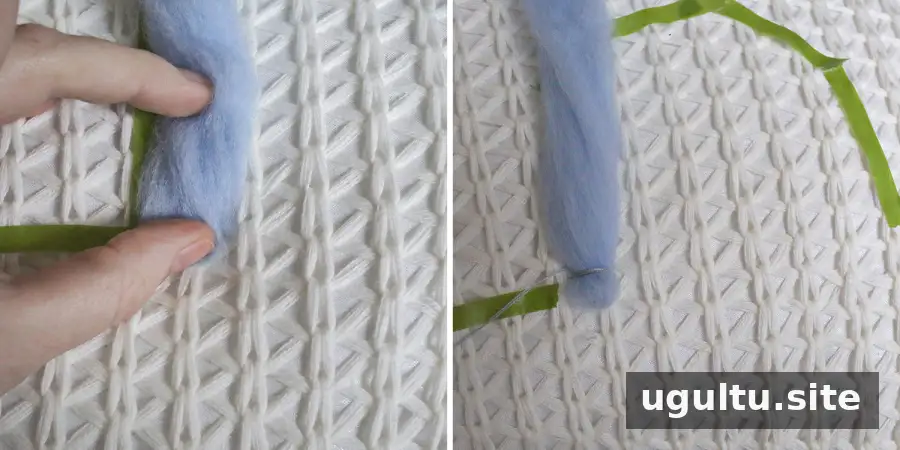
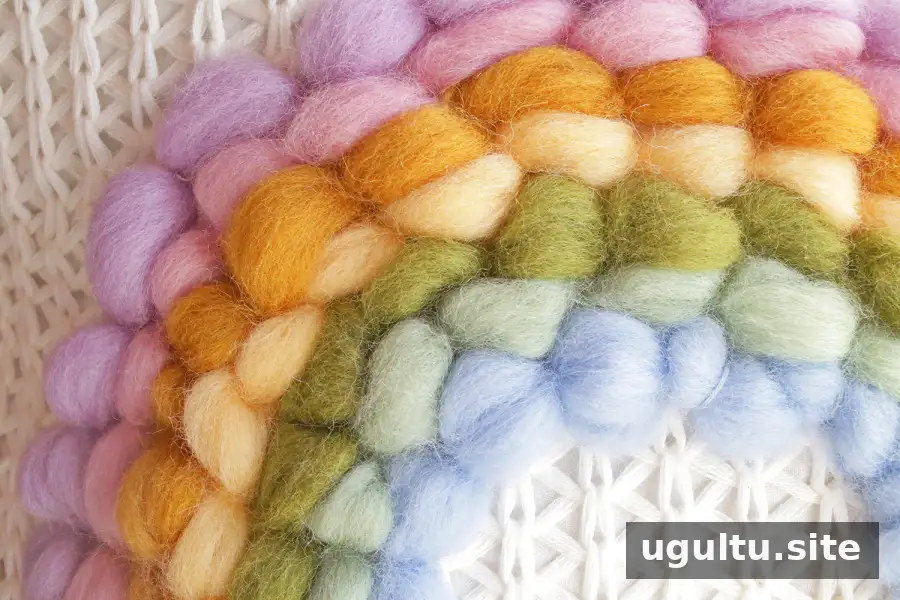
Fold about one inch of the end of each strand underneath itself. This gives you an end to secure with stitches and helps conceal the loose edge. Leave the roving uncut while positioning it, then trim it once the section is in place.
4. Stitch each strand down
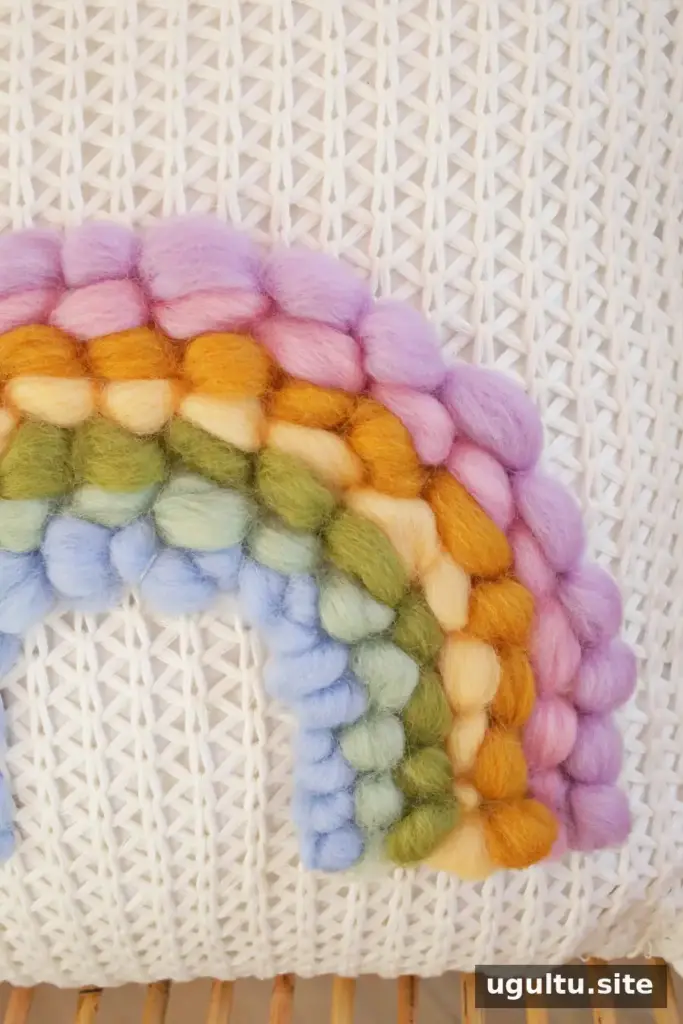
Begin with the innermost color and sew around the U shape. Add a small stitch approximately every half inch, adjusting the spacing where the curve is tighter. Starting on the inside can make it easier to control the shape and keep neighboring bands aligned. Use embroidery thread that matches each roving color for a tidier finish.
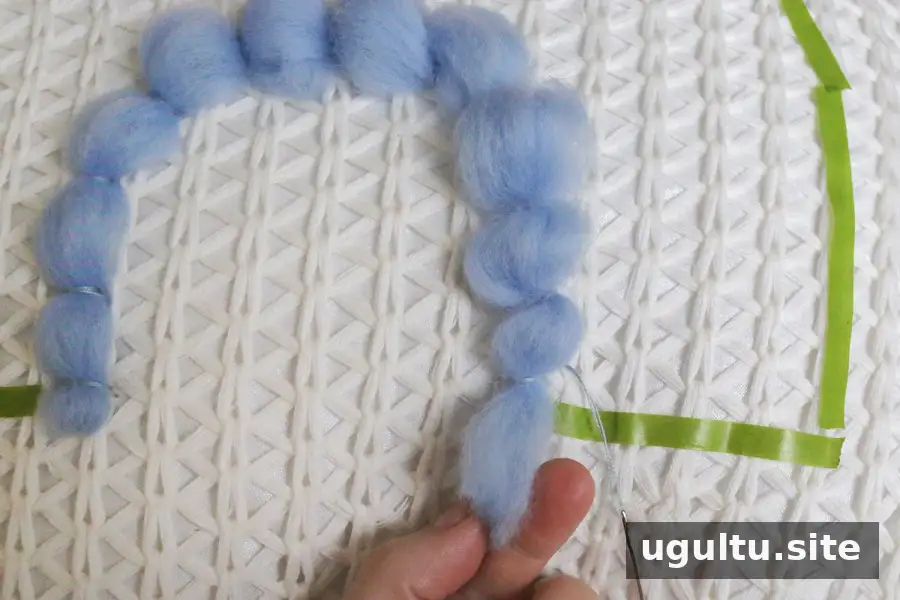
5. Secure the ends and add the remaining colors
At the end of a strand, leave about one extra inch, fold the end underneath, and stitch it down. Repeat the process for each color, checking the curve and spacing as you go.
Finishing Touches and Care
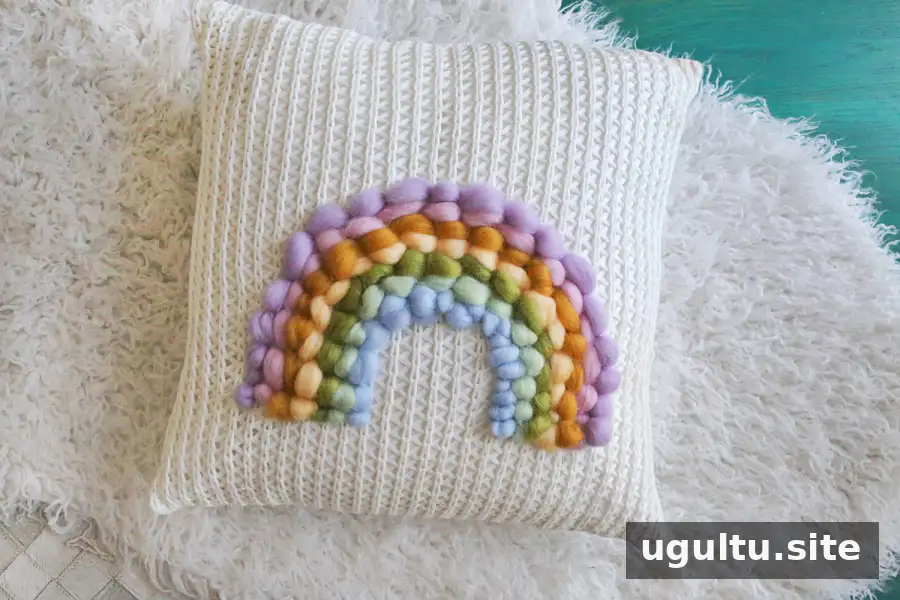
When all the bands are attached, trim any stray fibers carefully without cutting the stitches. The pillow can be left simple or decorated with tassels or pom-poms at the corners. If adding embellishments, secure them firmly and inspect the stitching before use.
The finished project takes roughly two to three hours, depending on the pillow fabric and the amount of detail. Keep the pillow as a decorative item and, if it is used in a home with an infant, keep it out of the baby’s sleep space. A clear work area and good lighting can also make the hand-sewing easier and help prevent accidental snags.
Conclusion
This Rainbow Roving Pillow project combines basic hand-stitching with a soft, dimensional design. With a light pillow base, carefully tucked ends, and matching thread, it is an approachable craft for a relaxed afternoon. Project by Elsie.


