admin
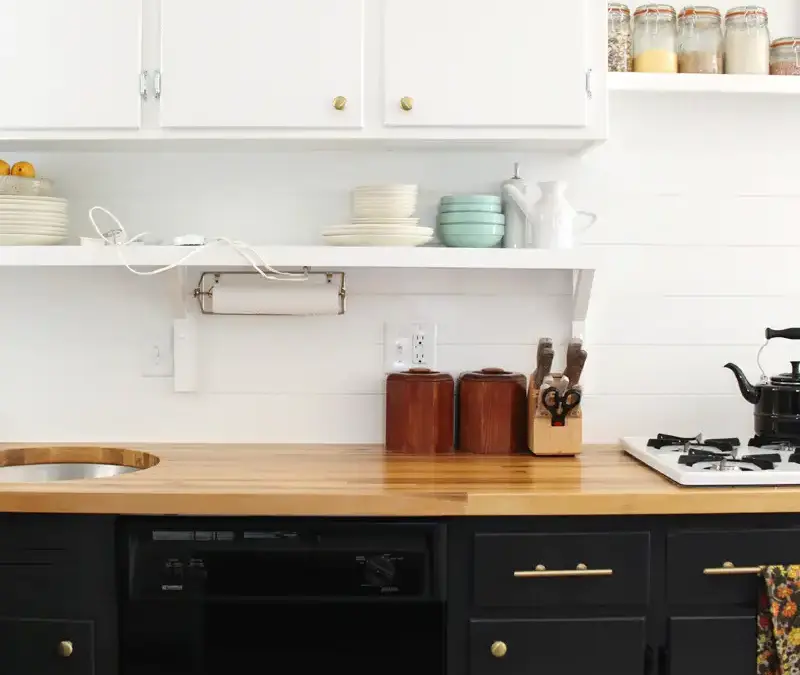
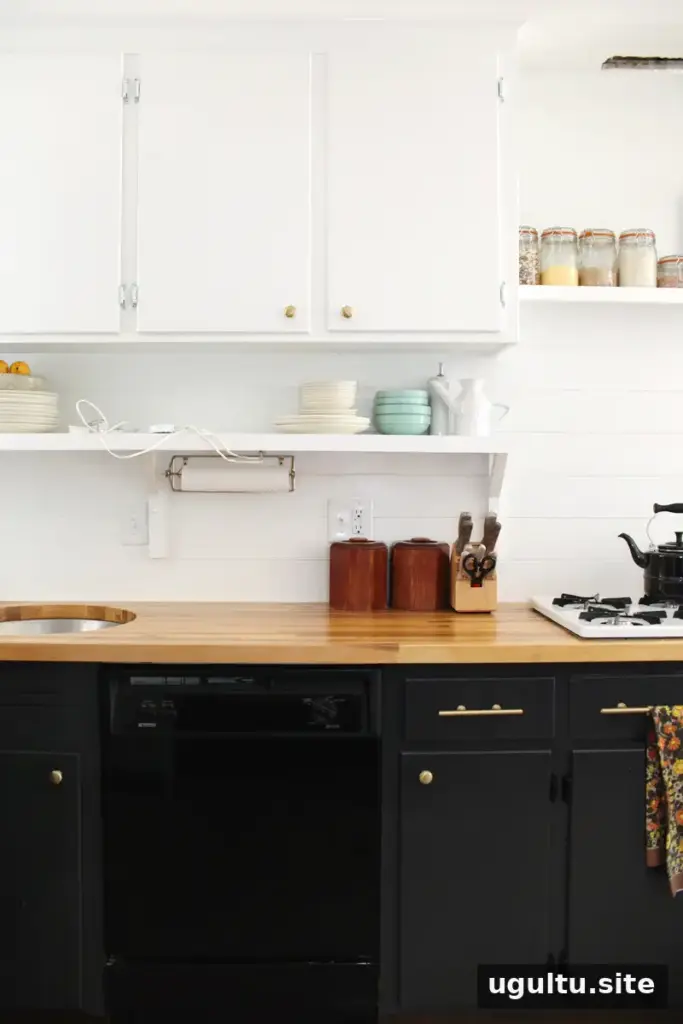
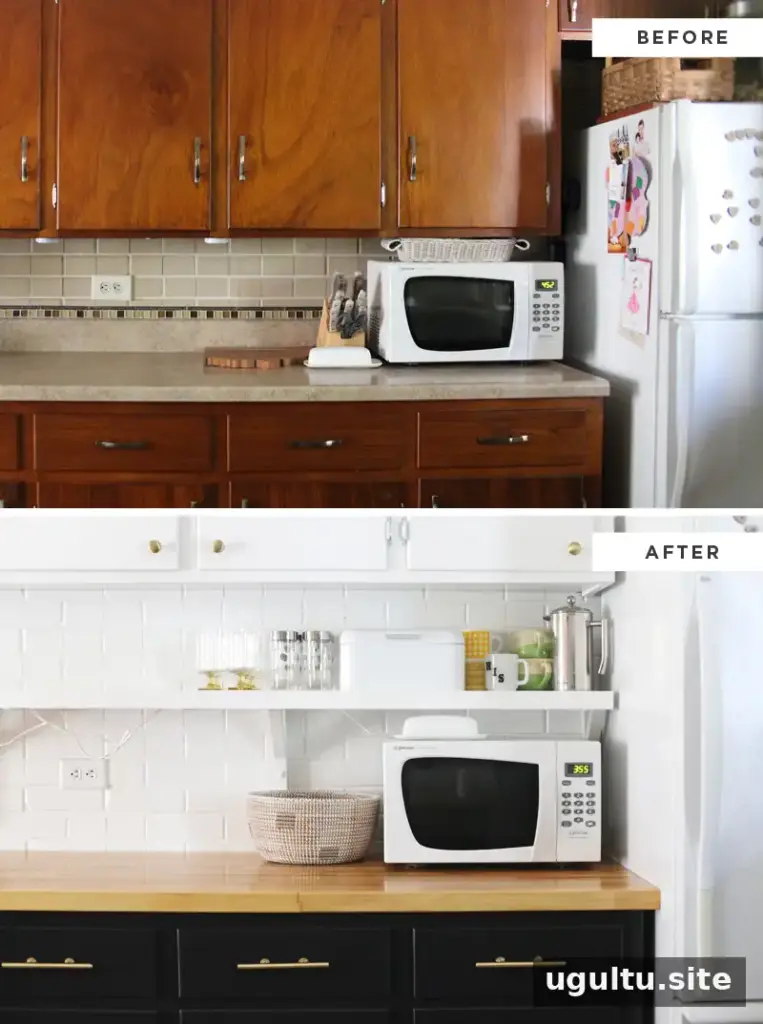
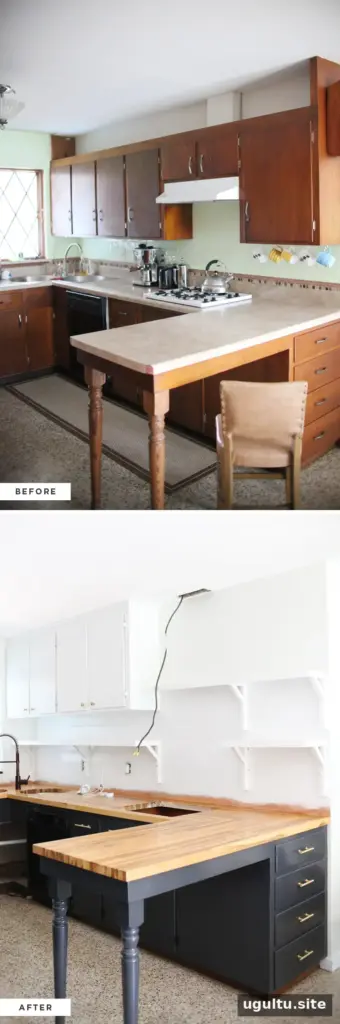
Kitchen cabinet reconfiguration can give a kitchen a brighter, more open look while making better use of existing storage. Moving cabinets closer to the ceiling and adding open shelves can create room for both everyday items and less frequently used dishes without replacing the cabinetry.
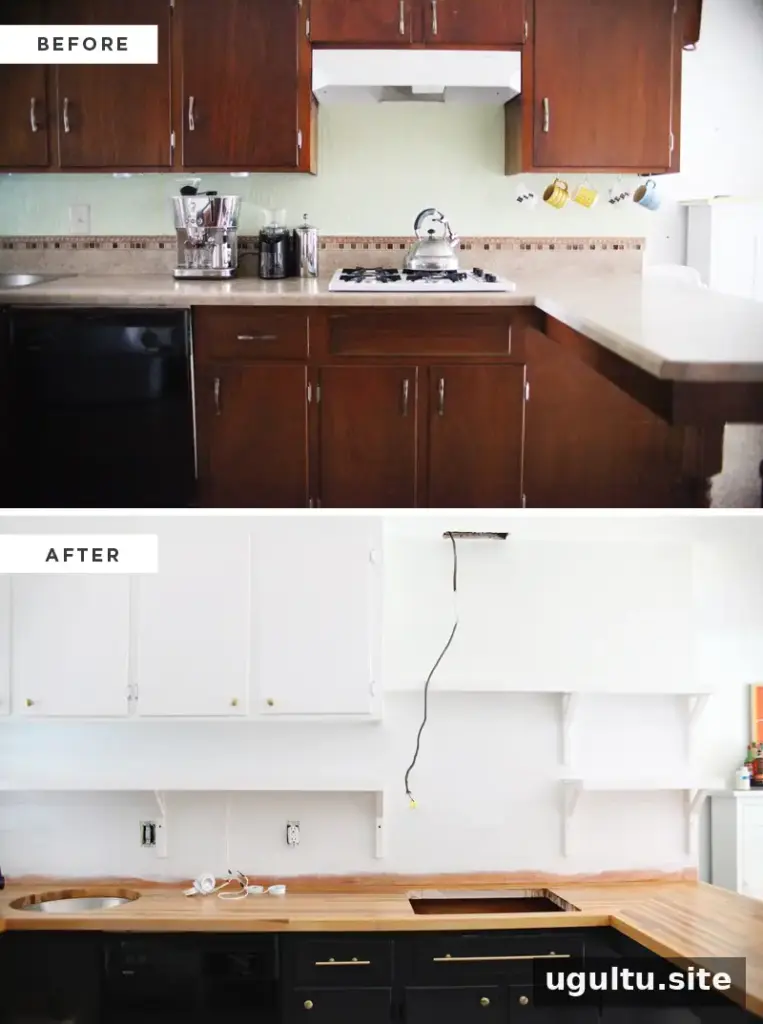
In this project, the cabinets had unused space above them and awkward side extensions. The solution was to shorten the cabinets, reinstall them higher, and add shelves in the newly opened wall area. Keeping some closed storage was important: shelves are useful for attractive or frequently used dishes, while cupboards hide mismatched items and everyday clutter.
Planning a Kitchen Cabinet Reconfiguration
Before removing anything, decide what should remain behind closed doors and what belongs on display. Measure the wall, cabinets, ceiling gap, and proposed shelf locations. Also consider the range hood or ventilation system, lighting, backsplash, and how the new arrangement will affect access to stored items.
Emptying the cupboards creates a surprising amount of temporary clutter. Sort and label boxes before work begins, and keep essential cookware accessible. If the project involves electrical wiring, ventilation, or uncertain cabinet mounting, consult a qualified professional before proceeding.
Removing and Shortening the Cabinets
The cabinets were heavy and had been fastened to the wall with nails driven diagonally through the cabinet wood. After removing the hood vent, the cabinets were carefully pried away while keeping them intact. Cabinet weight and hidden fasteners can make removal unpredictable, so use adequate help and support the cabinet before loosening its final attachments.
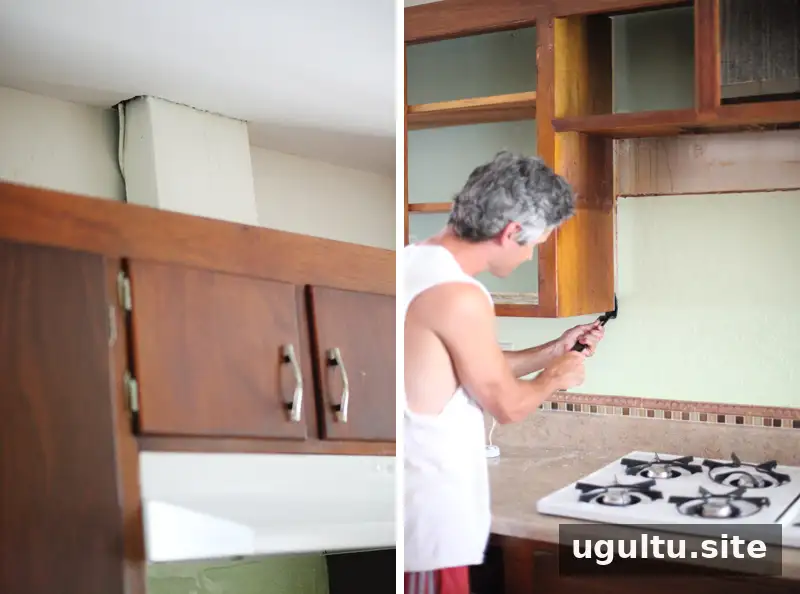
The old vent was removed before the cabinets came down, and the duct was pulled through the ceiling. The plan was to replace it with a ceiling-mounted fan. Ventilation changes should be planned with the appliance and room layout in mind; check applicable requirements before closing or altering ductwork.
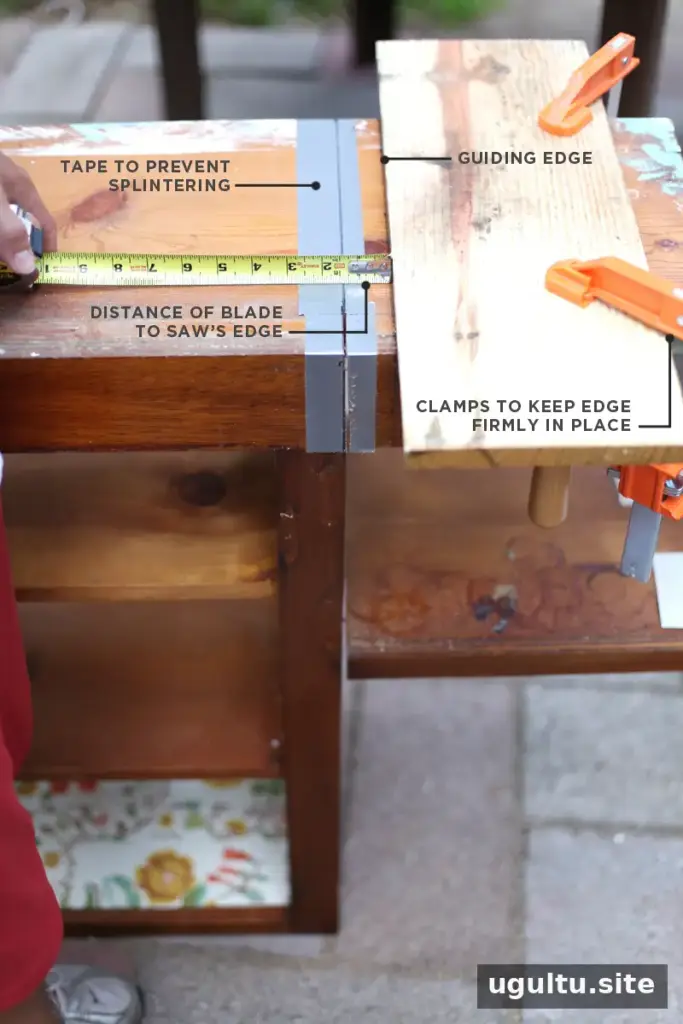
To shorten the cabinets, a circular saw was guided along a clamped straightedge. Duct tape over the cut area helped reduce splintering. A jigsaw fitted with a clean-cutting blade is another option, though keeping a circular saw straight against a guide can be simpler for a long, even cut. Use eye and hearing protection, secure the workpiece, and follow the saw manufacturer’s safety instructions.

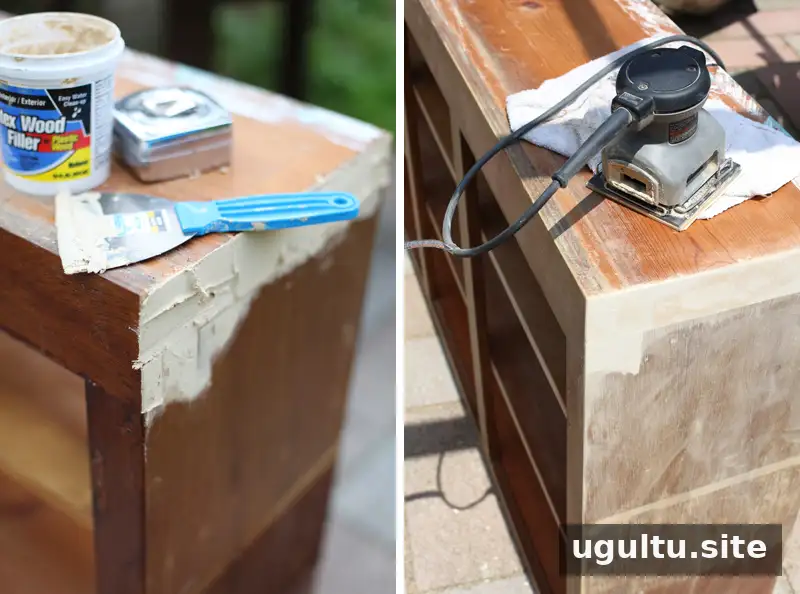
Once the cabinet was cut, the lower section and nails were removed. Wood filler was applied to the rough edge in two coats, with sanding between and after applications. Thin, even coats are easier to sand and less likely to crumble than a thick layer. Allow the filler to dry as directed before sanding or painting.
Building and Finishing the Open Shelves
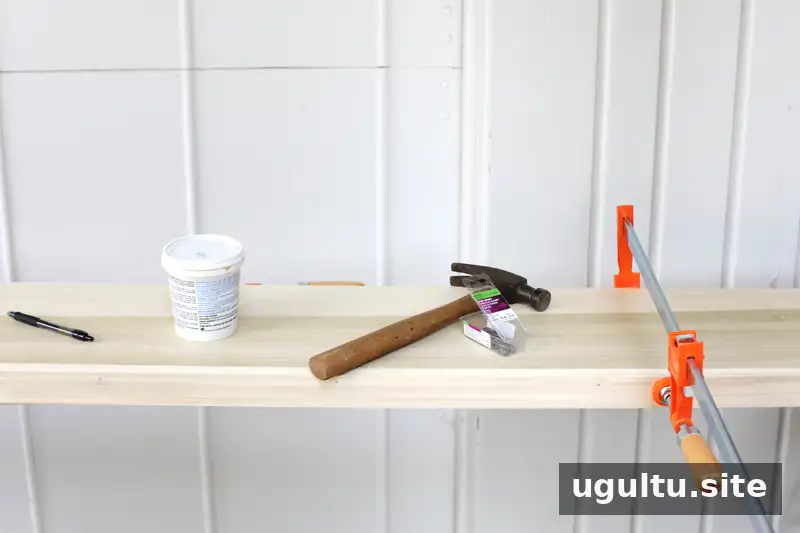
Poplar was chosen for the shelves because it is harder than pine or common whitewood and takes paint well, although it is not known for producing an attractive stain finish. The lower shelves used 10-inch planks, and the upper shelf used an 8-inch plank. A 1×2 piece was attached along each front edge with wood glue, clamps, and finishing nails. This made the shelves look thicker and concealed the planned under-shelf lights and brackets.
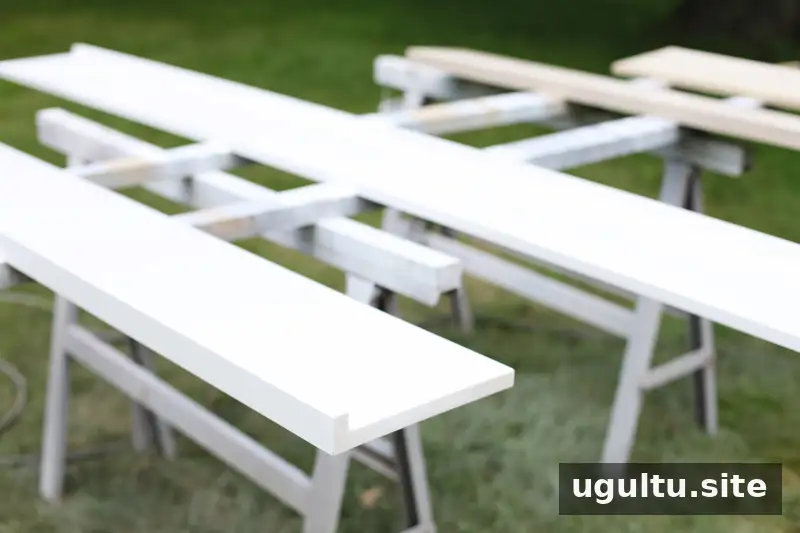
After the glue had set, the boards were cut to their final length. Gaps and dents were filled, then the shelves were sanded with 120-grit sandpaper. The finishing sequence was primer, wet sanding, another primer coat, paint, and a further paint coat. The shelves were left to cure on wax paper for one week before use.
Installing Shelves and Finishing the Cabinet Edges
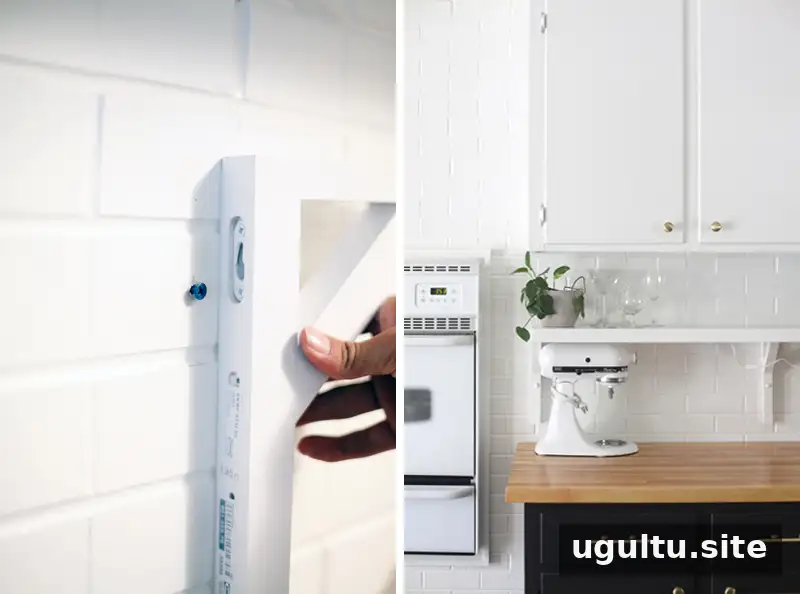
The shelves were installed after the cabinets and backsplash were in place. The metal brackets were trimmed to fit beneath the shelf fronts, then sanded and painted to match. Brackets were spaced for an even appearance, so heavy-duty bolts and drywall anchors were used where they did not line up with wall studs. Masonry screws were used on the brick wall. For a secure installation, confirm that each fastener and anchor is rated for the expected load; use studs or suitable masonry fixing points whenever possible.
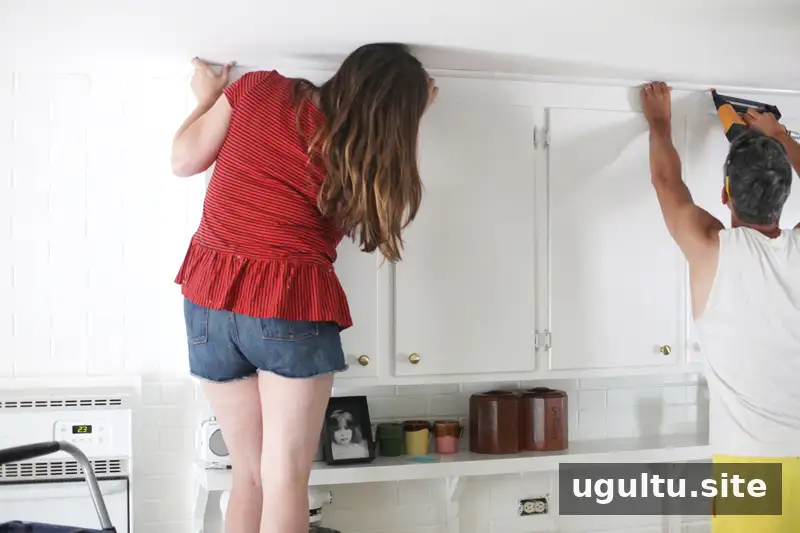
Reinstalled cabinets were pushed up to the ceiling, leaving small gaps at the wall and ceiling edges. White caulk covered the side gaps, while 3/4-inch quarter round concealed the wider ceiling gap. A miter saw was used to cut the trim. Practice angled cuts on scrap pieces first, since it is easy to position a cut incorrectly even when the angle looks right. The trim was nailed about every 12 inches and painted to match the cabinets.
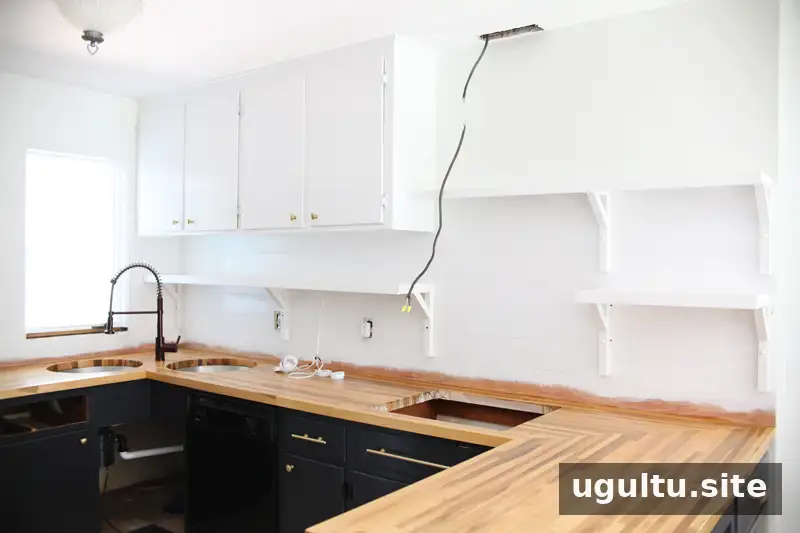
The remaining planned work included installing under-shelf lights, patching the ceiling opening left by the vent, and fitting the replacement fan. Semi-gloss paint on the shelves was selected because it is easier to wipe clean if cooking residue reaches the surface.
What This Kitchen Cabinet Reconfiguration Achieved
Moving the cabinets to the ceiling made use of previously wasted space and created storage for items such as serving pieces and holiday dishes. The added shelves preserved useful storage while providing a place to display selected dishes. Combining open shelving with closed cupboards keeps the room from feeling cluttered and offers flexibility for different kinds of kitchen items.
This kitchen cabinet reconfiguration changed the room’s appearance without requiring new cabinets and added storage rather than sacrificing it. Careful measuring, safe removal, suitable fasteners, and patient finishing can help create a polished result. —Mandi