
 admin
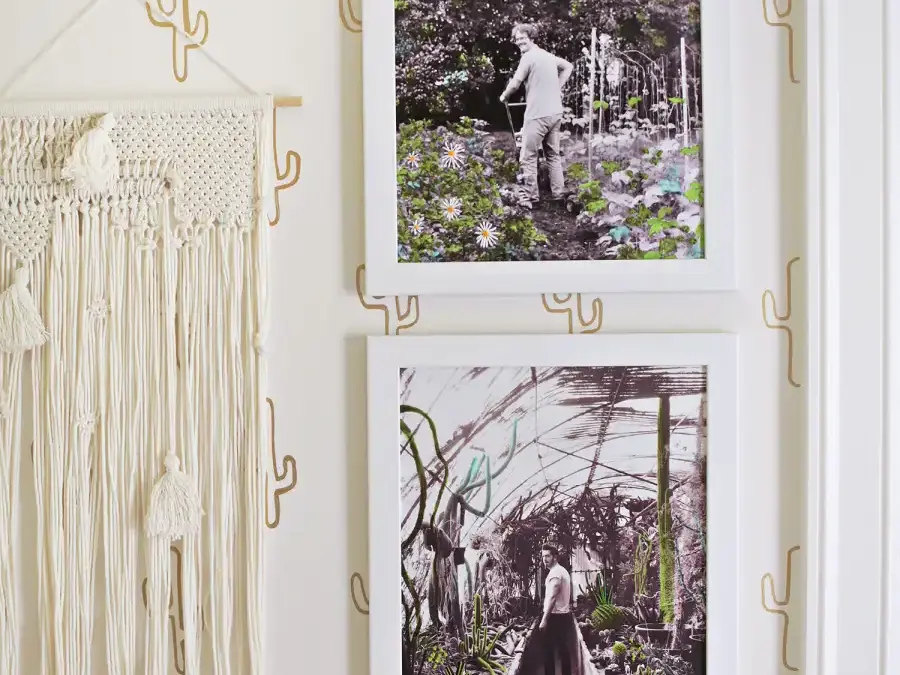
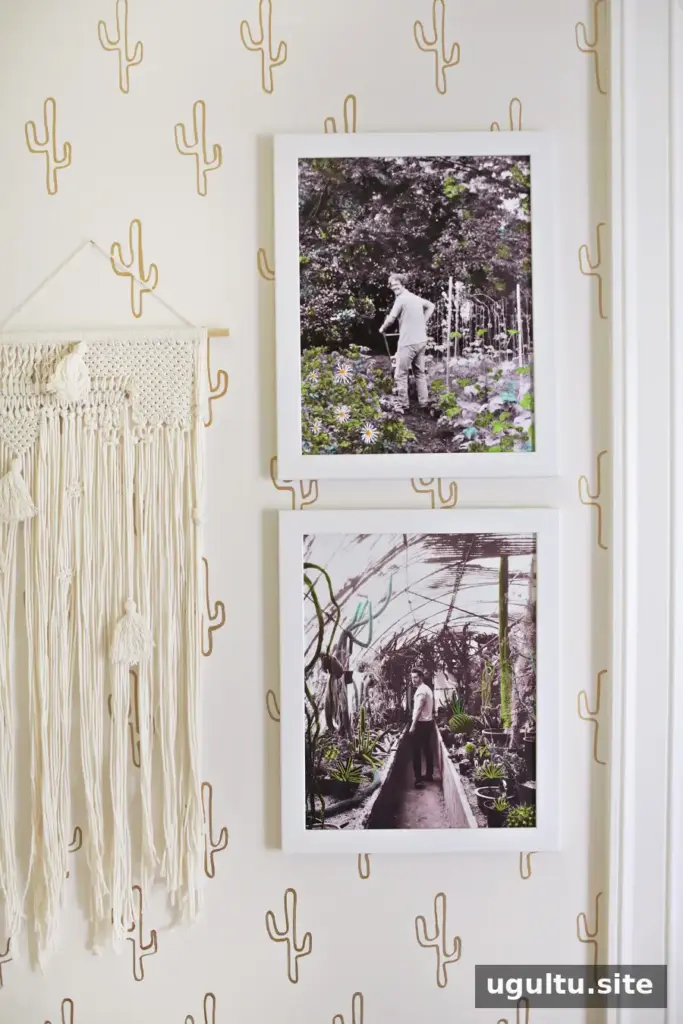
Embroidered photo art combines photographs, gentle hand coloring, and simple stitches to create a personal piece of wall decor. Pairing a recent picture with an older family photo can add an especially meaningful, retro-inspired touch. This project works with a range of images and can be adapted to suit your materials and style.
Choose Photos with a Shared Story
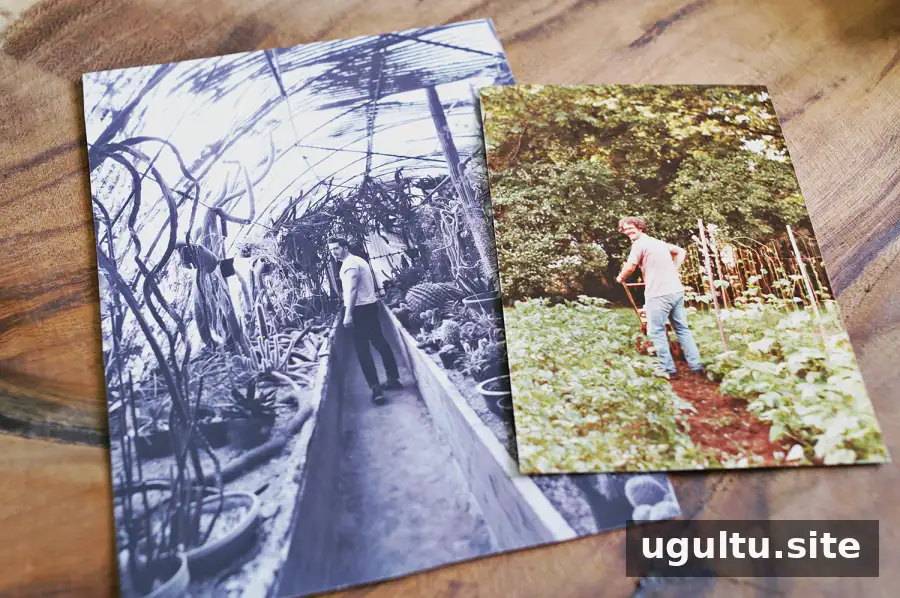
Look through your photo collection for two images that connect in some way. They might have similar framing, show the same place at different times, or feature different generations of a family. In this example, one photograph shows a husband on a recent vacation, while the other depicts the maker’s father working in his garden during the 1980s. Their similar composition makes them an effective pair.
You do not need to find an exact match. A shared subject, activity, or feeling can be enough to make the finished display feel connected. Before printing, compare the crops and overall tones so the pictures look cohesive when displayed together.
Prepare and Print the Images
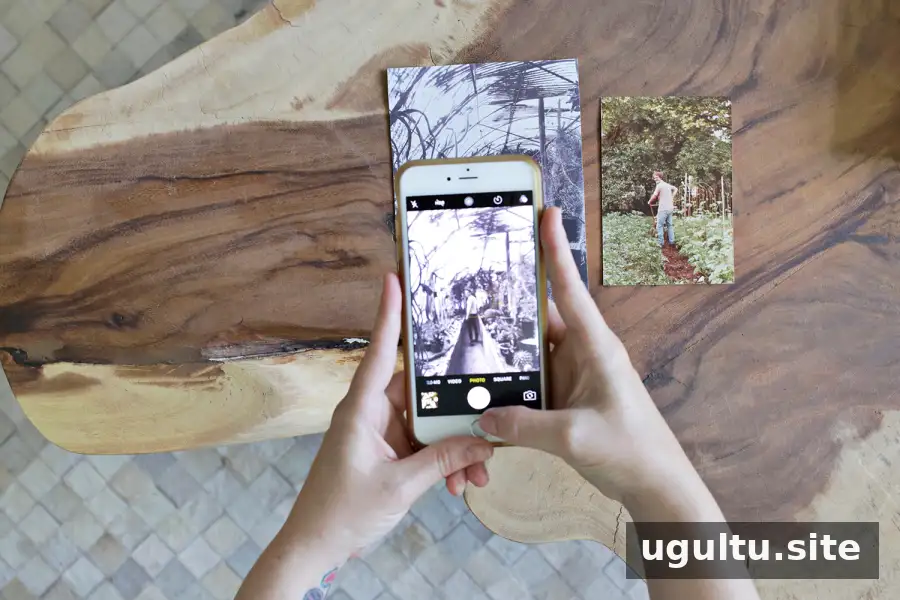
To make a digital copy of a printed photograph, scan it or photograph it with a phone or camera. Adjust the crop and tones as needed, keeping in mind that the source images do not have to be perfectly sharp. A slightly blurry photograph can still carry strong sentimental value, and its softer appearance may suit this nostalgic project.
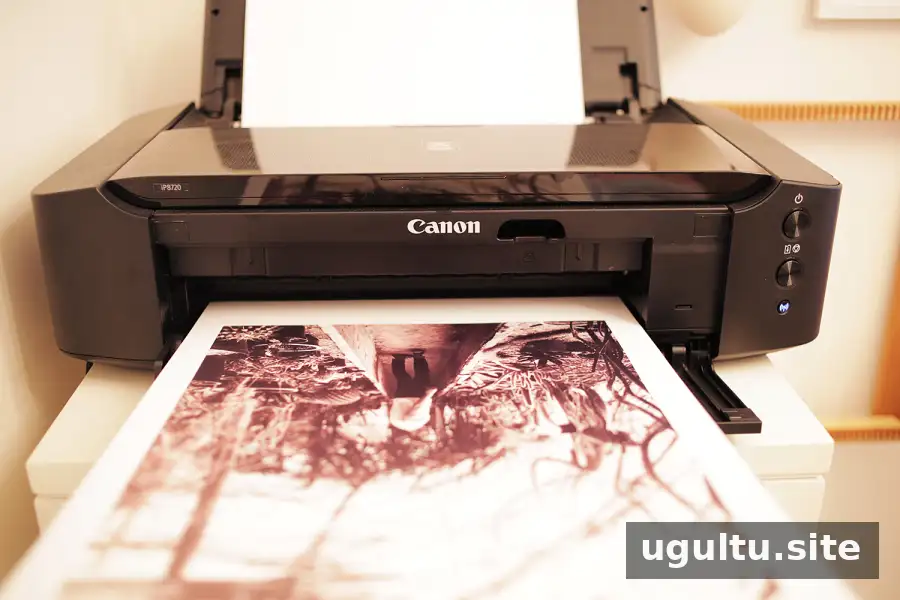
Print each image to fit its frame. For this project, both photographs were printed at 11×14 inches on 13×19-inch luster photo paper. Check the frame dimensions before printing, and make sure the crop leaves the important parts of each image visible. If you are unsure about the final look, consider testing the layout on screen first.
Supplies for Embroidered Photo Art
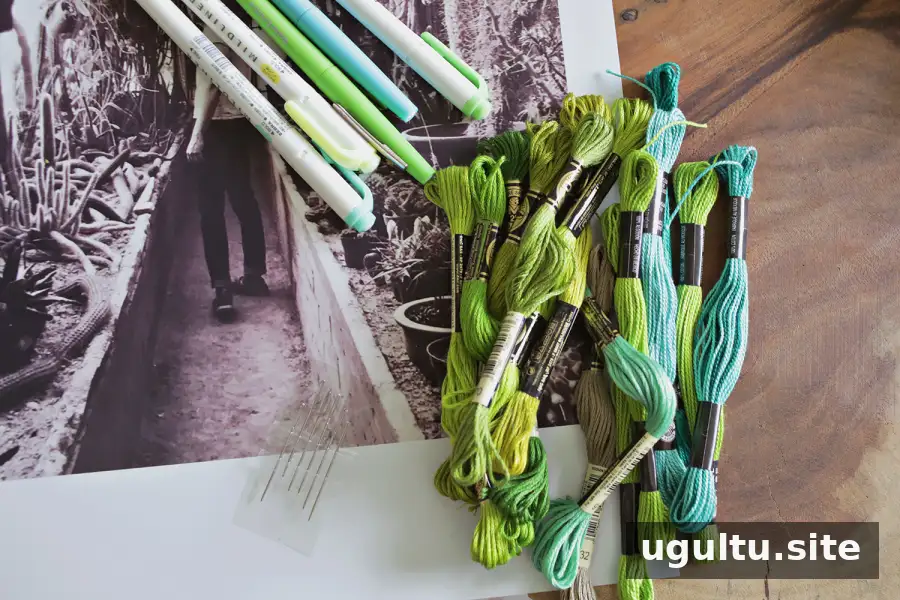
- Printed photos sized for your frames
- Frames
- Embroidery thread
- Embroidery needles
- Markers or pens for adding color
Add Color and Embroidery
Color a Few Details
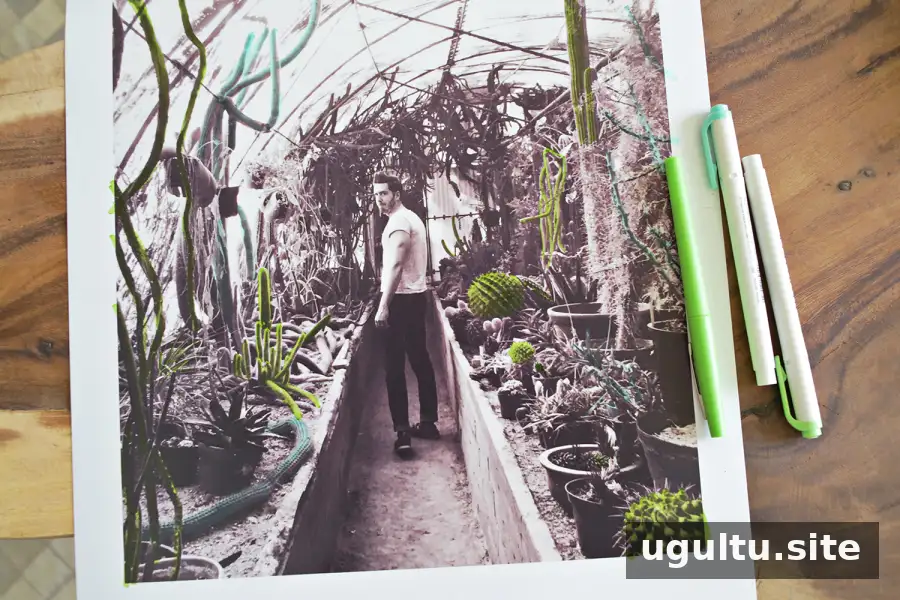
Use markers to add color to selected areas of each photograph. Work slowly and keep the coloring restrained; leaving much of the original image untouched helps preserve its photographic character. If possible, test a marker on a spare print or an inconspicuous area first, since different papers and inks may respond differently.
Stitch with Care
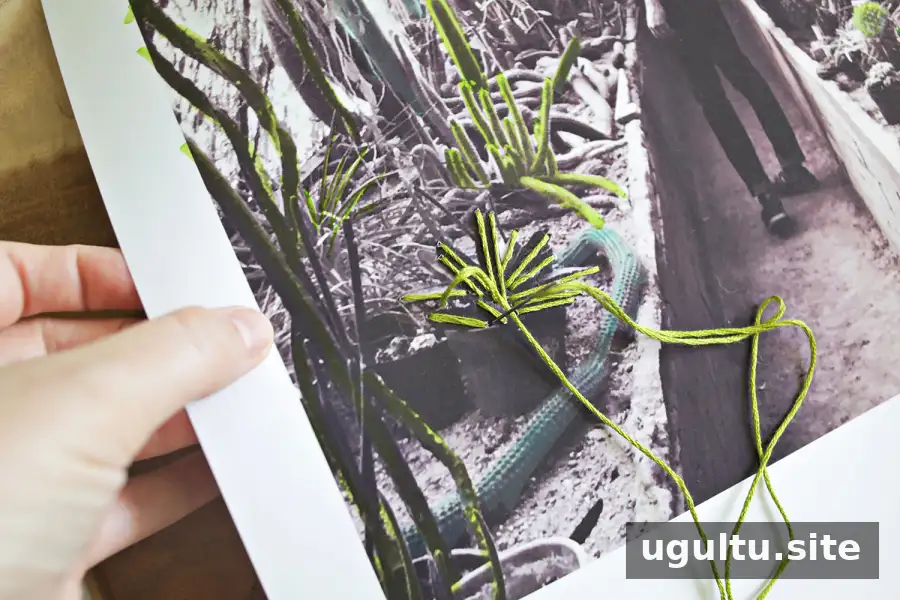
Add embroidery with a few thread colors and a mix of stitch patterns. The placement can be loose and spontaneous, or planned to emphasize details in the image. Photo paper can be delicate, so handle it gently and avoid pulling the thread tightly. Working on a stable, padded surface can also help protect the print as you stitch.
Display the Finished Pieces
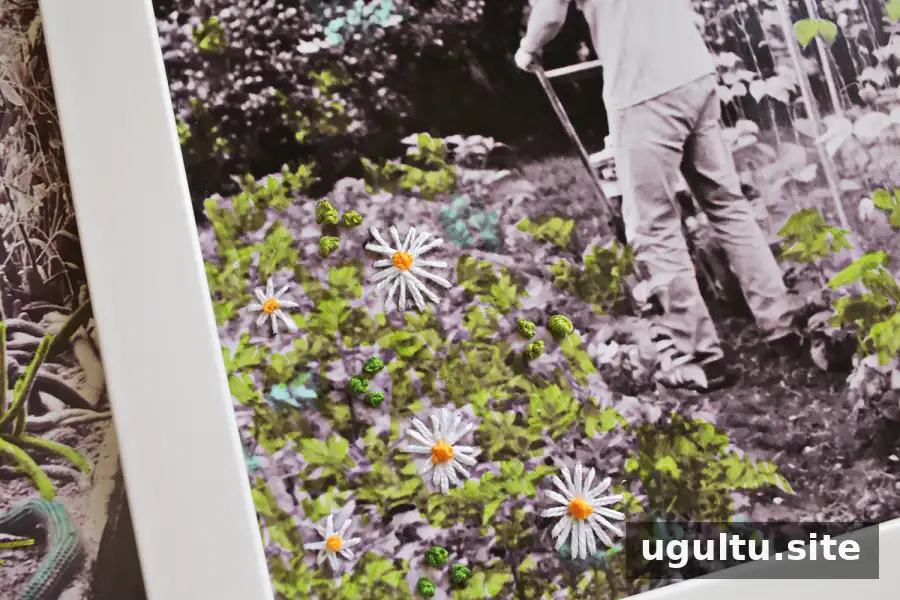
These close-up views show the finished photographs and their combination of marker color and thread.
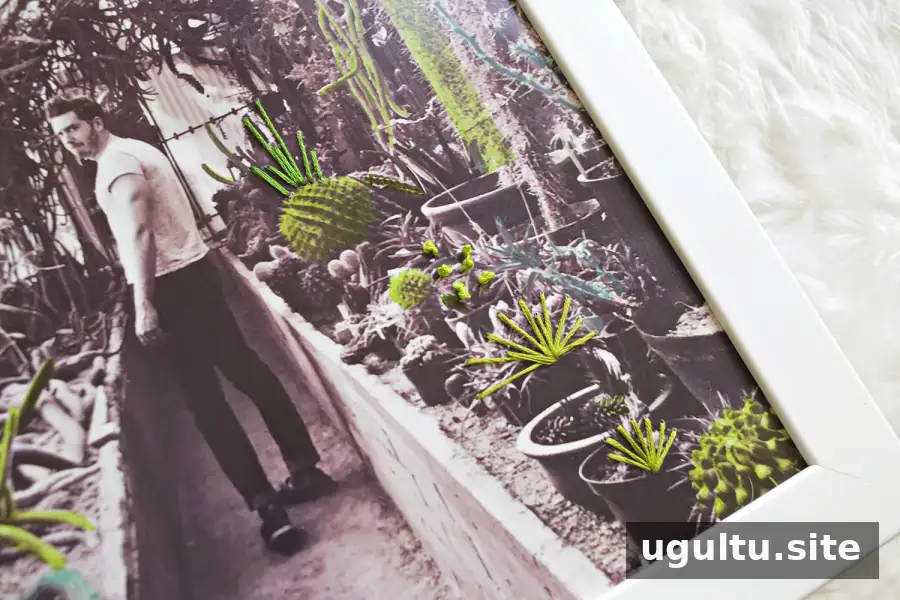
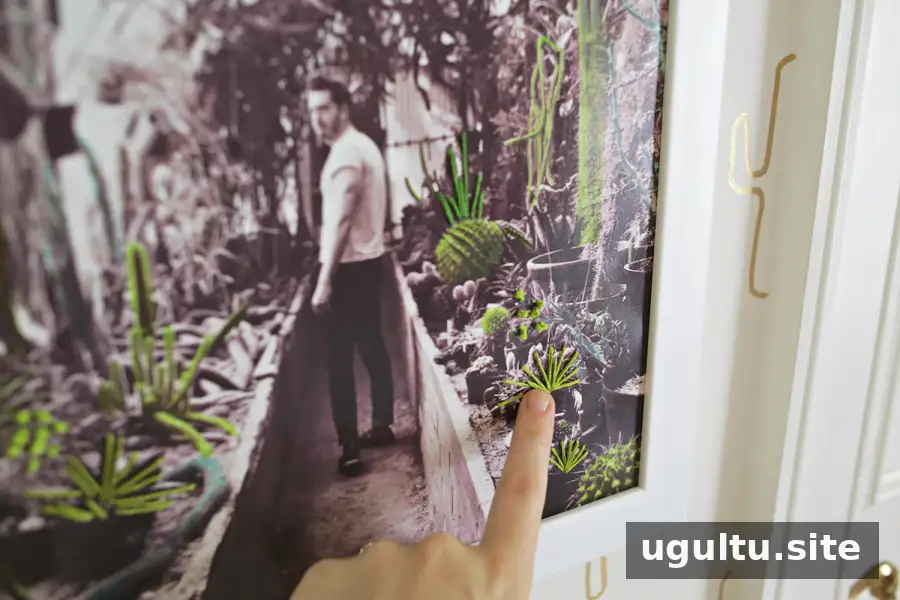
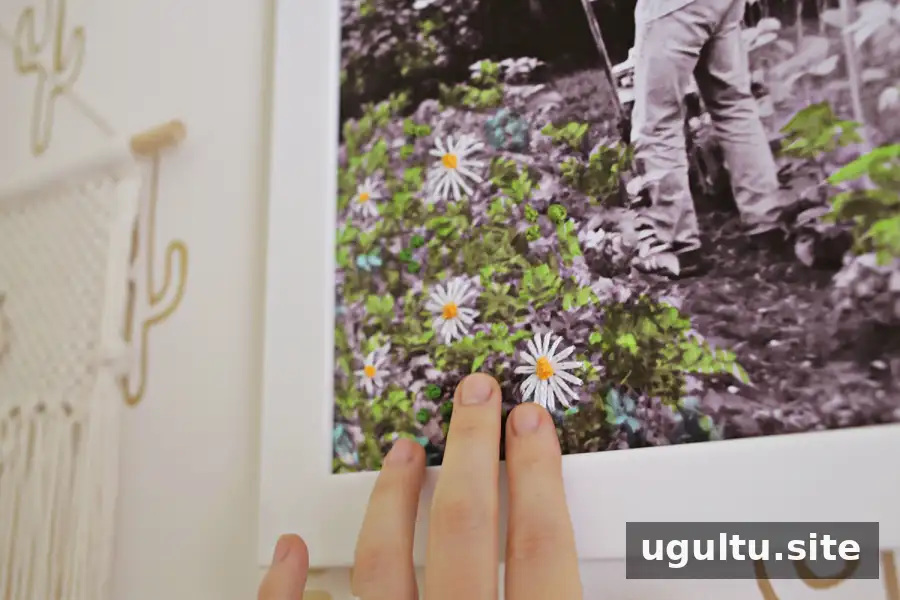
This is a straightforward project that takes time because of the handwork, but it does not require complicated techniques. Set the photographs aside whenever you need a break, then continue stitching when convenient. Once finished, place the pictures in frames and display them together as a small family-photo collection.
If you have older photographs stored away, choose a few favorites and consider how they might connect with newer images. Embroidered photo art offers a thoughtful way to bring those memories into your home while giving each print a distinctive, handmade finish.
Project by Elsie.


