admin
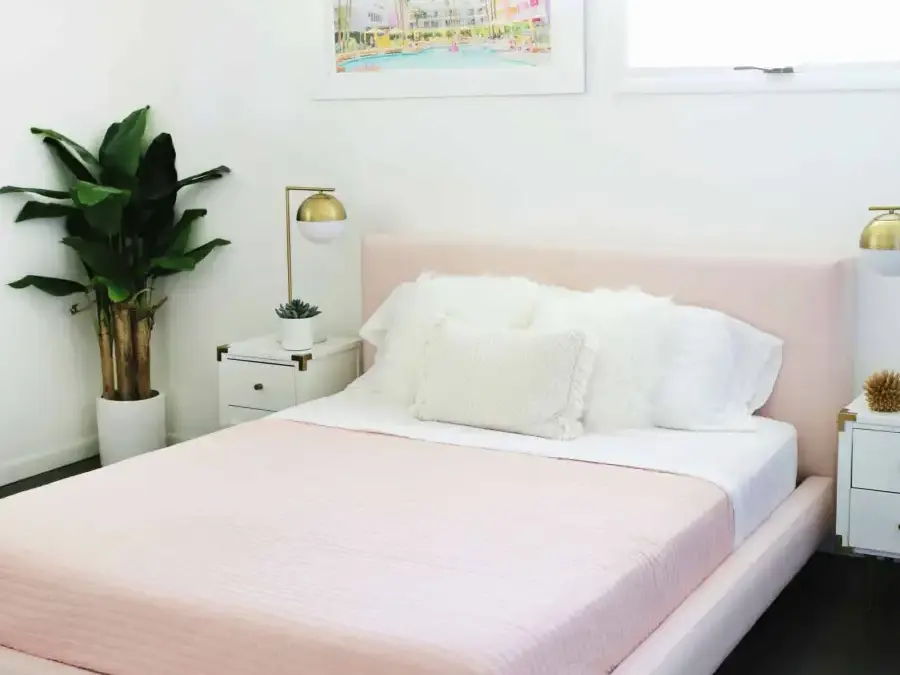
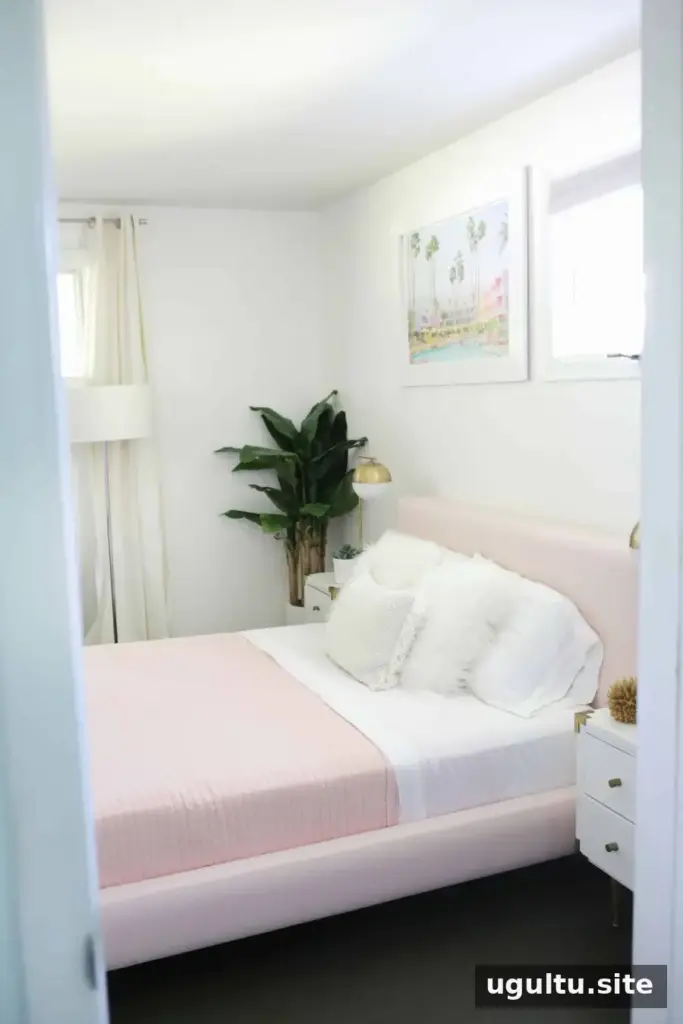
To reupholster a bed frame is a practical way to change the look of a bedroom without replacing a fabric-covered bed. With upholstery fabric, a staple gun, and a few basic tools, you can refresh the headboard, side rails, and footboard. Choose a simple no-sew wrapping method or sew a few corners for a more tailored finish. This project guide is by Laura.

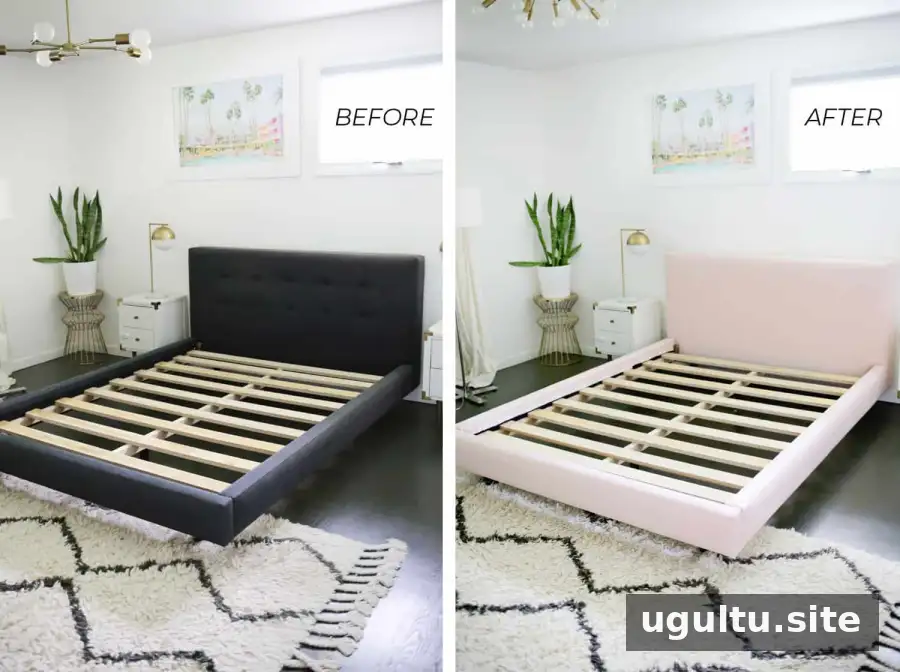
A lighter or brighter fabric can help update a room, while recovering the existing frame lets you keep its original structure. The method below works with either one layer of fabric or an optional underlayer, depending on the fabric and the color of the frame.
How to Reupholster a Bed Frame
Most fabric-covered beds have four main sections: a headboard, two side rails, and a footboard. They are usually joined with hardware and can be separated for easier handling. The original fabric is often stapled to the underside or back of each section, so the new covering can be secured in a similar way.
Supplies and tools
- Upholstery or multi-use fabric wide enough to cover the headboard and wrap around its back. The fabric used for this project was 54″ wide, and about 5.5 yards covered the bed.
- Optional wide white fabric for an underlayer. This can help when the main fabric is thin and the frame is dark.
- An electric or manual staple gun and 1/2″ staples.
- Fabric scissors and straight pins.
- A screwdriver and, if needed, an awl for locating hardware holes.
Before buying fabric, measure the frame sections and allow extra material for wrapping around the edges and stapling underneath. The amount needed can vary with bed size, frame shape, and fabric width.
Decide whether to add an underlayer
A thin, light-colored fabric may let a dark frame show through and affect the finished color. In that case, a white underlayer can create a more even base. If the main fabric is thick enough to conceal the original color, or the old frame and new fabric are similar in tone, the extra layer may not be necessary.
Test the fabric over a section of the frame before starting. If the original color is visible through the material, consider using an underlayer; otherwise, skipping it can save time and fabric.
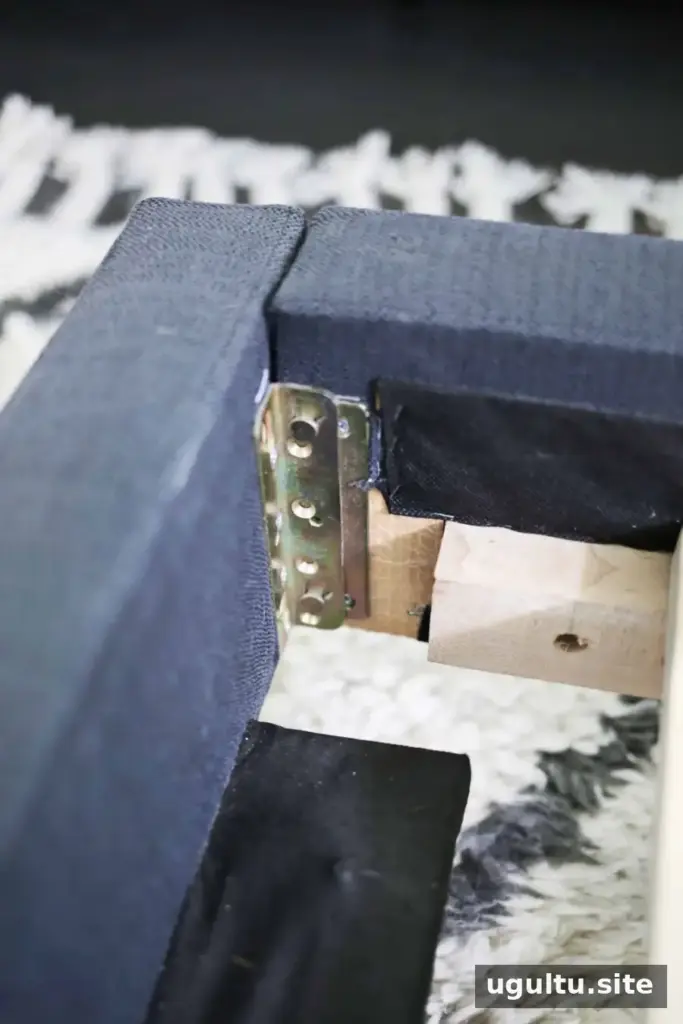
Prepare and Label the Bed Frame
Take the bed apart into its separate sections, including the central wooden support that holds the mattress. Remove the connecting hardware from each piece. Label each section and note which side faces outward so reassembly is straightforward.
Record where the hardware and legs attach before covering the frame. For example, note a position such as 8″ from the outside edge and 1/2″ up from the bottom. These measurements make it easier to find the holes after they are covered by fabric.
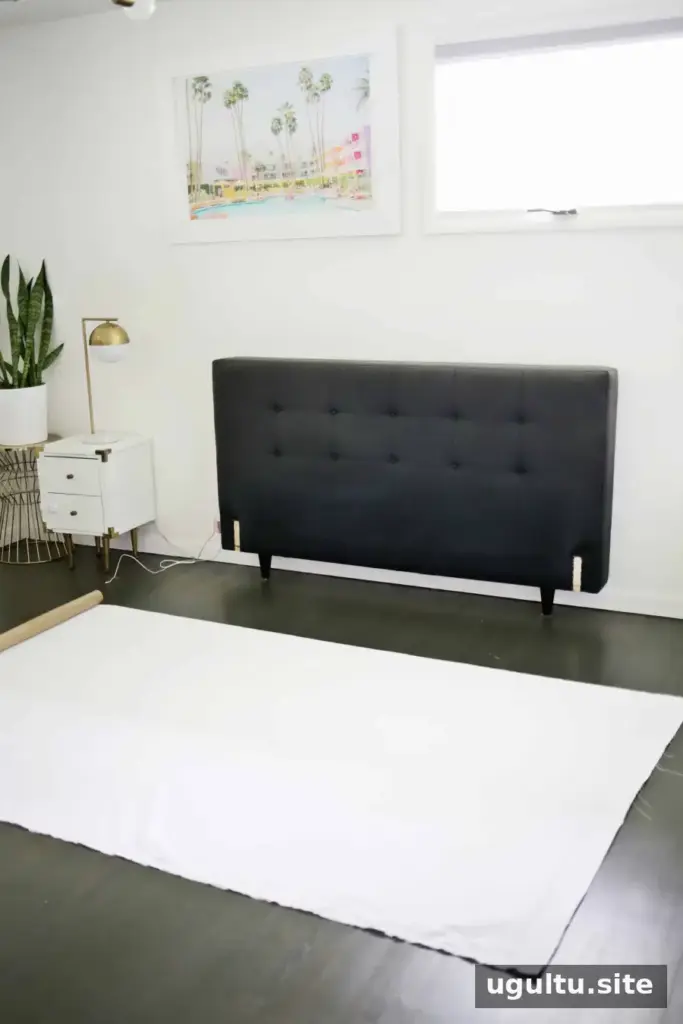
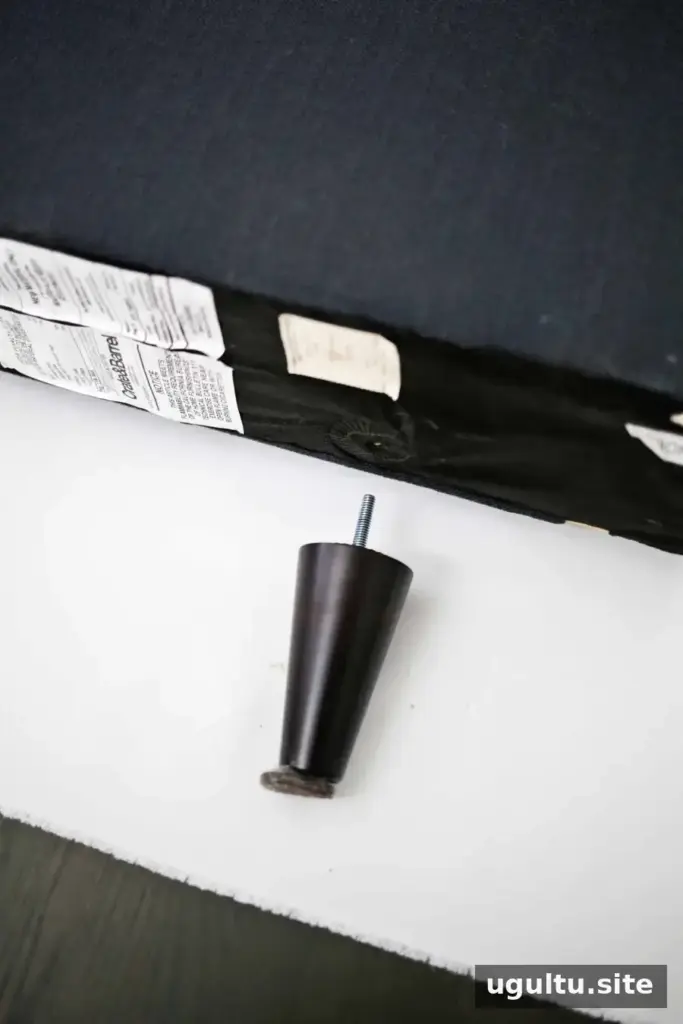
Remove the legs and any mounting plates from the headboard and footboard. Keep the screws and hardware together, and note the location of each leg attachment. A quick sketch or labeled containers can help prevent parts from being mixed up.
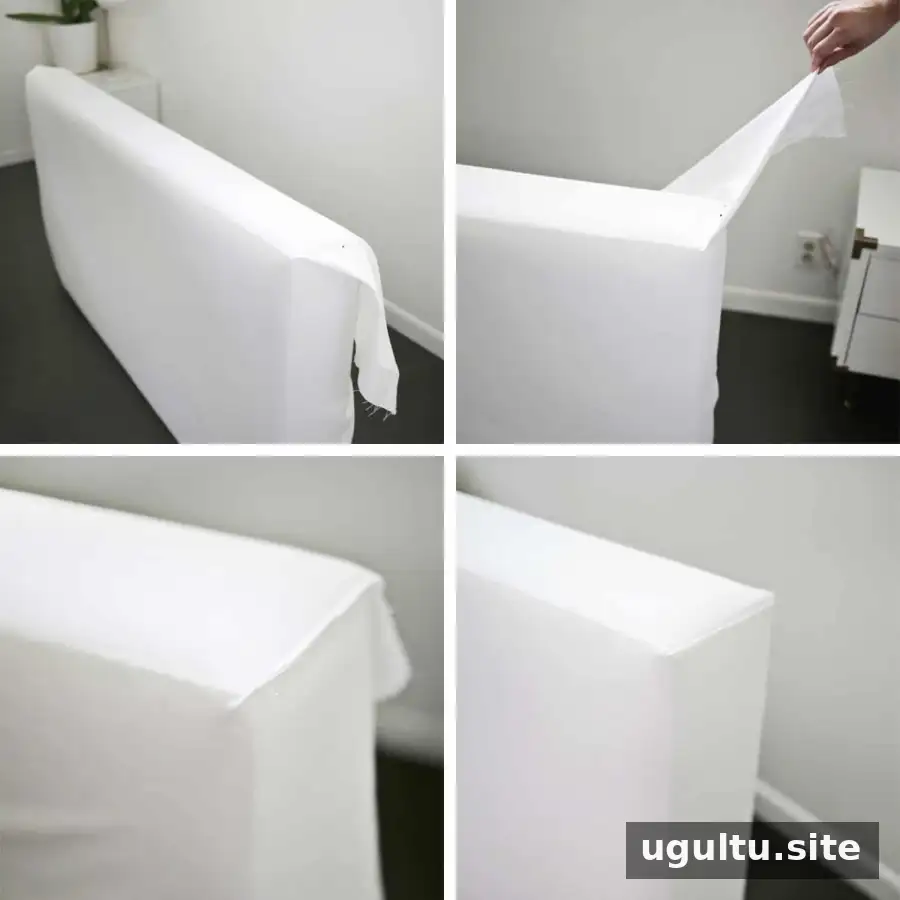
Choose a Sewing or No-Sew Finish
Option 1: Sew the headboard corners
Lay the headboard on the underlayer, if using one, with the fabric arranged so it can wrap around the back. Smooth the material across the front and pin it at the back, keeping it taut without pulling it out of shape.
For a neater corner, pin the fabric together at the top of each side where the material meets. Remove the fabric cover, sew along the pinned lines, and trim the excess. Try the cover on the headboard before trimming further; if it is loose, adjust the seam until it fits snugly. Turn the cover right side out and put it back on the frame.
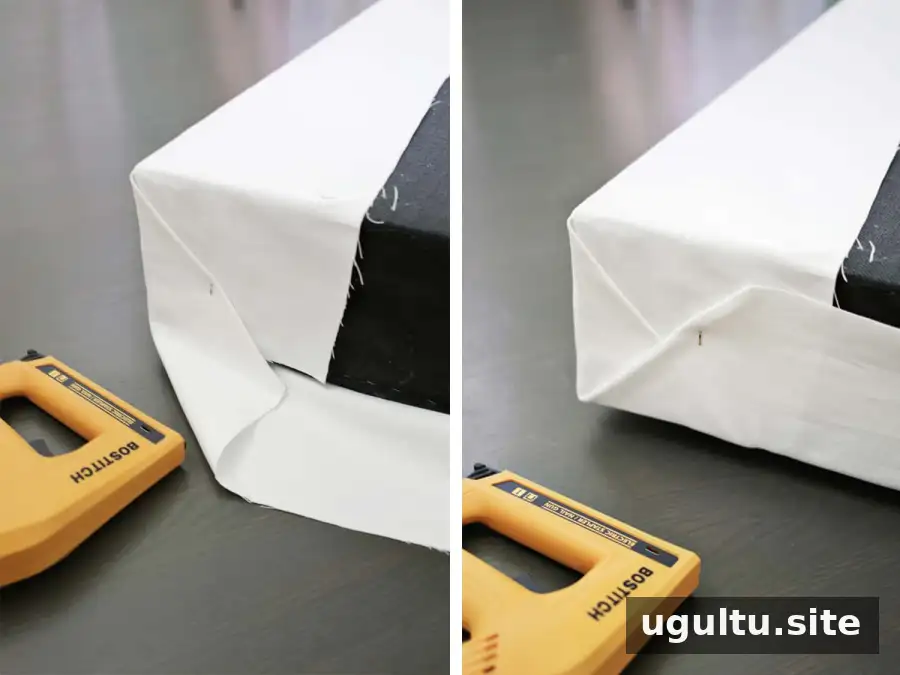
Option 2: Wrap and staple without sewing
For a no-sew finish, place the fabric over the headboard with its right side facing out. Fold each corner as you would when wrapping a present, then secure the folds on the back with staples. Leave enough fabric to reach fully around the edge and onto the hidden back surface.
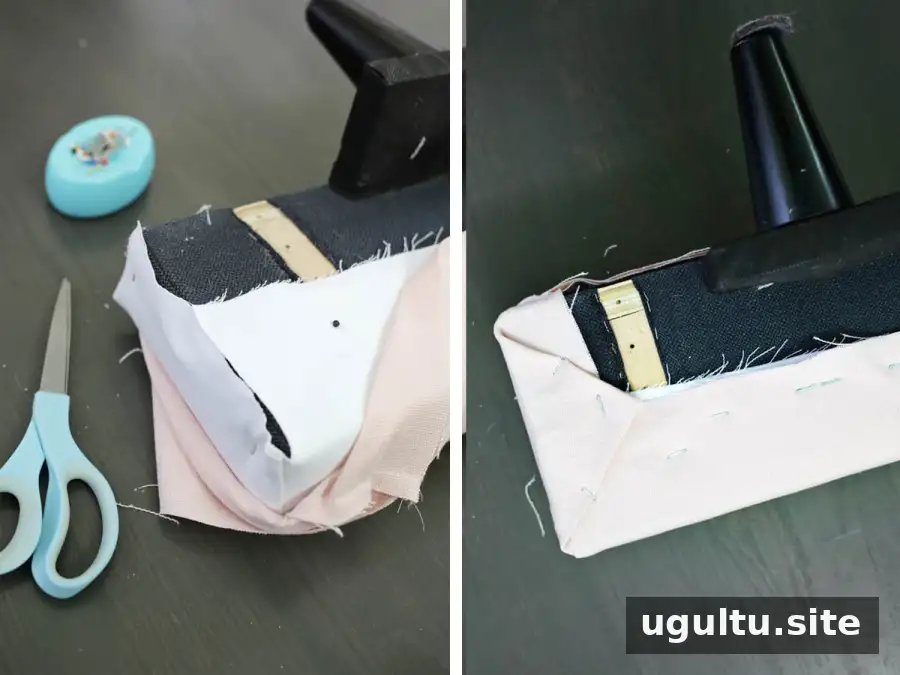
Think about which edges will be visible once the bed is assembled. Give exposed corners a tidy, secure fold, while edges hidden beneath the bed can be finished more simply. If using two layers without sewing, stack them together with the main fabric on the bottom and its right side facing the floor. Smooth both layers before wrapping them at the same time to reduce bulky folds.
Secure the fabric
Pin the fabric on the back or underside, then locate the wooden frame beneath it. Staples should hold the fabric against the wood rather than only against foam or another soft area. Starting near the middle of each section, pull the fabric smooth and staple along both sides, spacing staples about 5–6″ apart.
Work with another person if possible: one person can keep the fabric taut while the other staples. If a staple does not go fully into a particularly hard spot, try a nearby location or carefully tap it flat. Small nails can also hold fabric at a difficult area. Trim excess fabric once the covering is secure.
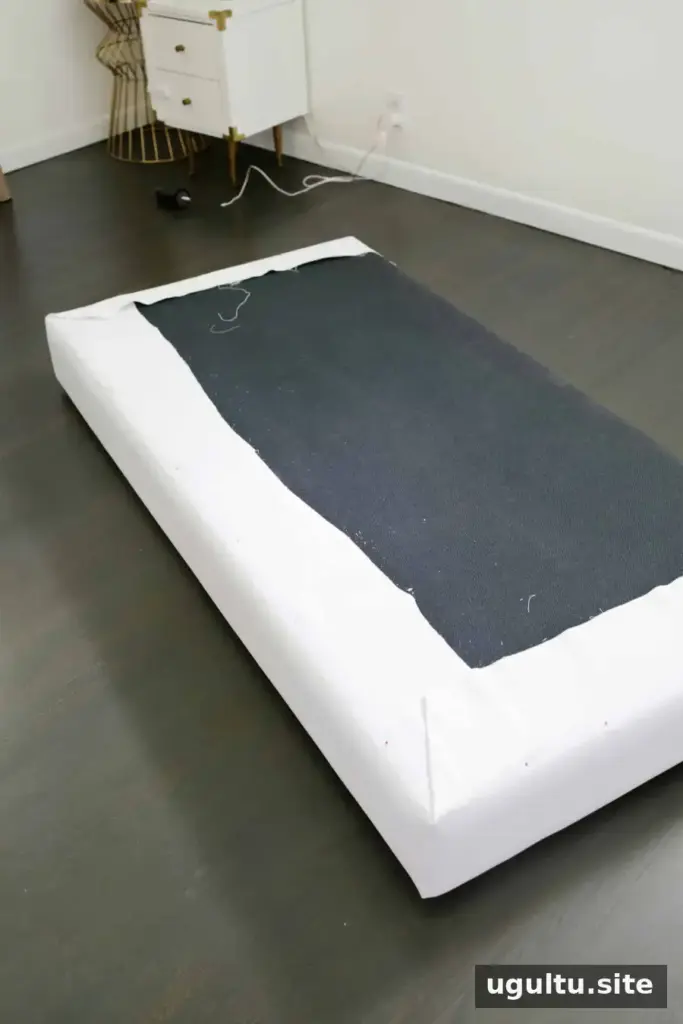
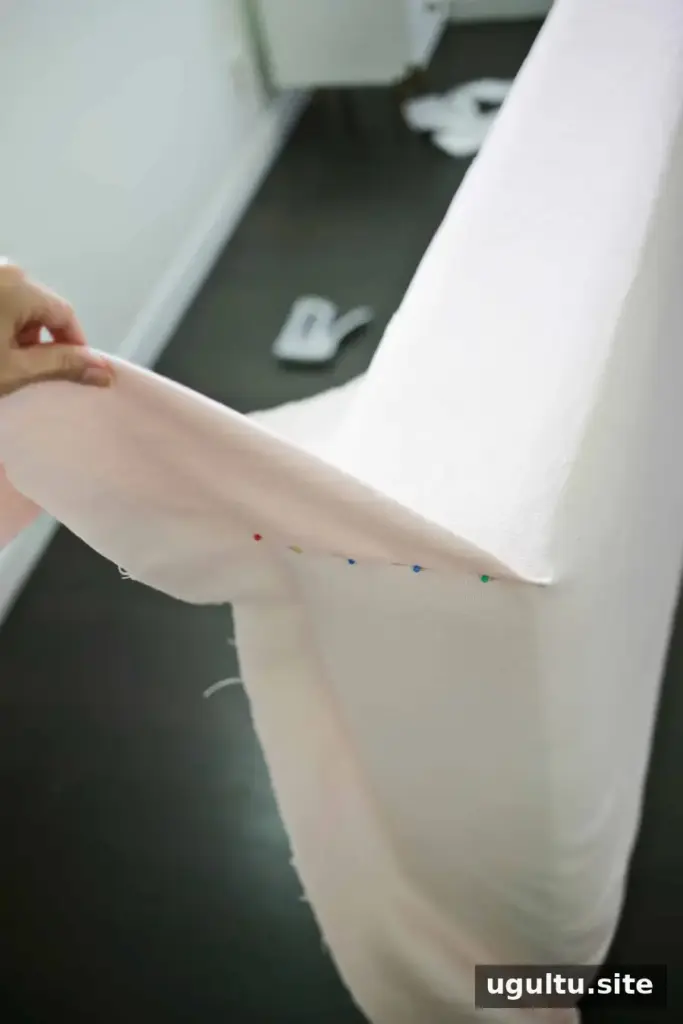
If an underlayer is needed, cover the frame with it first, then repeat the fitting and stapling process with the main fabric. If the fabric already conceals the original frame color, use just one layer.
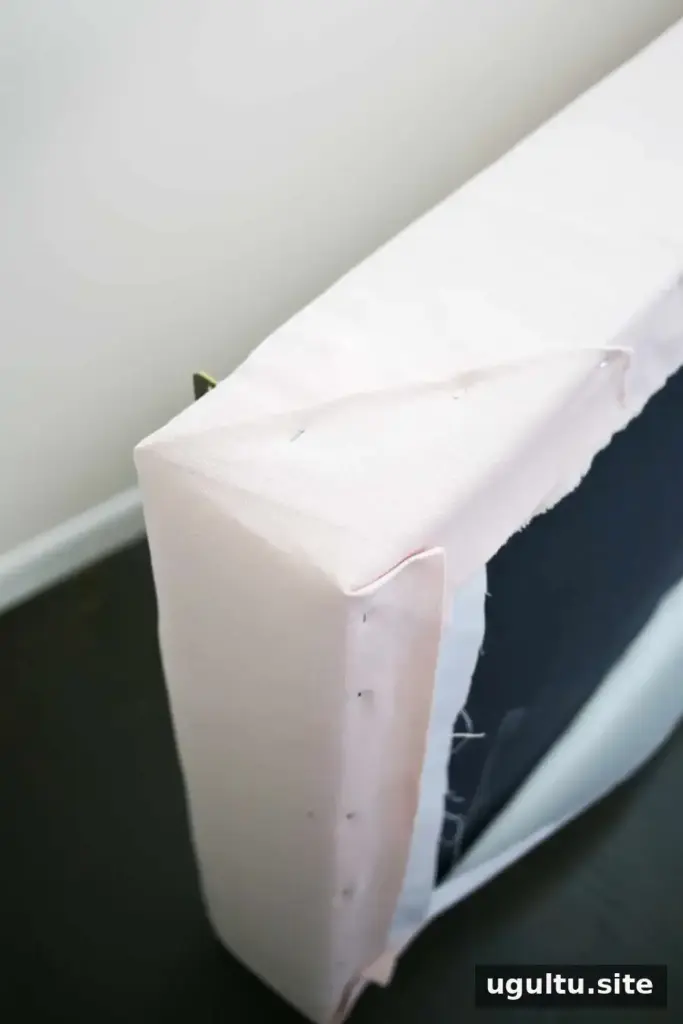
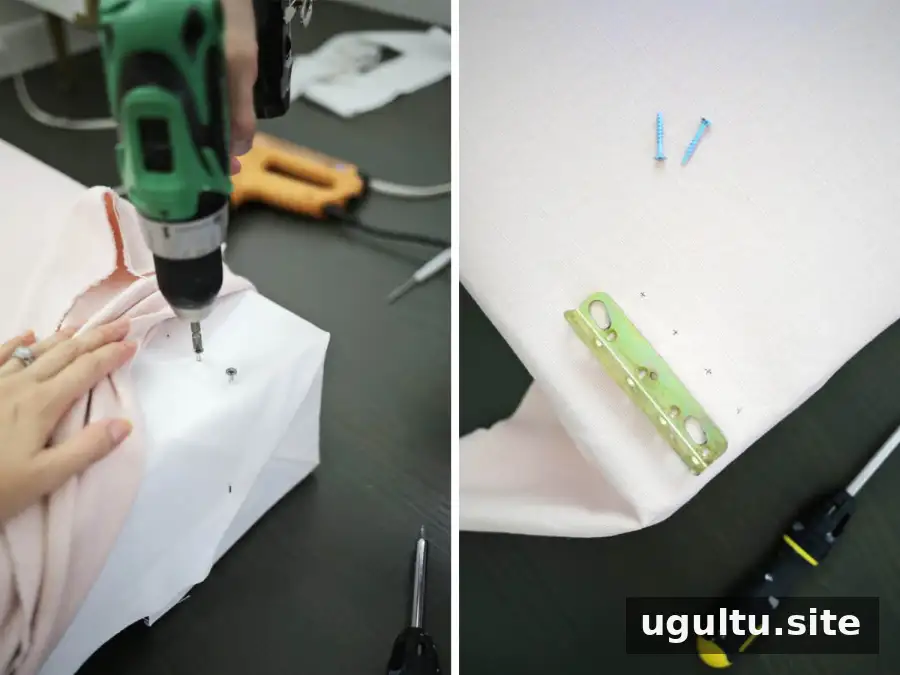
Reattach the Hardware and Legs
Use the measurements you recorded earlier to locate the hardware holes. Carefully probe through the fabric with a pin or awl, then use a screw to make a small opening. With two fabric layers, find the hole through the first layer and insert and remove the screw before locating the same point in the second layer.
Reattach the mounting hardware and legs through the openings. Avoid cutting large holes in the fabric; make only enough room for the screws and fittings.
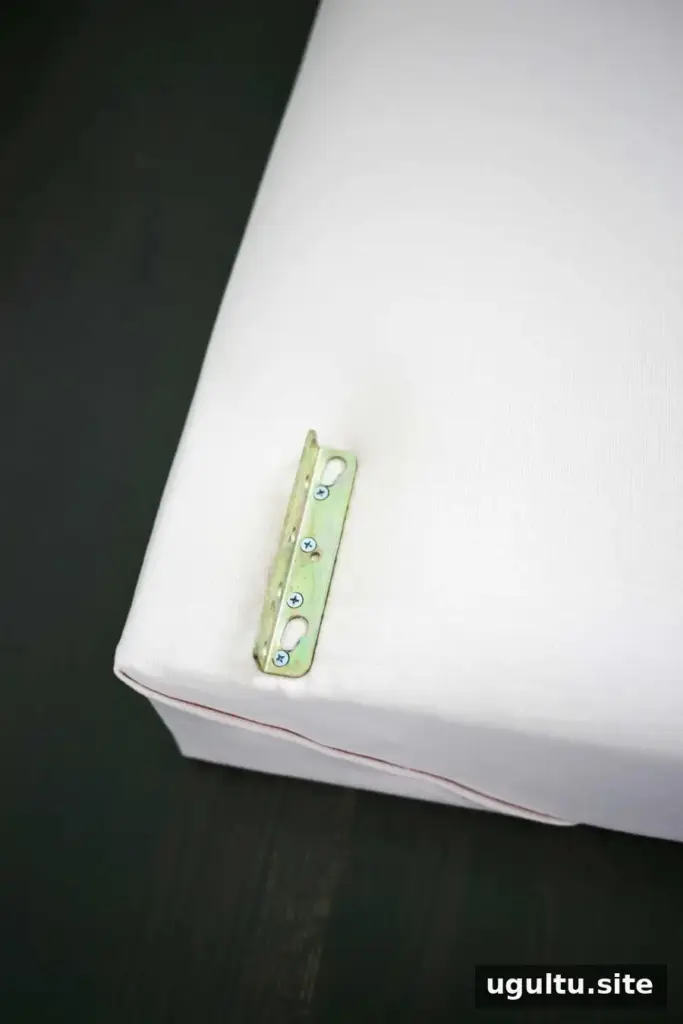
Repeat the covering process for the side rails and footboard. It may be convenient to wrap two fabric layers together on straight sections, while covering the headboard and footboard separately can make shaped or sewn corners easier to keep smooth.
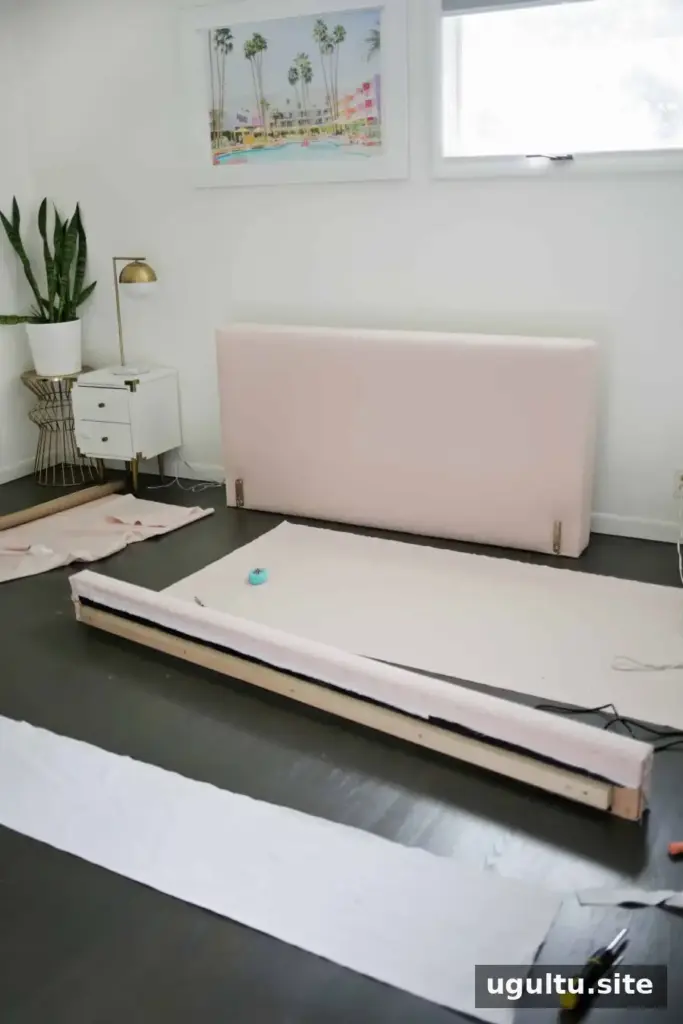
When using an underlayer, trim excess material from that layer before finishing the outer fabric. Reducing extra fabric at the corners helps keep the folds less bulky.
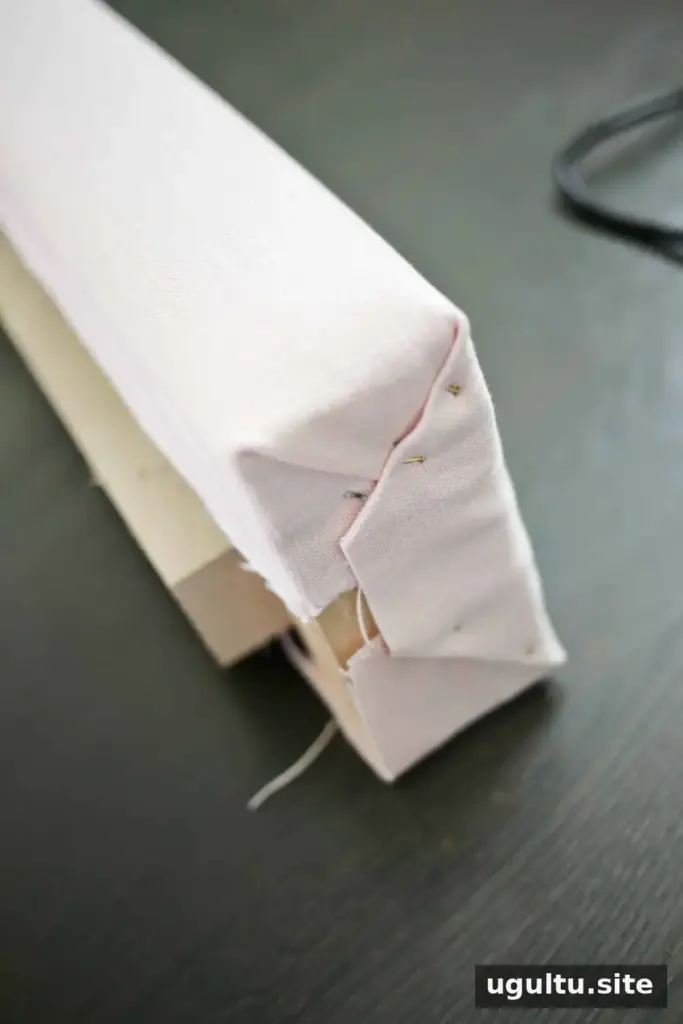
What if the staples will not penetrate the wood?
Hard spots in the frame can prevent staples from entering fully. Try a nearby spot, tap a partially inserted staple flat, or use small nails to secure that section. Take care to keep fasteners on the back or underside where they will not be visible or interfere with assembly.
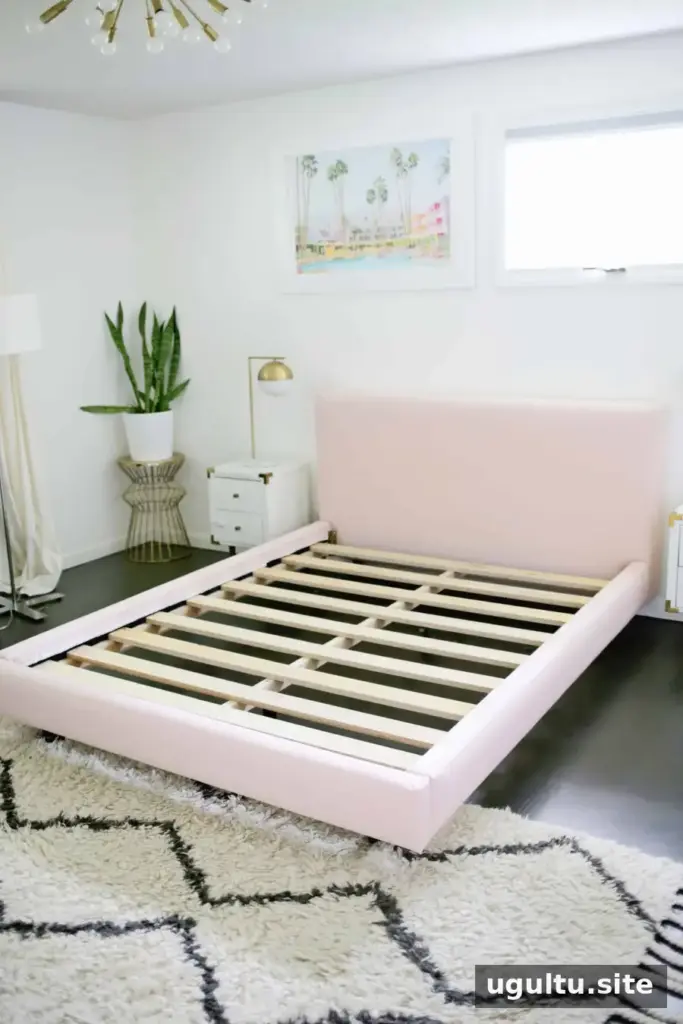
Reassemble the Bed
Once all sections are covered, reconnect the hardware and legs, then join the frame pieces. Added fabric may make some joints slightly thicker. Leaving the screws out about 1/4″ while fitting the sections together can make assembly easier; tighten them after the frame is aligned.
Reattach the central support, check that the frame is stable, and then replace the mattress and bedding. Keep the fabric smooth and secure, and make sure no staples or sharp fasteners are exposed.

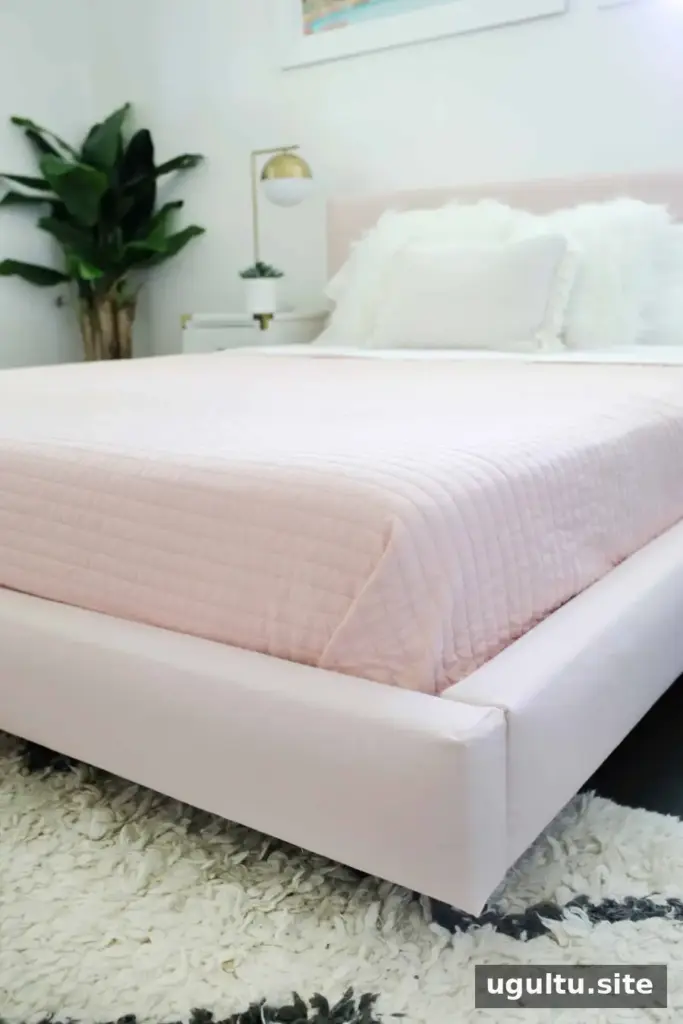
Keeping a tufted look
Covering a tufted headboard may soften or remove its original buttoned appearance. To recreate a tufted effect, cover buttons in the new fabric and use a curved needle to attach them over the existing button positions. Check the frame construction before sewing, and avoid pulling the fabric so tightly that it distorts the surface.
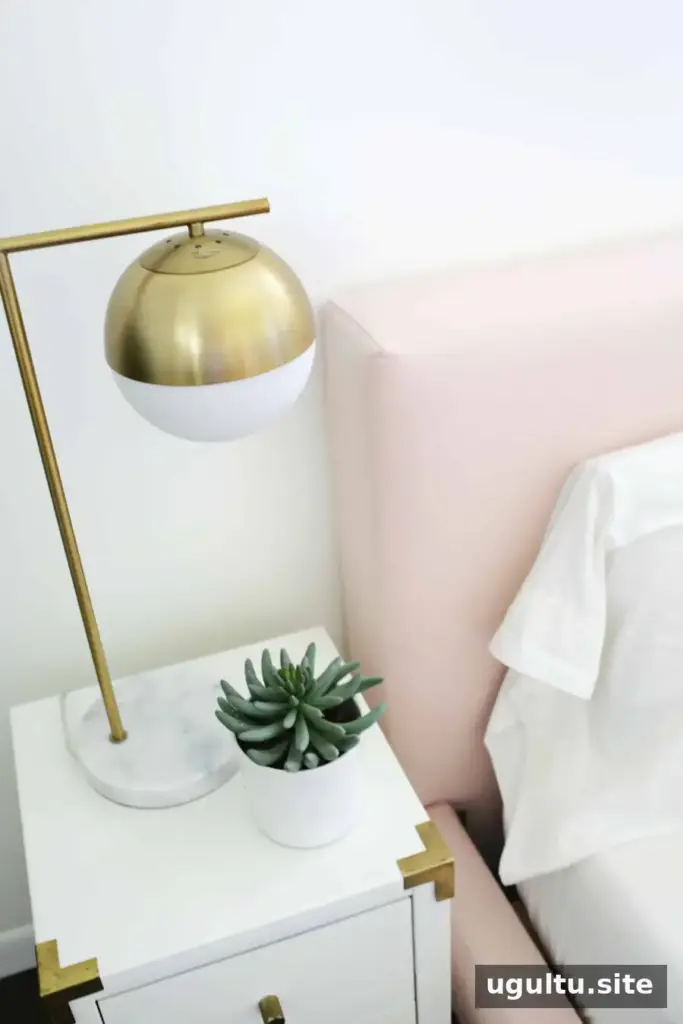
Recovering a bed frame offers a way to update its color and style while keeping the existing furniture. Whether you sew a few corners or use the no-sew method throughout, careful measuring, labeling, and smooth stapling help create a tidy result. If you plan to reupholster a bed frame, test the fabric opacity first and record the hardware locations before taking the bed apart.