
 admin
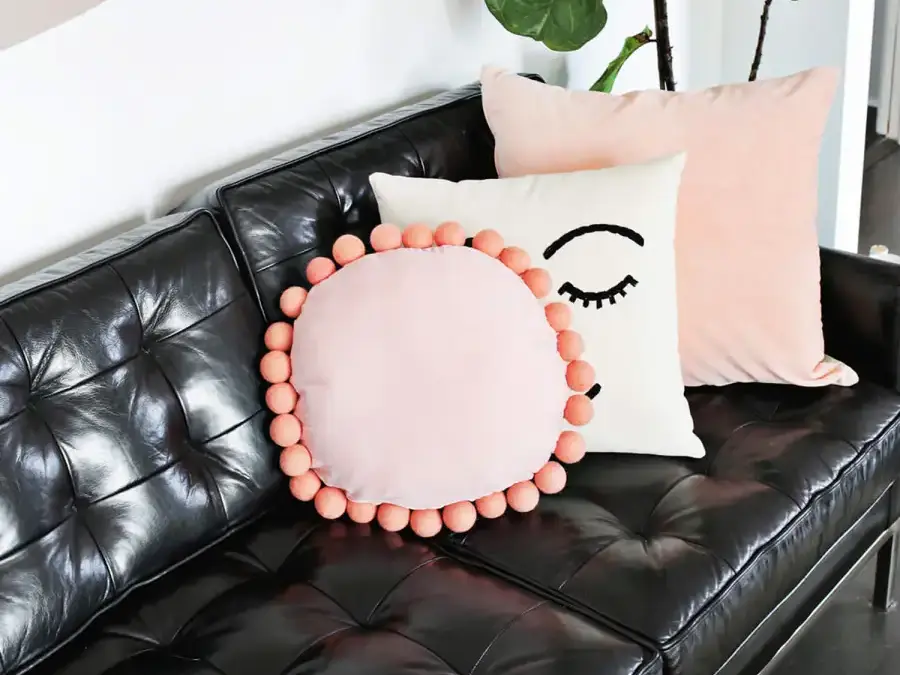
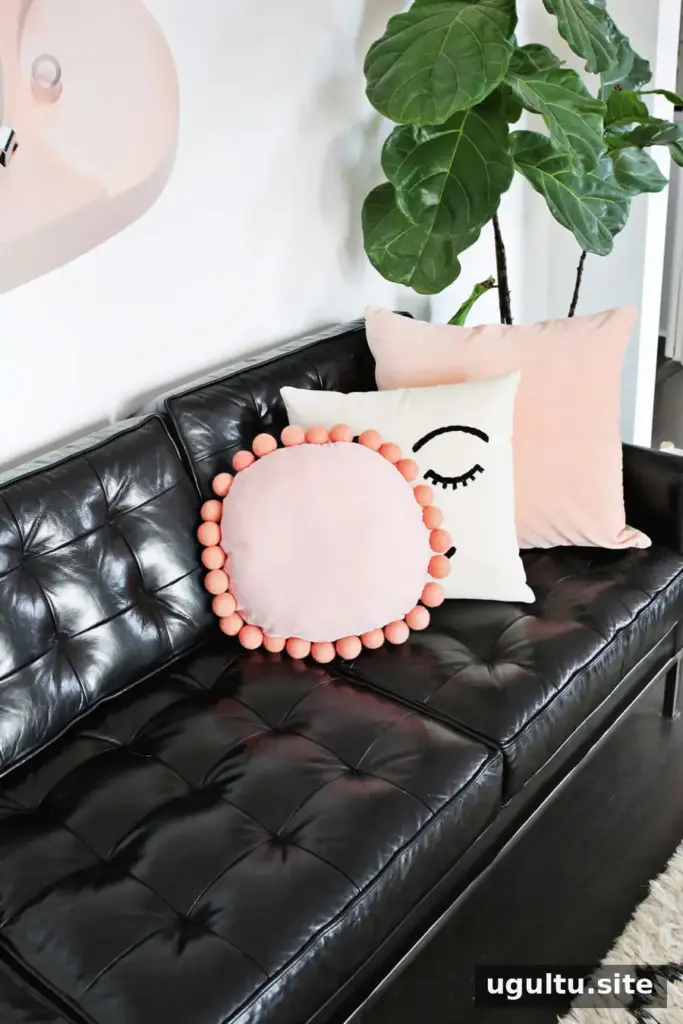
A round felt ball pillow DIY project can add color, texture, and a playful detail to a bed or sofa. This version uses a removable envelope-style cover and wool felt balls sewn around the edge. Choose fabric and felt balls in matching or complementary shades to create a coordinated look.
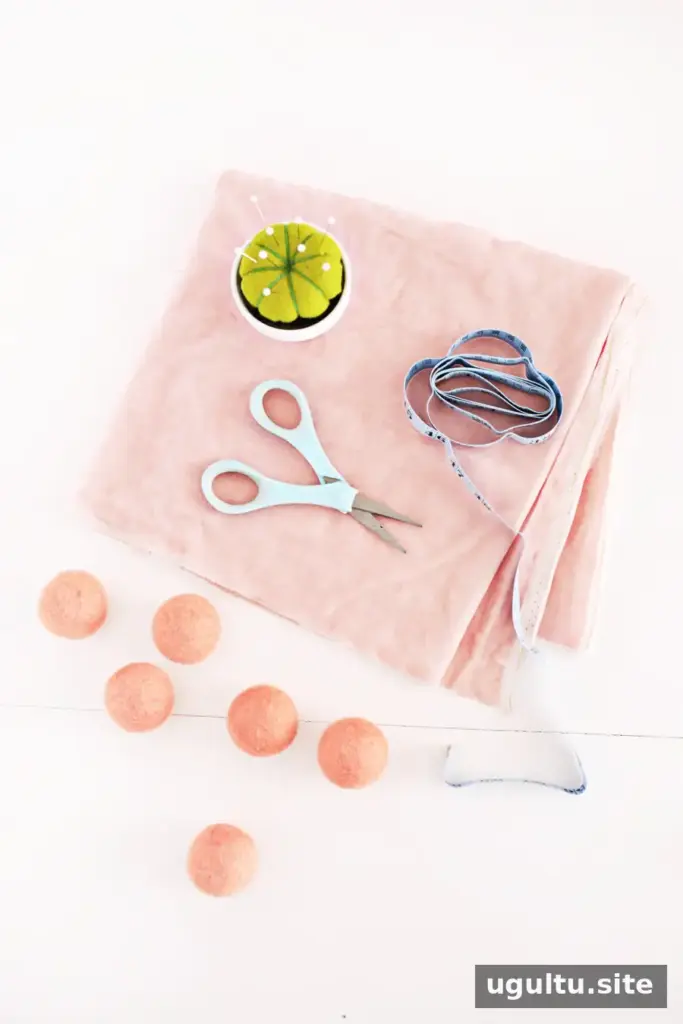
Supplies:
- Fabric of your choice. If using velvet, choose thicker upholstery velvet, which is easier to handle than thin, stretchy velvet.
- Wool felt balls; this project uses 28 balls measuring 4 cm each.
- Brown craft paper for the pattern.
- Sewing machine and thread.
- Straight pins.
- Round pillow form or pillow stuffing.
Before cutting, check that the pillow form fits the finished cover. A pillow form makes the cover easy to remove and can help it keep a consistent shape.
How to Make a Round Felt Ball Pillow DIY
1. Make the front pattern and cut the fabric
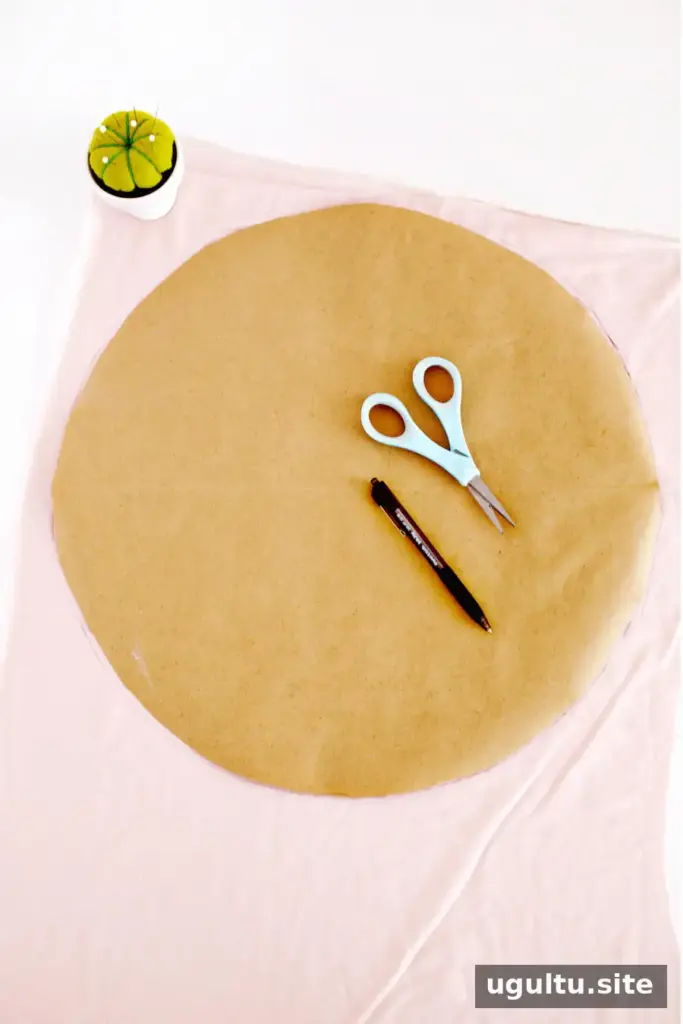
Measure the width of the round pillow form and add ½ inch to the measurement. This provides a ¼-inch seam allowance around the edge. Use brown craft paper to draw a circle using the adjusted measurement, then trace the circle onto the back of the fabric and cut it out. This piece forms the front of the pillow.
Keep the paper pattern nearby while preparing the back pieces. It helps ensure the two halves are the same size and line up evenly when assembled.
2. Cut and hem the back pieces
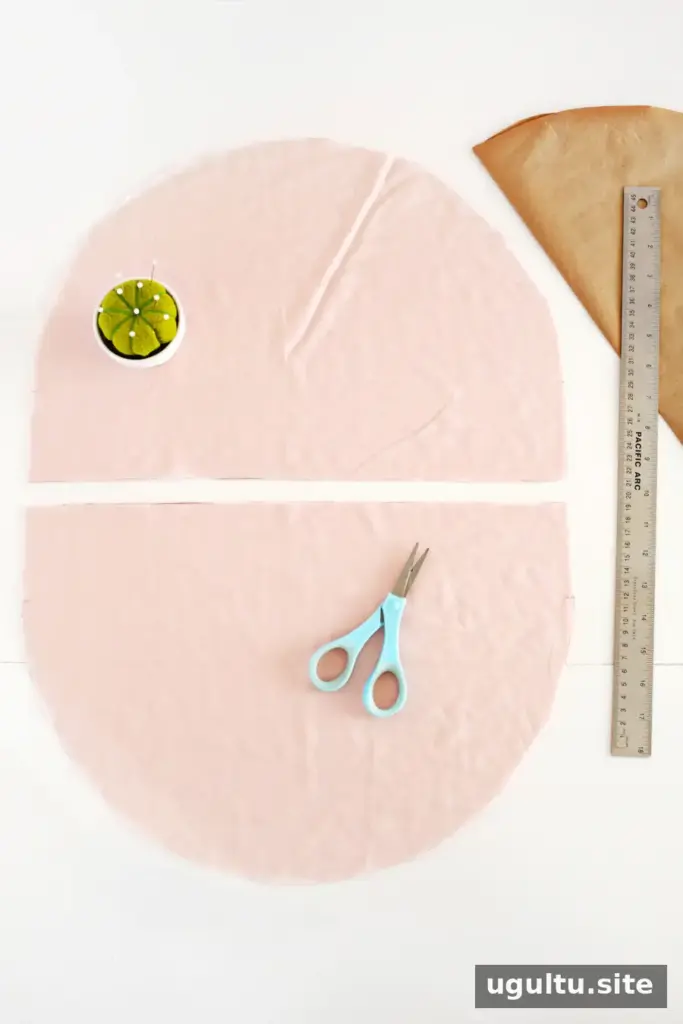
Fold the paper circle in half and trace the half-circle shape. Extend its straight side by 3 inches so the pattern resembles the back of a hockey rink. Trace and cut a second piece of the same shape to create the two back panels.
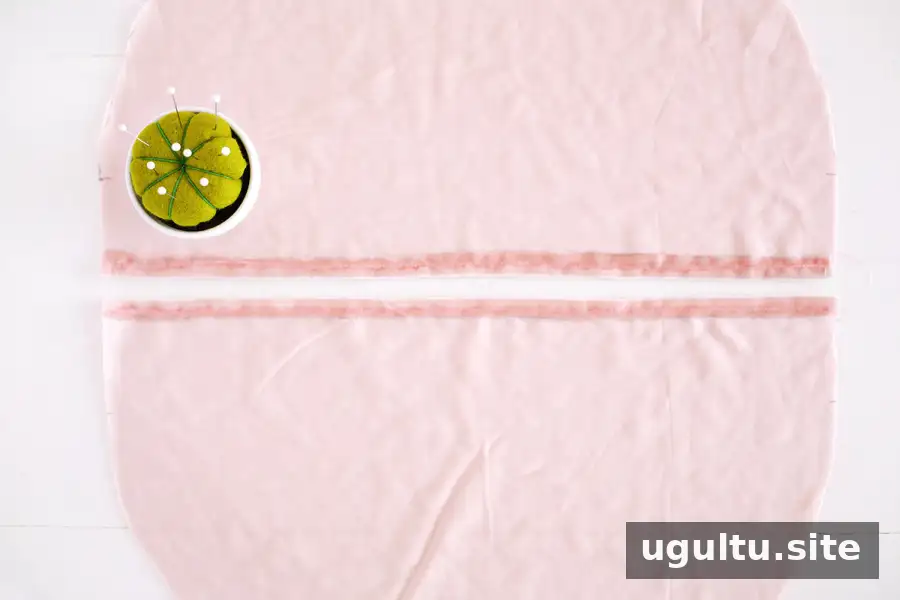
Fold the long straight edge of each panel over by ½ inch and sew along the fold. These finished edges form the opening of the envelope-style cover.
3. Sew the pillow cover
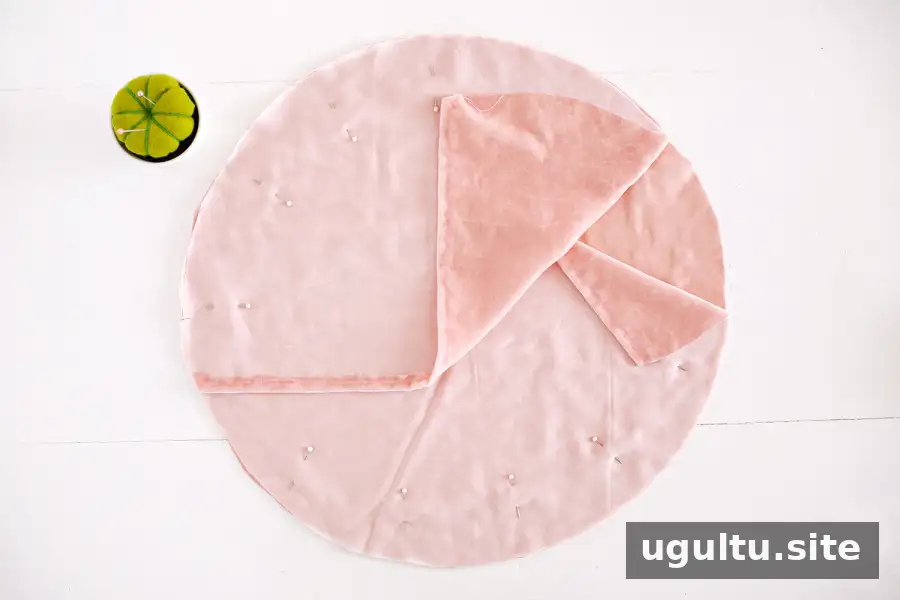
Place the front circle with its right side facing up. Arrange the two back panels on top, with their finished edges overlapping at the center. Check that the outer edges align before sewing.
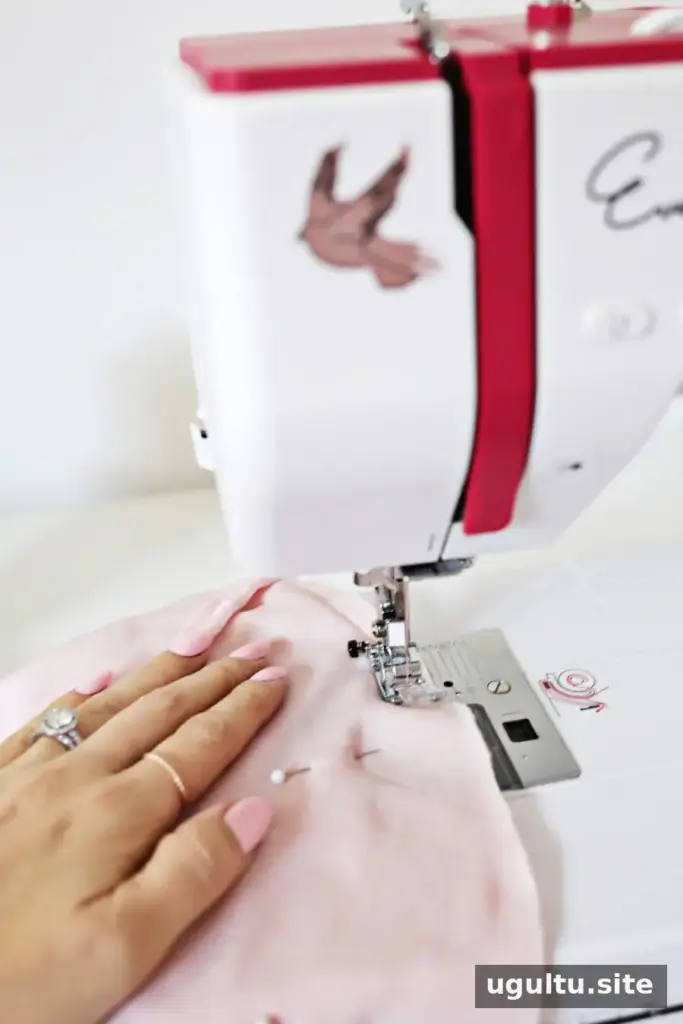
Sew around the full outer edge with a ¼-inch seam allowance. Turn the cover right side out and insert the pillow form through the opening in the back.
An envelope-style closure allows the cover to be removed when needed. For an alternative, cut two circles, place them with their right sides together, and sew around most of the edge. Turn the cover right side out, add the stuffing, and hand-sew the opening closed.
4. Attach the felt balls
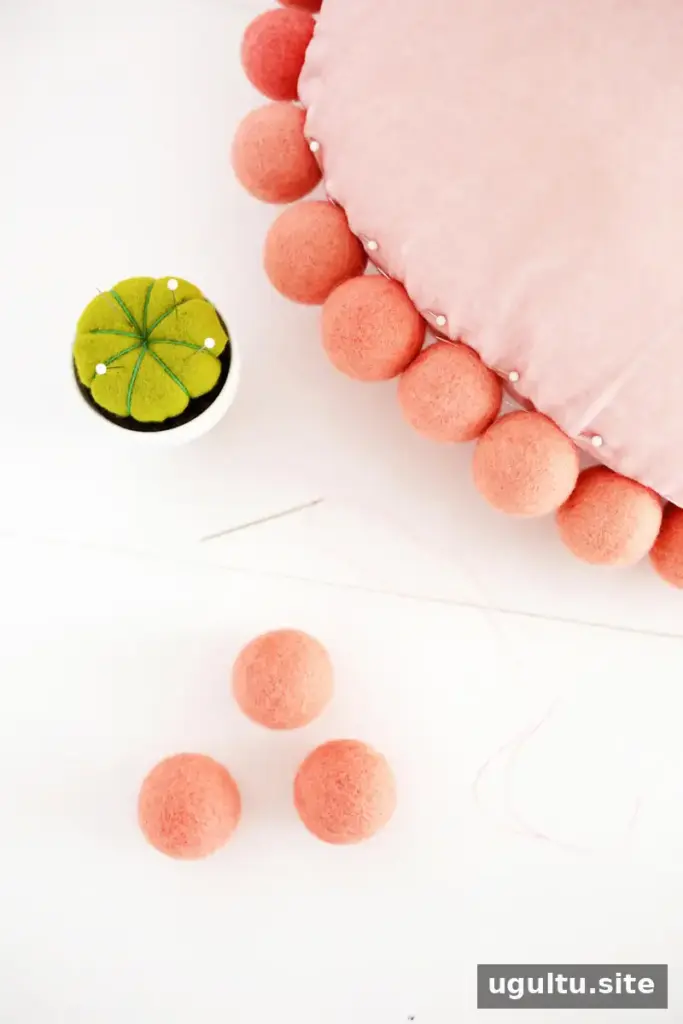
Use straight pins to position the felt balls around the pillow’s edge, spacing them until the circle is complete. Before sewing, check the arrangement and adjust the gaps so the trim looks even.
Use thread in a complementary color to tack each ball securely in place. Knot the thread after attaching each ball; this helps prevent one loose ball from affecting the rest. To avoid repeatedly cutting and rethreading, pass the needle through the inside of the cover between balls.
Finishing the Round Felt Ball Pillow
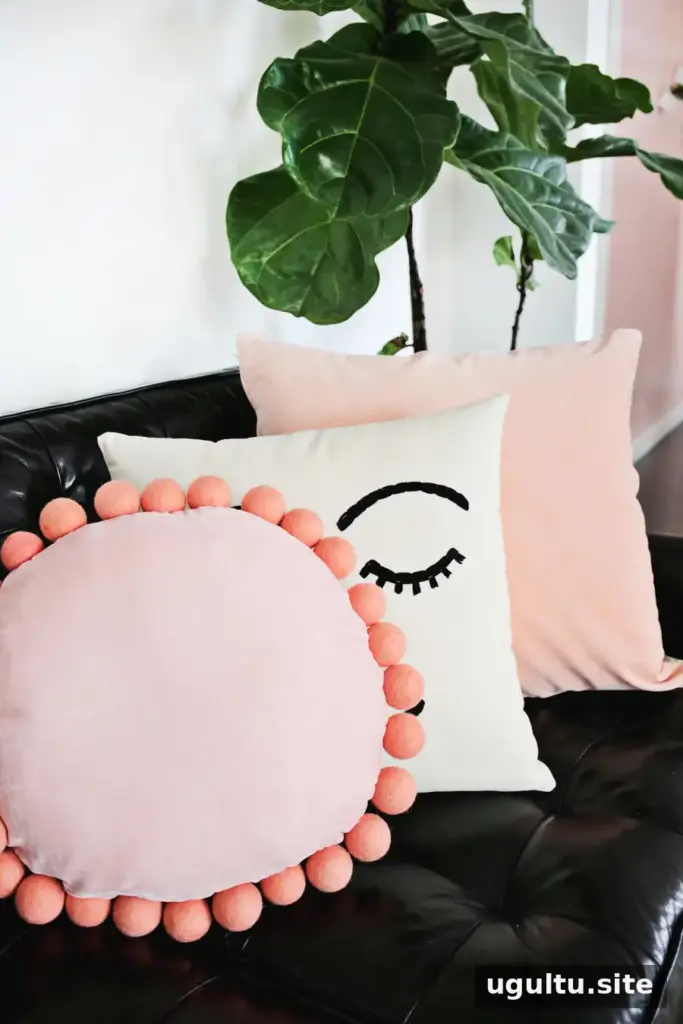
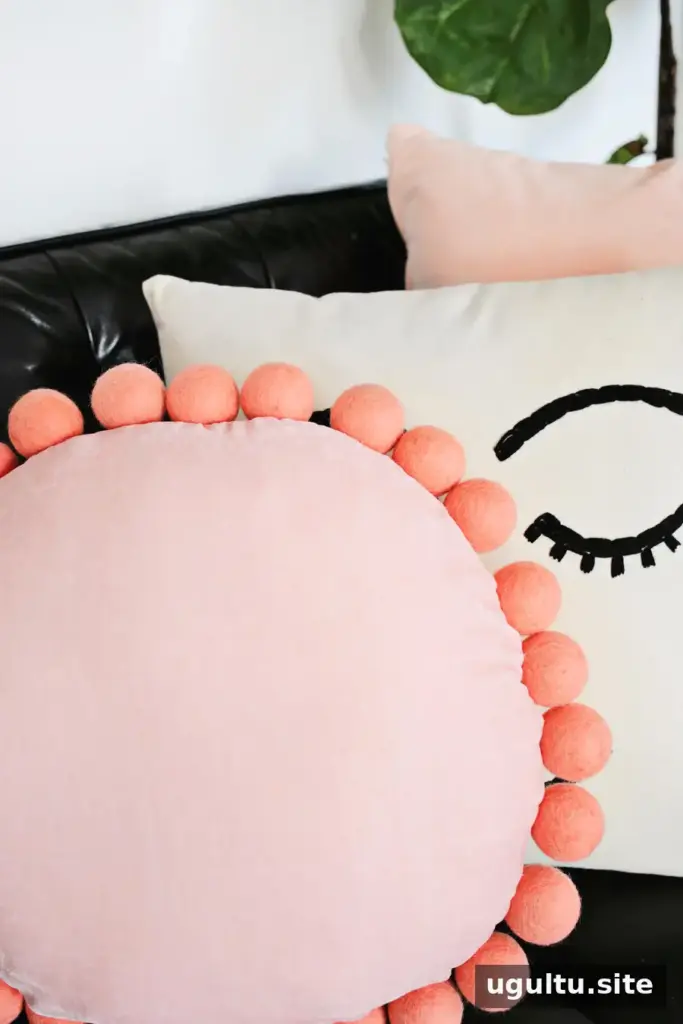
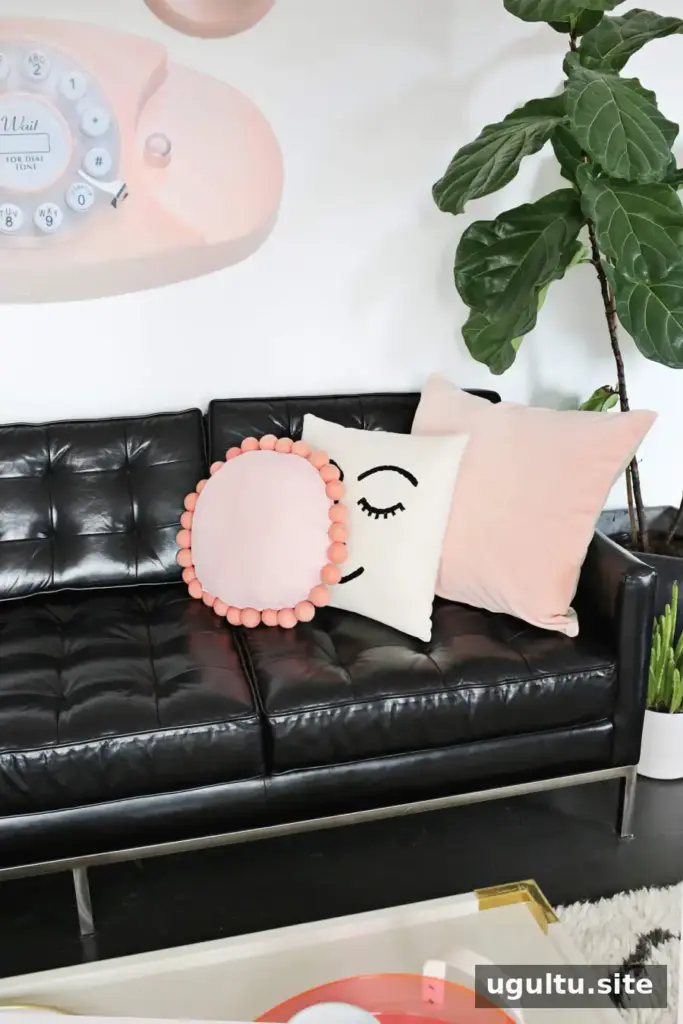
A pink fabric paired with slightly different shades of pink felt balls creates a soft monochromatic effect. The same trim can also be adapted to other pillow shapes, while the round silhouette gives this design a distinctive look. Once the felt balls are attached, insert the pillow form and arrange the finished pillow on a bed or sofa.
Project by Laura.


