admin
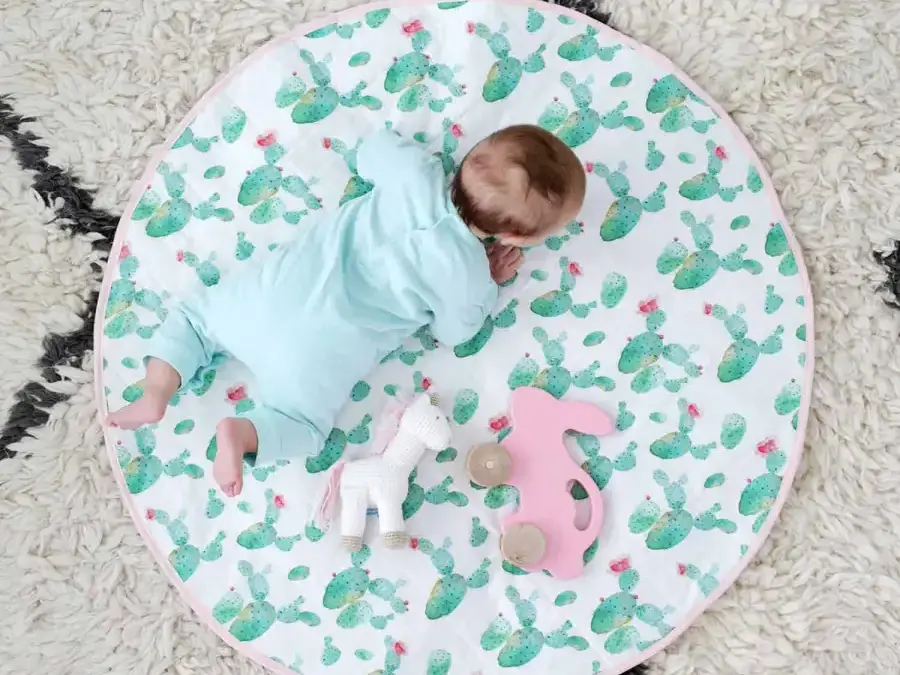
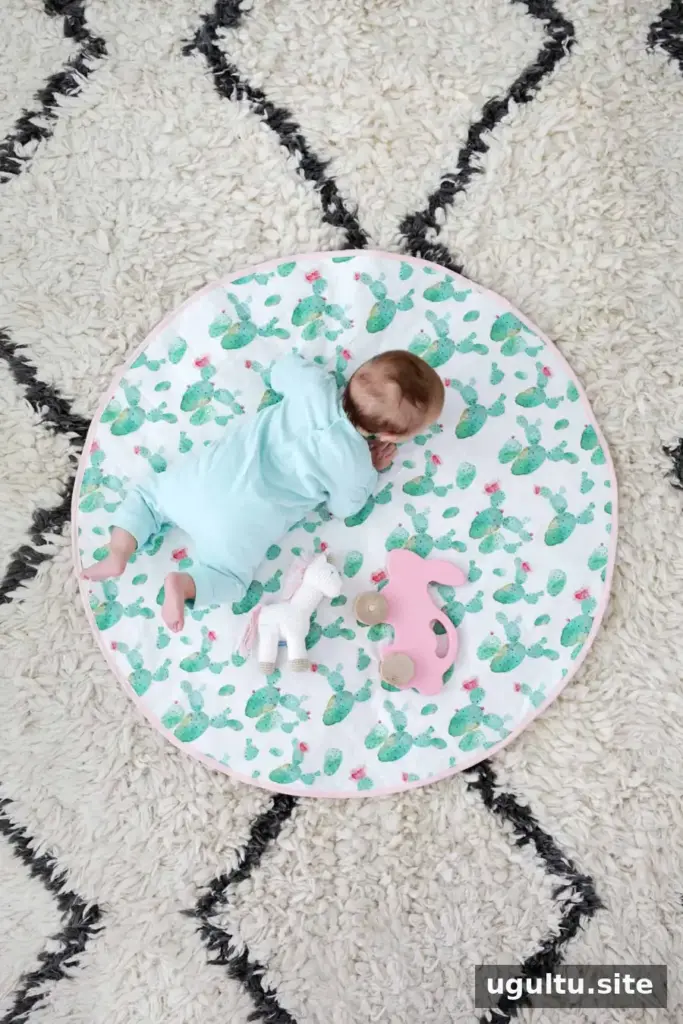
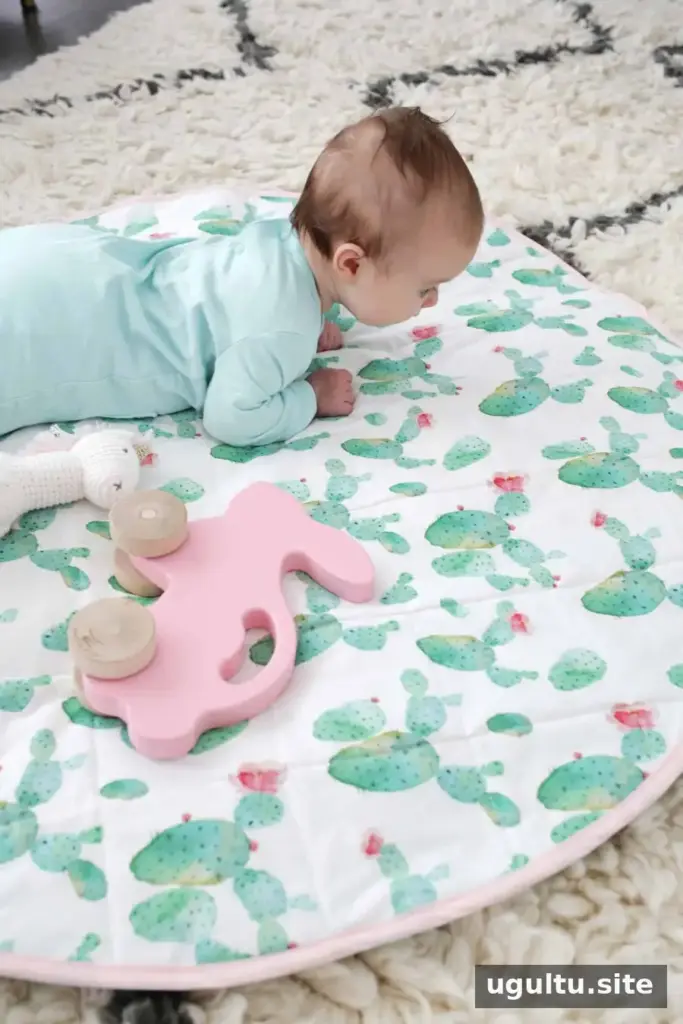
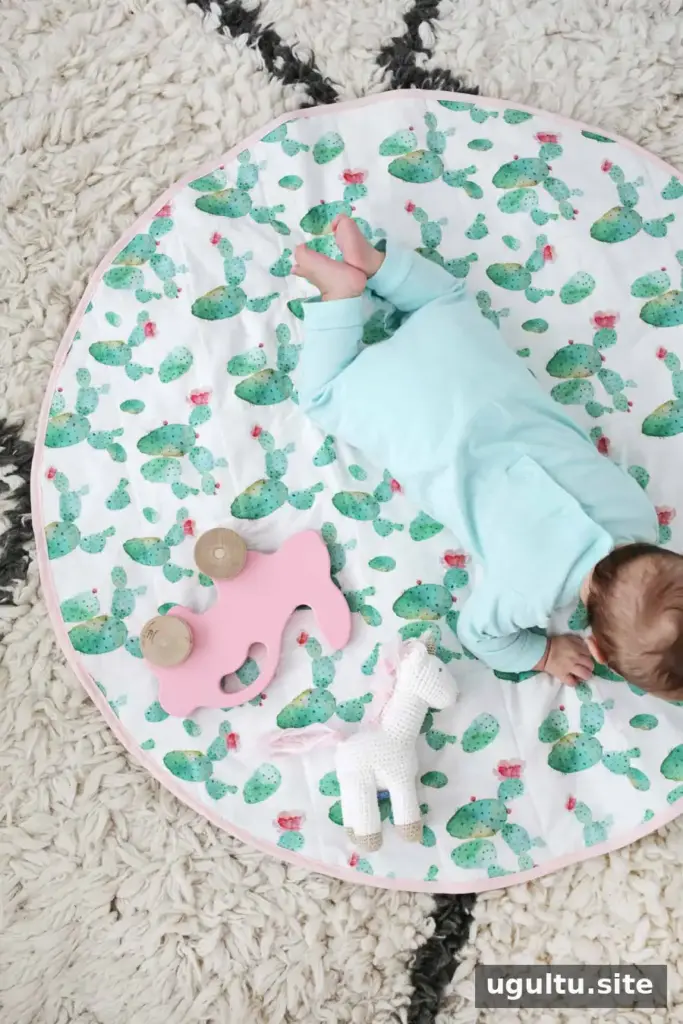
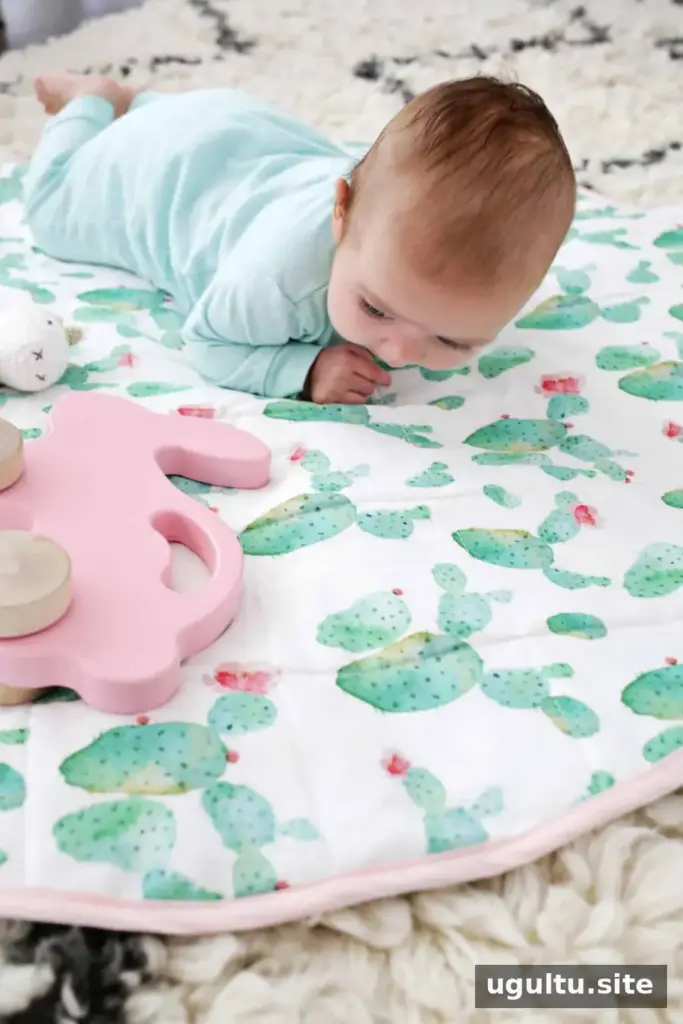
A round quilted baby play mat gives your baby a soft place for supervised tummy time and play. This DIY project uses three fabric layers, simple quilted stitching, and bias tape around the edge. The finished mat measures 34 inches across, and you can choose fabrics to suit your nursery or home. Making a few mats can also be useful when one is in the wash or you want a play surface in another room.
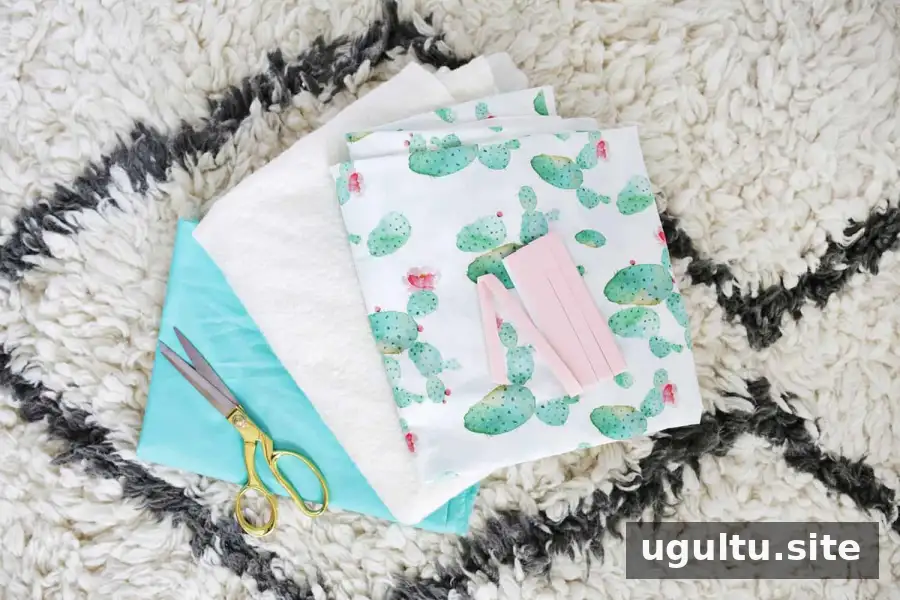
Materials for a Round Quilted Baby Play Mat
- 1 yard of printed cotton fabric for the top layer
- 1 yard of solid cotton fabric for the bottom layer
- 1 yard of cotton batting for the middle
- 3 yards of double-fold bias tape
- Sewing machine and straight pins
- Parchment paper for the circle template
- Fabric pen
- Fabric scissors
Wash and dry the fabric and batting according to their care labels before sewing. This helps account for any shrinkage before the layers are joined. If you want a more padded mat, you can use two layers of batting; a compatible walking foot may help feed the thicker layers evenly.
How to Make a Round Quilted Baby Play Mat
1. Prepare and cut the fabric layers
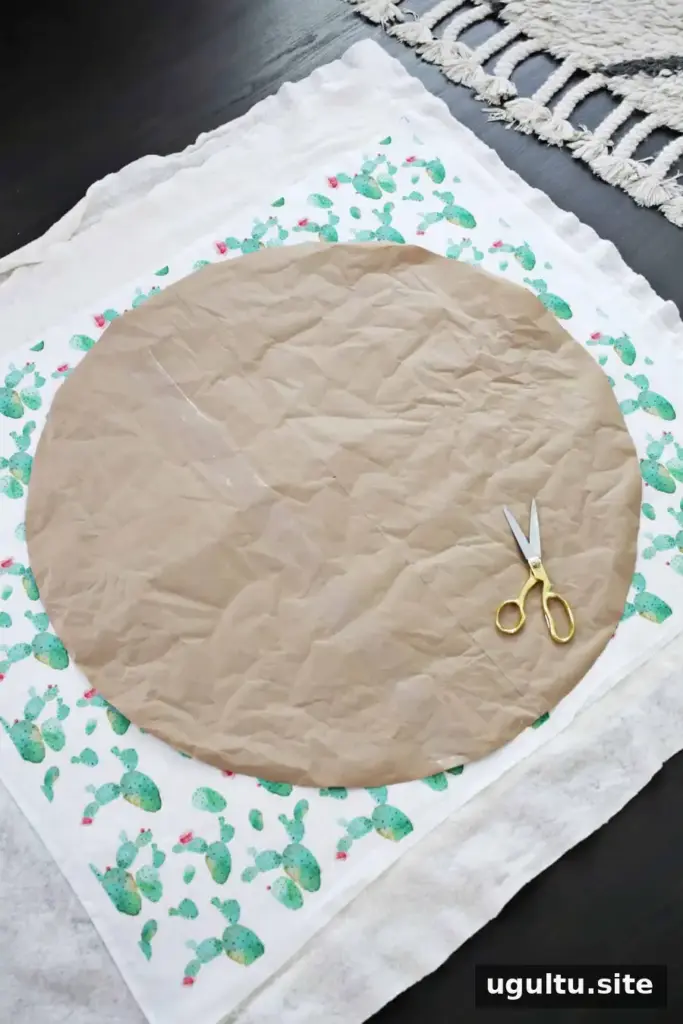
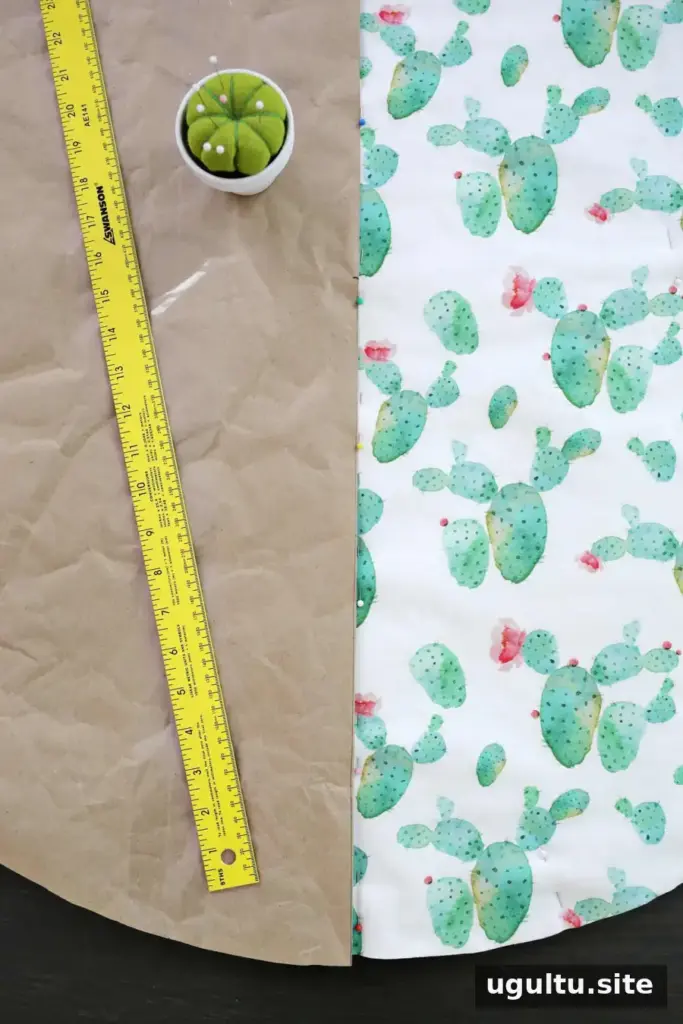
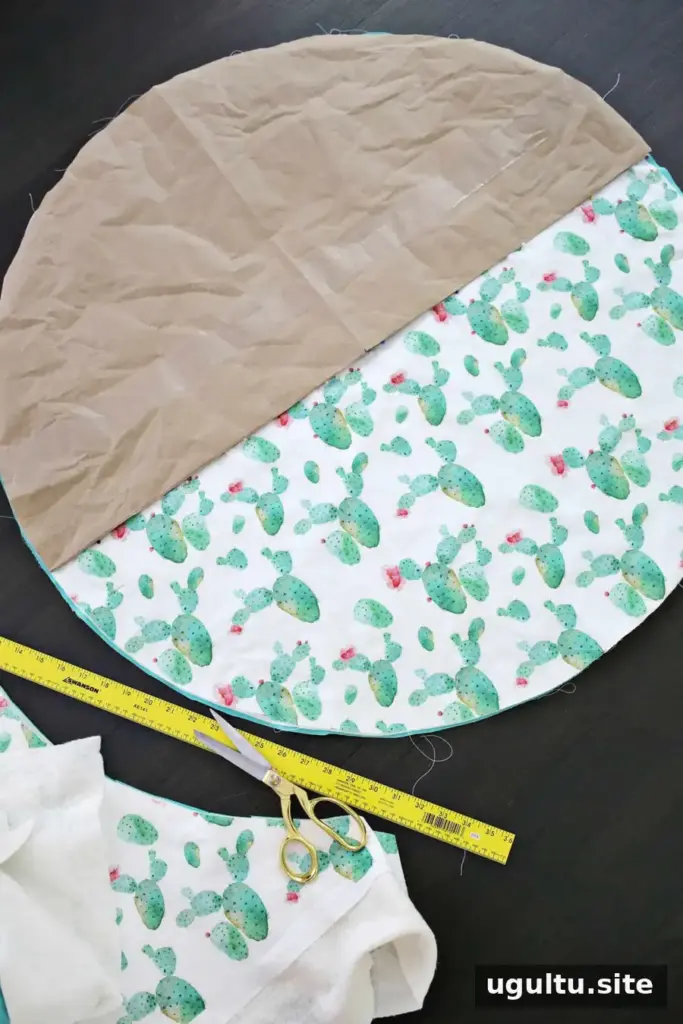
Lay the bottom fabric, batting, and printed top fabric on a flat surface, with the batting between the two fabric layers. Smooth them carefully to remove large wrinkles. Use parchment paper to make a circle template that is 34 inches wide. The folded-quarters method can help create an even circle. Place the template over the stacked layers.
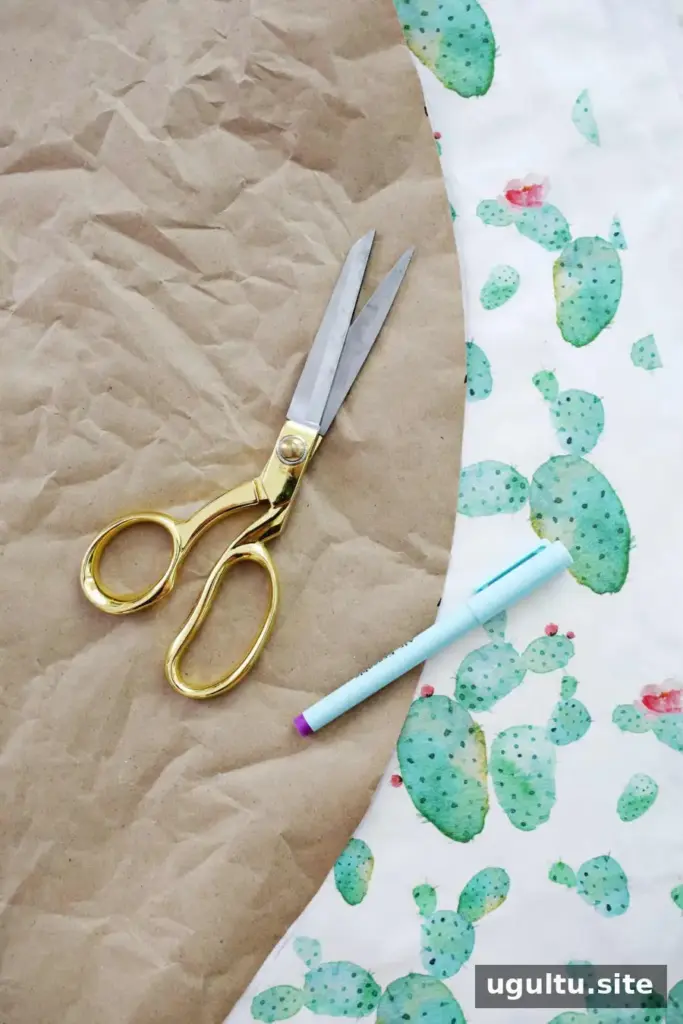
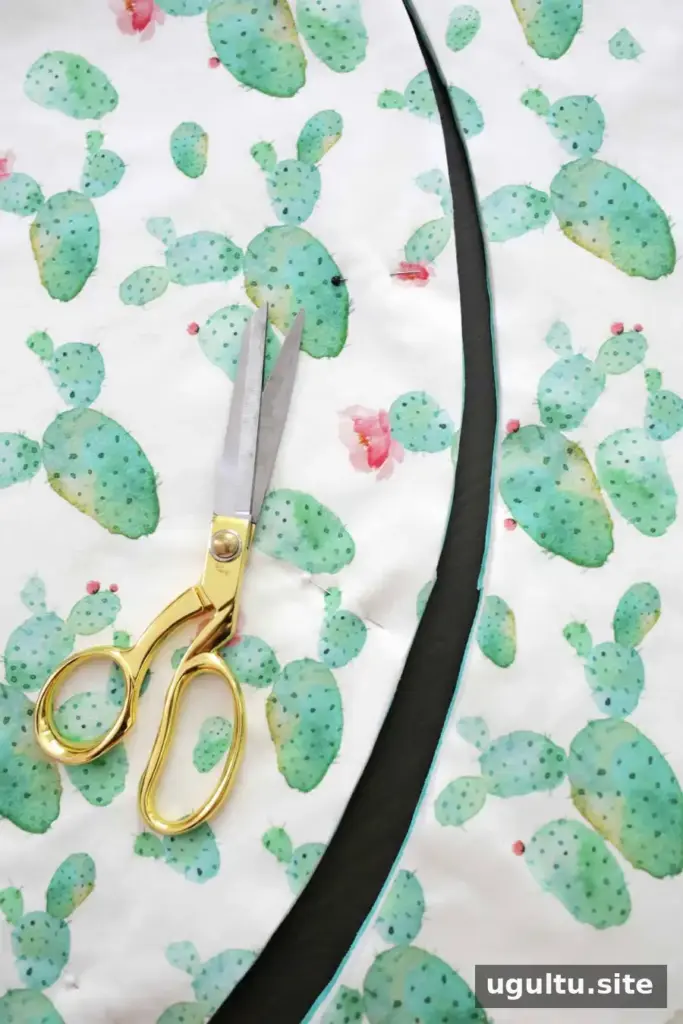
Trace around the template with a fabric pen, then pin the layers together just inside the marked circle. Cut along the line with fabric scissors, keeping all three layers aligned.
2. Quilt the circle
Fold the circle template in half and use it to find the center line of the fabric circle. Pin along that line, then sew through the layers using a longer stitch. Before sewing the full mat, test the stitch and thread tension on a scrap made from the same layers. Adjust the machine if needed so the fabric feeds smoothly.
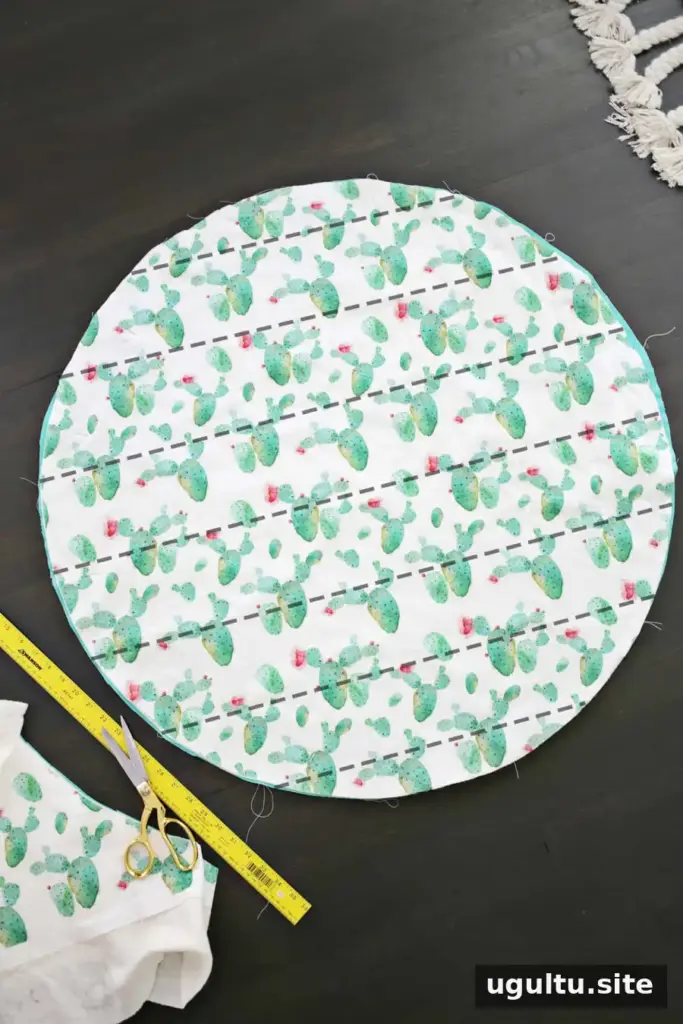
After stitching the center line, add more straight lines about every 4 inches to create the first direction of the quilting. A yardstick can help keep the lines straight. Work slowly and check that the layers remain flat as you sew.
Use the folded template to mark a center line across the stitched lines in the opposite direction. Pin and sew additional lines about 4 inches apart until the circle is quilted. Trim any excess fabric that extends beyond the circular edge so the binding can sit neatly.
3. Add the bias-tape binding
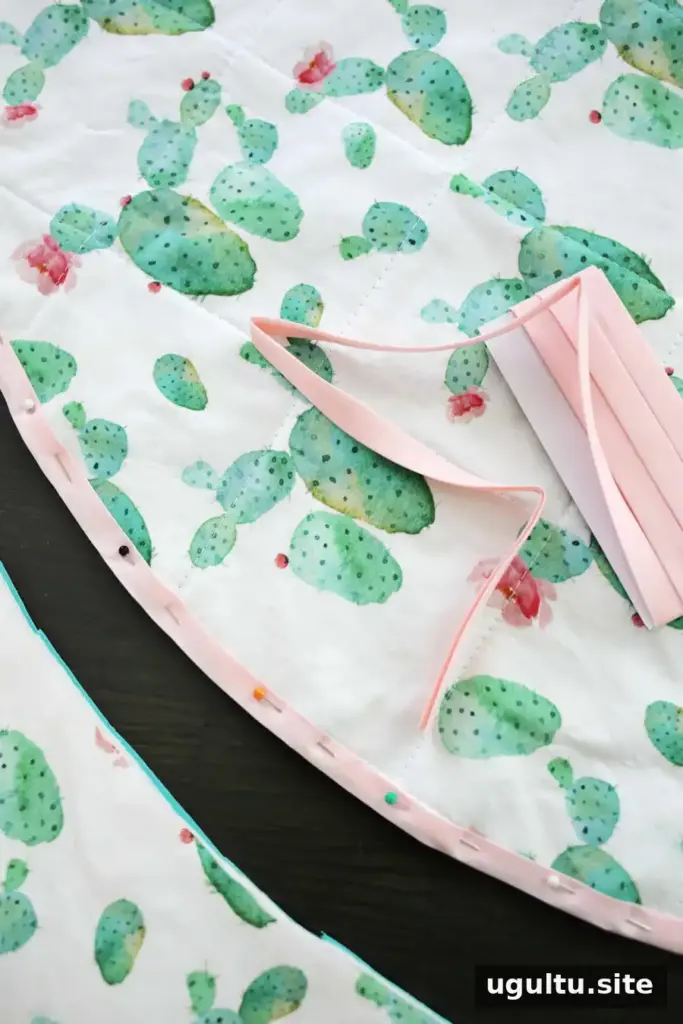
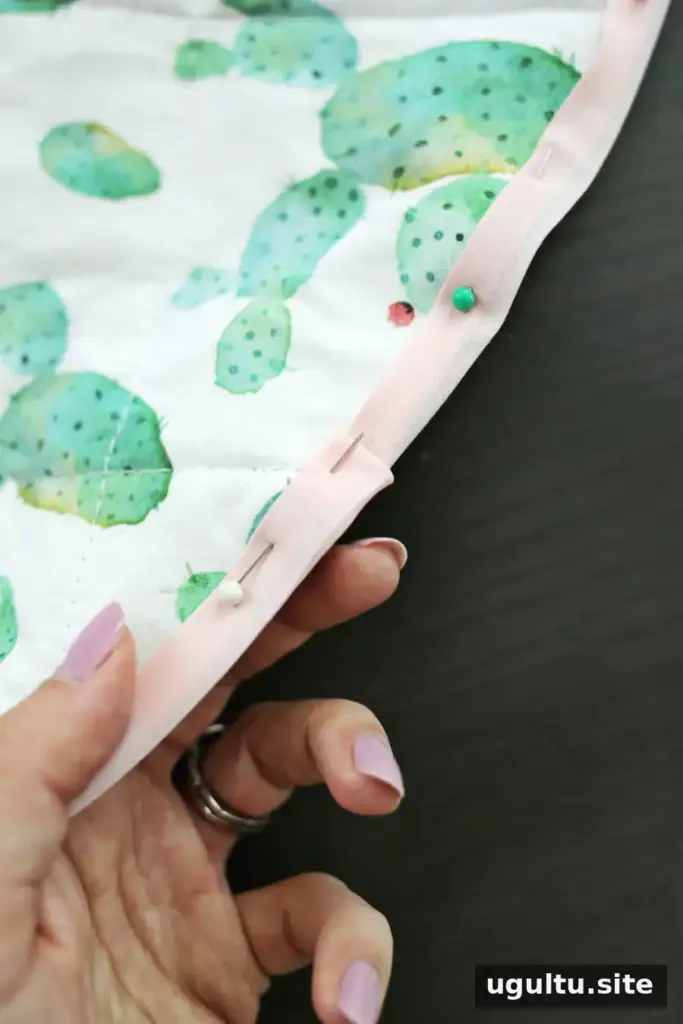
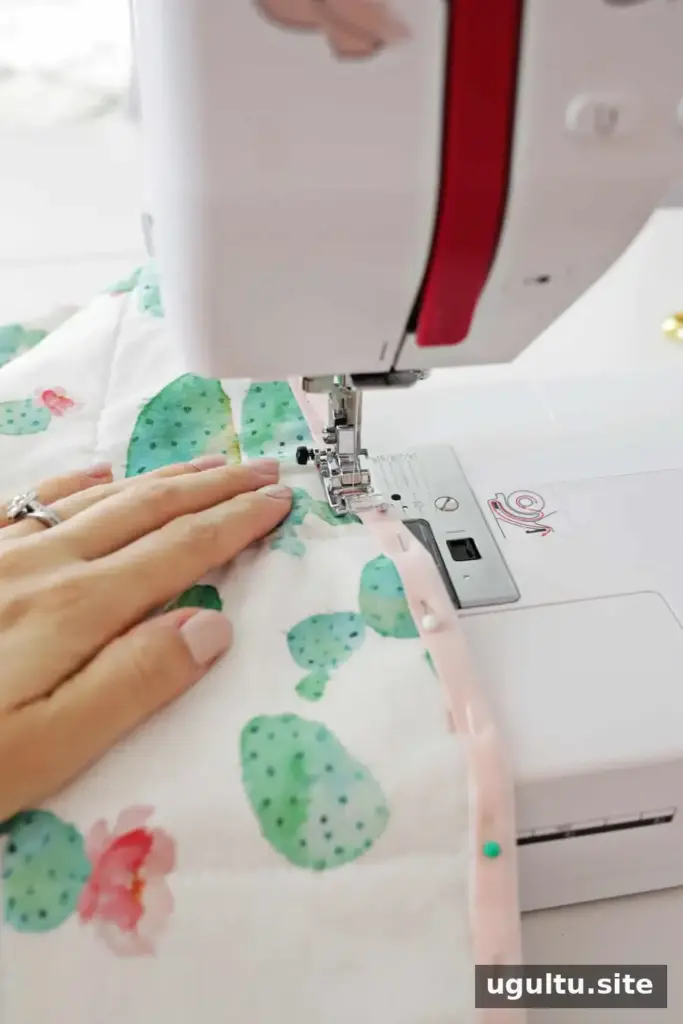
Pin the double-fold bias tape around the entire edge of the mat. When you reach the starting point, fold about 1/2 inch under at the end of the tape and overlap it over the beginning for a tidy join. Sew the tape in place, keeping the stitching consistent around the curve.
Care and Safe Use
The finished mat can be machine-washed in cold water, provided the fabric and batting care instructions allow it. Check the seams and binding periodically, especially after washing, and repair loose stitching before using the mat again. Use the mat only on a stable floor and keep your baby supervised during tummy time and play. It is a play surface, not a sleep surface; move your baby to an appropriate sleep space when it is time to sleep.
Make the Mat Your Own
Choose a print and solid fabric that coordinate with your room, or use contrasting colors to make the quilting stand out. The circular shape can also provide a base for a baby gym when your child is ready to use one, with any gym used according to its manufacturer’s instructions and under supervision. This project is a straightforward way to make a reusable play mat while practicing basic cutting, quilting, and binding techniques.
— Laura