
 admin
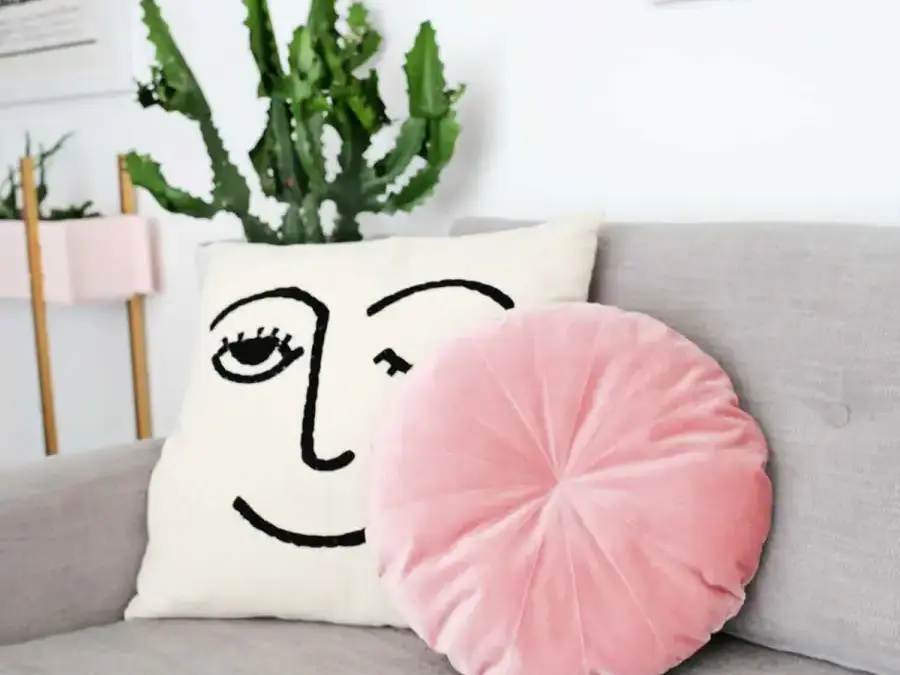
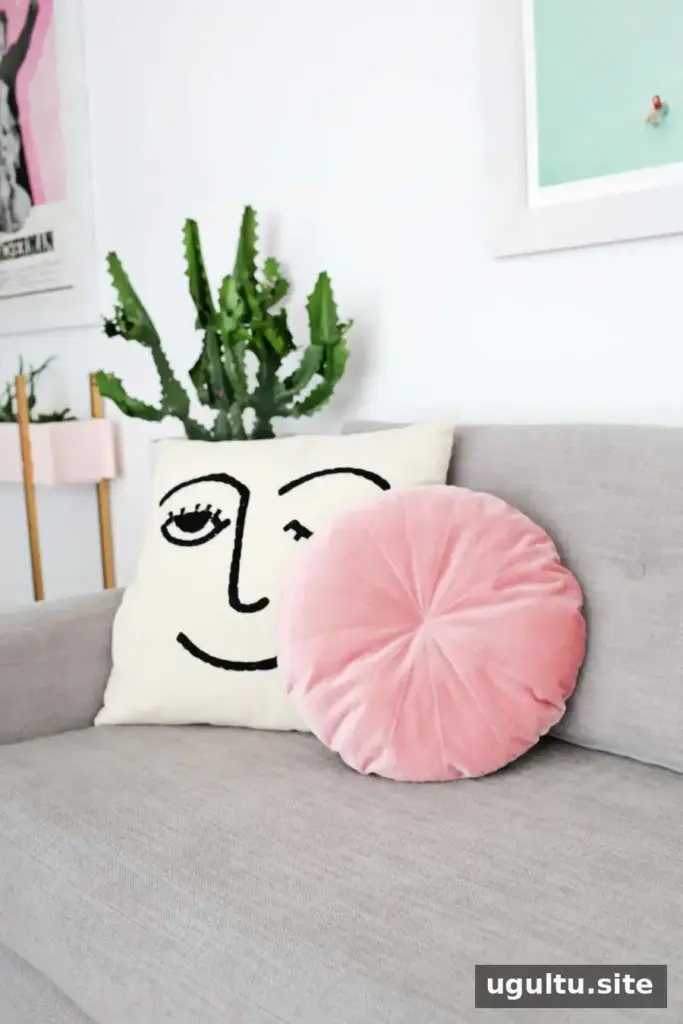
Velvet adds a soft sheen and a rich look to home decor, while stitched lines can create a subtle embossed effect. This round velvet pillow DIY uses a simple circle shape and a pinwheel-style pattern to make a decorative cushion that works on a sofa, bed, or reading chair.
Supplies:
- 1/2 yard of velvet fabric
- Thread that matches the velvet, or a contrasting color if you want the stitching to stand out
- Sewing machine and needle
- Fabric scissors
- Ruler and fabric-safe pen or chalk
- Straight pins
- Pillow stuffing
Prepare the circles for your round velvet pillow DIY
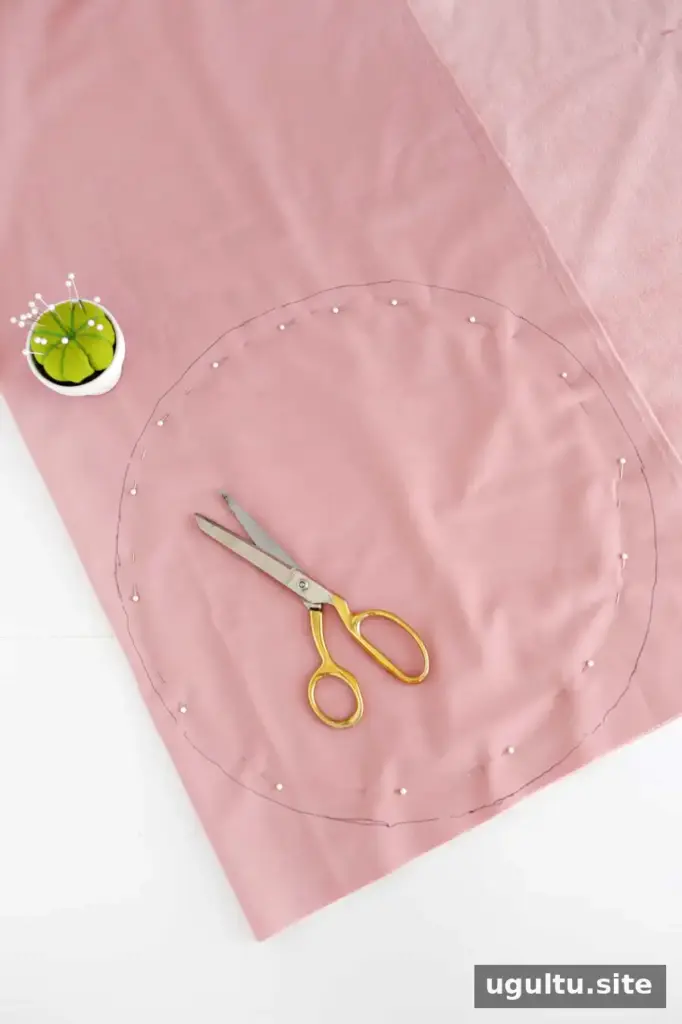
Fold the fabric in half with the right sides together, then pin the layers so they do not shift. Draw or trace a large circle onto the fabric; the example uses a circle that is 16 inches wide. Cut through both layers to make two matching circles.
Velvet can shift while cutting and sewing, so take your time and keep the fabric supported on your work surface. If the fabric has a visible nap, check that both circles face the same direction before assembling the pillow.
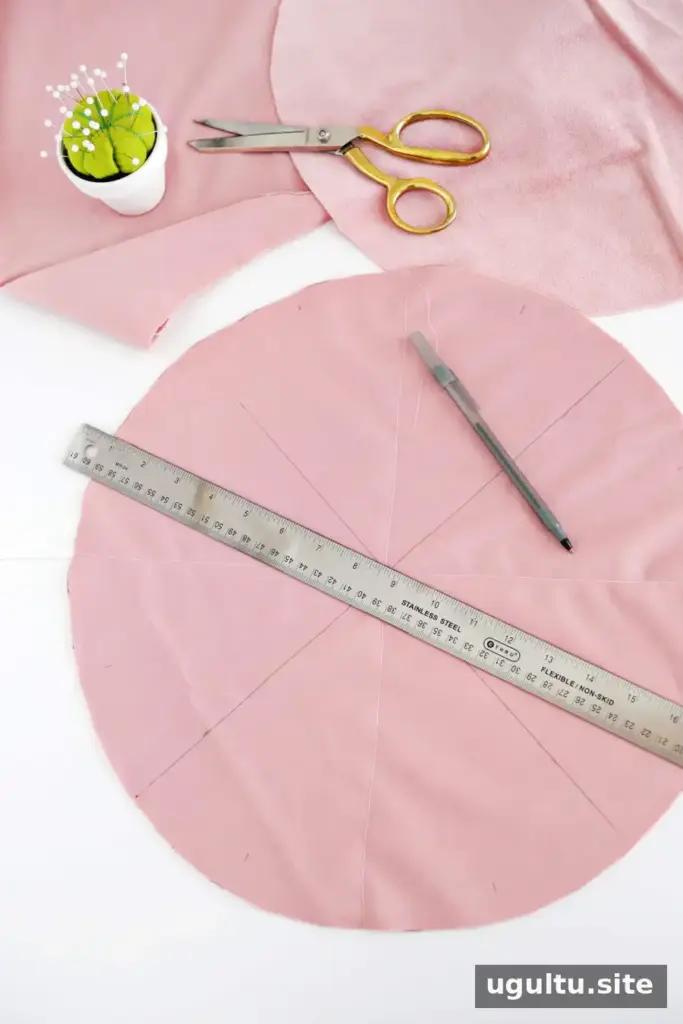
Take one circle to use as the decorated front. On its wrong side, mark a line through the center using a ruler and a fabric-safe marking tool. Folding the circle in half can help you locate the midpoint. Add another line to divide the circle into four equal sections, then continue dividing each section until the circle has 16 sections.
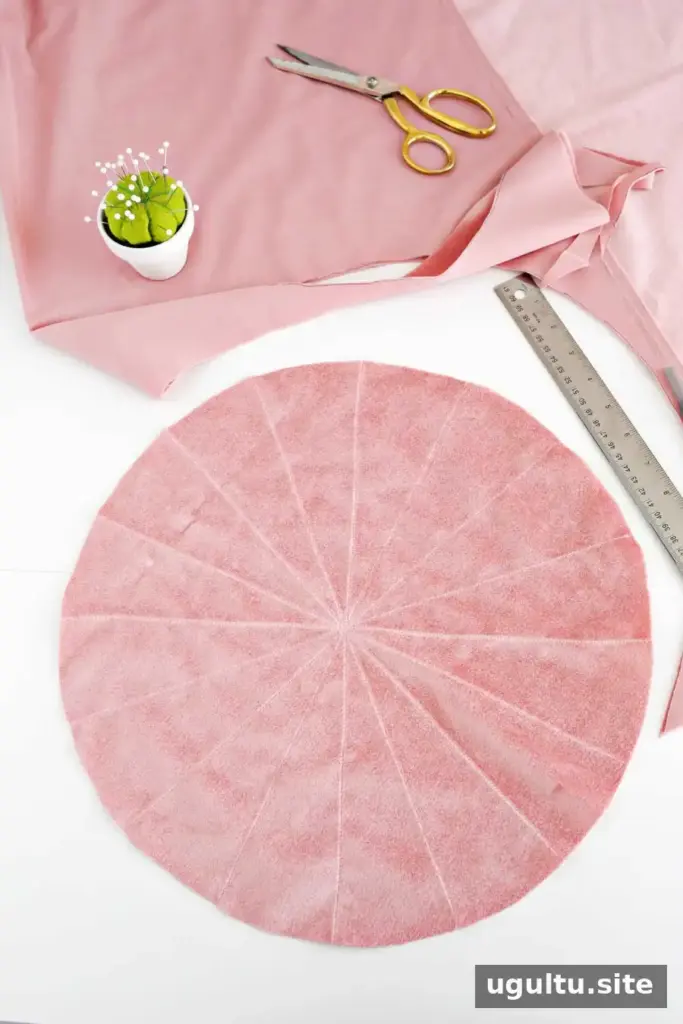
Set your sewing machine to a regular straight stitch and use thread that matches the velvet. Sew along each marked line on the front circle. Work carefully to keep the fabric flat as you stitch. When you turn the fabric over, the seams create a raised, embossed pinwheel effect.
Assemble and stuff the pillow
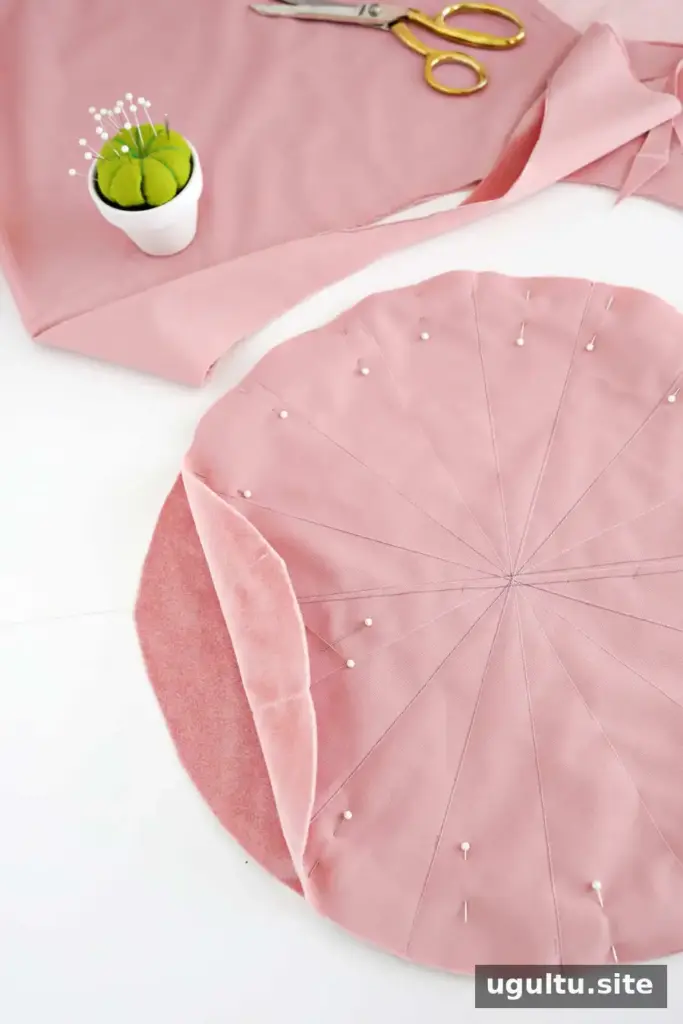
Place the two circles right sides together and pin around the edge. Sew around the perimeter, leaving an opening of about 2–3 inches. Backstitch at both ends of the opening to help secure the seam while you turn and fill the pillow.
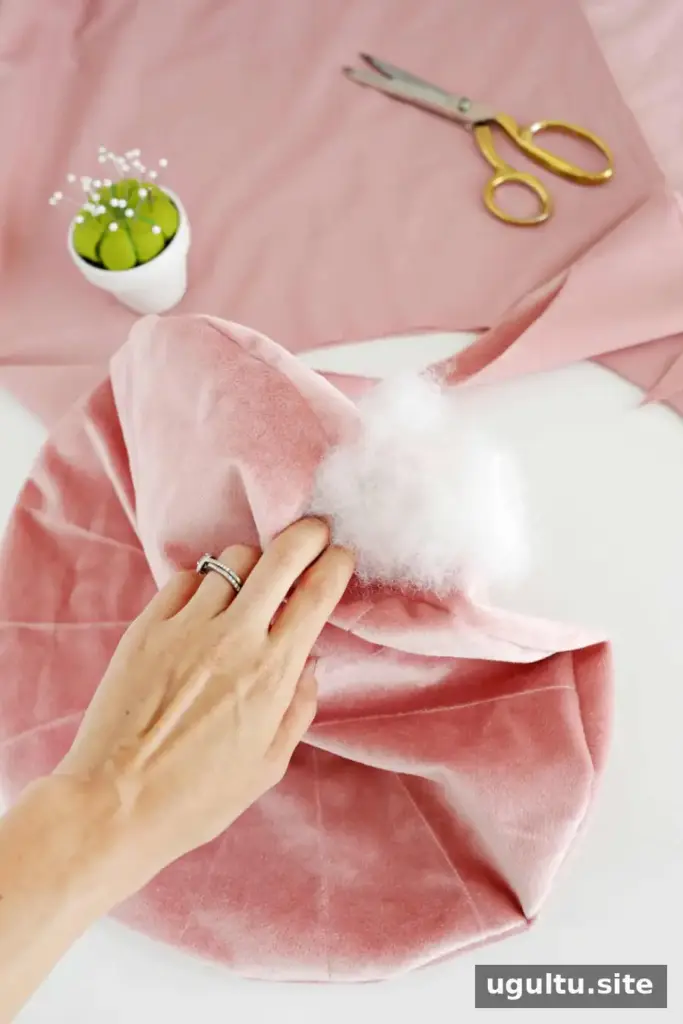
Turn the pillow right side out through the opening. Add stuffing a little at a time, spreading it into the edges so the cushion keeps a rounded shape. Avoid overfilling if you want the pillow to remain soft and flexible. Close the opening with a blind stitch.
Add the center detail
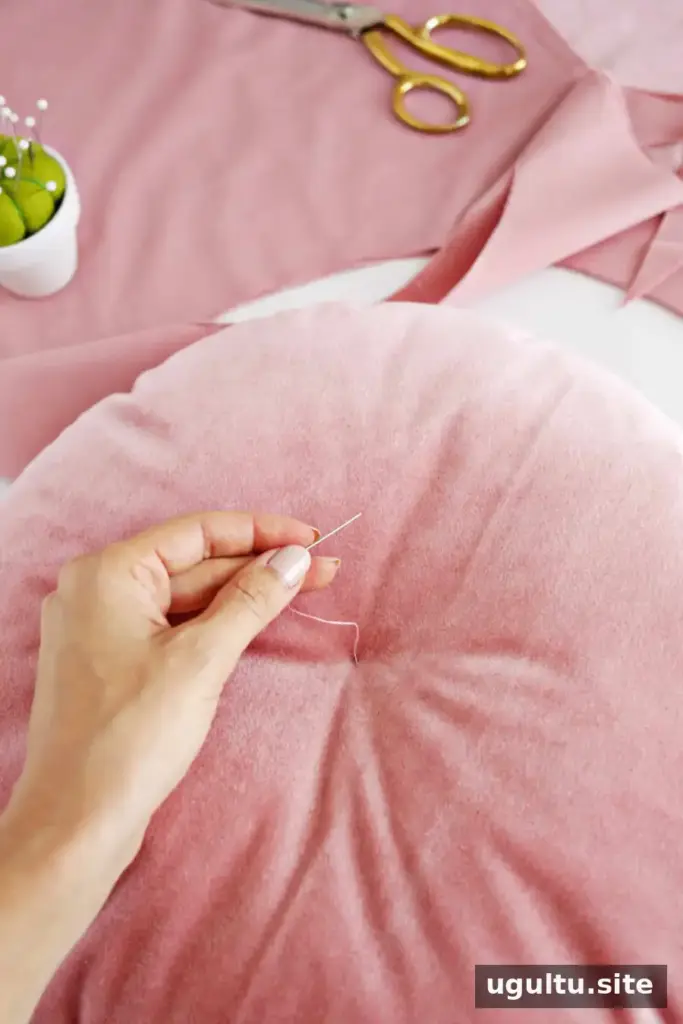
Thread a hand-sewing needle and find the center point on the back of the pillow. Pass the needle through to the front, bringing it out at the center of the decorated panel. Pass it back through to the reverse side, gently pulling the thread to draw in the center slightly. Tie a secure knot.
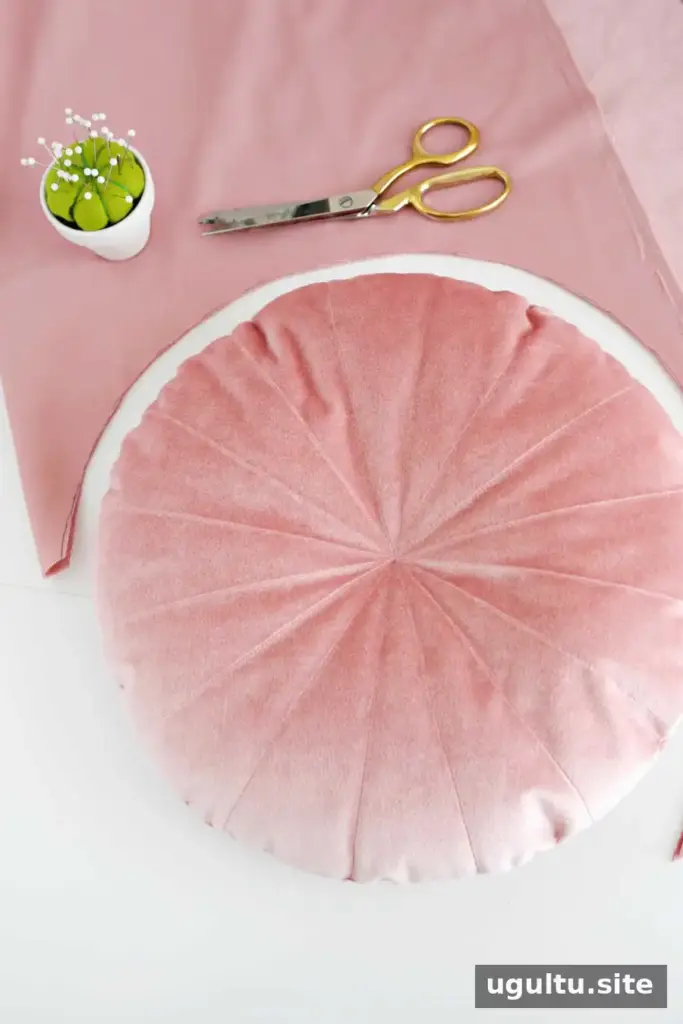
Trim the thread close to the knot. Check the seams and shape the stuffing by hand so the pillow looks evenly rounded.
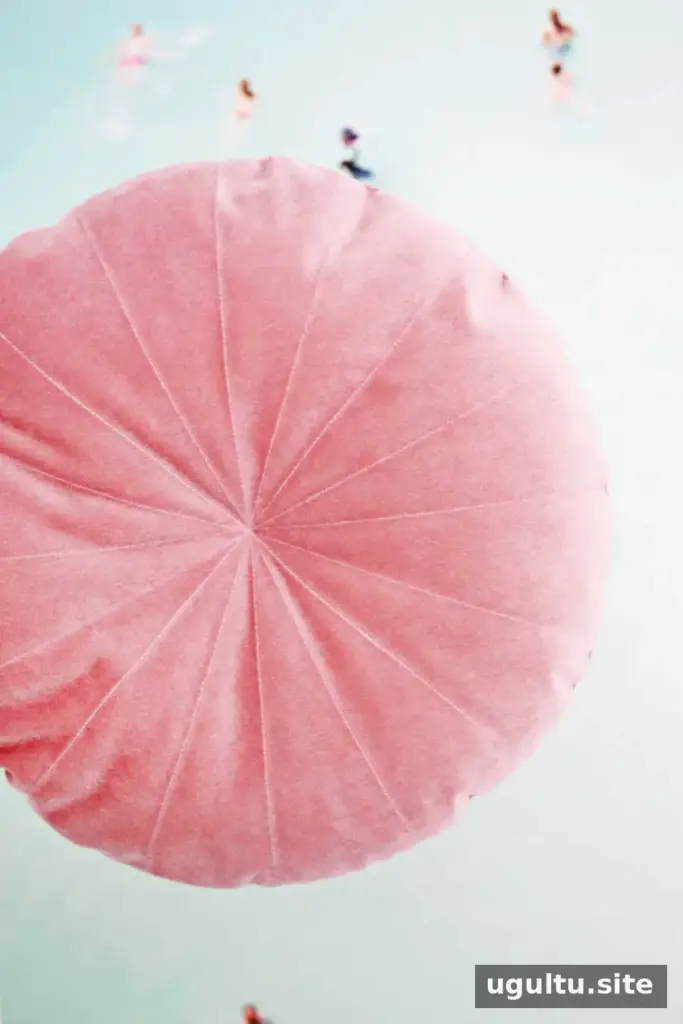
Finishing tips for a round velvet pillow
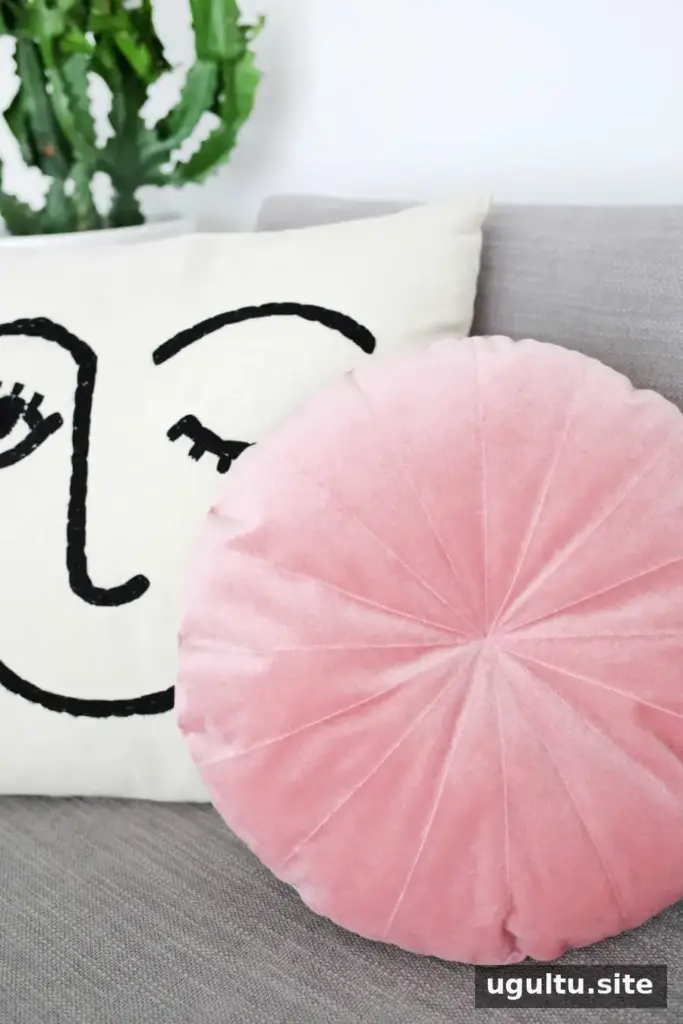
The center tuck is optional, but it can make the stitched sections appear more defined. For a subtle finish, use matching thread; for stronger contrast, choose a noticeably lighter or darker shade. Test the thread and marking tool on a fabric scrap first, especially with velvet, since marks and stitch tension may show differently depending on the fabric.
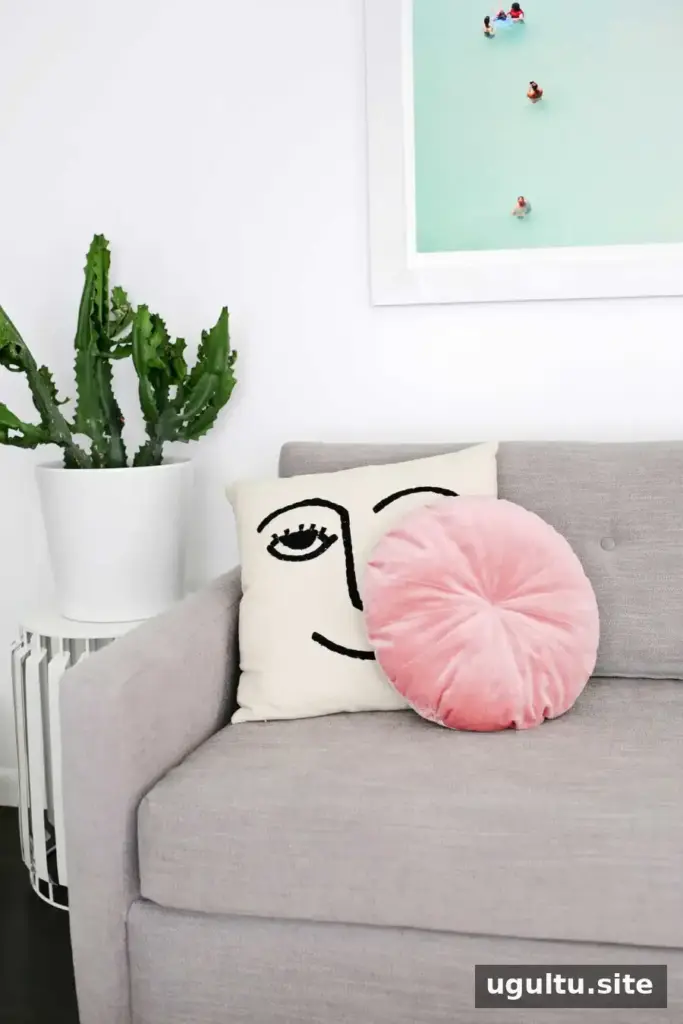
This project uses a straightforward shape, but the stitched pinwheel detail gives the cushion extra texture. The finished size may be slightly smaller than the original 16-inch fabric circles because of the seam allowance. Whether you use it as an accent on a chair or layer it with other cushions, this round velvet pillow DIY is a simple way to add a handmade touch to a room.
— Laura


