
 admin
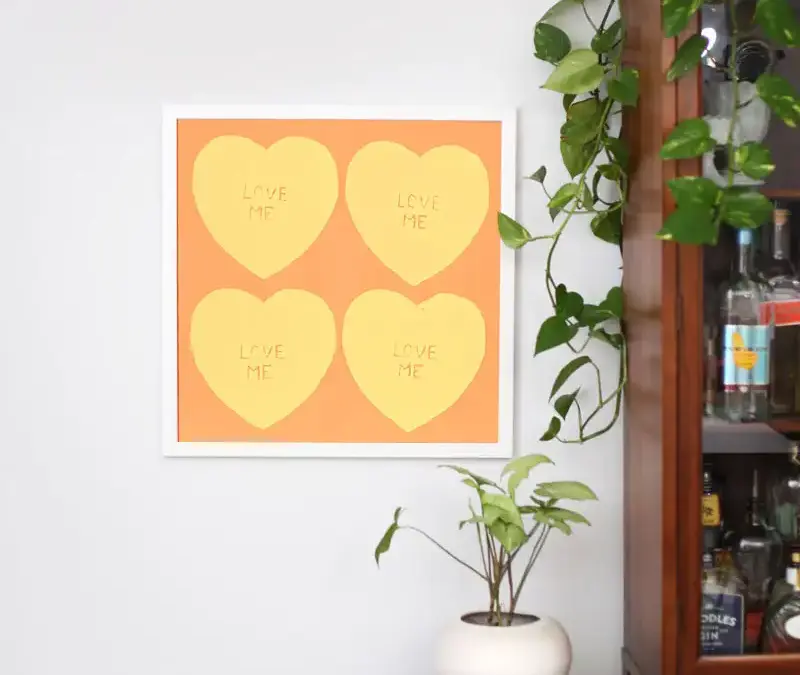
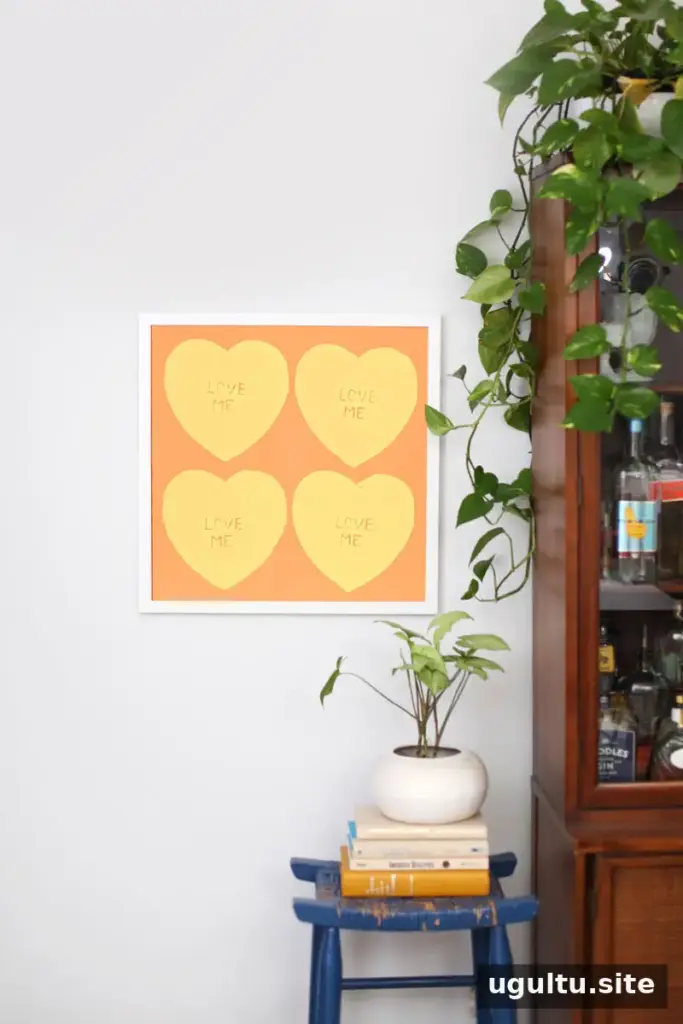
A handmade conversation hearts poster brings a playful, pop-art look to a room or a thoughtful gift. This beginner-friendly screen-printing project uses an embroidery hoop, sheer fabric, and Mod Podge to create a simple reusable stencil. It is a practical way to try screen printing at home without using the more involved emulsion process.
The method works best for uncomplicated shapes and a small number of prints. Set up a protected work surface, gather the supplies, and allow time for the Mod Podge to dry fully before printing.
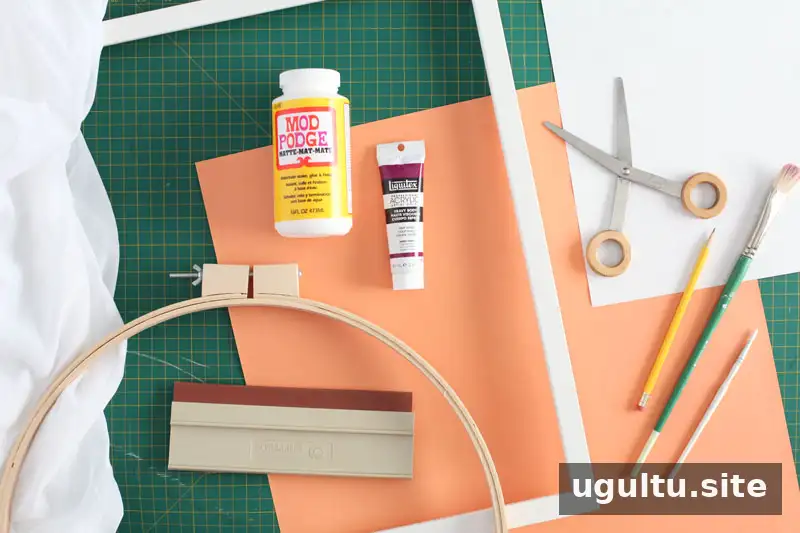
Supplies
- Art paper, cut to fit your frame; use poster-board-sized paper for a larger frame
- Square frame; the original project used a 20-inch by 20-inch collage frame with the collage mat removed
- Acrylic paint
- Art squeegee
- Mod Podge
- Fine- and broad-tipped art brushes
- Scissors
- Plain paper for the heart template
- Large embroidery hoop
- Sheer fabric
- Pencil
Tip: Place scrap paper or a washable covering beneath your work area to catch stray paint. Prepare extra art paper if you would like to test the screen before making the final print.
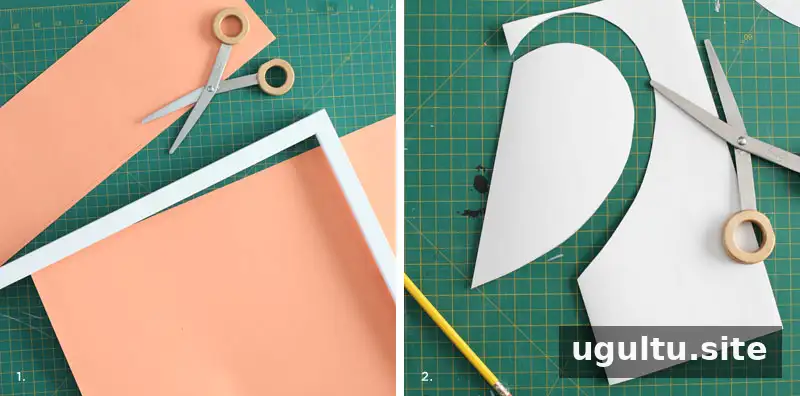
Step 1: Prepare the paper and heart templates
Cut the art paper to fit the frame. To determine the heart size, divide the frame opening by four, then subtract one. Cut a paper square to that measurement, fold it in half, draw half a heart, and cut out the shape. Repeat until you have four heart templates.
Step 2: Plan the layout
Arrange the hearts on the art paper and position the frame over them to preview how the finished poster will look. Mark the top dip and bottom point of each heart on the paper. These small alignment marks will help you position the screen consistently.
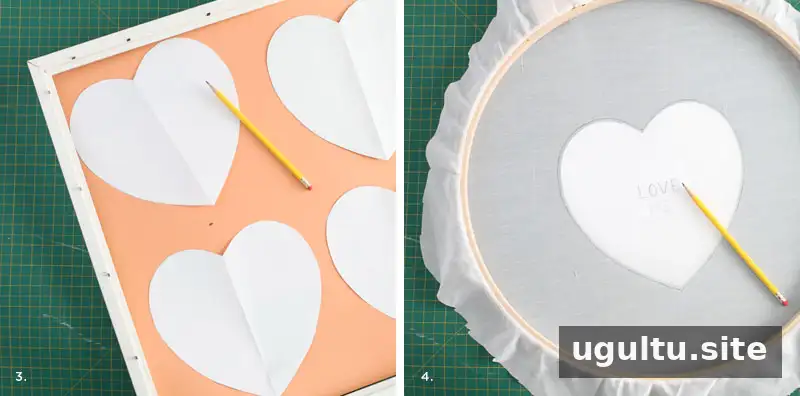
Step 3: Add the message to the screen
Choose one paper heart and write a short message in its center. Make the lettering large enough to read from a distance. Lay the sheer fabric in the embroidery hoop over the template. Trace the heart about 1/8 inch outside its edge, then trace the lettering carefully onto the fabric.
Step 4: Create the stencil with Mod Podge
Lift or prop up the screen so it does not touch the work surface. Use a fine brush to apply Mod Podge over the traced words and around the heart, then use a broader brush to cover the border. Avoid applying a heavy coat, which may drip through the fabric. Make the sealed area around the lettering wide enough to protect the message if a little paint spreads during printing.
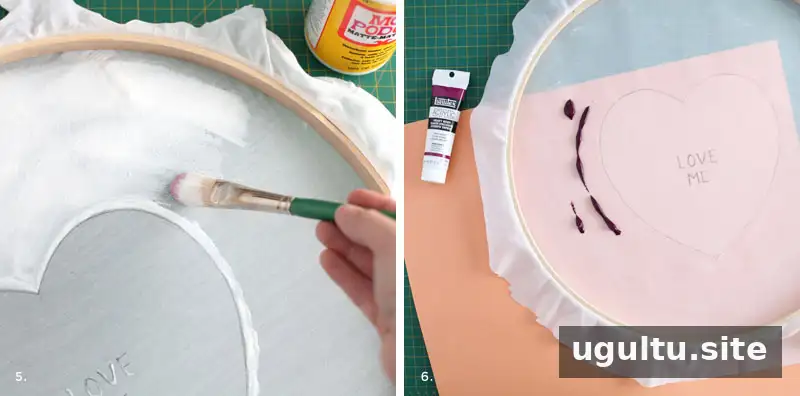
Step 5: Let the screen dry
Wait until the Mod Podge has dried completely and turned clear. Drying usually takes 2–4 hours, depending on how thickly it was applied and the room’s heat and humidity. Check that the screen is fully dry before moving on; printing too soon can blur the design.
Step 6: Print the hearts
Place the screen on the art paper and align the heart’s top dip and bottom point with the marks made earlier. Squeeze a good amount of acrylic paint onto the Mod Podge-covered area around the heart. Use the squeegee to pull the paint across the screen and over the unsealed design area.
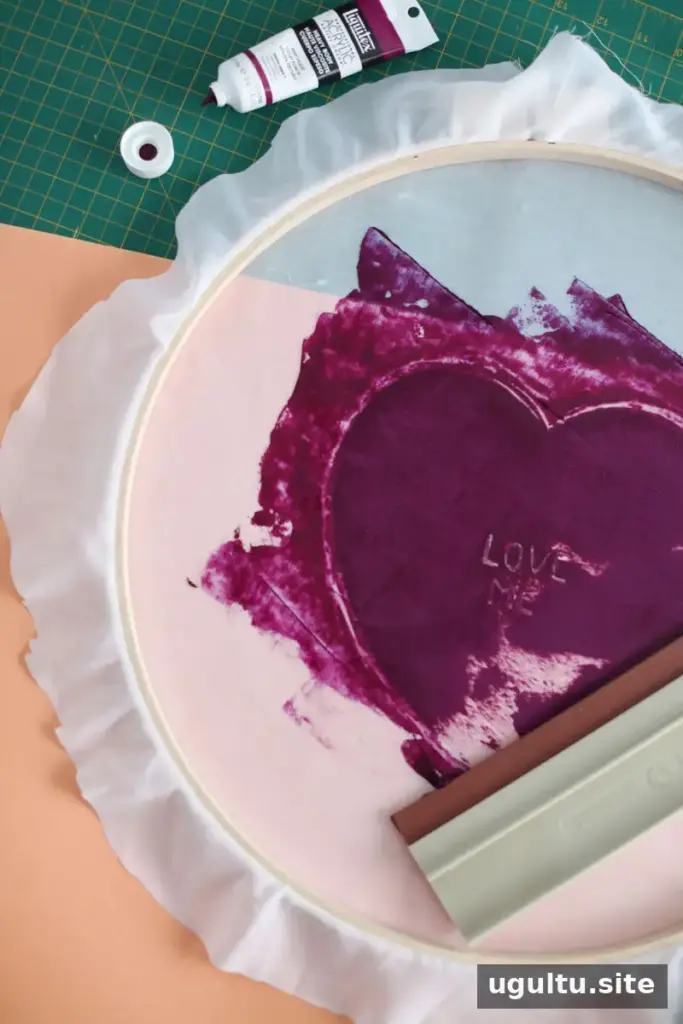
Use a thin layer of paint and avoid pushing excess paint into the open parts of the design, since it can seep around the edges and soften the lettering or heart shape. Hold the embroidery hoop firmly in place as you move the squeegee. Once the open area is covered, set the squeegee aside and lift the screen slowly, starting at one side.
Rinse the screen with cold water, then pat it dry with paper towels. Cold water helps avoid making the Mod Podge tacky again. Let the print dry before positioning the screen for the next heart. Acrylic paint generally dries quickly; a blow dryer can help speed drying for the paper or a damp screen, using care not to disturb the print.
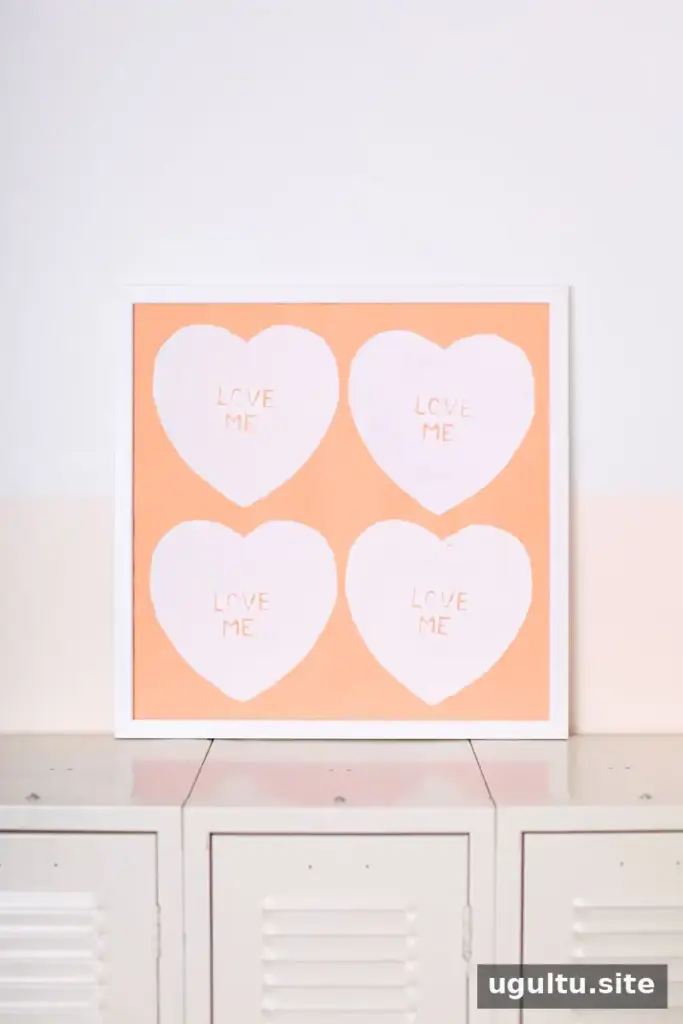
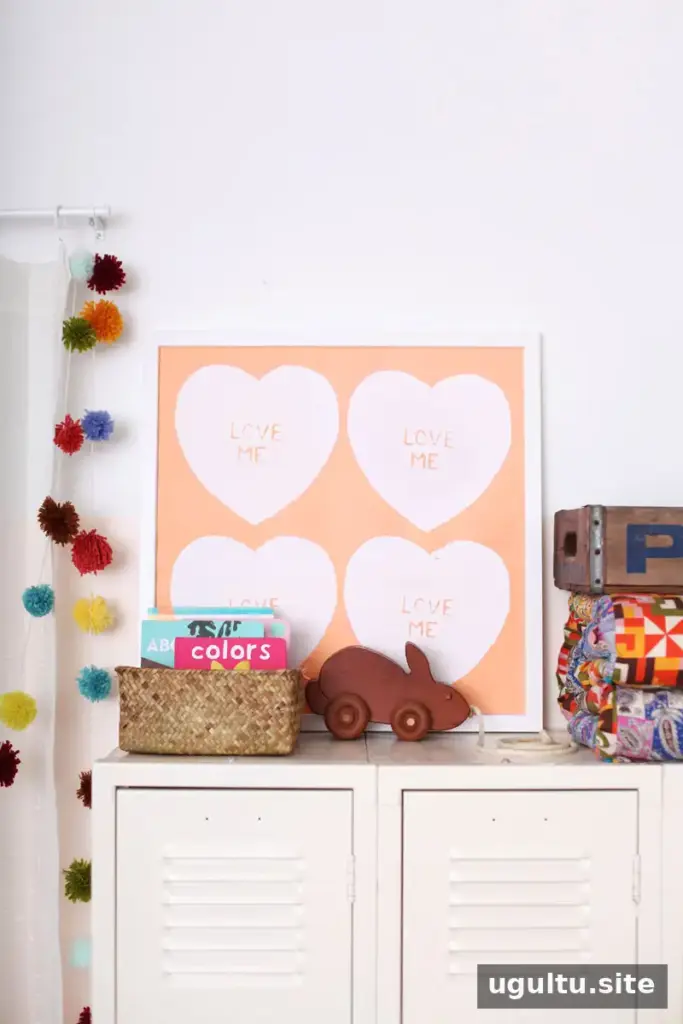
After making the screen, consider printing a few extra posters while it is ready to use. The first print can help you get comfortable with the squeegee pressure and paint amount, so keeping spare art paper on hand is useful. If possible, test the design on a spare sheet before printing the final piece.
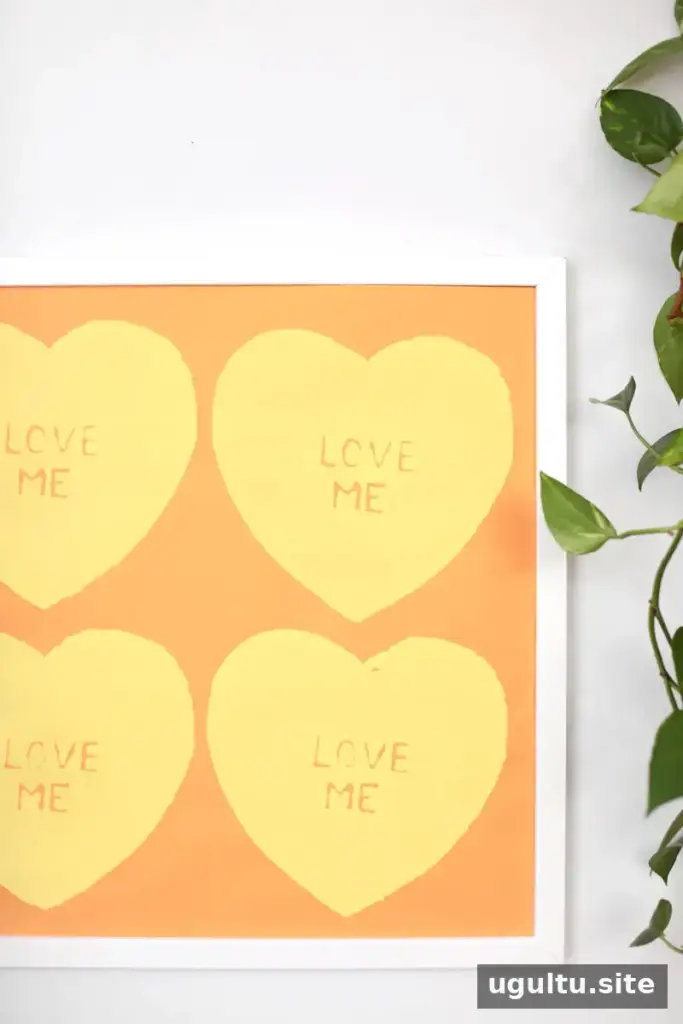
Color choice can change the poster’s overall effect. A lighter paint over a darker background can make the hearts stand out, but other combinations may suit your space just as well. You can also personalize the messages for a gift or use short phrases that fit the design. Let each print dry before stacking or framing the paper.
Written by Mandi.
With a simple hoop screen and a little preparation, a conversation hearts poster is an approachable project for experimenting with homemade screen printing. Plan the layout first, apply Mod Podge carefully, and use a light coat of paint for cleaner results.


