
 admin
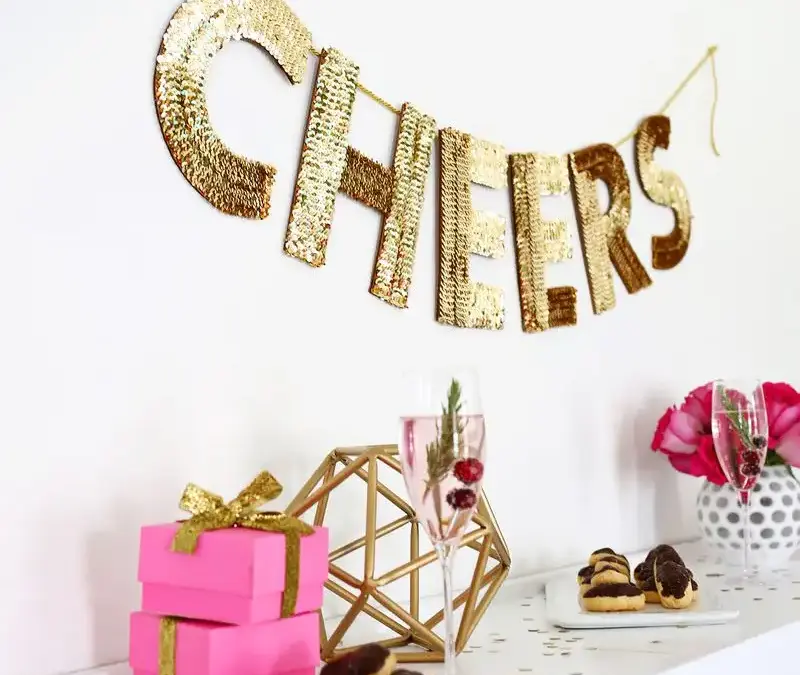
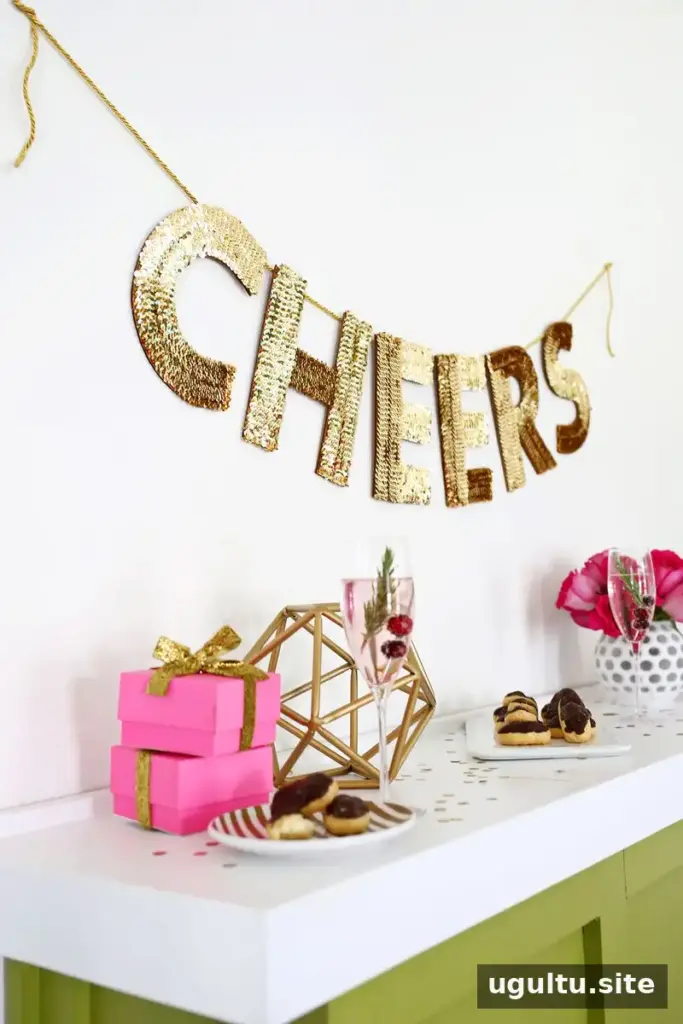
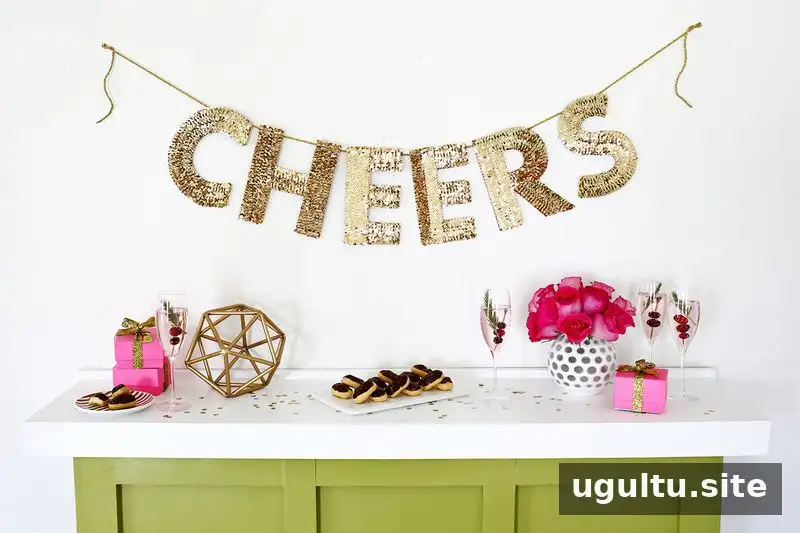
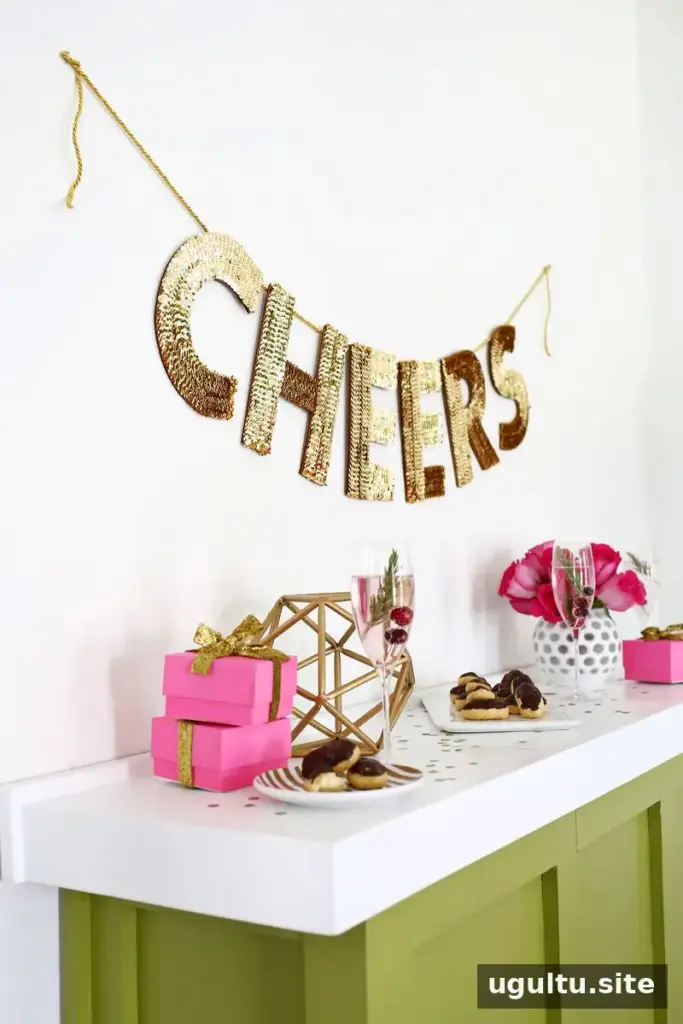
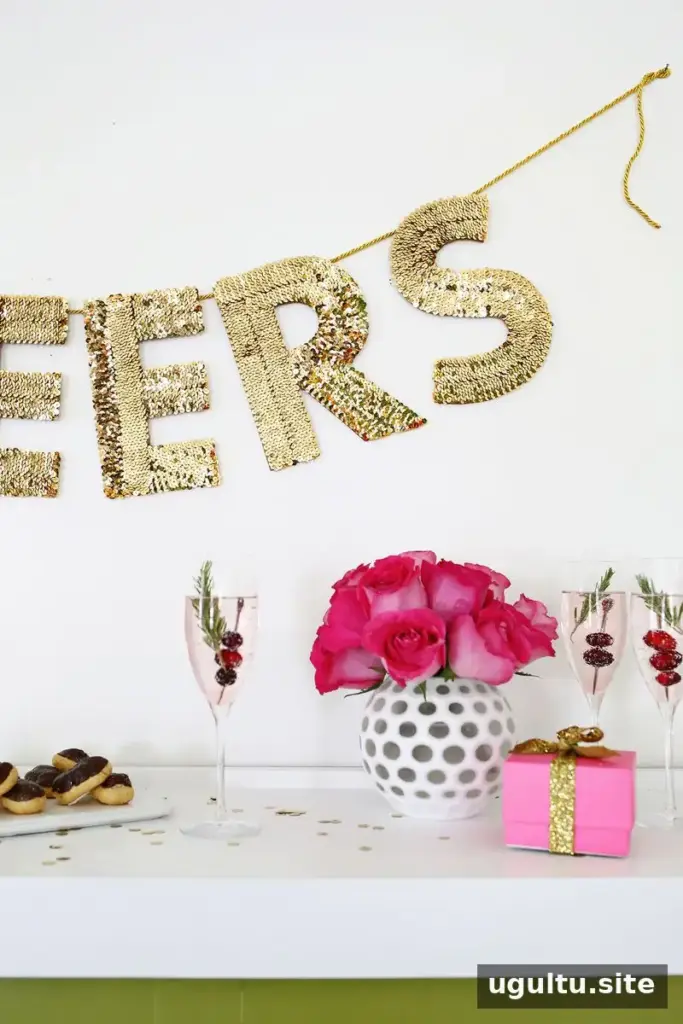
A sequin letter garland adds shimmer to party tables, walls, and photo backdrops. This simple DIY uses cardboard letters covered with sequin trim, so you can spell out a short message and choose a phrase that suits the occasion. With a bold font and neatly finished trim edges, the finished decoration can be customized for holidays, weddings, or showers.
Supplies for a Sequin Letter Garland
Gather the materials below before you begin. For each letter that is 9 inches tall, plan on using a little over a yard of sequin trim.
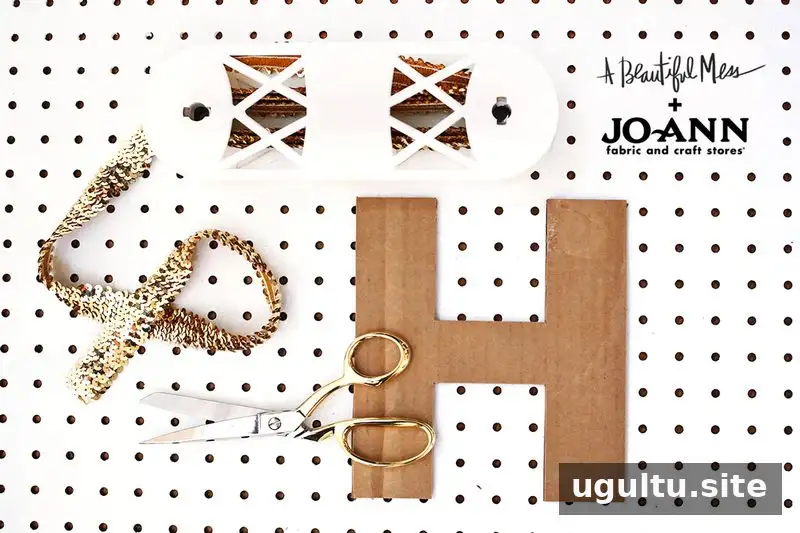
- Stretch sequin trim; the trim used for this project is a little over 1 inch wide
- Scrap cardboard
- X-Acto knife
- Hot glue gun
- Metallic cord trim for hanging
- Printed letter templates in a simple, bold font
Make and Cover the Cardboard Letters
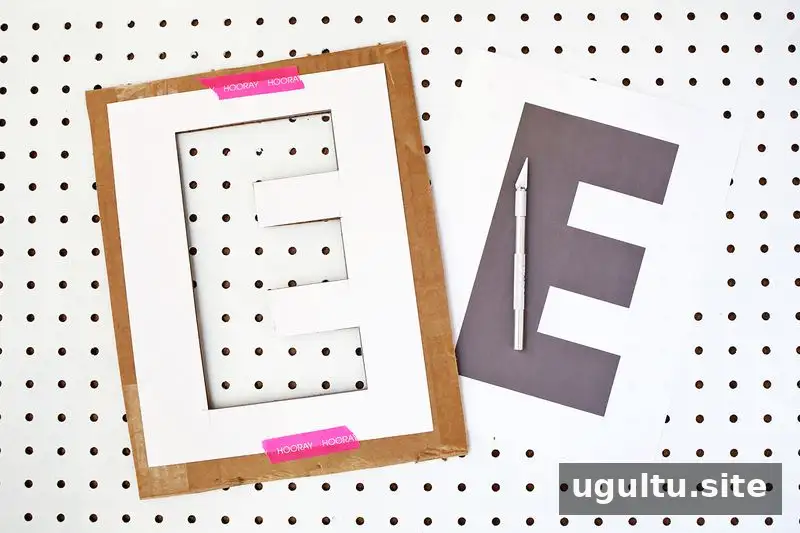
1. Print and cut out the templates
Print each letter in your chosen phrase, using a simple, bold font. Make each letter just under twice the width of the sequin trim so the trim can cover the cardboard. For trim a little over 1 inch wide, letters around 2 inches wide provide the intended coverage. Tape the printed templates to scrap cardboard, then carefully cut out each shape with an X-Acto knife.
Work on a protected surface and keep your fingers clear of the blade. Check that the cardboard letters are sturdy enough to handle before moving on.
2. Finish the trim ends
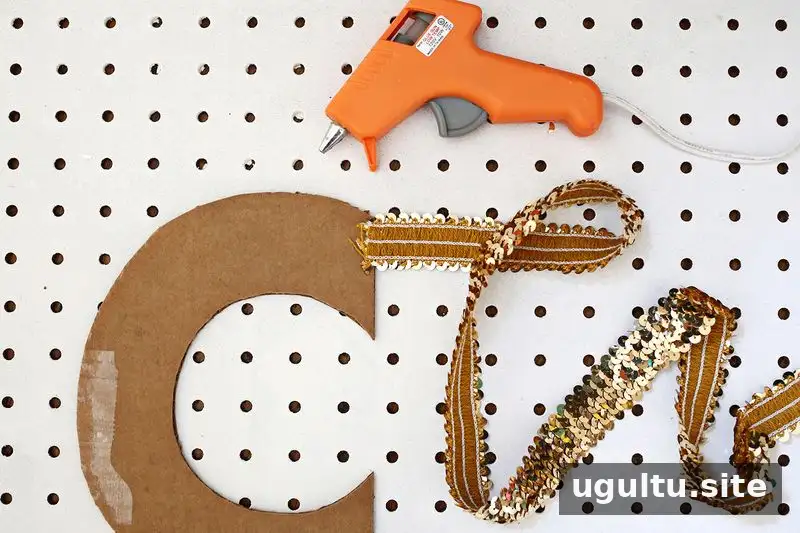
To help prevent the trim from unraveling or shedding sequins, fold the ends under and secure them with hot glue. At the starting point on the outer edge of a letter, glue the trim end face down, pointing away from the cardboard shape.
3. Glue trim around each letter
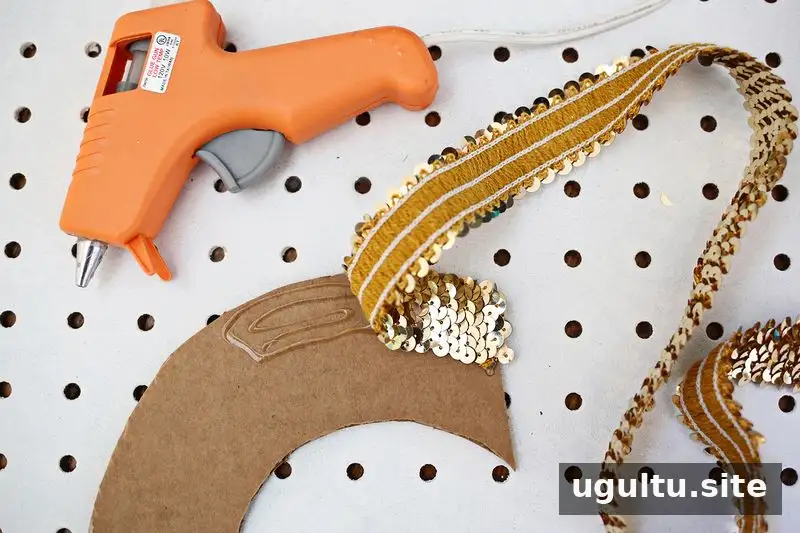
Fold the trim back in the opposite direction, then glue it along the outer edge. When you reach the other end, cut the trim slightly beyond the edge, fold the end under, and glue it down. Repeat the process along the inner edge of the letter. Keep both rows running in the same direction for a more continuous appearance.
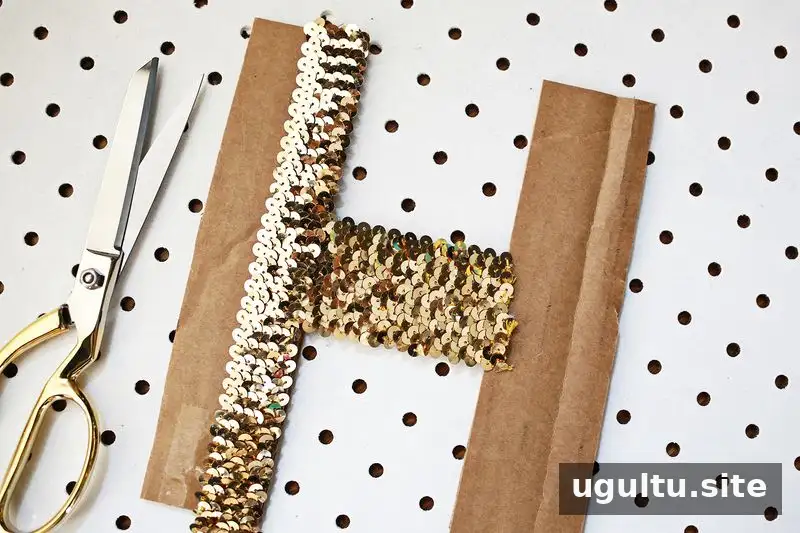
For letters with intersecting strokes, you do not need to fold every end if another row of trim will cover it. For example, on an “H,” glue the horizontal pieces in place, then cover their cut ends with the vertical rows, which have folded ends.
Assemble and Hang the Garland
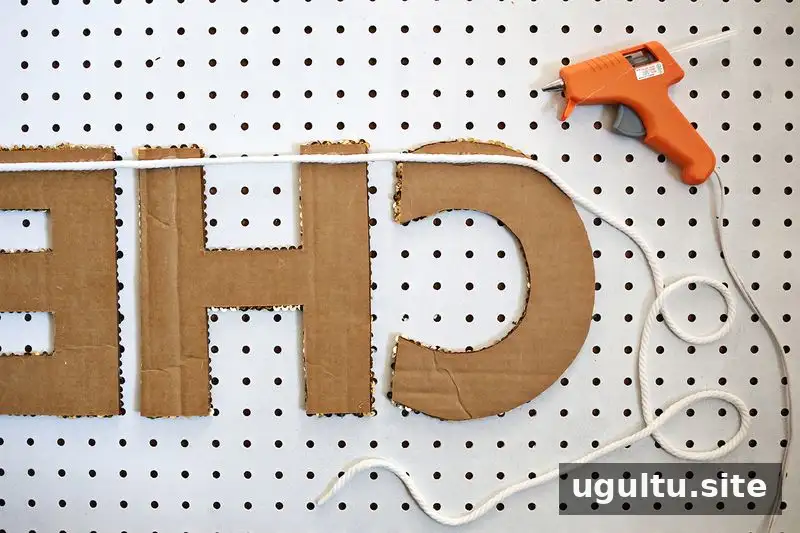
Once all the letters are covered, arrange them in the phrase order, face down and backwards. Glue the metallic cord to the backs of the letters, leaving enough cord at both ends for hanging. Let the glue set before lifting the garland. For a balanced display, space the letters evenly and check the phrase orientation before gluing.
Ways to Customize Your Sequin Letter Garland
Choose a phrase that matches the event: “MR & MRS” for a wedding, “IT’S A BOY” for a shower, or “JOY” for a Christmas display. Shorter phrases are easier to arrange and require less trim, while longer messages may need extra cord and more room to hang. Consider matching the sequin color and metallic cord to the rest of your party decor.
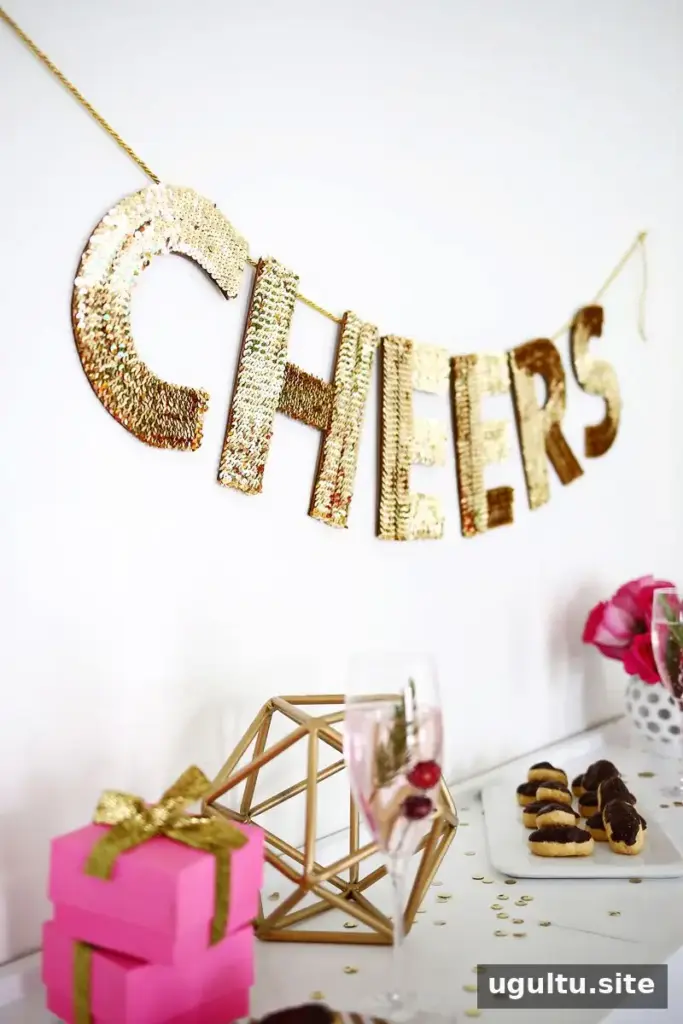
This sequin letter garland is a customizable decoration for celebrations and seasonal displays. Measure the trim against each template, fold the ends neatly, and let the glue set before hanging for a tidy, secure finish.
—Laura


