admin
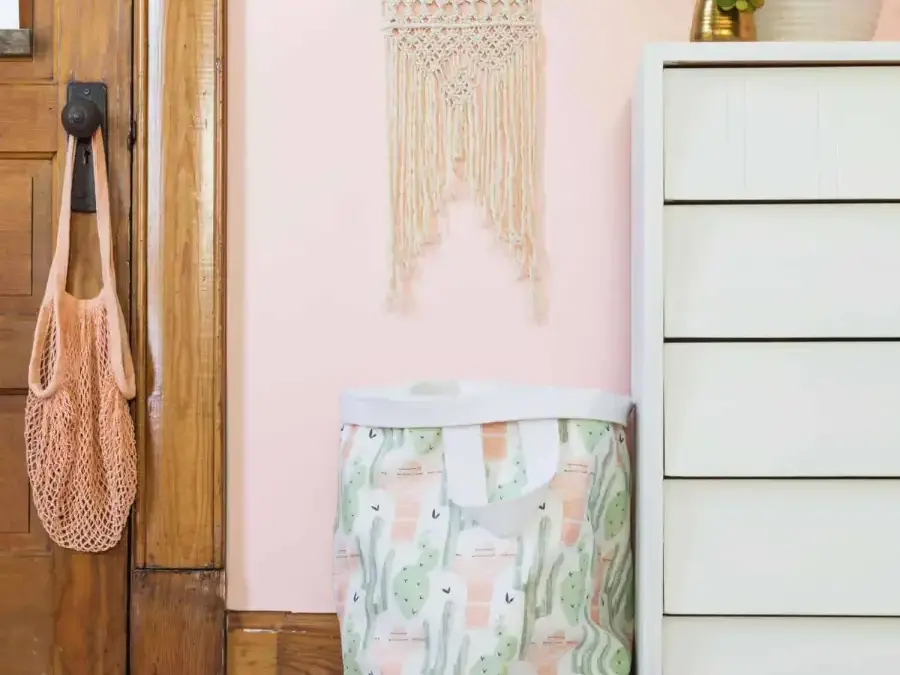
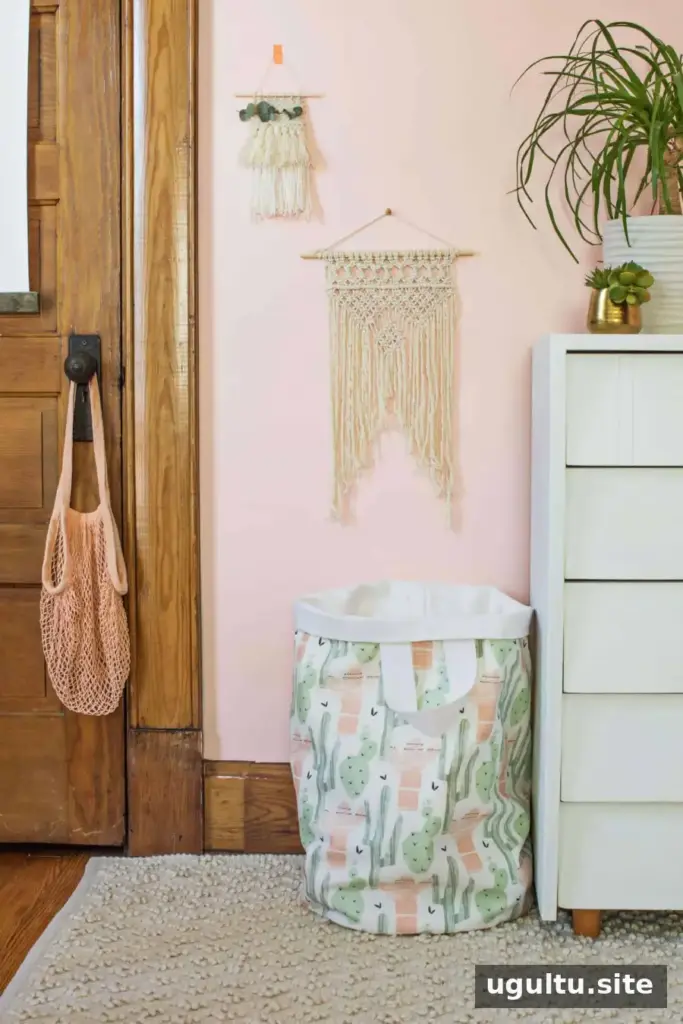
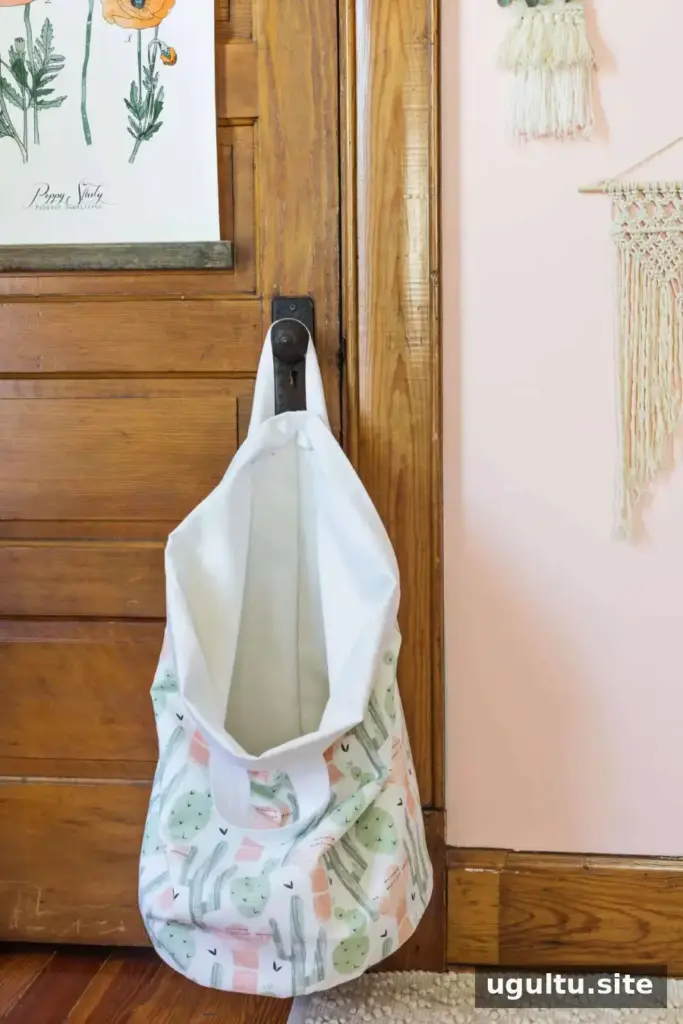
A fabric laundry basket gives dirty clothes a designated place while adding a useful, personal touch to a room. This DIY version combines printed cotton with a canvas lining, stands upright, and has two sturdy handles so it can also hang from a doorknob. Choose fabrics that suit your space, and follow the measurements and steps below to sew your own.
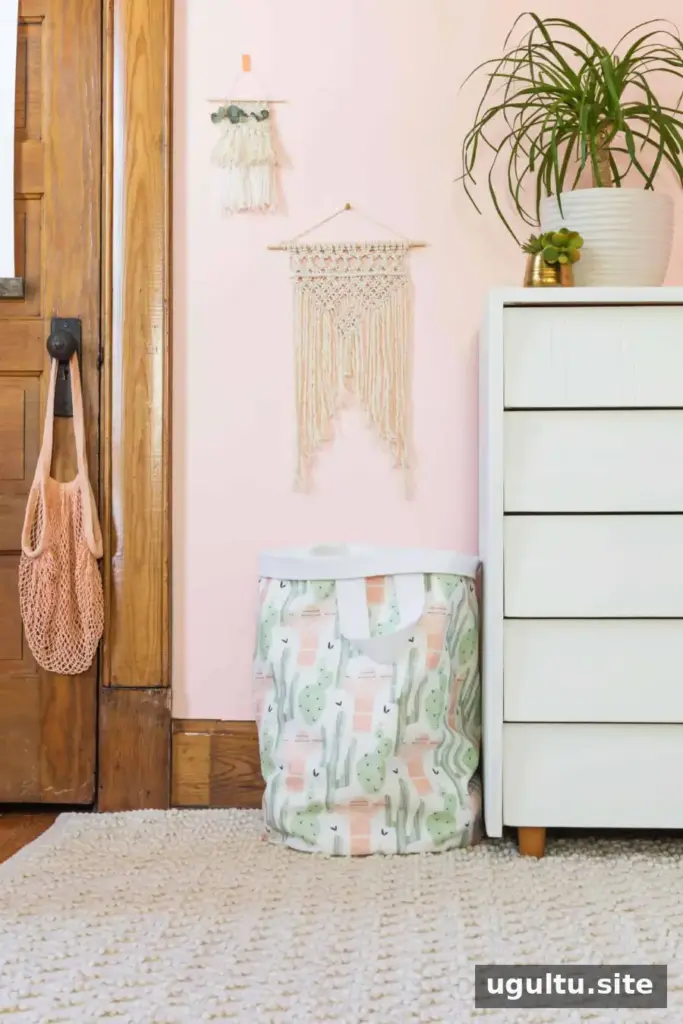
Why make a fabric laundry basket?
A dedicated laundry spot can help keep clothes and socks from collecting around the room. The basket’s two fabric layers give it structure, while the handles make it easier to move or hang. For a coordinated look, pair a cotton print with canvas; you can also use fabric paint to create a custom design. If you are new to sewing, take your time with the circular base and pin it carefully before stitching.
Materials and equipment
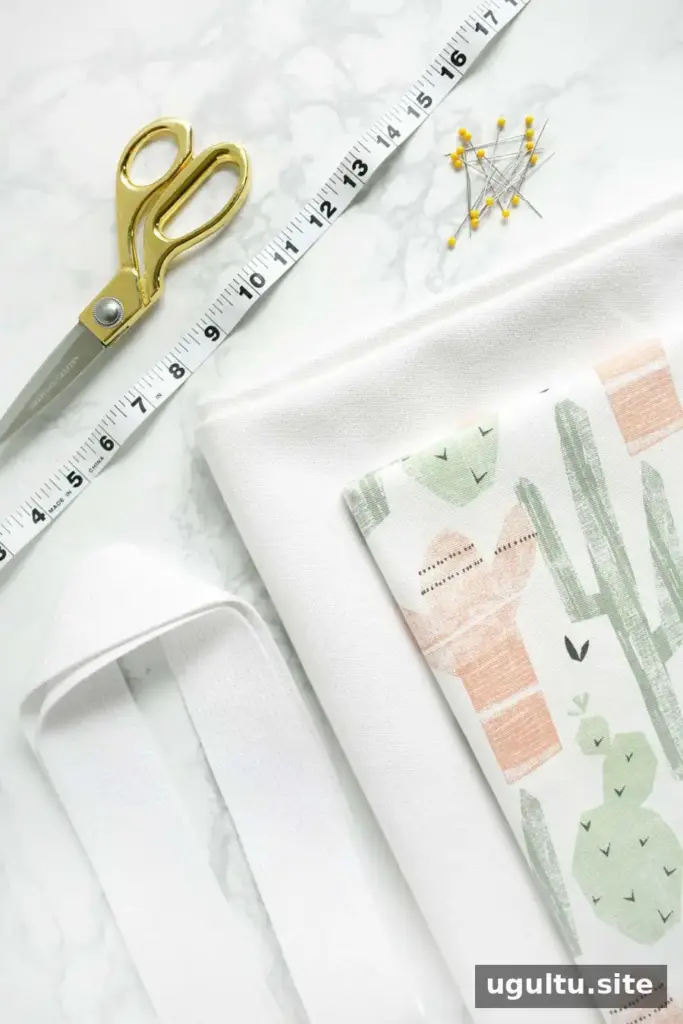
Gather everything before you start. Pressing the fabric and keeping the pieces measured accurately will make assembly easier.
- 1½ yards of printed cotton fabric for the outer shell
- 1½ yards of canvas fabric for the inner shell
- 1 yard of 1.5-inch cotton webbing for the handles
- A 17-inch circular object to use as a template, or two pencils and string to make a compass
- Sewing machine and cotton thread
- Scissors, straight pins, and measuring tape
- Iron and ironing board
How to sew a fabric laundry basket
1. Cut the basket pieces
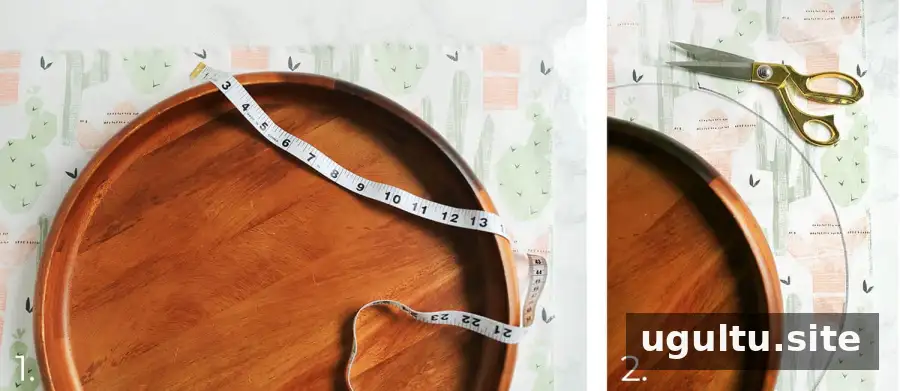
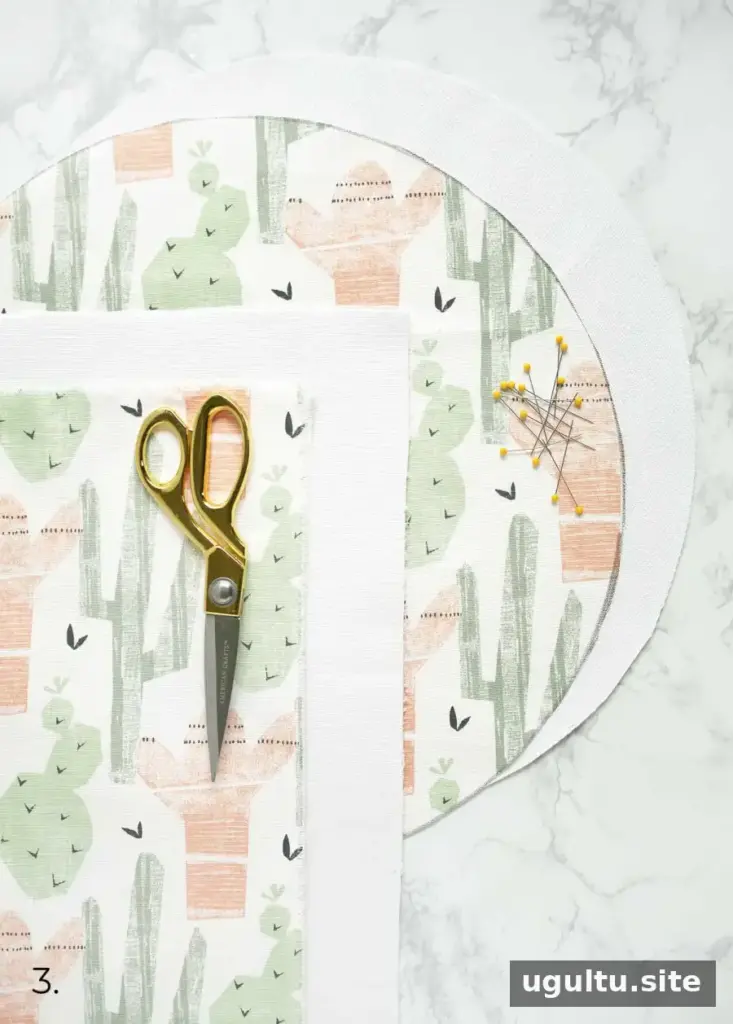
Use a 17-inch circular template to trace one circle onto the printed cotton and another onto the canvas. Cut out both circles. Then cut one 24 × 54-inch rectangle from each fabric. Check your measurements before cutting so the matching pieces are the same size.
2. Sew the side tubes
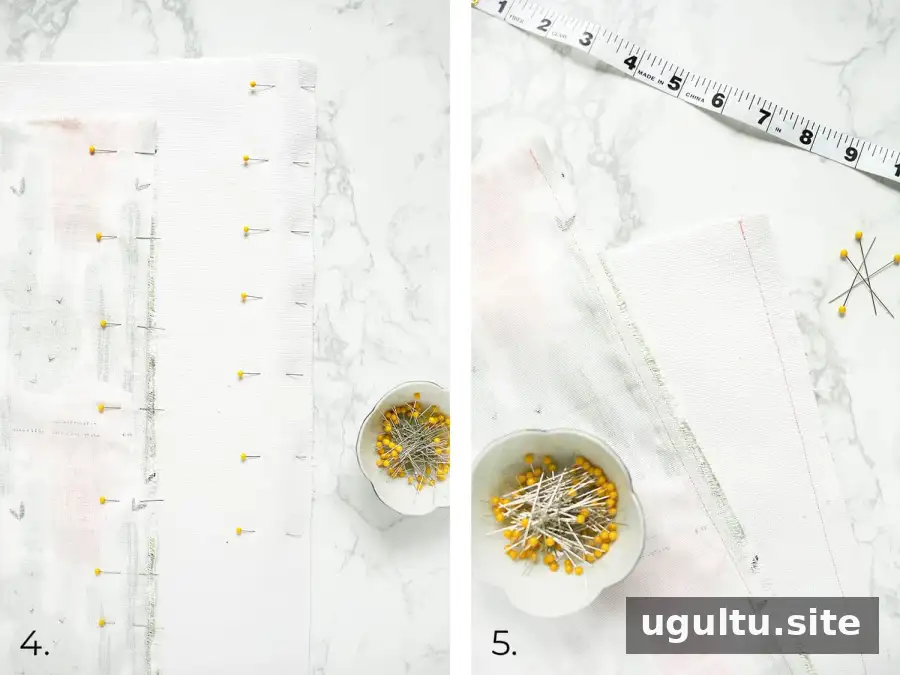
For the printed cotton rectangle, bring the short ends together with the right sides facing inward and pin them. Repeat with the canvas rectangle. Sew along each pinned edge about ¼ inch from the edge, backstitching at the beginning and end. Each rectangle will form a tube.
3. Attach the circular bases
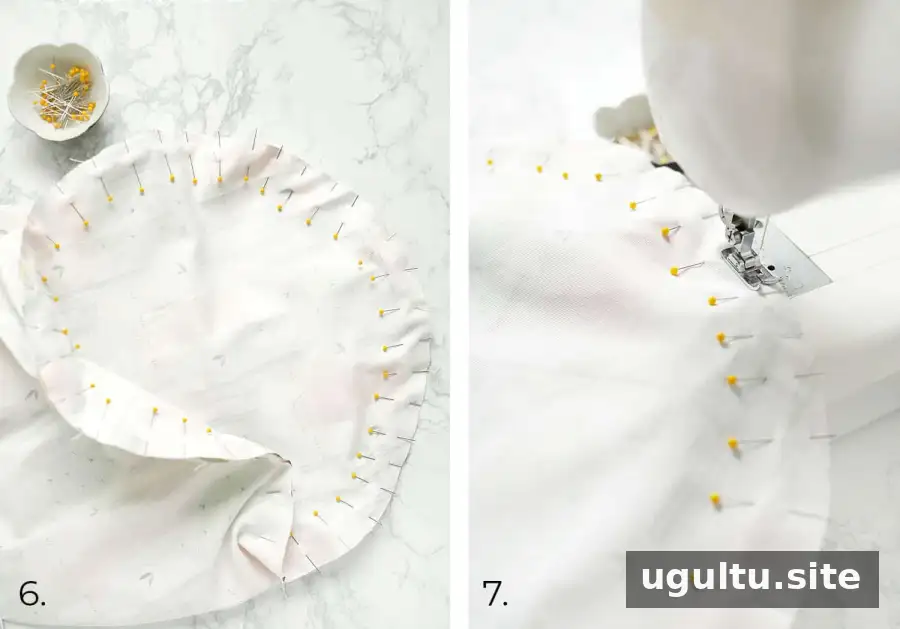
Pin the printed cotton circle to one end of its tube. Placing pins about every inch helps distribute the fabric evenly around the curve. Sew around the circle approximately ¼ inch from the edge. Repeat with the canvas tube and canvas circle. If the fabric gathers, adjust the pins before stitching.
4. Join the outer and inner layers
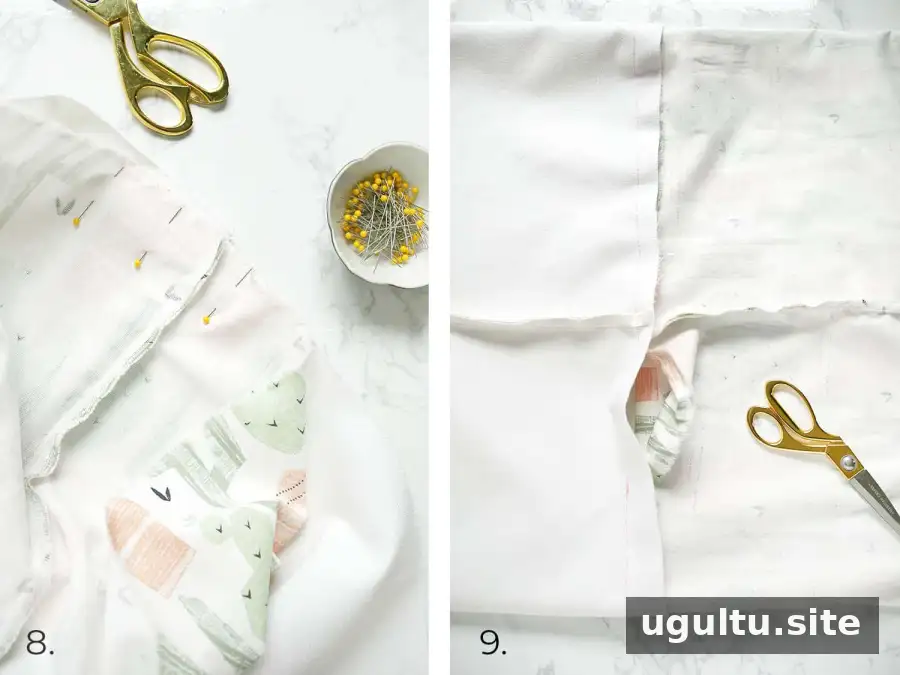
Match the seams of the two tubes, with the right sides of the fabrics facing each other, and pin the top edges together. Turn the canvas tube inside out so it fits inside the printed tube. Sew around the top edge, stopping about 5 inches before reaching the starting point; this opening is needed to turn the basket right side out.
Pull the printed fabric out through the opening and turn the whole piece right side out. Tuck the canvas layer inside the printed layer to form the basket. Match and press the top seam flat. Pin if needed, then stitch around the top edge about ¼ inch from the edge. Sew a second line about 1 inch below the first to hold the layers in place.
5. Add the handles
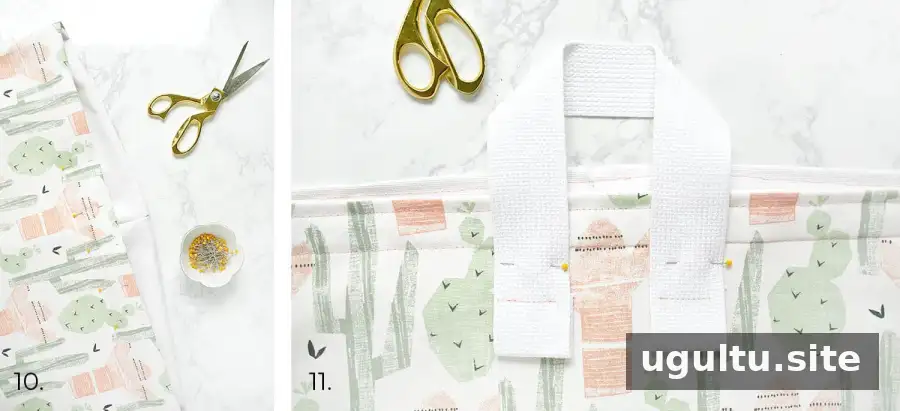
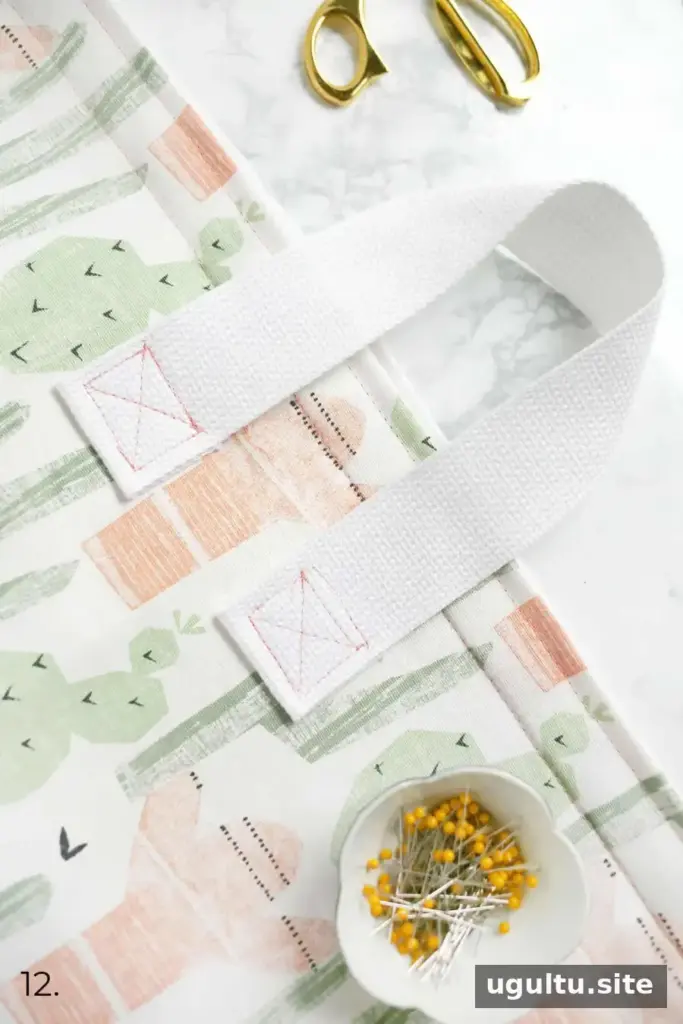
Cut two 17-inch lengths of cotton webbing. Fold about 1 inch of each end back and stitch it down for a neat finish, making sure the folded ends are on the same side of each strip. Position the first handle on the outside of the basket, with its ends about 3 inches below the top edge and approximately 1.5 inches apart. Pin it in place, then position the second handle on the opposite side.
Sew a box with an X across each folded handle end to secure it to the basket. Remove the pins and repeat for the other handle. Check that the handles are aligned before using the basket to carry laundry.
Finishing and care
Fold the top edge over to finish the basket and choose a convenient place for it. The finished fabric laundry basket can be washed when needed. Follow the care instructions for your chosen fabrics, and make sure the basket is fully dry before storing laundry inside.
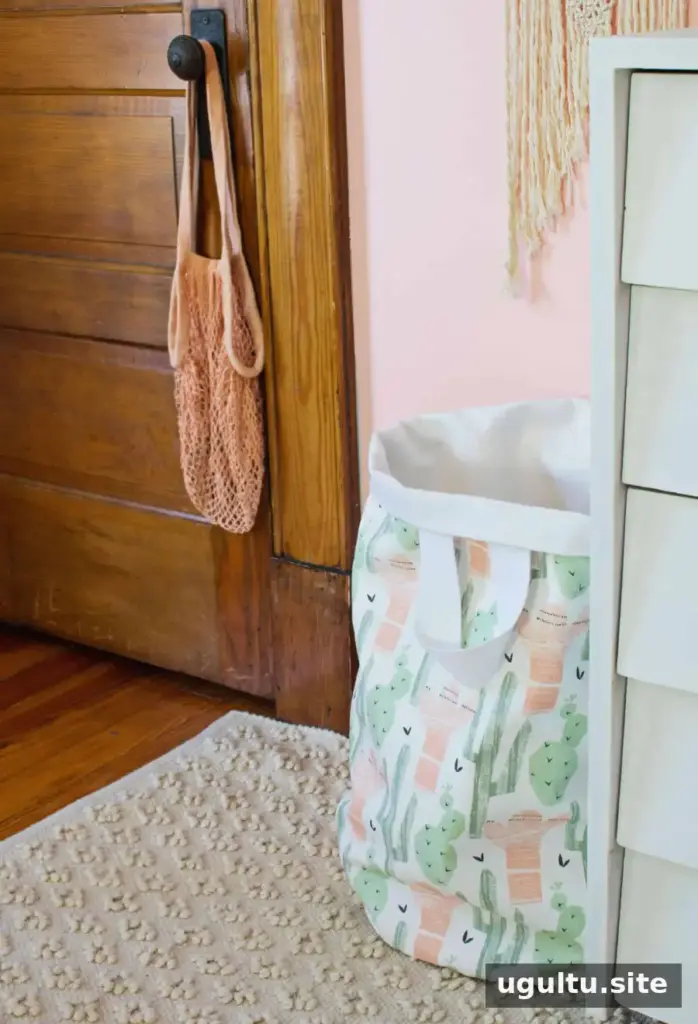
Solid colors can create a minimalist style, while a printed outer fabric and coordinating handle offer another way to match the basket to your decor.
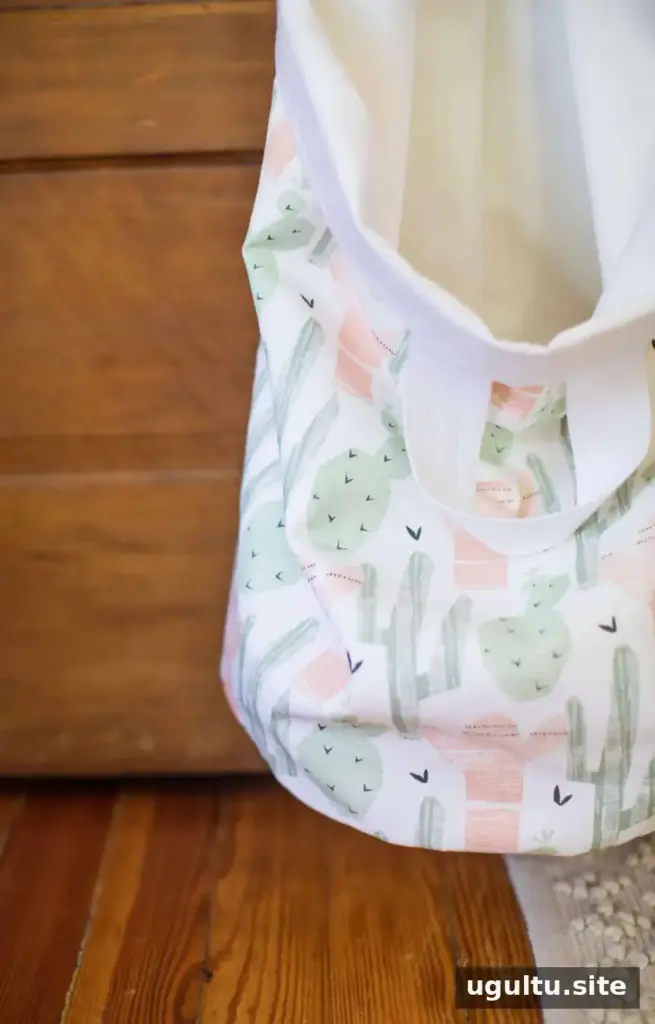
A practical sewing project can also make it easier to keep laundry in one spot. — Rachel