
 admin
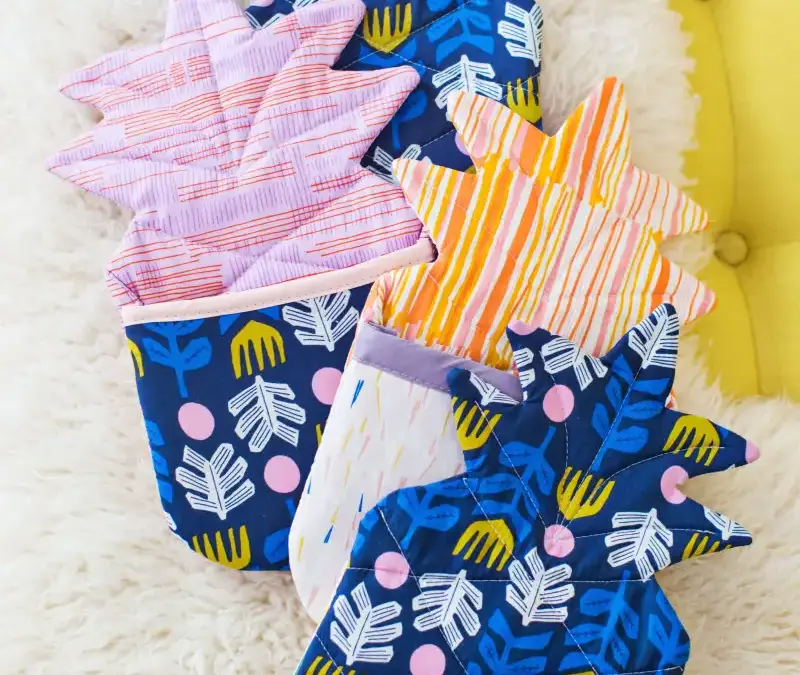
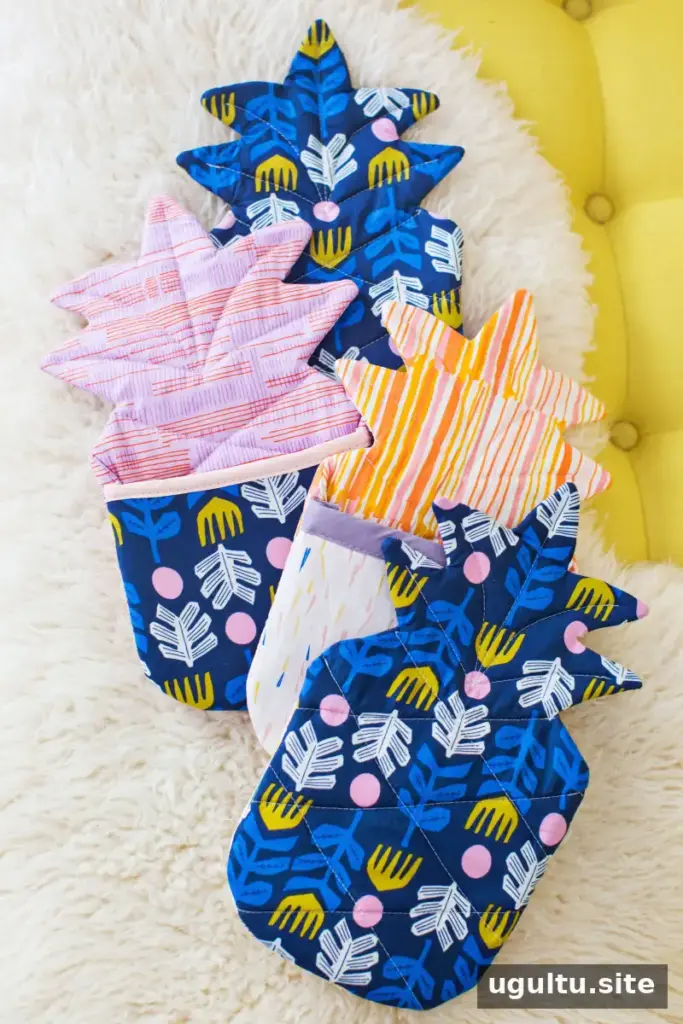
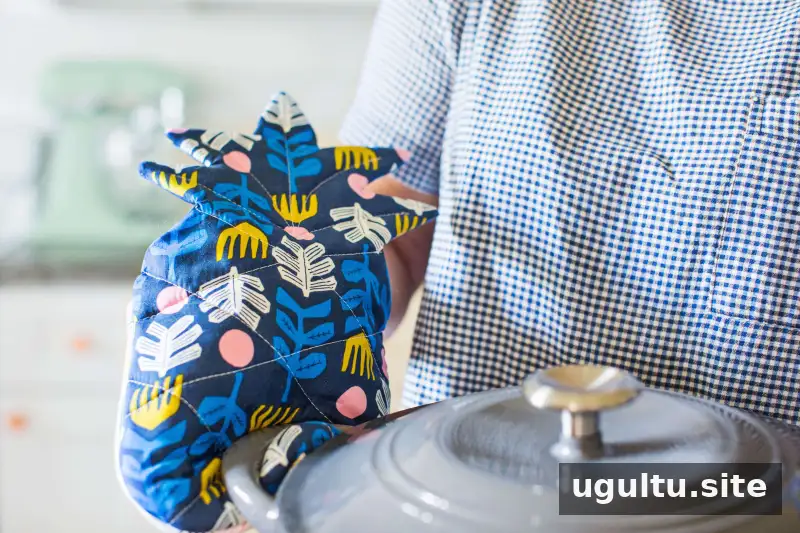
Pineapple oven mitts make a cheerful kitchen accessory and a thoughtful handmade gift. This sewing project uses cotton fabric, batting, and Insul-Bright to create a roomy mitt with a leafy top that also covers part of the wrist. With the pieces cut and ready, the first mitt takes about an hour to sew; the second can take around 30 minutes.
Read through the steps before starting, and keep the seam allowance consistent. For safe use, check that the layers and stitching are secure, and take care when handling hot cookware.
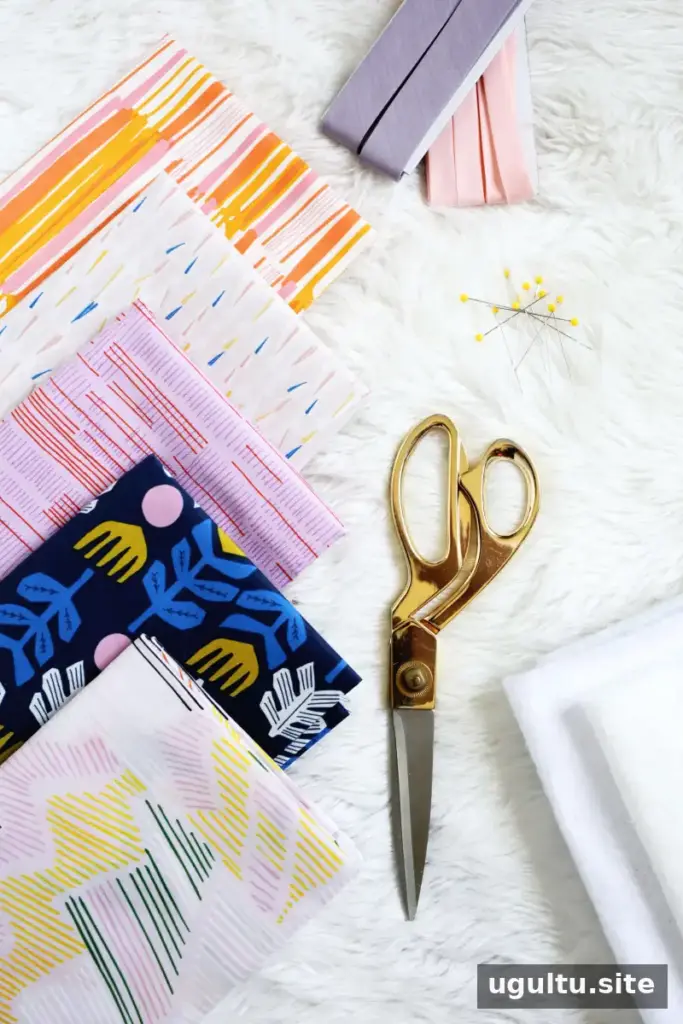
Supplies for Pineapple Oven Mitts
Gather these materials for each oven mitt:
- Pineapple oven mitt template, parts 1 and 2
- 1/4 yard of fabric for the pineapple side
- 1/4 yard of fabric for the shorter side
- 1/2 yard of natural cotton batting
- 1/2 yard of Insul-Bright
- 10 inches of double-fold bias tape
- Straight pins, scissors, an iron and ironing board
- Chalk, optional
- Sewing machine and access to a printer
Print and Prepare the Template
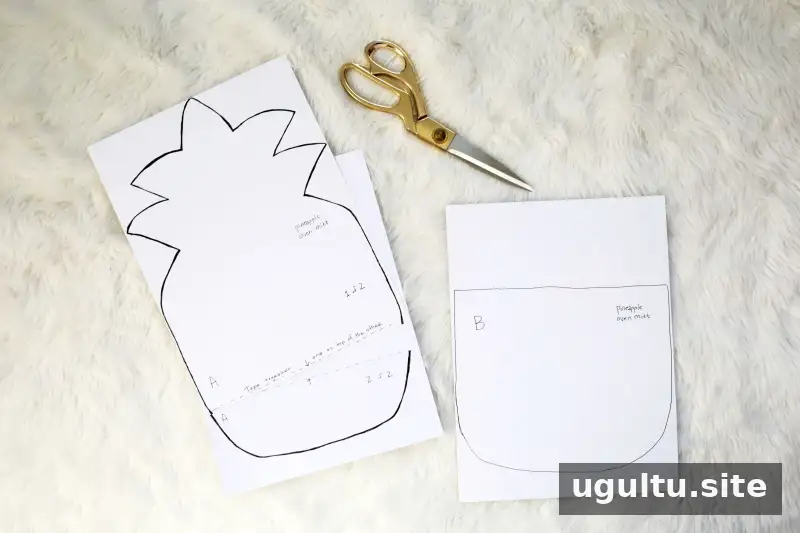
Print the template at its intended size. The pineapple shape spans two sheets of paper: align the dotted lines, tape the pages together, and cut around the outer outline. Keep the template pieces nearby as you prepare the fabric and insulating layers.
Cut and Layer the Fabric
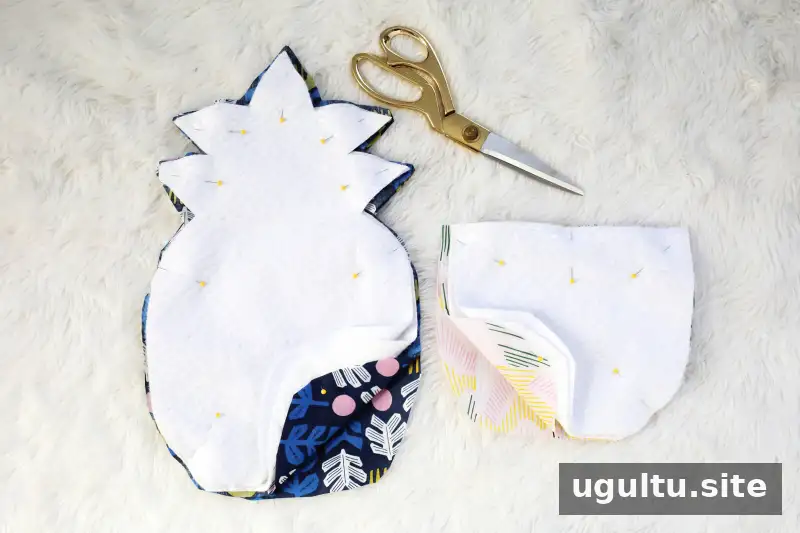
For each template piece, fold the fabric in half with the right sides facing one another. Place the cotton batting beneath the fabric, then add the Insul-Bright layer. Pin the template securely over the layers and cut through them. Repin the cut pieces together, then repeat for the shorter mitt side. Turn on the iron so it is ready for later steps.
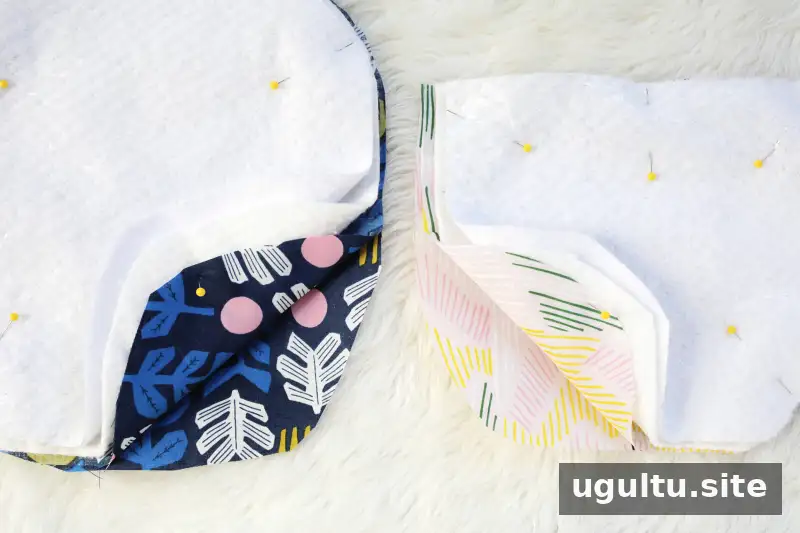
Before sewing, check that the right sides of the fabric face each other and that all four layers are aligned. This quick check can help prevent having to unpick a seam later.
Sew and Turn the Pineapple Shape
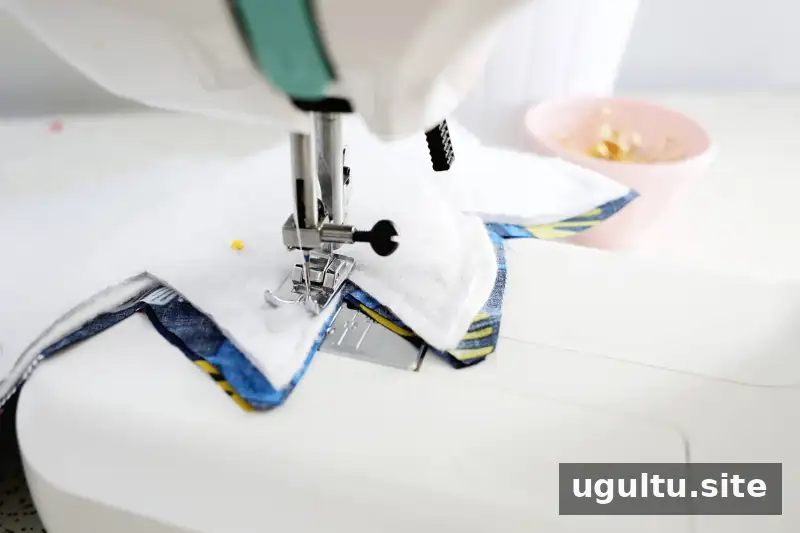
Sew around the pineapple piece through all four layers, keeping the stitching about 1/4 inch from the edge. Begin near the bottom and leave an opening of about 4 inches near the starting point. The gap is needed to turn the piece right side out.
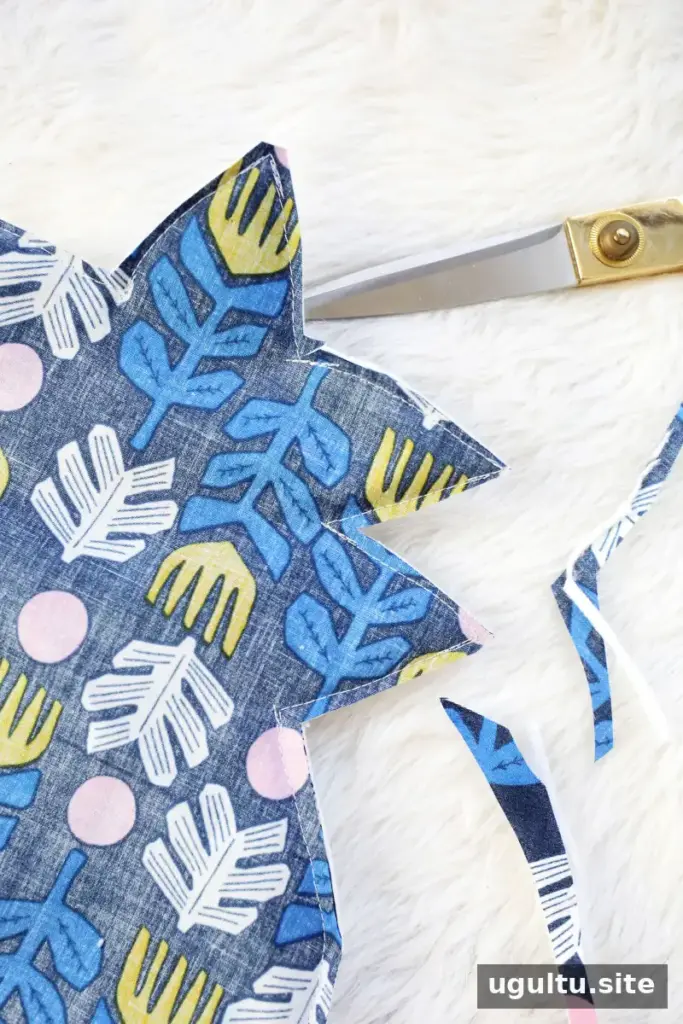
Trim excess fabric around the edges. Carefully snip into the corners and pineapple points to help them turn smoothly, stopping short of the stitching. Cutting through the seam can leave a hole, so work slowly at the narrow points.
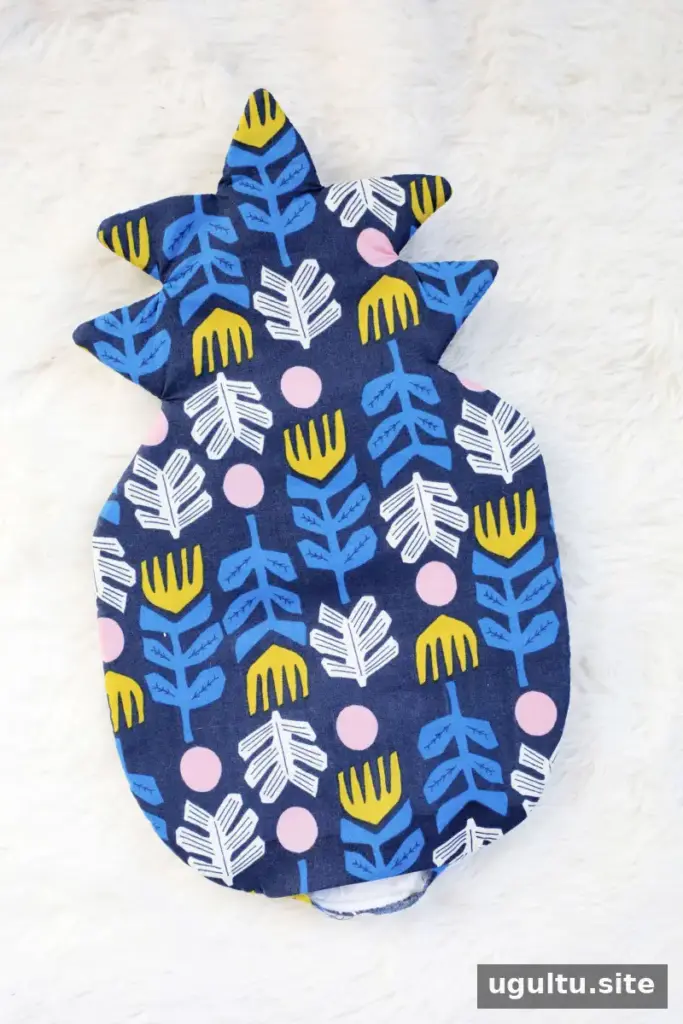
Turn the piece right side out through the opening. A pencil eraser or marker cap can help ease the corners into shape; avoid using a sharp point that could pierce the fabric. Smooth the layers and press the shape with an iron.
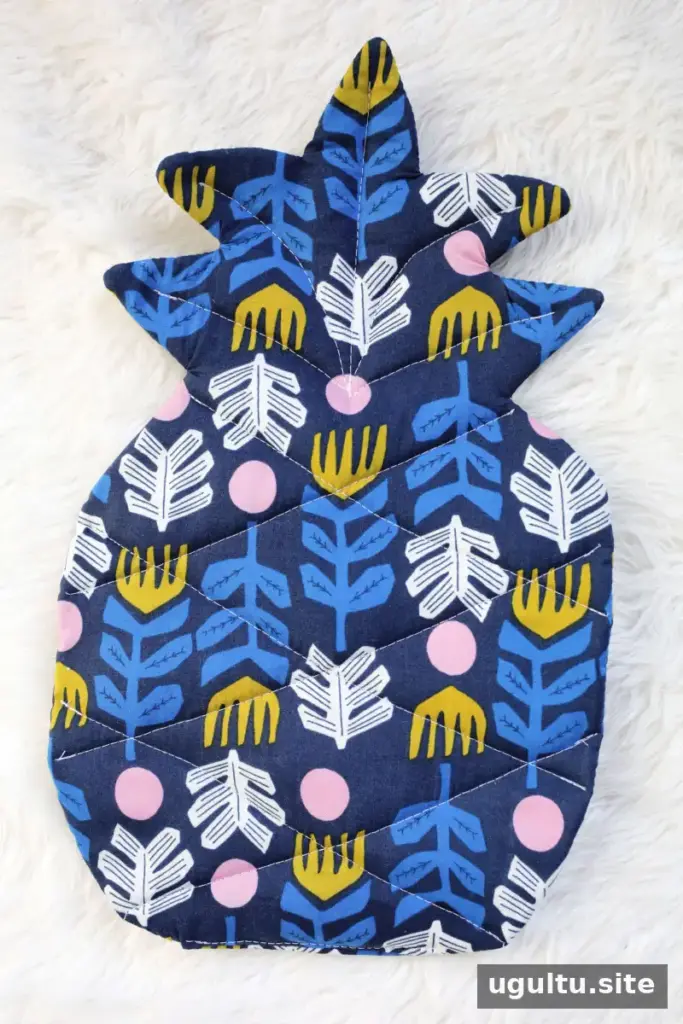
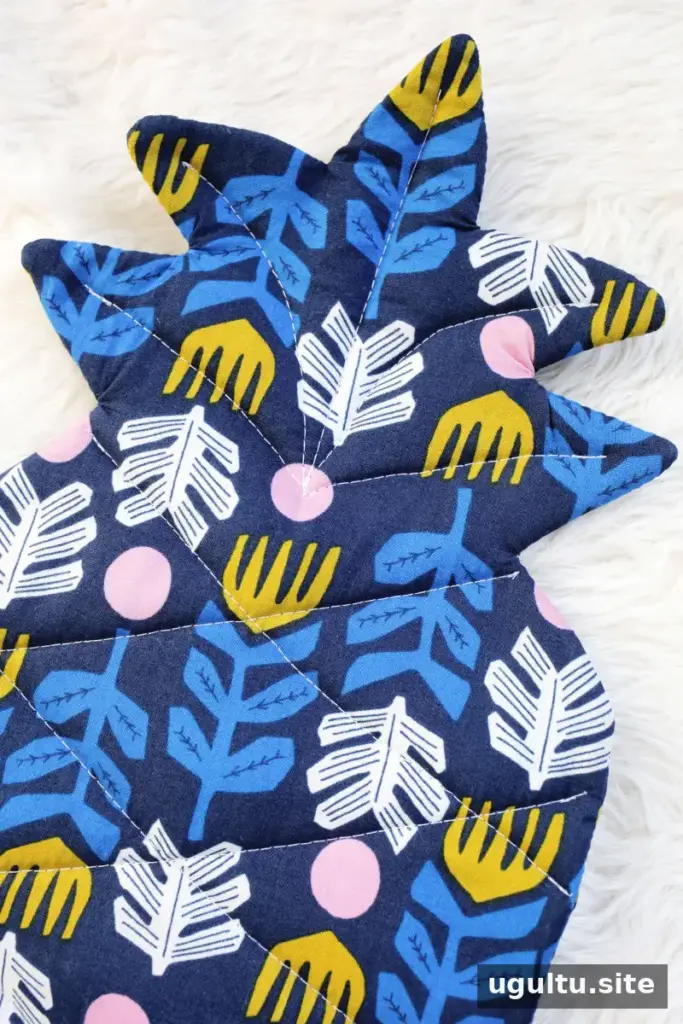
Add freehand lines of stitching across the pineapple body and leaves for a quilted look. Backstitch at the beginning and end of the leaf lines, then trim loose thread. Contrasting thread makes the design stand out, while the stitching also helps hold the layers together.
Finish the Second Side and Assemble
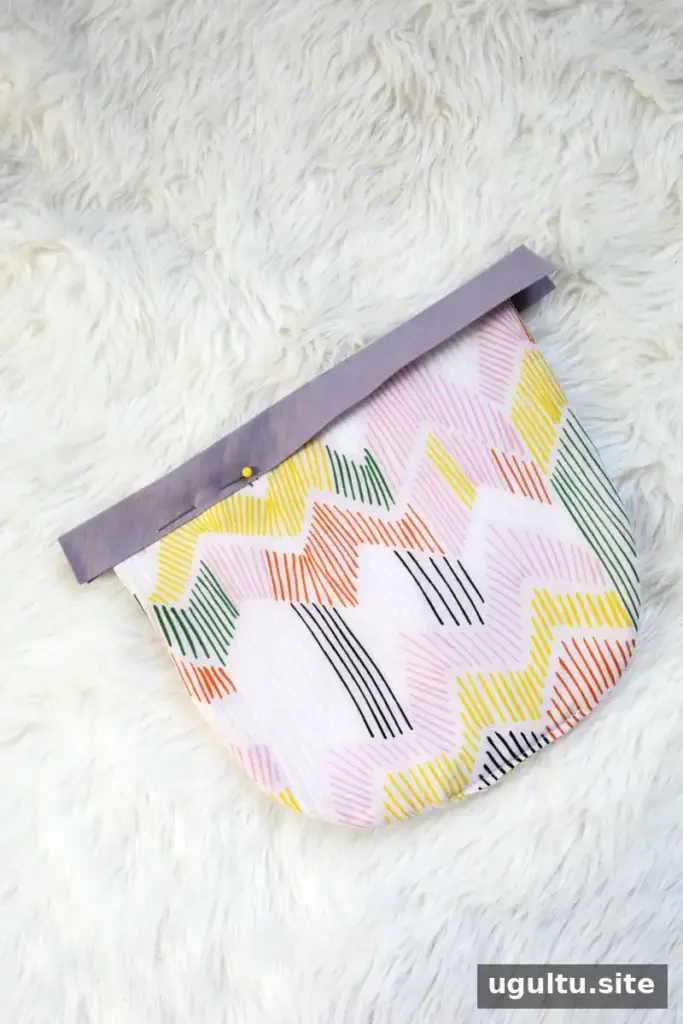
Repeat the same layering, sewing, trimming, and turning steps for the shorter side, leaving an opening at the bottom. Quilting this piece is optional. For a decorative finish, pin double-fold bias tape along its top edge and stitch it in place.
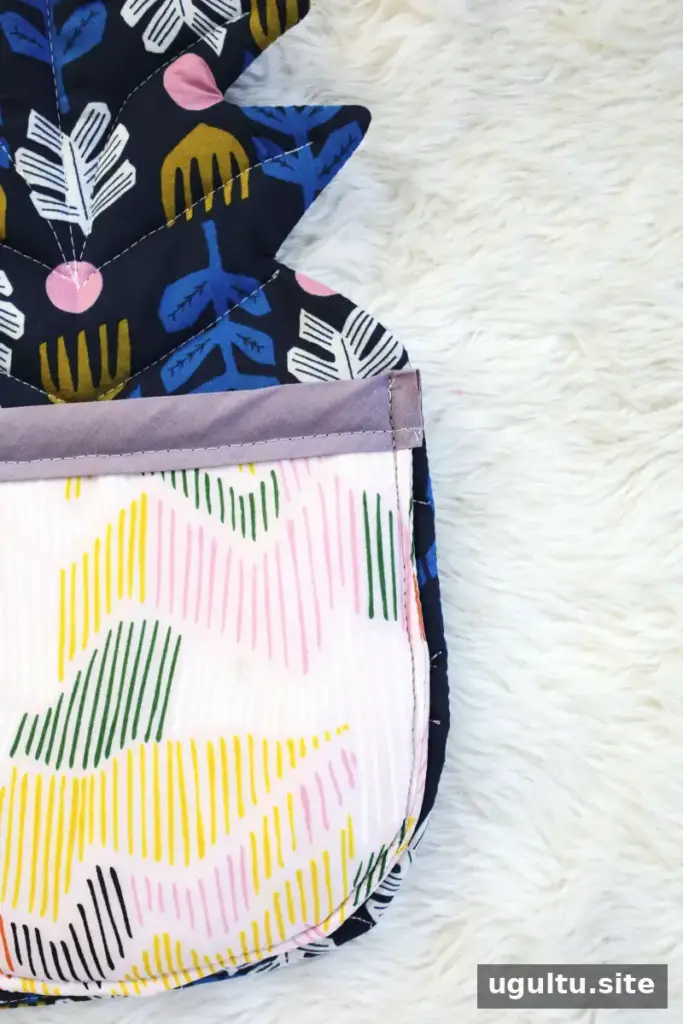
Place the two mitt pieces together with their bottom edges aligned, then pin around the perimeter. Start at one top corner and sew the pieces together, backstitching at the start and end. To add a hanging loop, fold a short piece of bias tape or ribbon in half and tuck its ends between the layers at a corner before sewing. Position the loop so it points inward while you stitch; it will face outward after turning.
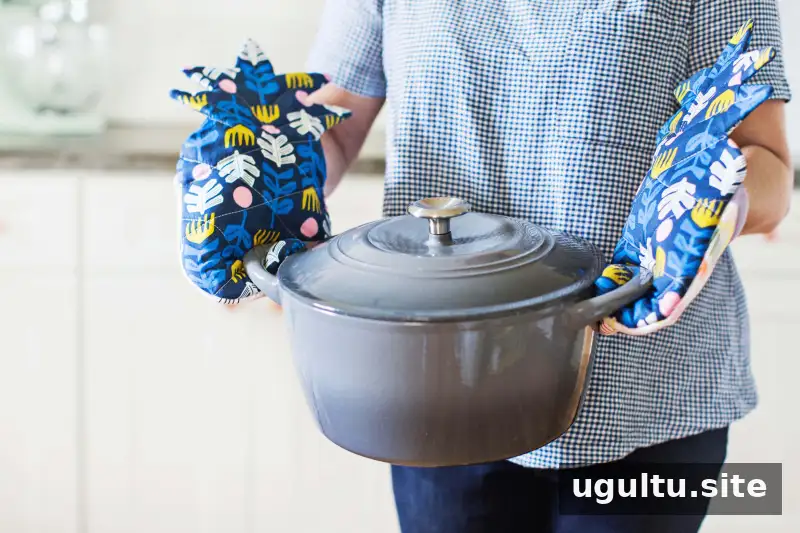
Turn the finished mitt right side out and press it flat. Check the seam and the loop, if added, before using or gifting the mitt.
Gift and Care Ideas
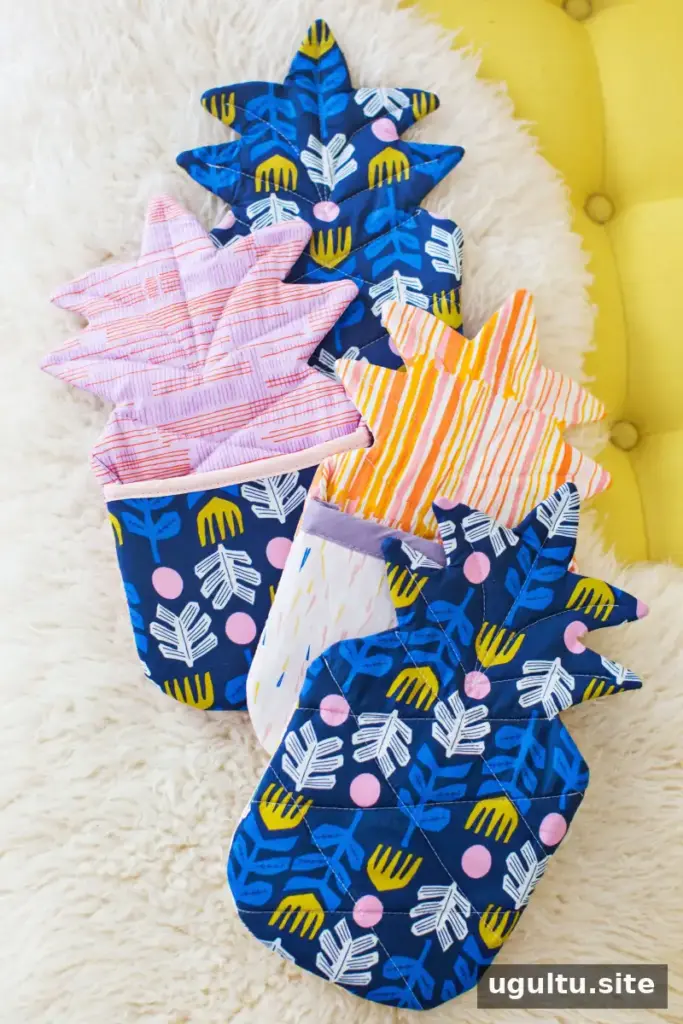
For a kitchen gift, tie a ribbon around a pair of mitts and add recipe cards or bamboo spatulas. Keep the finished mitts dry and inspect them regularly for worn fabric, loose seams, or damaged insulation. Pineapple oven mitts are a practical sewing project with a bright, decorative finish. —Rachel


