
 admin
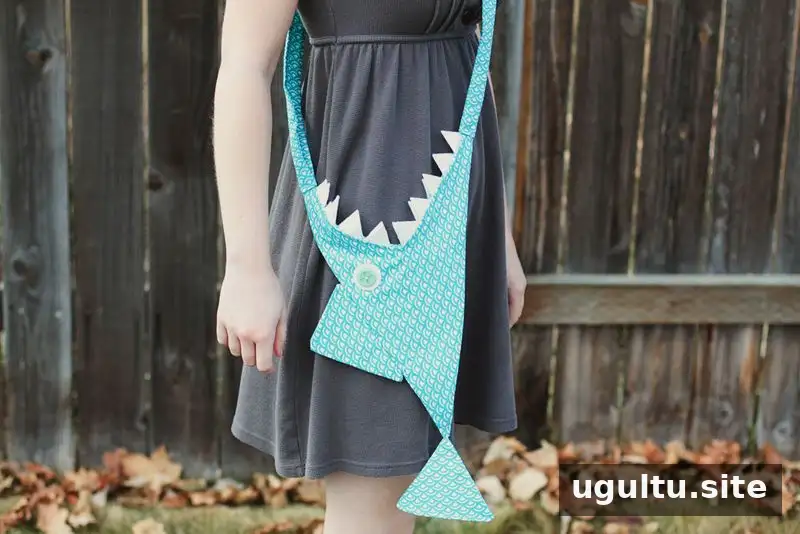
This shark purse DIY guide explains how to sew a playful, shark-shaped bag using patterned fabric, felt teeth, and a button eye. Kara shares the project as a handmade Christmas gift idea for someone who loves sharks and JAWS. Read through the measurements before cutting so you can prepare the pieces accurately.
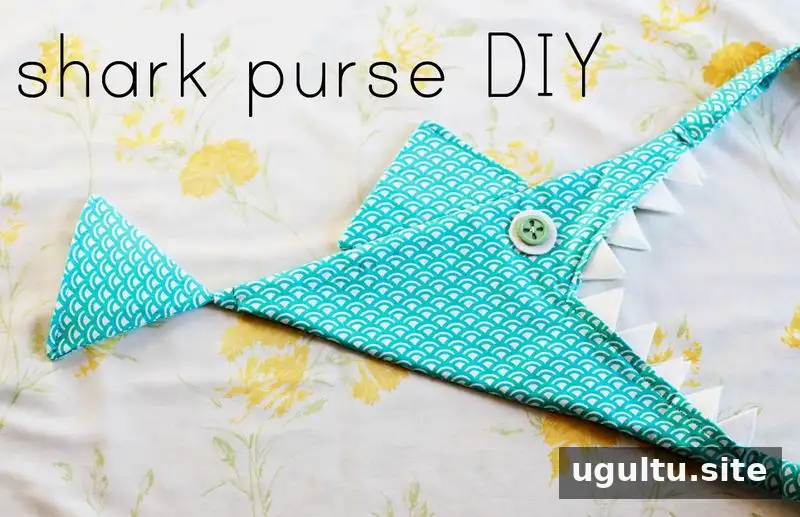
Materials for the Shark Purse DIY
Gather the supplies before drafting the pattern. You will need:
- 1 yard of patterned fabric
- 1/8 yard of white felt
- Coordinating thread
- A yardstick
- Newspaper or another large sheet of paper
- Pins
- A sewing machine
- A button for the eye
- Fusible interfacing for the fin and tail
Keep the fabric and felt pieces organized as you cut. Labeling the pattern pieces can help distinguish the body, tail, fin, and strap.
Draft and cut the pattern pieces
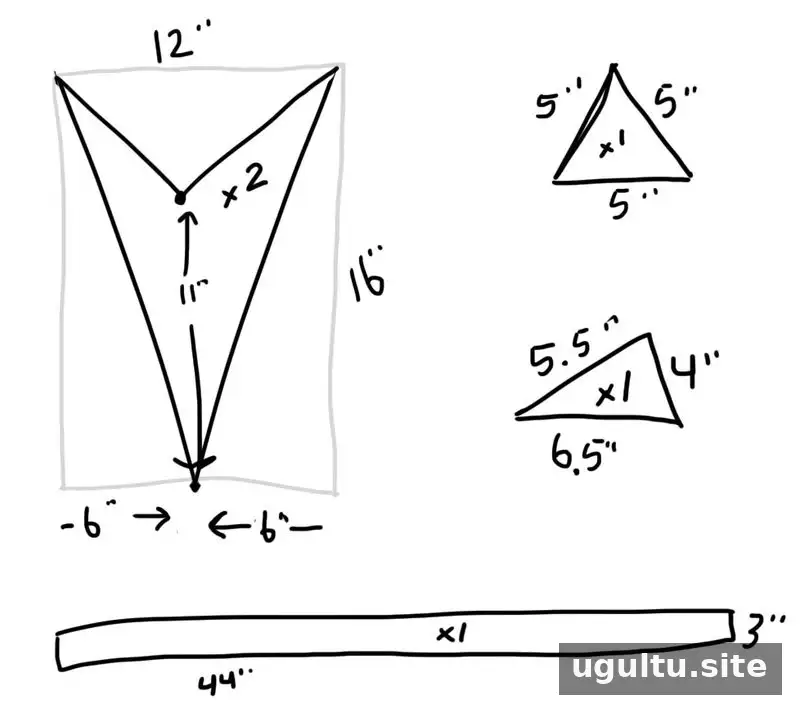
Start by drawing a 12-inch by 16-inch rectangle on newspaper or large paper. Mark a dot 6 inches across from one side and 5 inches down from the top. Mark the halfway point, 6 inches in, along the bottom edge. With a yardstick, draw lines from both top corners to the bottom mark. Then draw lines from those same top corners to the dot halfway down the pattern.
Make separate patterns for the remaining pieces:
- Tail: an equilateral triangle with 5-inch sides.
- Fin: a triangle with sides measuring 6.5 inches, 5.5 inches, and 4 inches.
- Strap: a rectangle measuring 3 inches by 44 inches. Adjust the length if you prefer a shorter strap.
- Teeth: cut 20–22 pieces from white felt. The sample uses 22 equilateral triangles measuring 1.5 inches, each with a small 0.5-inch rectangle at one end for sewing.
Use the accompanying pattern images as a visual reference while drafting. Check the measurements before cutting, especially if you adjust the strap length.
Sew the purse body, fin, and tail
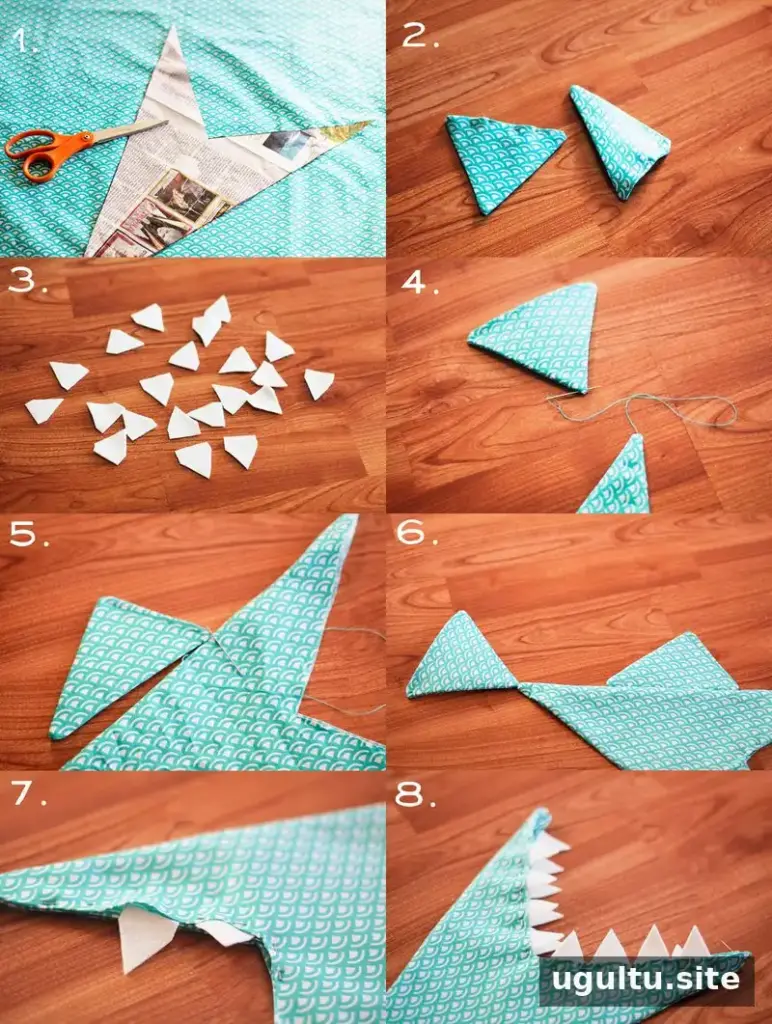
Pin the body pattern to the patterned fabric and cut two body pieces. Cut two fabric pieces each for the tail and fin, and cut one corresponding piece of fusible interfacing for each. Cut the strap from the patterned fabric as well.
Sew the long sides of the two body pieces together, leaving the top inner triangle open. Repeat with the other body pieces to create an outer section and a lining section. For both the tail and fin, iron the interfacing onto the back of one fabric piece. Sew the front-facing pieces together, leaving one side open. Turn each piece right side out, fold the open edges inward, pin, and sew the opening closed.
Turn the outer body right side out and press it with an iron. Leave the lining inside out, then place it inside the outer section so the pieces fit snugly together. Fold the top edges inward and pin them. The corners can be tricky; the strap area will cover the top corners.
Add the felt teeth and finishing details
Press the folded edges, then work along the opening one section at a time. Remove a pin, slip a felt tooth into position, and pin it again before sewing the edge closed. Arrange the teeth evenly and keep their small tabs inside the seam for a neater finish.
Attach the fin and tail at the purse edge by sewing from the inside, close to the outer edge of each piece. Take care to secure the stitching so the details stay in place during use.
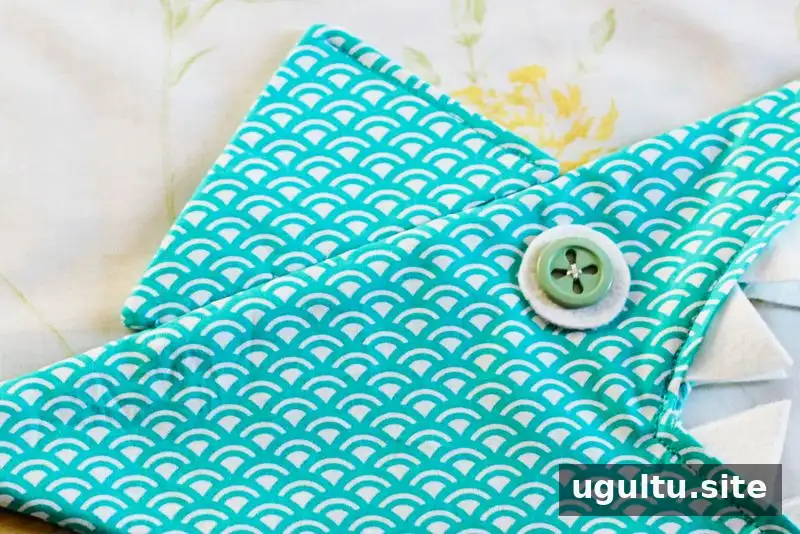
For the eye, trace a circle onto white felt using a thread spool as a guide, cut it out, and attach a button on top. Position the eye where it is visible on the finished purse and sew it securely.
Finished shark purse
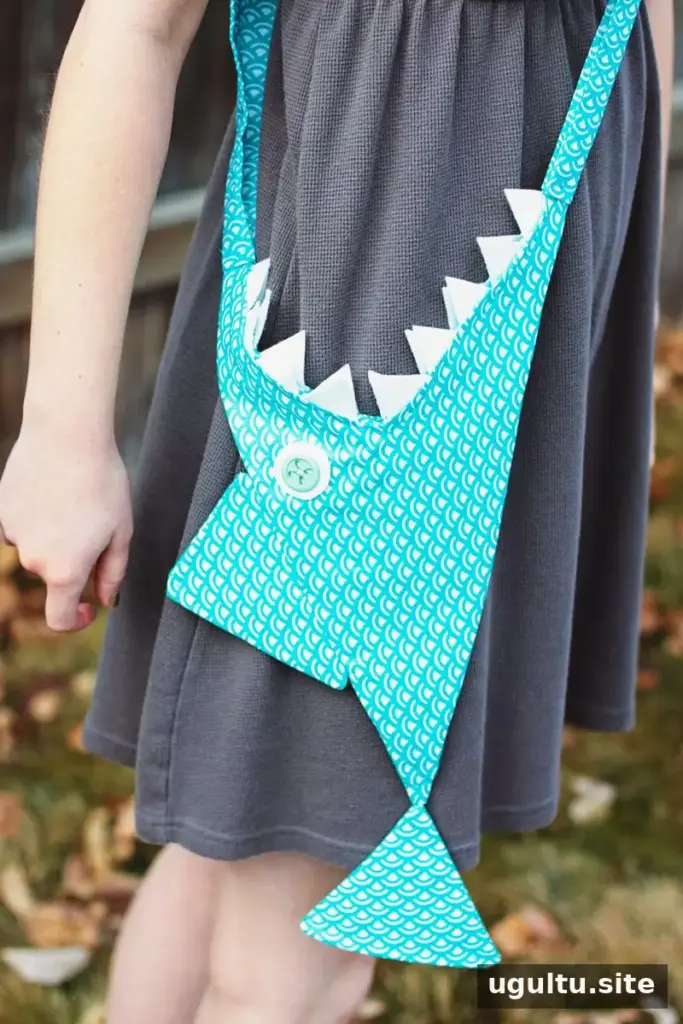
The finished project is a small shark purse with a fabric body, felt teeth, a fin, a tail, and a button eye. Thanks to Kara for sharing the project. This shark purse DIY is a fun handmade gift; before sewing, review the pattern measurements and plan the strap length to suit the intended use.


