admin
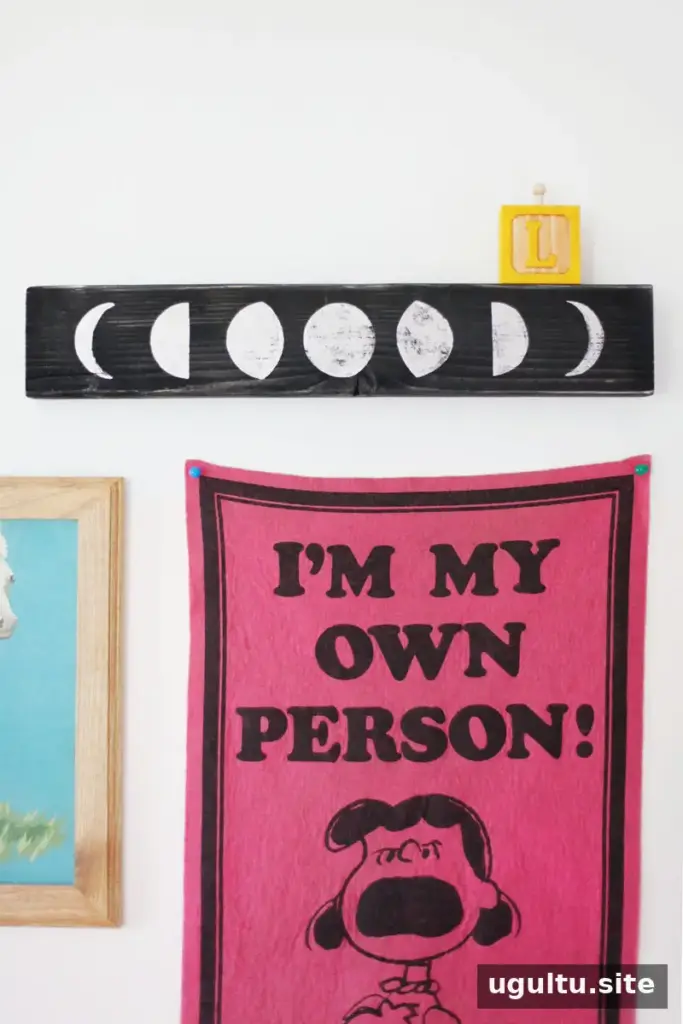
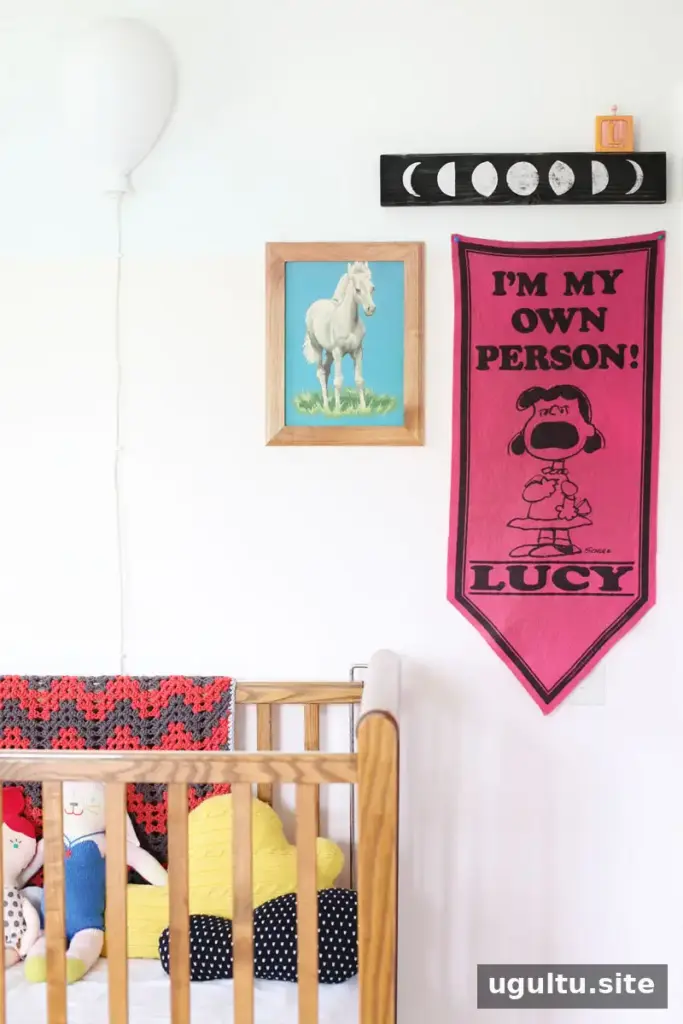
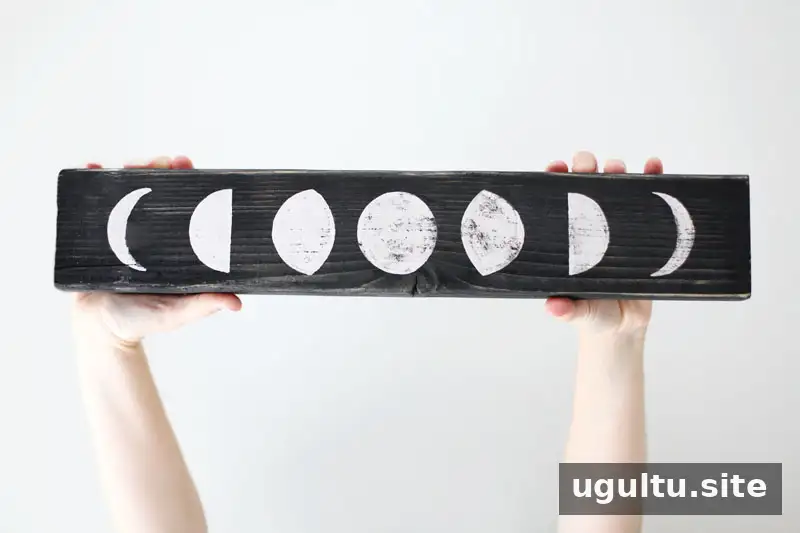
Moon phases wall art is a simple way to bring a celestial detail to a bedroom, gallery wall, or small art display. This project uses a short piece of lumber, black paint, and silver gilding paint to create a row of moon shapes against a dark background. The finished piece can also introduce children to the changing appearance of the Moon.
Silver gilding paint gives the shapes a reflective finish, although photographs may not capture its shine accurately. For a similar look, use a fine brush and let some of the black background show through the painted shapes.
Materials and tools for moon phases wall art
Gather the materials and tools before starting. Protect your work surface, and check the paint labels for any drying or handling instructions.
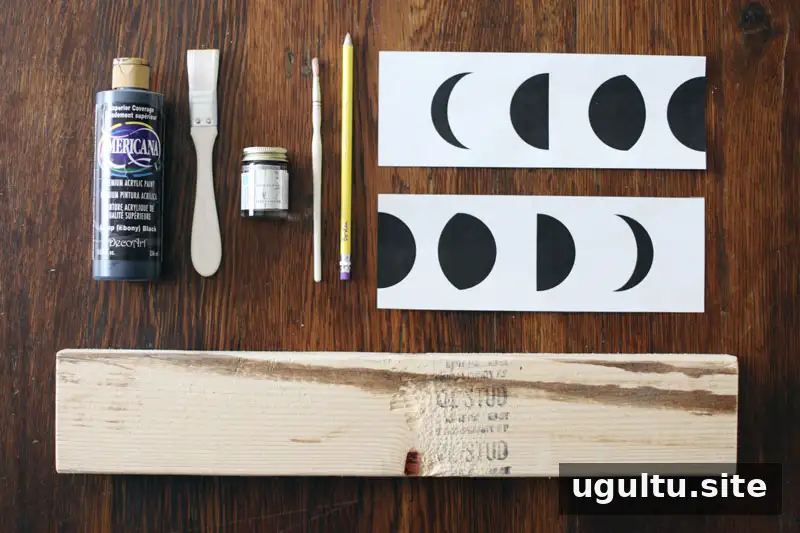
- 20-inch-long 2×4 board
- Silver gilding paint
- Black paint
- Moon phases template; one printed copy is enough
- Picture-hanging hardware
- Large and small paintbrushes
- Pencil
- Hammer
How to make the moon phases wall art
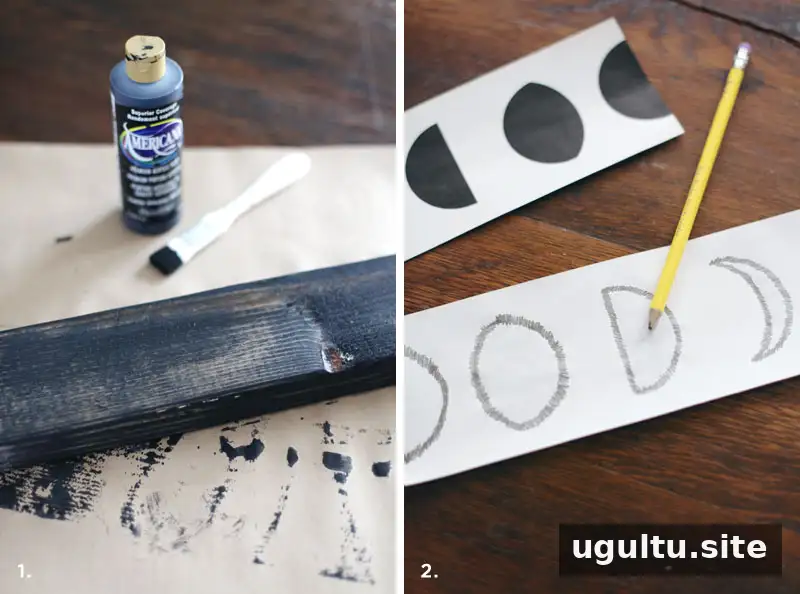
1. Paint the board black
Coat the board with black paint. For a more wood-like, stained appearance, dilute the paint so it becomes thinner, as in the example. Apply it evenly and allow it to dry before transferring the design.
2. Prepare the template for transfer
Cut out the moon phases template. On its back, rub a pencil along the edges of each shape. This creates graphite transfer marks that can leave an outline on the painted board.
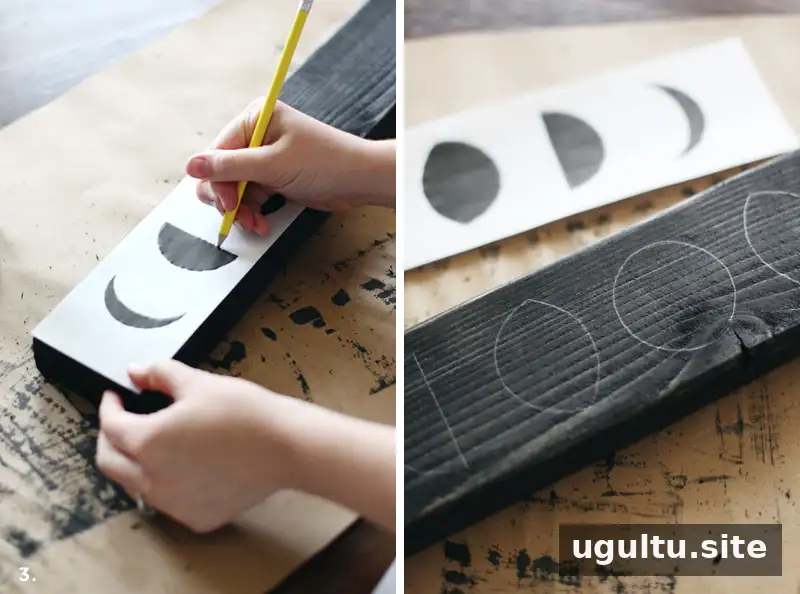
3. Trace the moon shapes onto the board
Place the template right side up on the board, then trace around each shape with a pencil or pen. Lift the paper to check that the graphite outlines transferred clearly. If you want to use the design on the other half of the board, flip the template over and repeat. The pencil marks on the back may be sufficient for one more transfer.
4. Add the silver finish
Use a fine paintbrush to fill in the traced moon shapes with silver gilding paint. Avoid covering every bit of the black outline or background within the shapes; small dark areas can help suggest texture and make the phases more recognizable. Work slowly around the edges for a cleaner result, and let the paint dry according to its label.
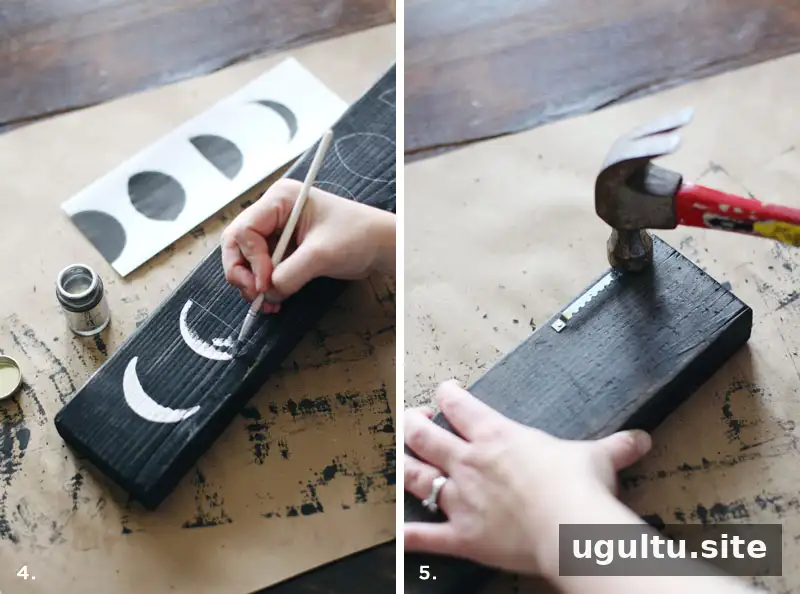
5. Attach hanging hardware
When the paint is completely dry, mount picture-hanging hardware on both sides of the back of the board. Use a hammer as needed, and make sure the hardware is secure before hanging the finished piece.
Display ideas and finishing tips
This project is a useful option for suitable scrap lumber and can be displayed on its own or alongside other pieces in a gallery wall. Its dark background and metallic shapes work in a child’s room as well as an adult space. Before hanging, check that the board is level and that the wall and hardware can safely support its weight.
—Mandi