
 admin


A handmade donut pillow adds a playful touch to a bedroom, reading nook, or child’s play area. This sewing project uses tan fabric for the donut and a contrasting felt or fleece color for the frosting. Small felt pieces become colorful sprinkles, while soft batting or polyfill gives the finished pillow its shape.
The steps below explain how to cut the donut shape, attach the decorations, and sew and fill the pillow. Before starting, choose a stable, flat work surface and check that your fabric pen markings are easy to see against the materials.
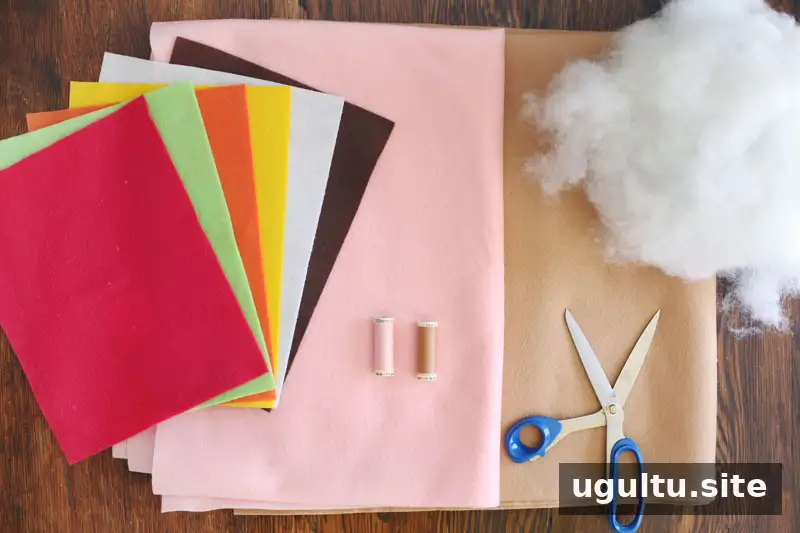
Donut Pillow Supplies and Tools
Gather the materials and tools before cutting. Felt and fleece are both suitable options; using contrasting colors makes the frosting and sprinkles stand out.
- 1/2 yard of tan felt or fleece
- 1/2 yard of felt or fleece in the frosting color of your choice
- Small pieces of green, orange, yellow, white, brown, and dark pink felt
- Tan thread and thread matching the frosting color
- Polyfill or another batting material
- Fabric scissors, a sewing machine, and a fabric pen
- A large circular object, such as a laundry basket, and a small circular object, such as a cereal bowl
- Straight pins and, optionally, a sewing needle for closing the opening by hand
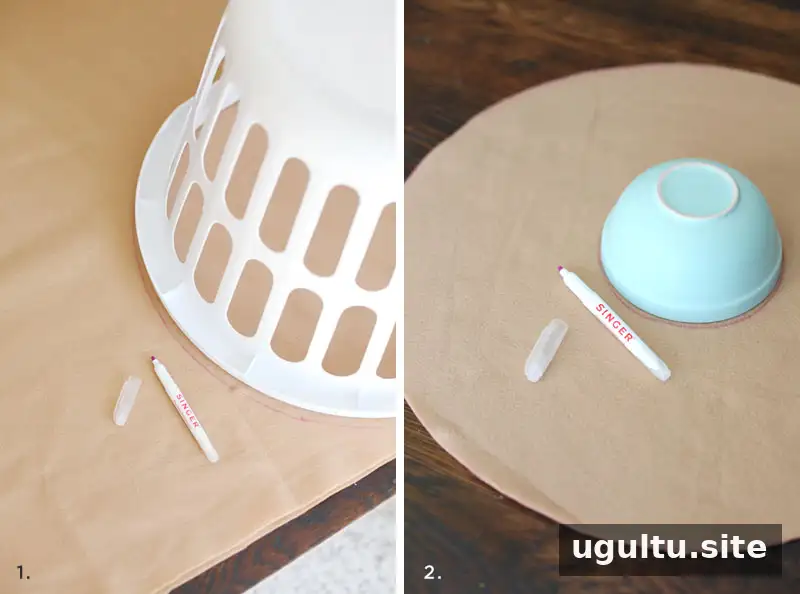
Cut the Donut Shapes
1. Make the tan donut base
Fold the tan fabric in half. Trace around a large circular object with a fabric pen, then cut through both layers at once to create two matching circles. Keep the fabric flat while cutting so the pieces stay as even as possible.
2. Cut out the center
Place a bowl in the center of the stacked circles and trace around it to mark the donut hole. Cut out the opening through both layers. Take care to keep the hole centered; it will help the finished pillow read clearly as a donut.
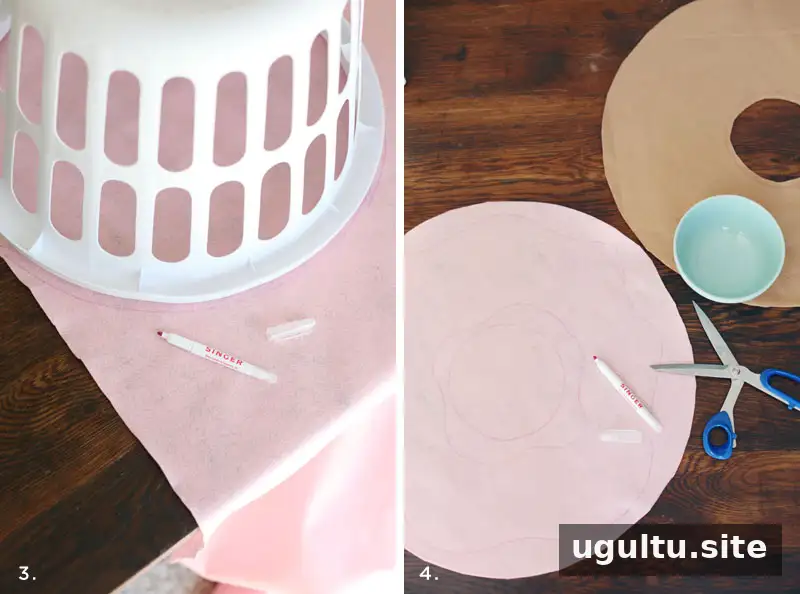
3. Shape the frosting
Trace the large circle onto the frosting-colored fabric and cut it out. Mark and cut a matching center opening using the bowl. Draw a free-form outline around the edge to suggest drippy frosting, then cut along that line. Avoid making the drips too narrow, as broader shapes are easier to sew securely.
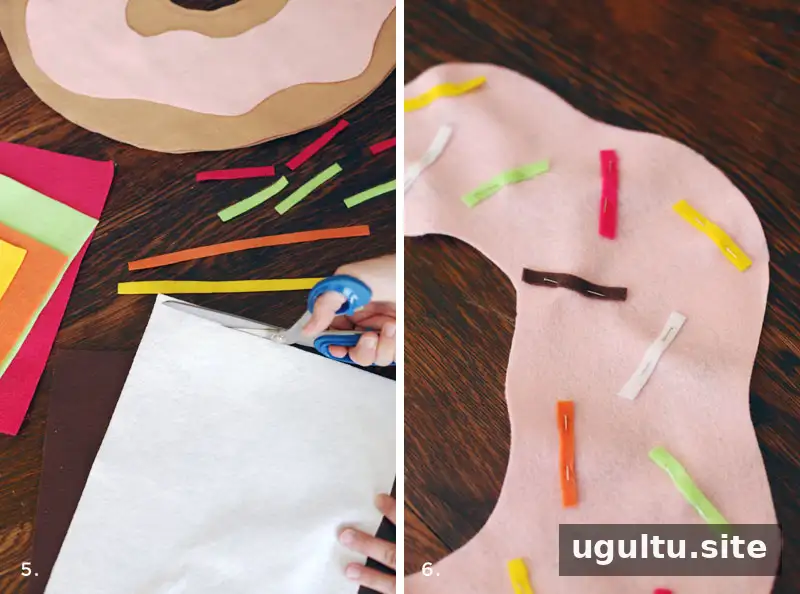
Add Sprinkles and Attach the Frosting
4. Prepare and pin the sprinkles
Cut small strips from the assorted felt pieces to make sprinkles. Arrange them somewhat randomly across the frosting fabric, then pin them in place. Check the layout before sewing so the decorations are distributed across the surface.
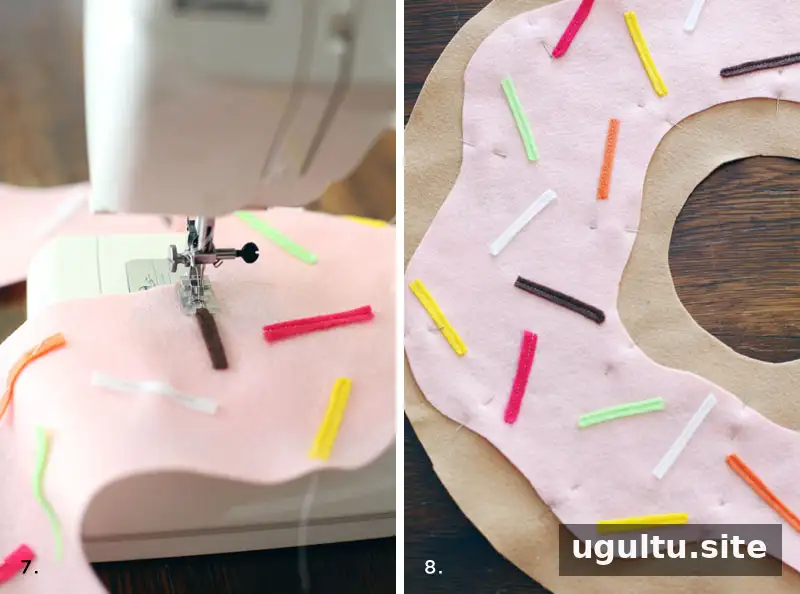
5. Sew on the decorations
Use a straight stitch down the middle of each felt strip to secure it. Trim loose threads when all the sprinkles are attached. Then pin the decorated frosting piece onto one of the tan donut-shaped pieces.
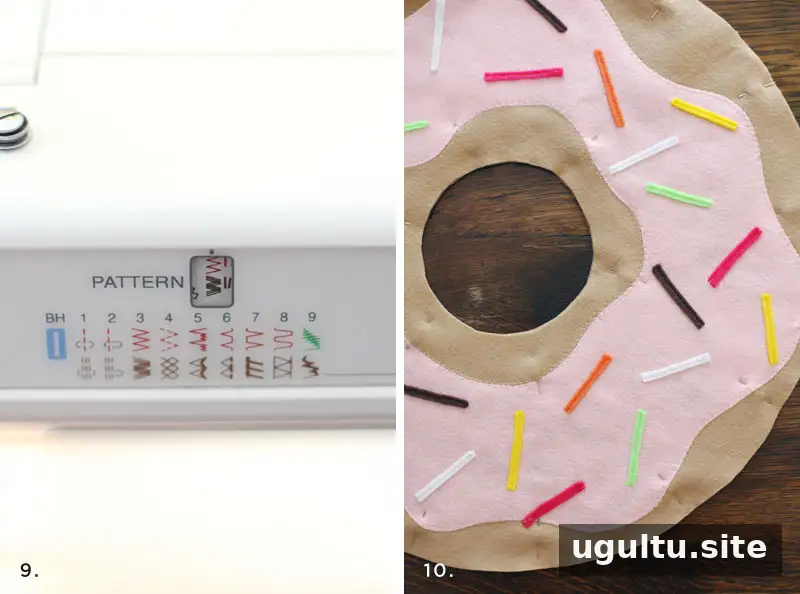
6. Stitch the frosting to the base
Sew around the frosting shape with a zigzag stitch. Keep the stitch near the edge so it holds the layers together while leaving the drippy outline visible. Remove pins as you sew rather than stitching over them.
Join and Stuff the Donut Pillow
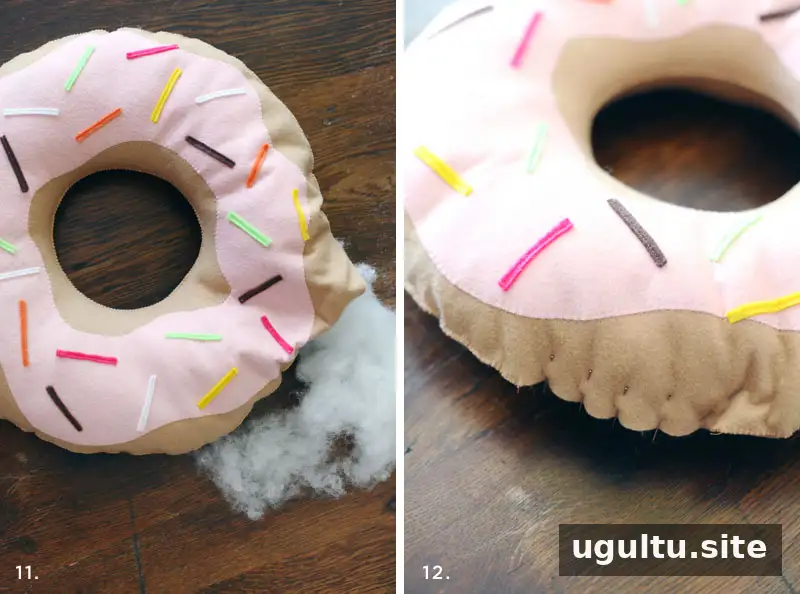
7. Sew the two sides together
Pin the two tan pieces together with the right sides facing outward. Unlike a conventional pillow, this donut shape is sewn right side out, so there is no need to turn it after stitching. Sew around the outer edge with a zigzag stitch. This finish can help cover slightly uneven fabric edges. Leave an opening in the outer seam for stuffing.
8. Fill and close the opening
Reach through the opening and add polyfill or batting until the pillow is filled to your preferred firmness. Add filling gradually and spread it around the ring to avoid overly firm or empty areas. Pin the opening closed, then sew it shut with the machine or a needle and thread. A hand-sewn closure may offer more control in this small area.

Finishing Tips
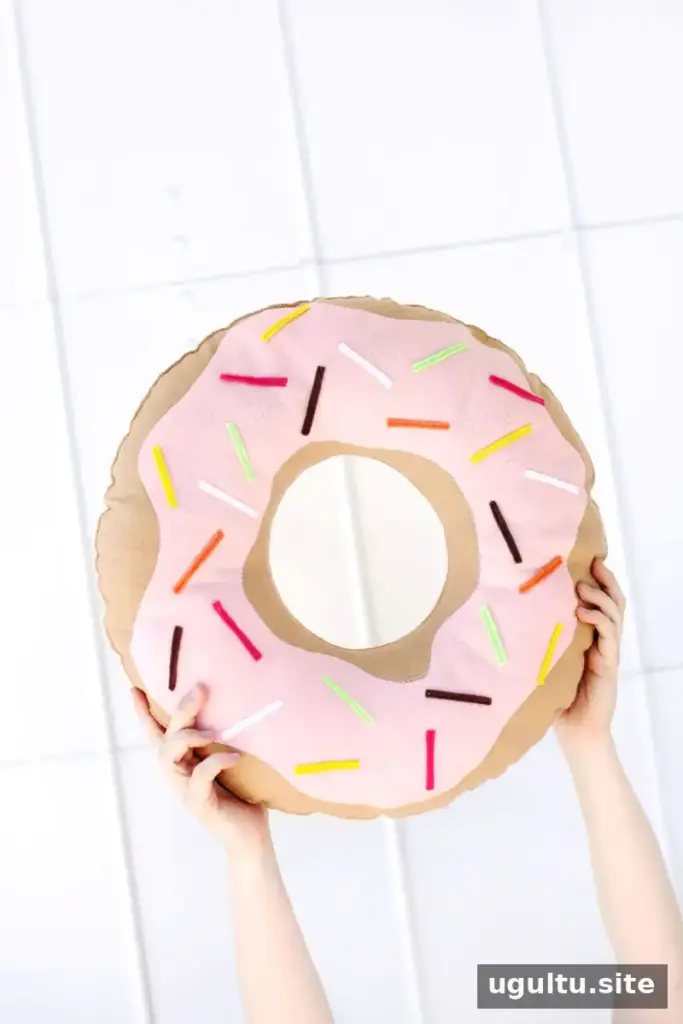
Before using the pillow, check the outer seam and the attached felt pieces for loose threads. If making the project for a young child, supervise use and make sure decorations are firmly secured. The finished donut pillow is a cheerful handmade accent and can be customized with different frosting and sprinkle colors.
—Mandi


