
 admin
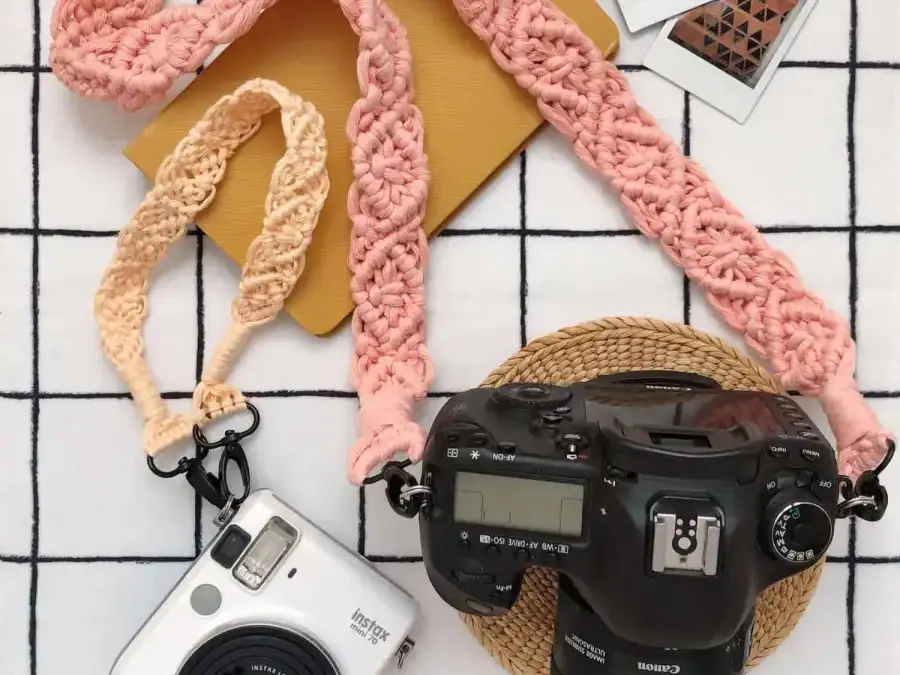
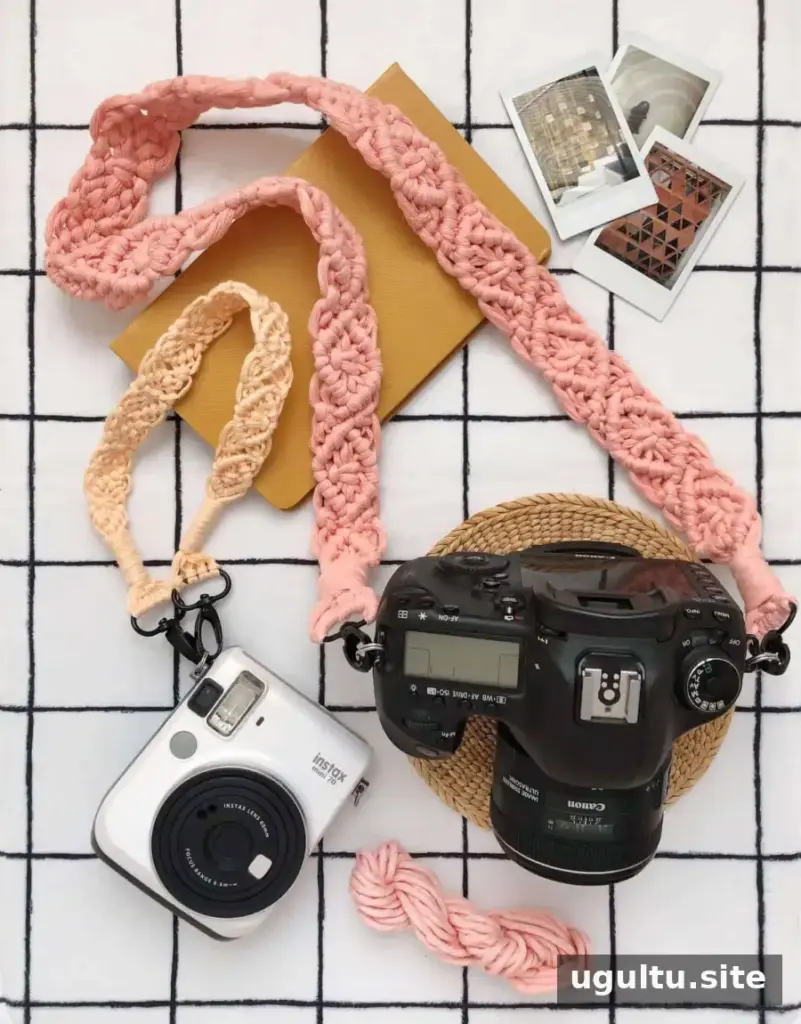
A handmade macrame camera strap adds color and texture to a DSLR or instant camera while keeping it close at hand. This macrame camera strap tutorial explains how to make a wristlet or a longer strap using cotton cord, swivel clasps, and a repeating diamond pattern.
Choose a cord color that suits your camera or wardrobe; natural cotton gives the strap a neutral look. The wristlet is a compact option for smaller cameras, while the 40-inch and 48-inch versions offer a longer fit. Use the specified cord thickness for your chosen style, since 2mm and 3mm cord produce different results.
Supplies for a Macrame Camera Strap
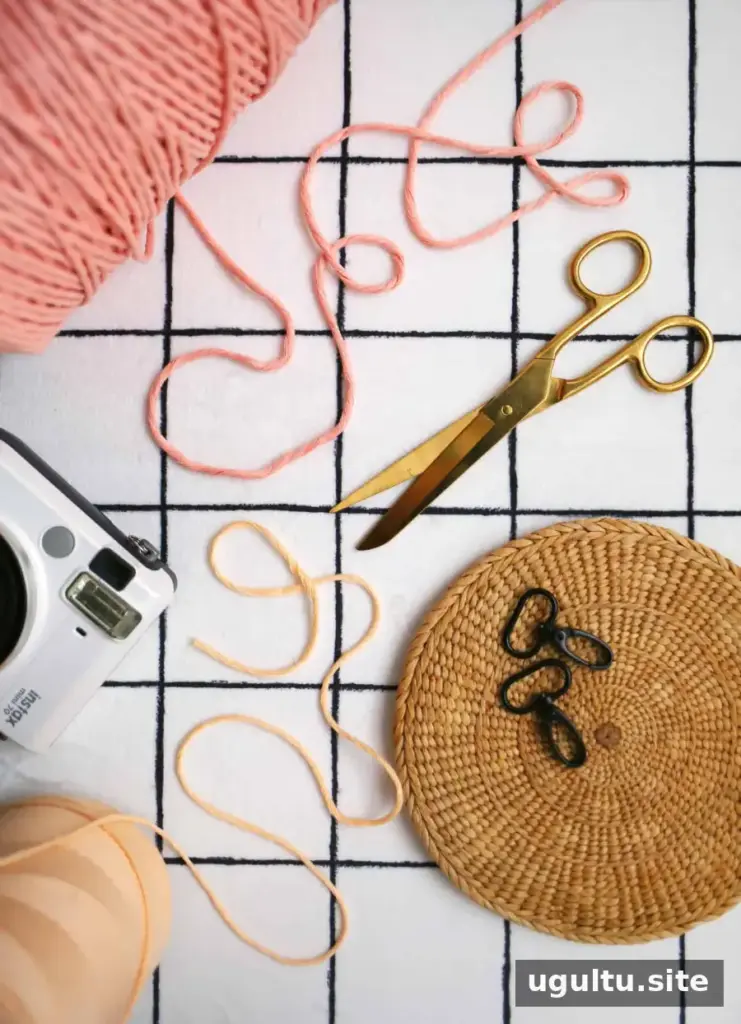
Gather these materials before starting:
- Two 1-inch black swivel lobster claw clasps per strap
- 102 feet of 3mm soft cotton cord for a 40-inch camera strap
- 116 feet of 3mm soft cotton cord for a 48-inch camera strap
- 40 feet of 2mm combed cotton cord for a wristlet strap
- Scissors
- An over-the-door hook or an S-hook to hold a clasp while you tie the knots
A clothes hook and metal hoop can provide a comfortable anchor, but an S-hook is another option. Keep the working strands organized as you knot so it is easier to follow the pattern and maintain an even design.
How to Make a Macrame Camera Strap
Prepare and attach the cords
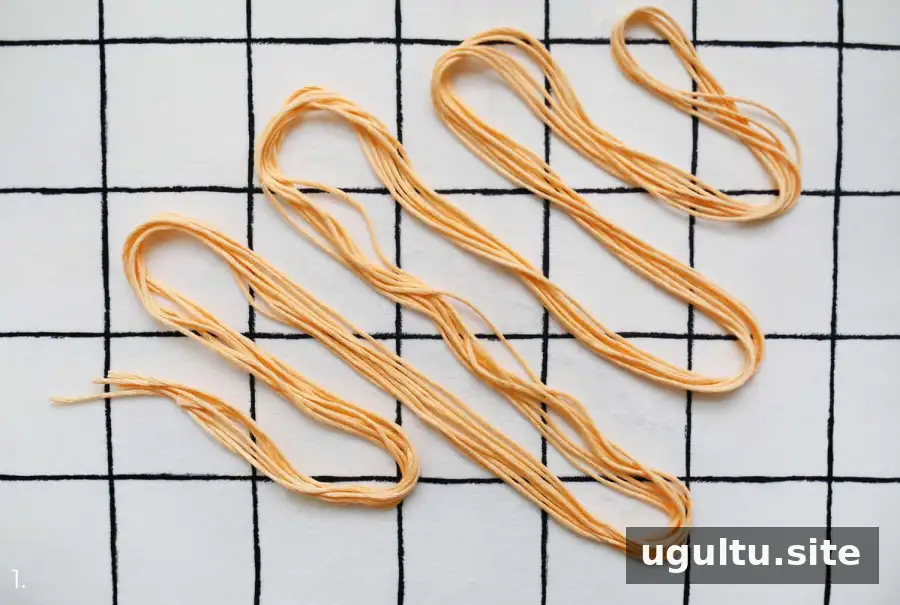
Step 1: For the roughly 40-inch strap, cut four 25-foot lengths of 3mm cotton cord. For the roughly 48-inch strap, cut four 28.5-inch lengths of 3mm cord, as specified in the instructions. For the wristlet, cut four 9-foot lengths of 2mm cotton cord. Set the remaining cord aside for finishing.
Step 2: Attach one lobster clasp to your hook, hoop, or S-hook. Fold one cord strand in half, pass its center over the clasp bar, and pull the ends through the loop to make a lark’s head knot.
Step 3: Repeat with the other three strands. Arrange the cords with four on each side and identify them from left to right as strands 1–8. For each new knot, number the strands by their current positions.
Create the repeating diamond pattern
Steps 4–8: Use strand 4 to make two half hitches around strand 5, about 2.5 inches from the clasp. Repeat with strands 3, 2, and 1. Reset the numbering from left to right, with four strands on each side. On the right, use strand 6 to tie two half hitches around strand 5, then repeat with strands 7 and 8. These knots form the top of the diamond.
Steps 9–10: Use strands 7 and 8 to tie a half knot over the center strands, 3–6, without pulling it too tight. Then use the new strands 2 and 7 to tie another half knot over strands 3–6, completing a square knot.
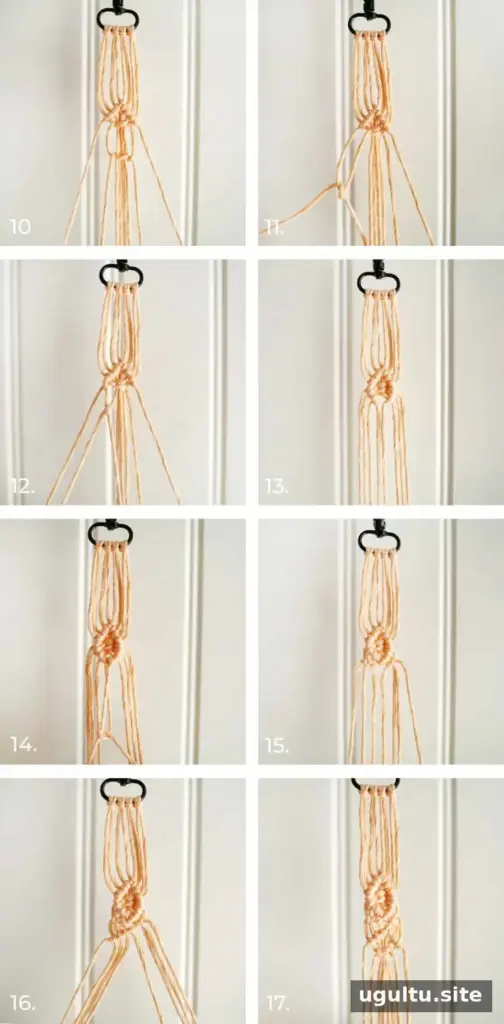
Steps 11–15: Begin the lower half of the diamond by tying two half hitches with strand 2 around strand 1. Repeat with strands 3 and 4. On the opposite side, use strand 7 around strand 8, then continue with strands 6 and 5. Close the diamond by using the new strand 4 to tie two half hitches over strand 5. Finish with a square knot on each side: strands 1 and 4 over strands 2 and 3, then strands 5 and 8 over strands 6 and 7.
Steps 16–17: Start another diamond by tying two half hitches with strand 4 around strand 5, followed by strands 3, 2, and 1. Complete the top and bottom sections as before, add the square knots beside the diamond, and repeat the pattern. Continue until the strap is about 3 inches shorter than your desired finished length.
Attach the second clasp and finish the ends
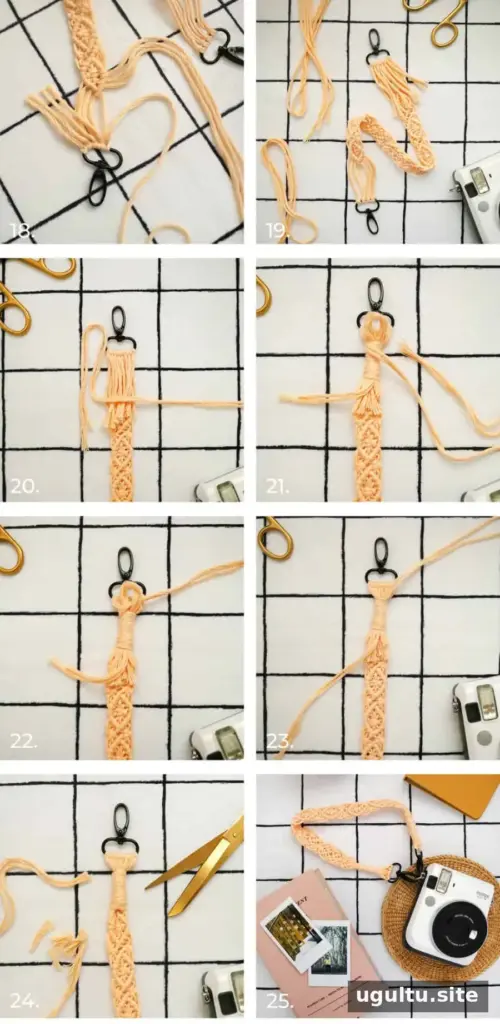
Steps 18–19: Trim the strands to about 6.5 inches. Attach them to the second lobster clasp with lark’s head knots, also called cow hitches. Position the clasp about 3 inches from the last diamond, leaving about 3 inches of tail. Fit the knots closely together on the clasp.
Steps 20–24: From the cord set aside earlier, cut two 2-foot lengths. Fold them into an upside-down U above the lark’s head knots, then fold the strands over the strap near the tails. Wrap the long ends around the folded cords to form a binding knot. Near the lark’s head knots, pass the long ends through the loop and pull the other end of the loop until the loop and ends disappear beneath the wraps. Trim the binding ends and excess tails, then slide the wrap over the cut ends.
Step 25: Make a second wrapped knot at the other end. It will be thinner because fewer strands are gathered there. For a wristlet, attach both clasps to the same camera ring. For a 40-inch or 48-inch strap, attach one clasp to each side of the camera.
Choosing a Length and Using the Strap Safely
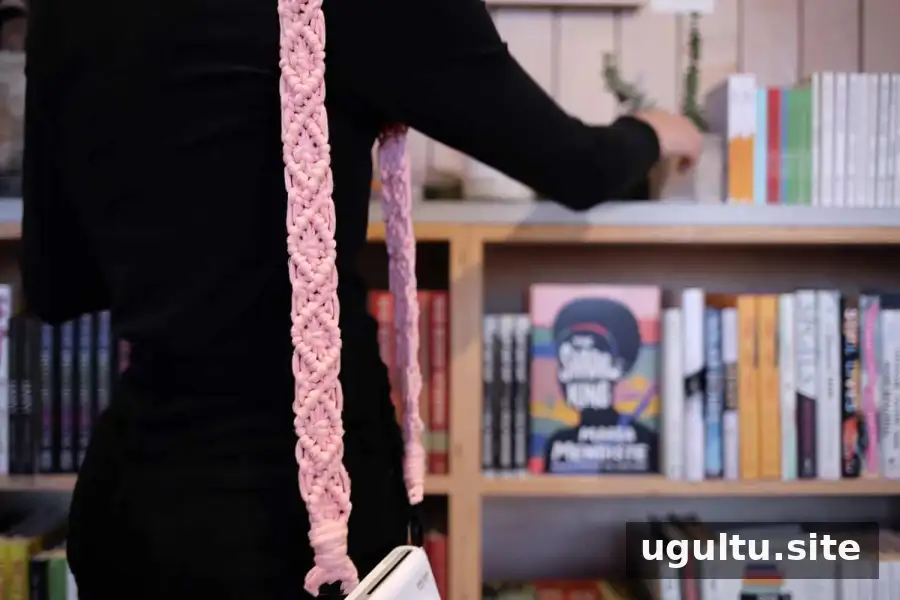

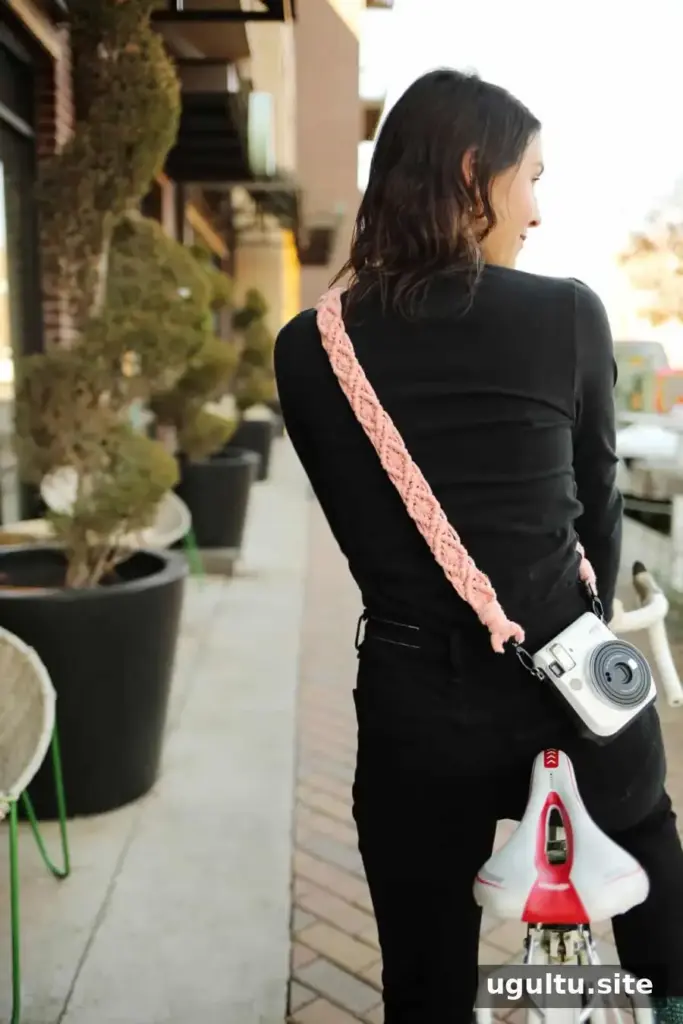
The wristlet is suggested for smaller cameras such as an Instax Mini. A longer strap may be more comfortable with a large DSLR and heavy lens. Before using any handmade strap, test it with the camera held over a bed and check that both clasps are securely attached. Inspect the knots and hardware regularly, especially before carrying heavier equipment.
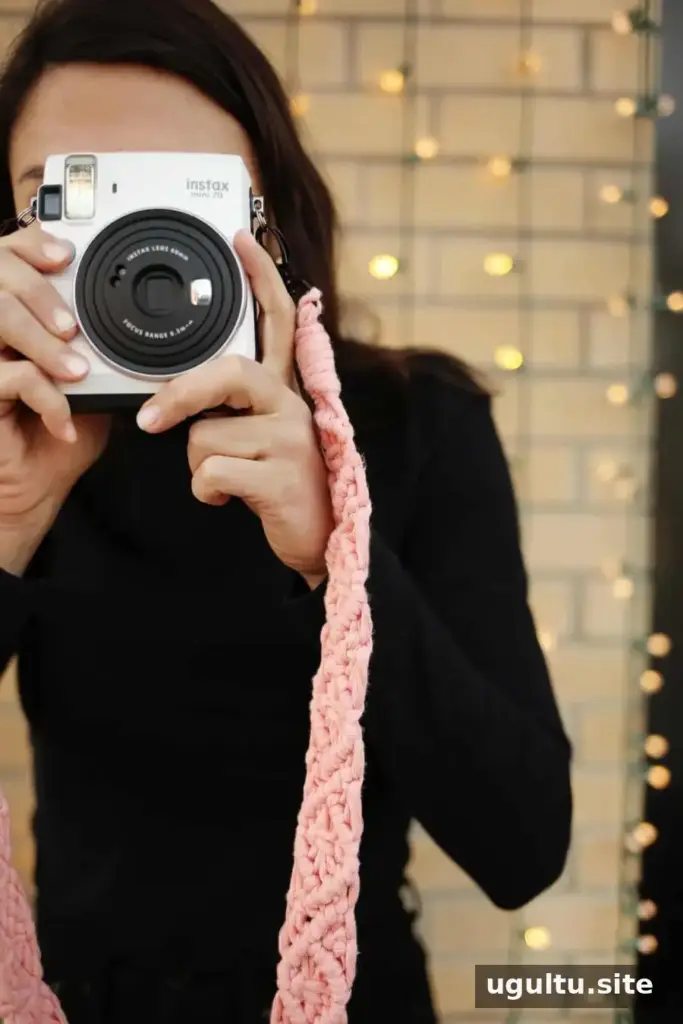
Cotton cord offers plenty of options for customizing the color and knot pattern. If the strap gets dirty, the original instructions recommend washing it on a gentle machine cycle. Check that the clasps and knots remain secure before using it again.
This project can be completed in a few hours once the knot sequence is familiar. Experienced macrame makers can also adapt the pattern to explore other knot designs. —Rachel


