admin
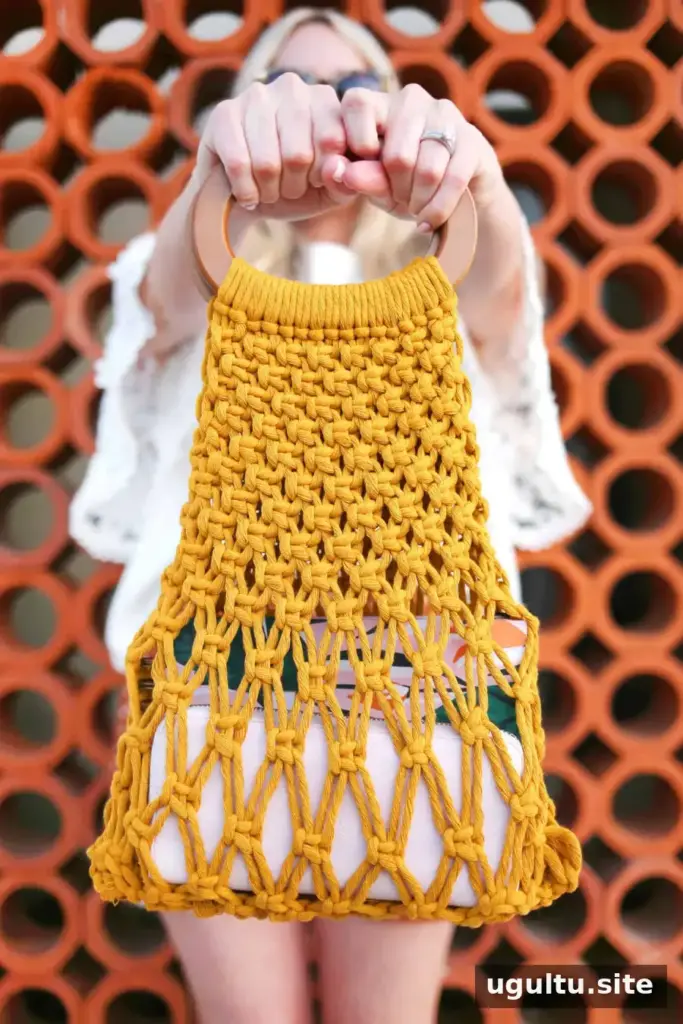
This macrame handbag tutorial shows how to turn cotton cord and wooden handles into a textured, everyday bag. The design uses lark’s head knots and rows of square knots, so it’s a practical project for anyone comfortable following a repeating knot pattern. Choose a cord color that suits your wardrobe, and check that your handles are sturdy enough to support the finished bag.
Materials for the macrame handbag
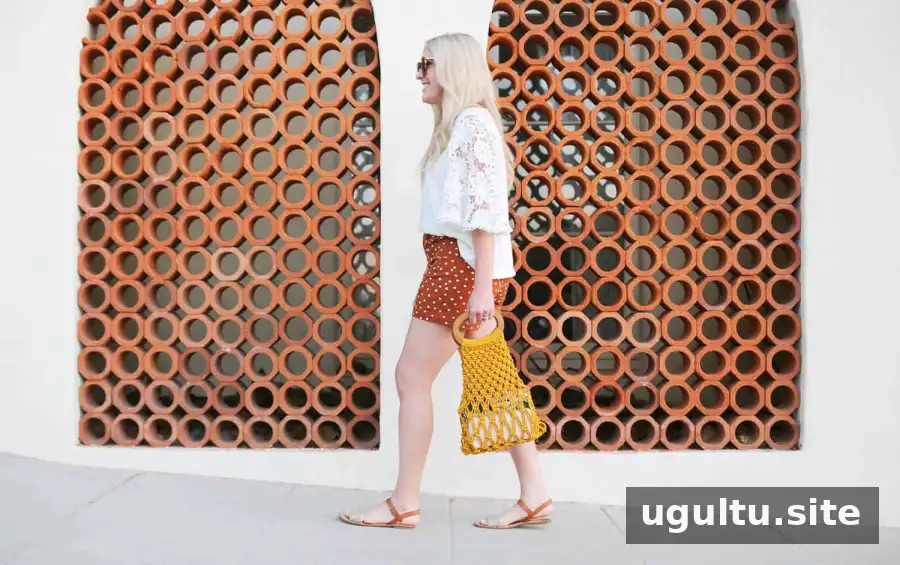
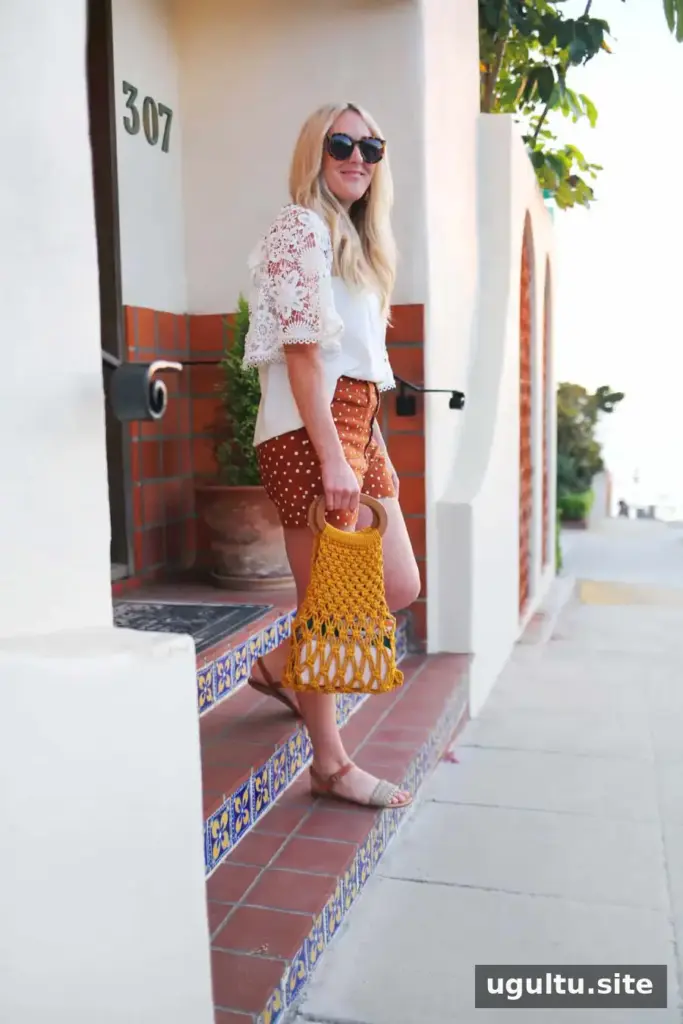
The bag is made with mustard-colored 3 mm cotton cord and round wooden handles. Its knotted texture makes it suitable for carrying everyday essentials such as a wallet, phone, and notebook. A small pouch can help keep pens and other loose items organized inside.
- One pair of round wooden handles
- Mustard 3 mm cotton cord
- Scissors
- A yardstick or measuring tape
How to make the macrame handbag
Attach the cord to the handles
1. Measure and cut the cord. Cut 32 lengths, each measuring 11 feet. Measure carefully before cutting so the strands are long enough to complete the knots and join the bag.
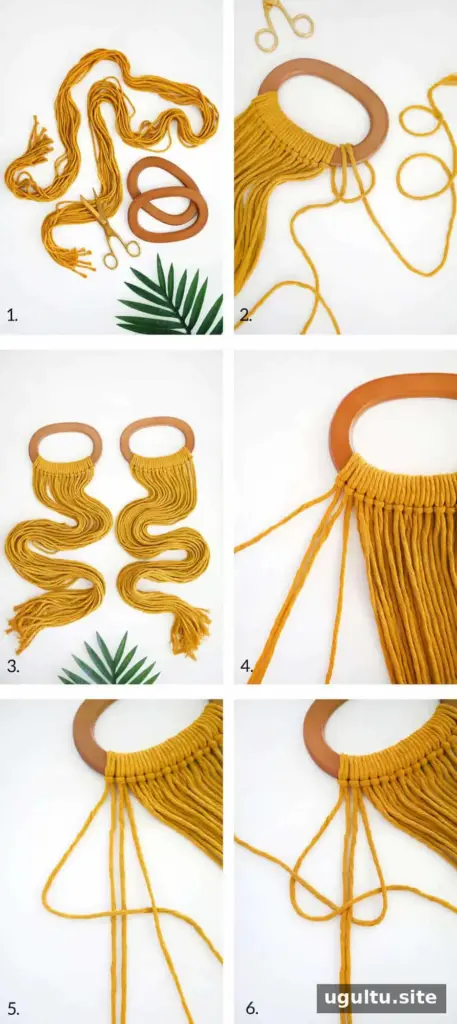
2. Tie on the strands. Attach 16 strands to each handle with lark’s head knots. Fold a strand in half, pass its folded center over the rounded part of the handle, and bring the two loose ends through the fold. Pull the ends snug to secure the knot.
3. Keep the knots aligned. Make sure the lark’s head knots sit on the same side of each handle. Consistent placement helps the finished pattern look even.
Work the square-knot pattern
4. Make the first row. Starting at the left side of one handle, use the first four strands. Move the remaining strands aside while you work to keep them from tangling.
5. Tie a half-knot. Take the left outer strand over the two center strands and under the right outer strand, forming a shape like the number 4. Bring the right outer strand behind the center strands and through the loop. Pull both outer strands until snug.
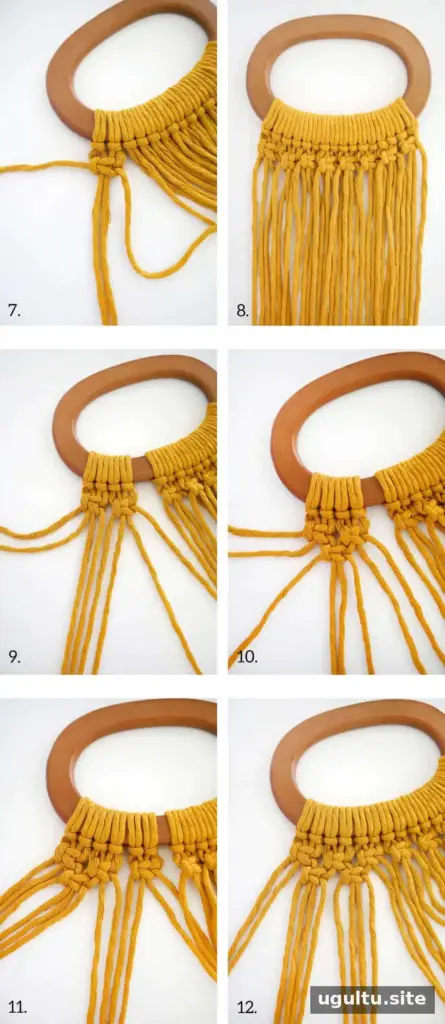
6. Complete a square knot. Repeat the half-knot in the opposite direction: pass the right outer strand over the center strands and under the left outer strand, then bring the left strand behind the center strands and through the loop. The two half-knots together form one square knot.
7. Finish the row. Use each next group of four strands to make a square knot across the handle.
8. Add alternating rows. For the next row, skip the first two strands at the left edge and work with the next four strands. Continue across, leaving the last two strands unused. Make a third row of square knots, a fourth alternating row, a fifth row of square knots, and a sixth alternating row. The pattern uses six rows for a smoother join between the two sides.
Join the sides and shape the bag
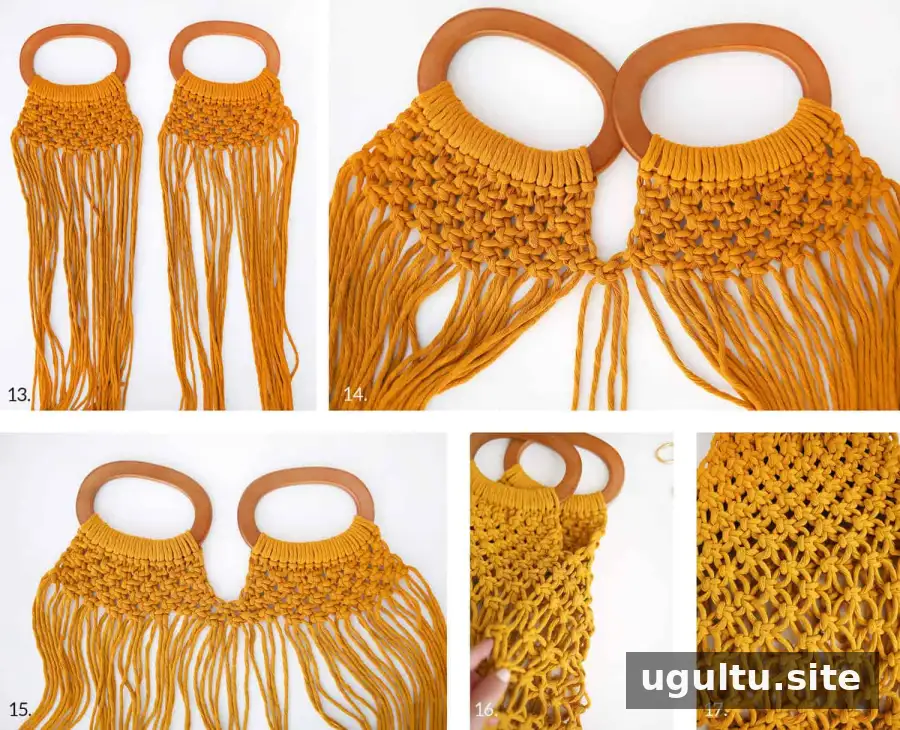
9. Repeat on the second handle. Make the same rows of knots on the other handle. Place both handles beside each other with their right sides facing the same way.
10. Join the two panels. Use two strands from one side and two from the other to tie alternating square knots between the handles. Work from the center toward both edges, leaving the last two or four strands at each end aside as shown. After the tenth row, leave more space between rows to add room and stretch to the lower half of the bag.
11. Close the sides. After completing 15 rows, fold the bag in half with the wrong sides of the handles facing each other. Tie the remaining knots along the open sides to connect the panels. The knots should be closer together near the top and farther apart toward the bottom.
Finish the bottom and choose a fringe style
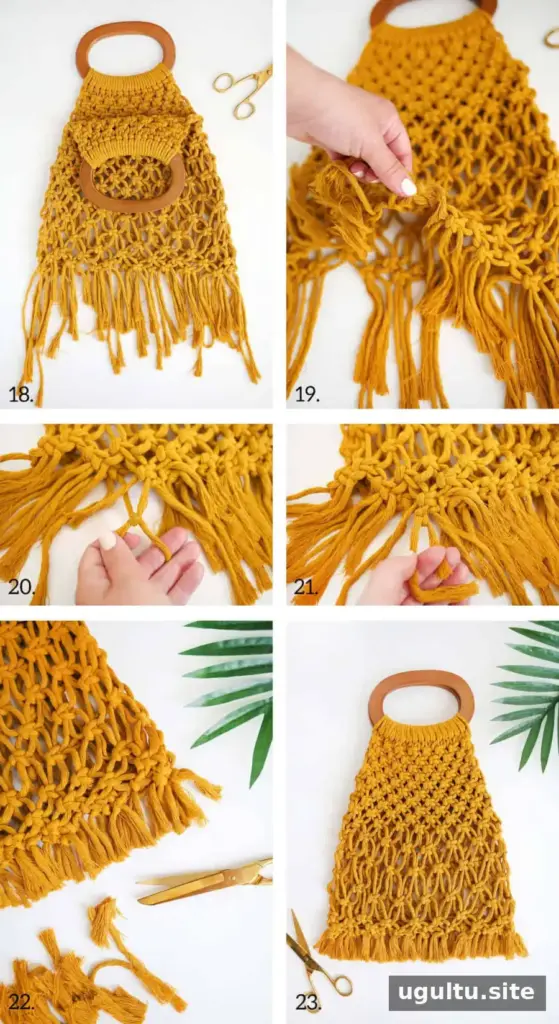
12. Decide how to finish the fringe. Leave the fringe visible on the outside, or tuck it inside for a cleaner finish. To tuck it inside, turn the bag inside out so the right sides of the handles face each other.
13. Secure the bottom strands. Pair an individual strand from a knot at the front with a nearby strand from the back. Tie them together snugly, then add a double knot. Repeat until the strands across the bottom are joined.
14. Trim the ends. Cut the strands evenly. For visible fringe, brush the ends to make them fuller. For a tucked finish, trim them shorter and turn the bag right side out. Check that the bottom knots are secure before using the bag.
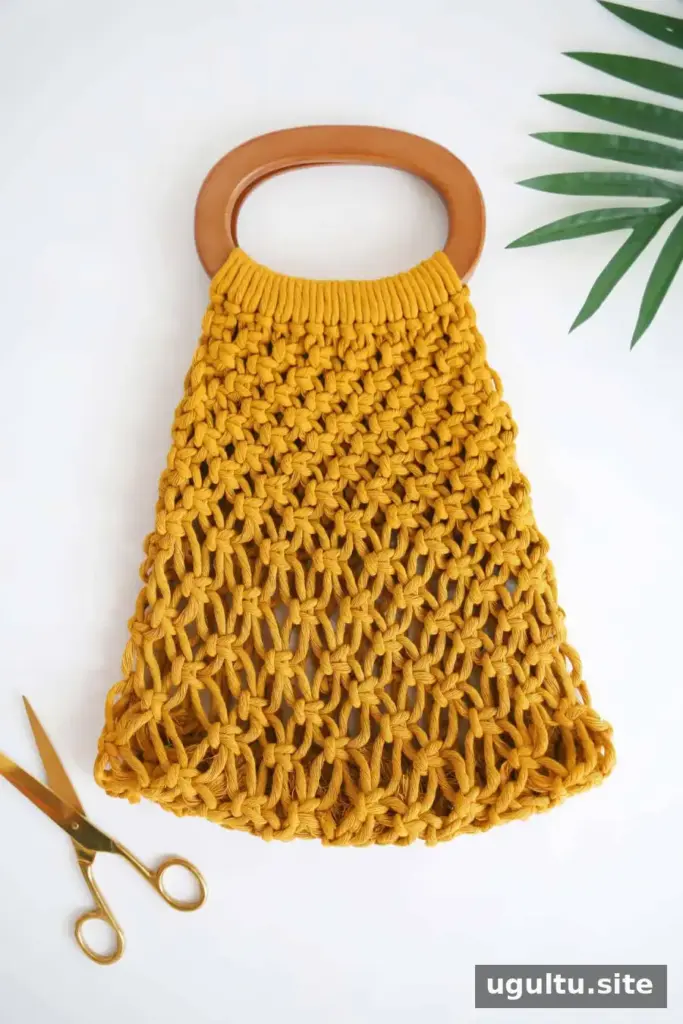
A small zippered pouch inside can keep items such as lipsticks and pens from collecting at the bottom. Enjoy your finished bag. — Rachel