
 admin
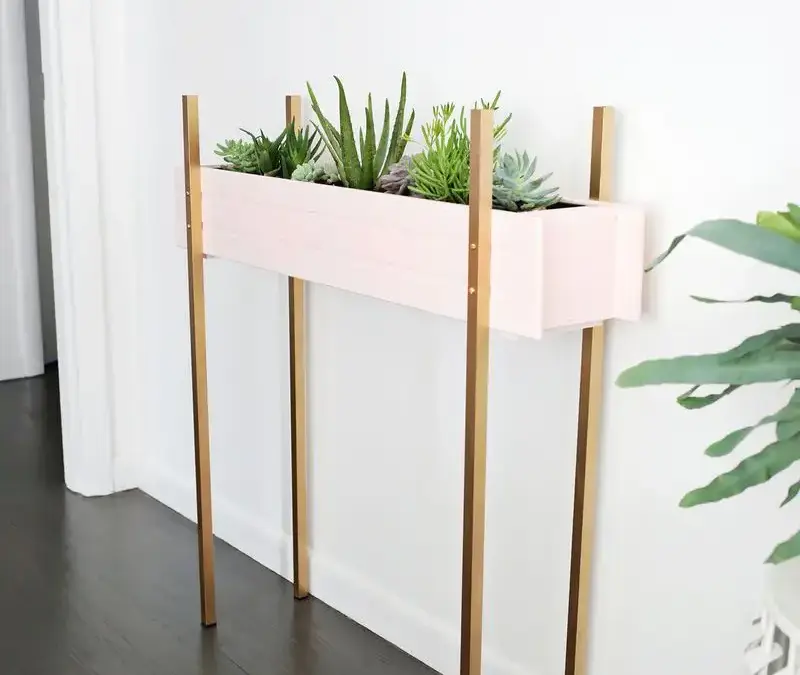
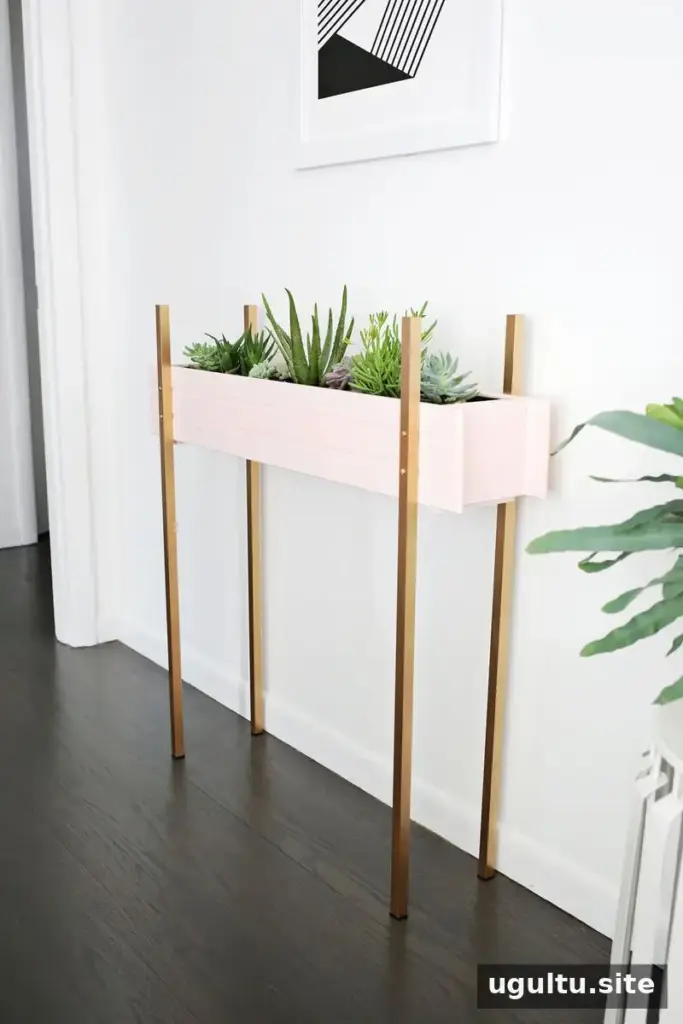
A DIY skinny planter stand can bring greenery to a narrow area where a conventional piece of furniture may not fit. This project combines a 36-inch window box with four aluminum tube legs to create a tall, streamlined planter. You can adjust the leg position to suit your preferred height, and a removable insert makes it easier to arrange plants.
Materials and tools for a DIY skinny planter stand
Gather the supplies before you begin. Check that the window box and insert are compatible, and choose paint suitable for the materials you plan to coat.
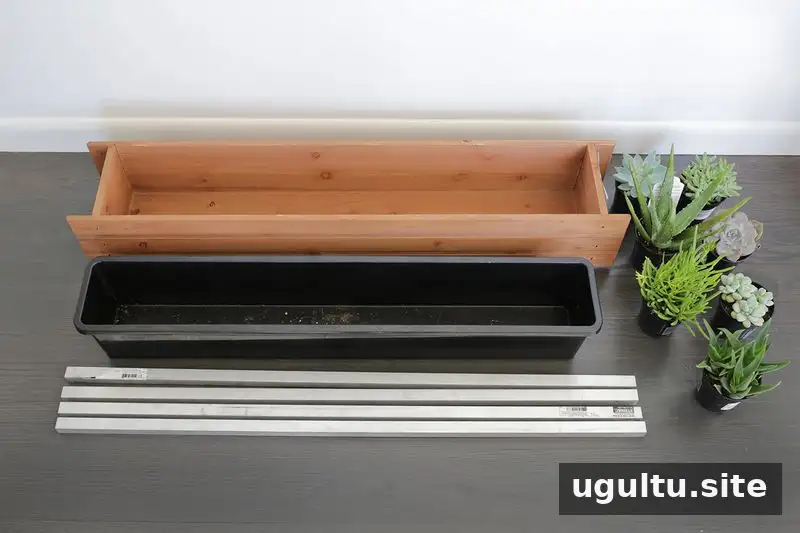
- 36-inch window box
- Window box insert
- Four 36-inch square aluminum tubes
- Paint for the window box, such as pale pink
- Gold paint for the legs
- Drill and metal drill bits
- Brass machine screws, 1 1/2 inches long, and matching nuts
- Peel-and-stick felt for the bottom of the legs
- Clamps (optional, but helpful)
Choose the leg position
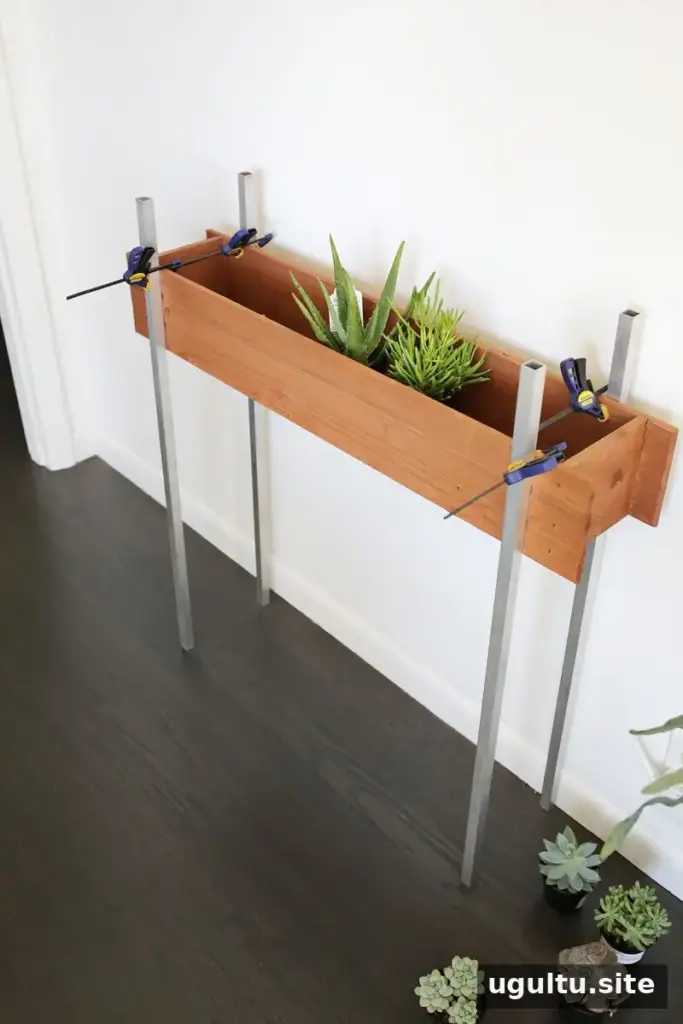
Decide how high you want the box to sit before drilling. Temporarily clamp the legs against the window box and step back to check the proportions. In this build, the bottom edge of the box was positioned 10 inches down from the top of each square tube. Mark the same measurement on all four legs so the stand sits evenly.
Drill the aluminum legs and planter box
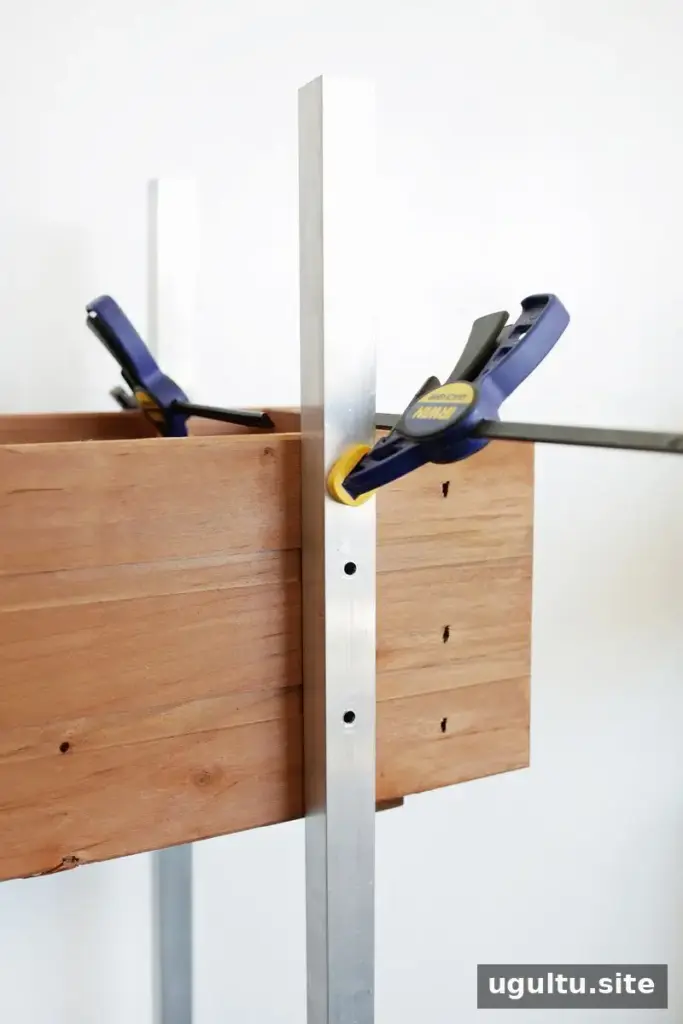
Remove the legs after confirming their placement. Use a metal drill bit large enough for the machine screws and drill two holes through each aluminum tube. Secure the tube while drilling and work carefully to keep the holes aligned.
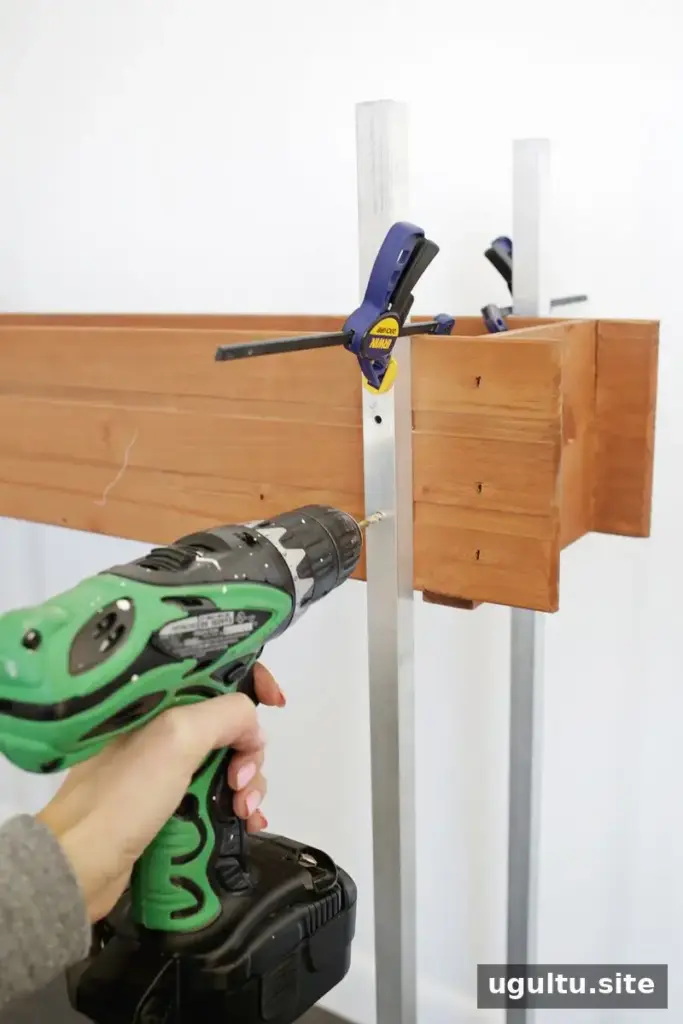
Clamp each leg back into its marked position against the box. Drill through the existing holes in the tube and into the wood behind it; this helps ensure the openings line up for assembly. Without clamps, place the box securely with its side facing up and ask someone to hold each leg steady while you drill.
Paint and protect the feet
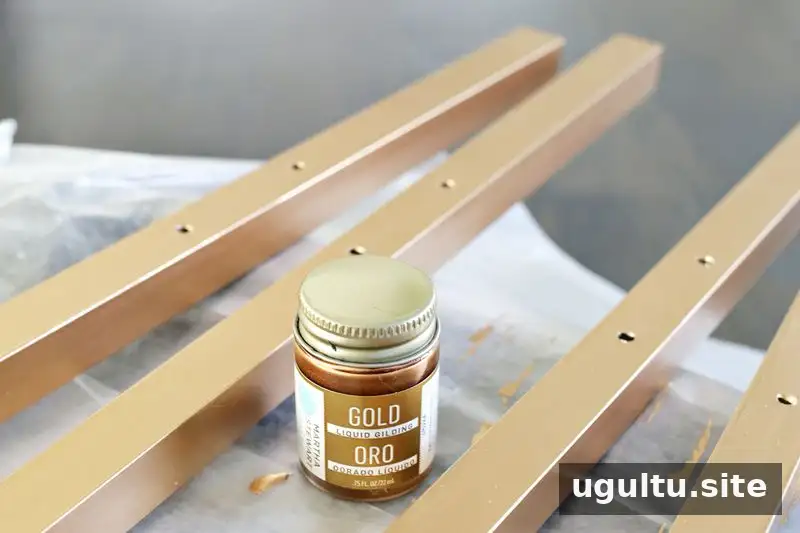
Paint the legs gold and allow them to dry fully. Keep track of which leg belongs in each position, since their holes need to match the holes in the box during reassembly. A small label beside each leg can help. Cut four felt squares to fit the bottoms of the tubes and apply them to help prevent the metal from scratching the floor.

Paint the window box in your chosen color and let it dry according to the paint instructions. Applying thin, even coats can help create a more consistent finish.
Assemble the planter and add plants
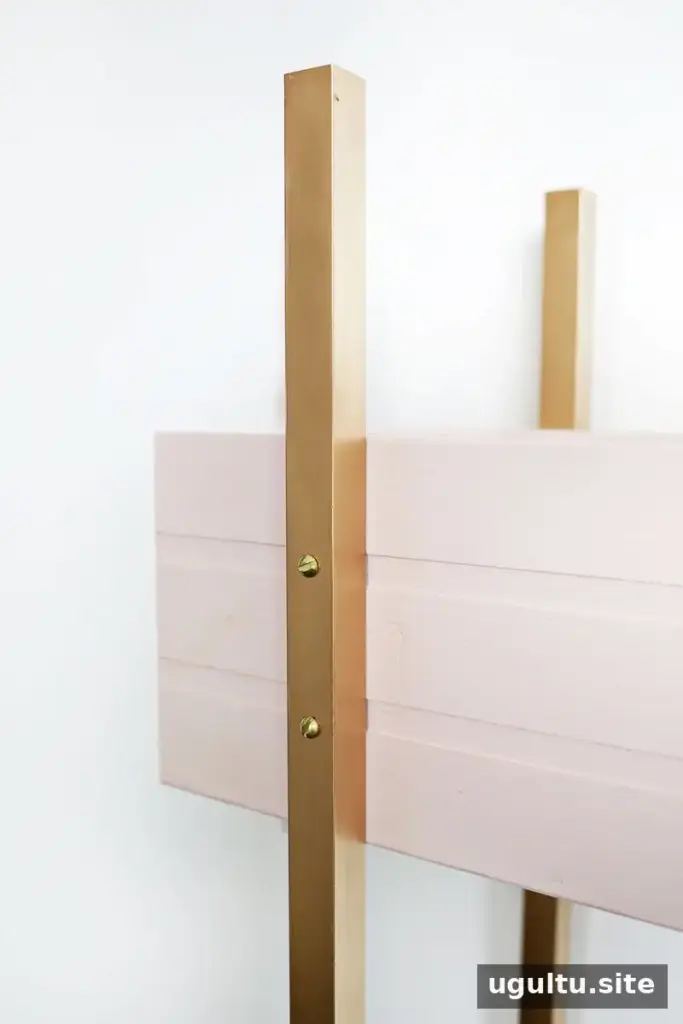
Attach the legs to the box with the machine screws and matching nuts. Tighten the nuts securely on the inside, while avoiding excessive force that could damage the box. Before adding plants, set the stand on a level surface and check that the legs feel stable.
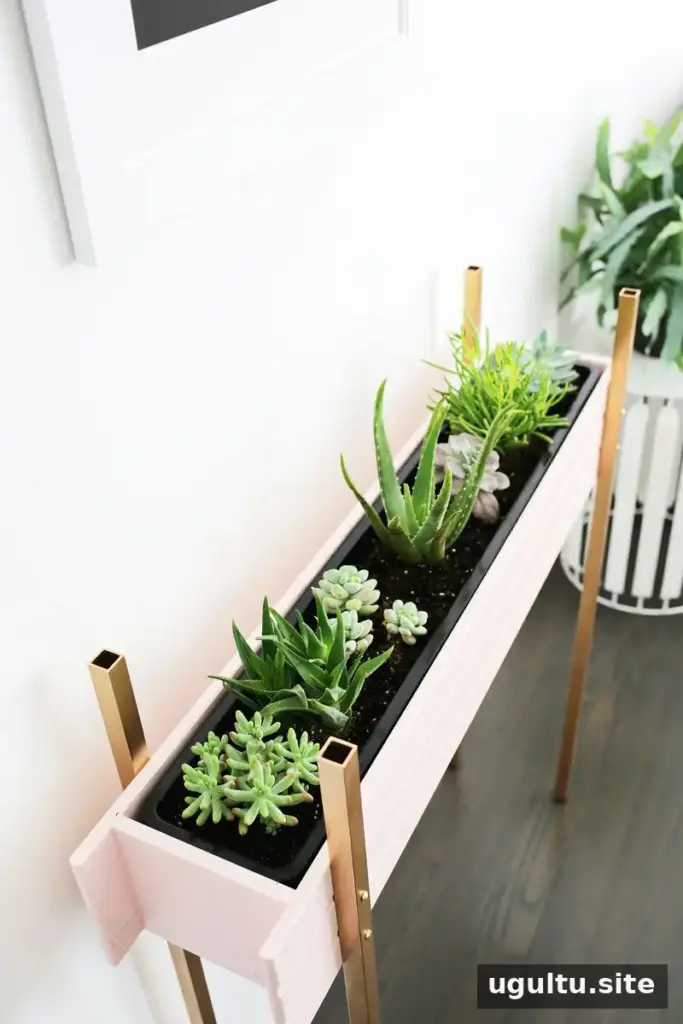
Place the insert inside the window box and arrange your plants in it. The insert helps keep the planting arrangement contained and can make it easier to lift out when needed.
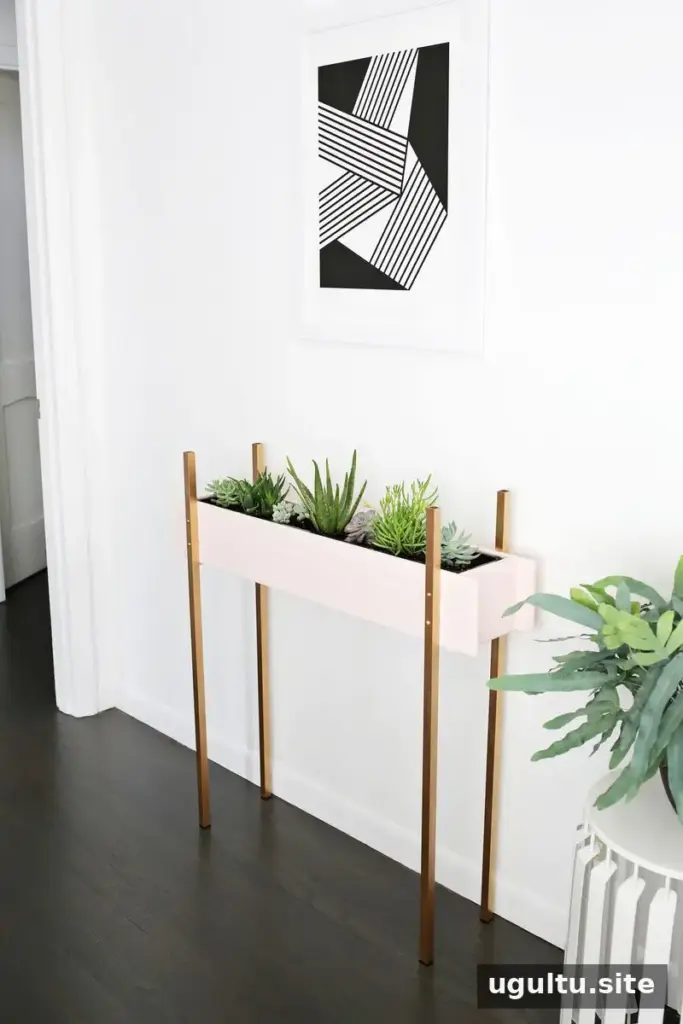
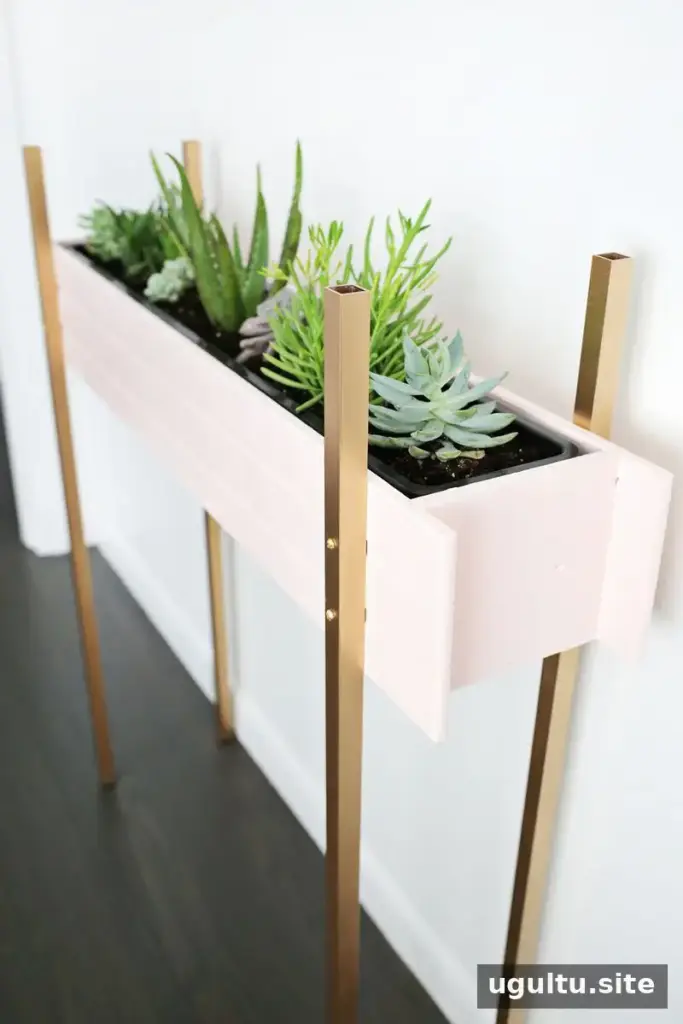
Finishing touches for your DIY skinny planter stand
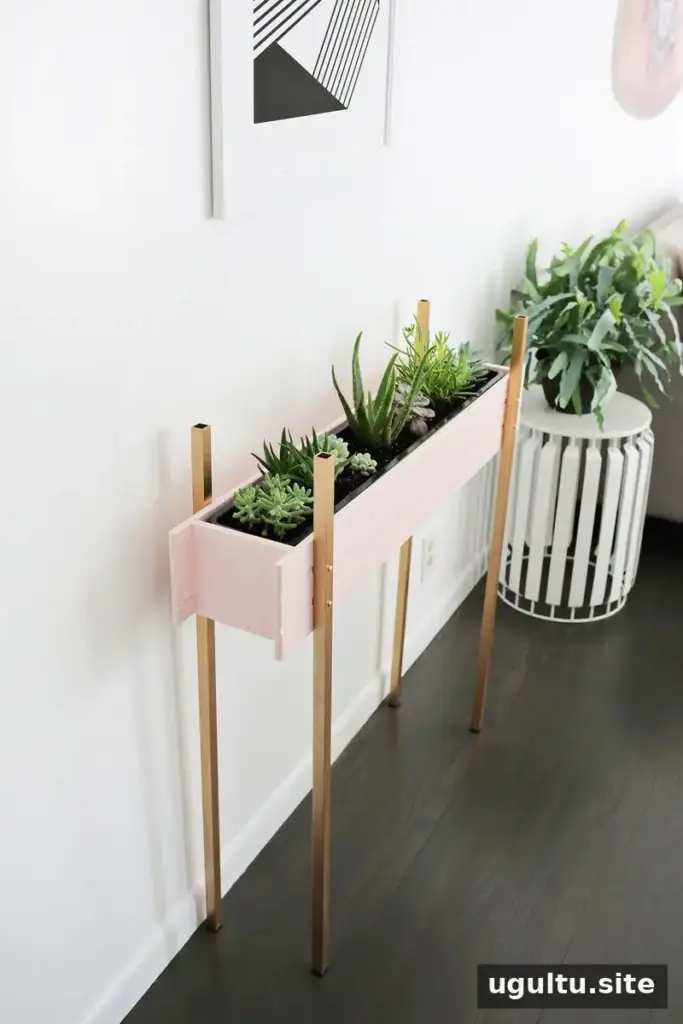
The long legs and wide, narrow box give this planter a simple, clean-lined look. Gold legs, a pale pink box, and green foliage create a fresh color combination, but you can choose finishes that suit your room. For a larger version, use a wider box and appropriately sized legs, then check that the assembled stand remains stable and well balanced. — Laura
Conclusion
This DIY skinny planter stand is a practical way to use a slim wall area for plants. Measure the leg placement carefully, keep each leg matched to its drilled position, and check the stand for wobbling before setting the insert in place. Those small checks help the finished planter look neat and sit securely in your space.


