
 admin
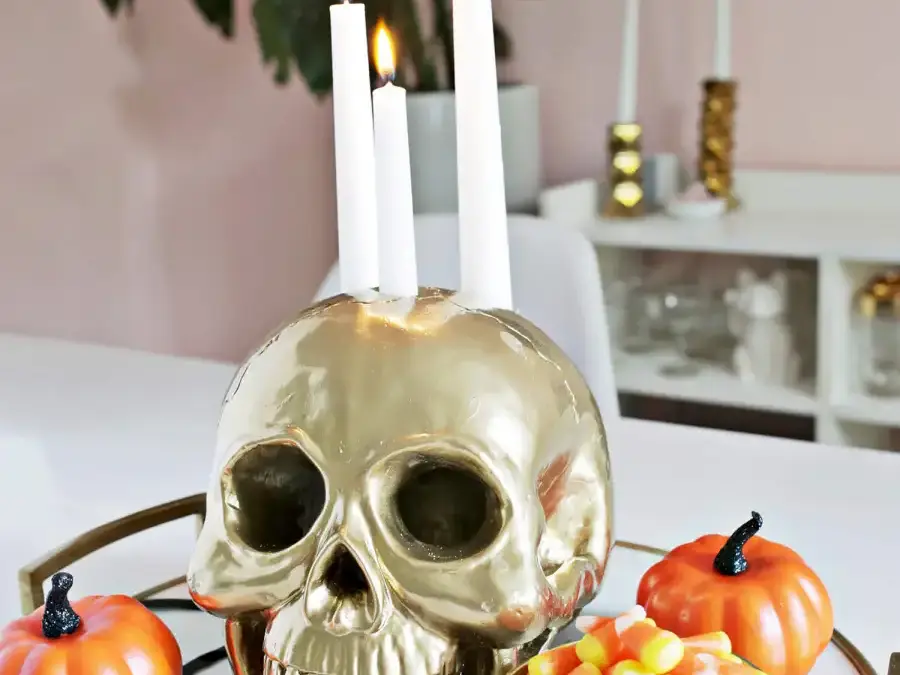

A DIY skull candle holder is an easy way to add a spooky accent to Halloween décor. This project uses a plaster skull as the base for three tall tapered candles, with primer and gold spray paint for a polished finish. Choose a skull with enough depth to hold the candles securely, and set aside a well-ventilated workspace for drilling and painting.
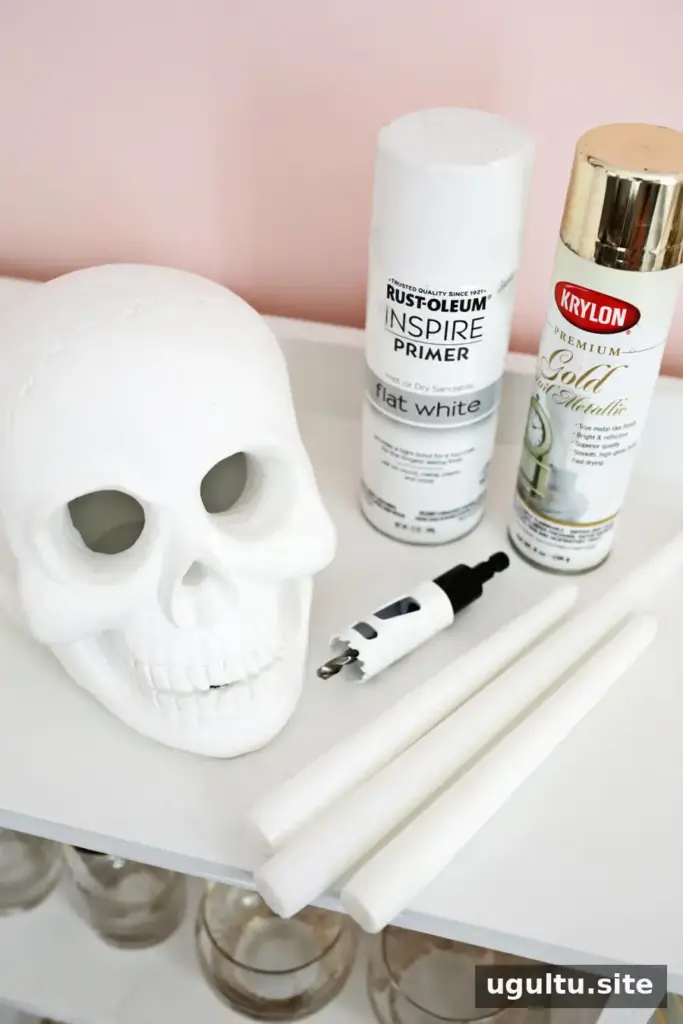
Supplies:
- Plaster skull
- 1″ hole saw drill bit
- Drill
- White primer spray paint
- Gold spray paint, or another color of your choice
- 3 tall tapered candles
- White clay, such as air-dry clay
How to Make a DIY Skull Candle Holder
1. Mark and drill the candle openings
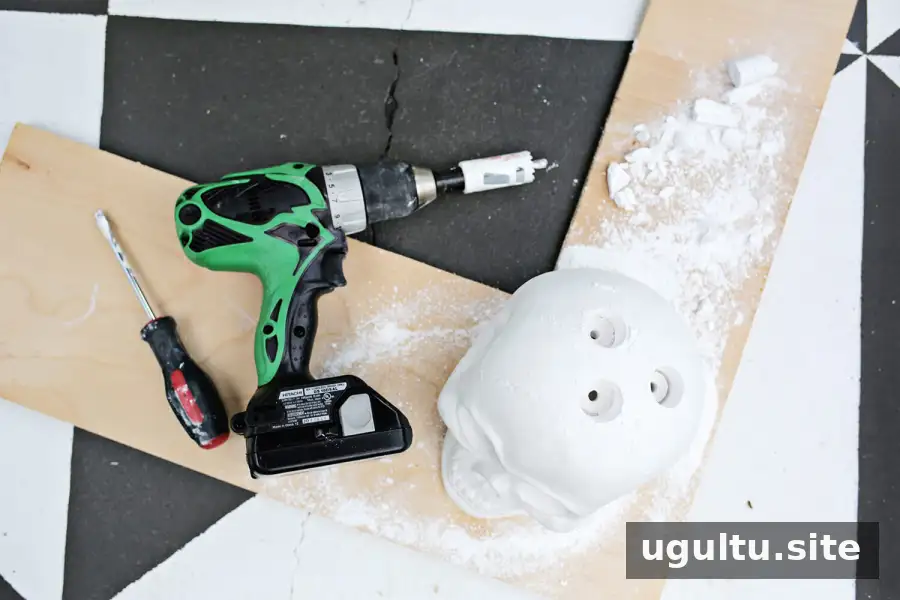
Use a pencil or pen to mark three candle positions on the skull. Leave enough space between the marks for the 1″ openings so the holes do not overlap. Drill at each mark with the 1″ hole saw bit. Drilling plaster can create dust, so work outdoors or in a well-ventilated area, and wear suitable eye and dust protection.
A plaster skull may be thick enough to hold a candle after drilling about 1 1/2″ deep. Stopping at that depth can leave a shelf beneath each candle. Check the depth as you work, and avoid drilling all the way through if the skull is thick enough to support the candles without it.
If the skull is thin or a hole goes through, use air-dry clay to close the bottom of the opening or form a small hidden support inside it. Let the clay dry according to its product directions before placing candles in the holes.
2. Prime and paint the skull
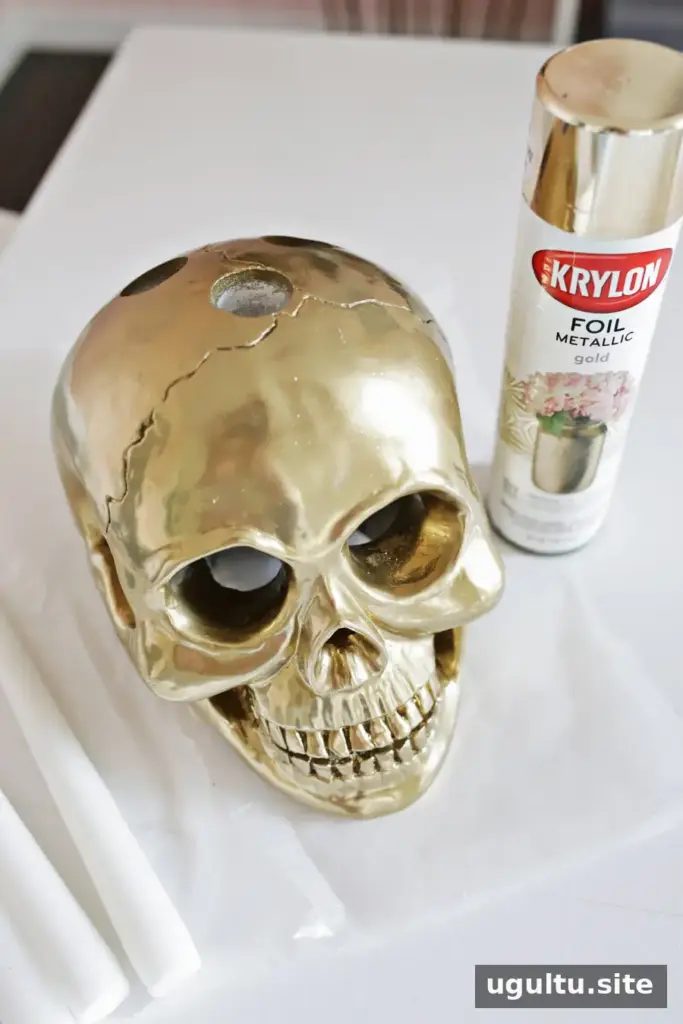
Apply a coat of white primer to the plaster before spraying on the final color. Follow the paint label for application and drying instructions, and allow each coat to dry fully before adding another. Painting outdoors or in a well-ventilated space helps limit exposure to spray paint fumes.
3. Fit the tapered candles
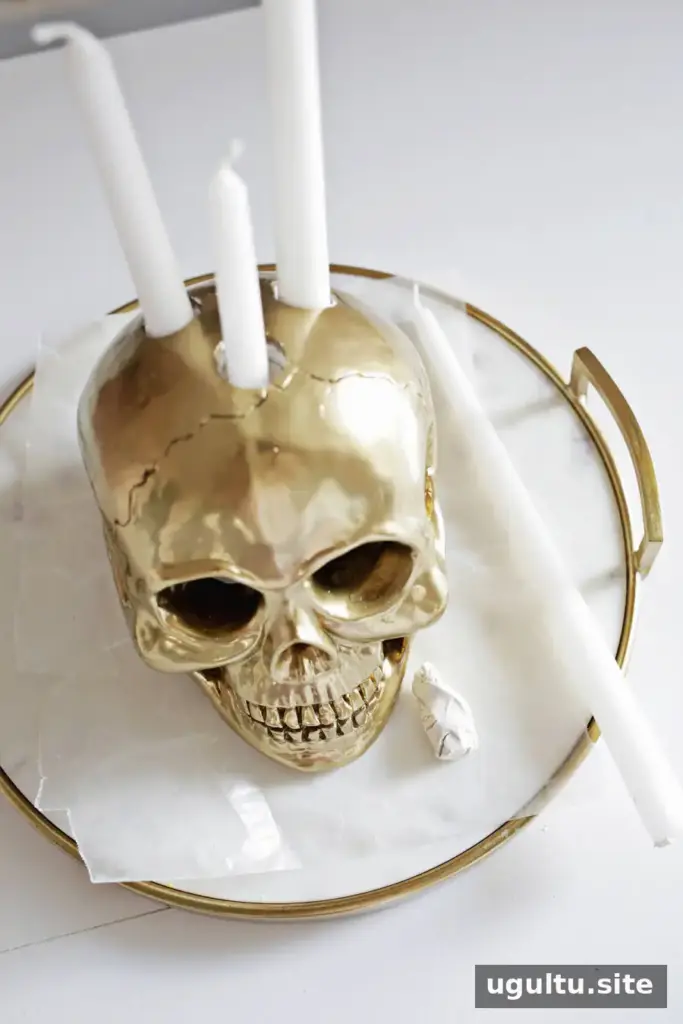
After the paint has dried, test each candle in its opening. If a candle base is too wide, remove it from the holder and carefully trim a small amount from the base with a knife. If it is too loose, add a little clay along the sides of the hole to improve the fit. Make sure the candles stand upright and feel secure before lighting them.
Display and Candle Safety

Place the finished holder on a stable, heat-resistant surface away from curtains, paper, and other items that can catch fire. Keep lit candles within sight, never leave them unattended, and extinguish them before leaving the room. Keep the holder and burning candles away from children, pets, and drafts. Wax drips can add to the aged look, but remove built-up wax only after the candles are out and the holder has cooled.

With three candles and a metallic finish, this skull makes a distinctive seasonal centerpiece that can be displayed with other Halloween decorations. The project by Laura can be customized with a different paint color, but always let paint cure as directed before using the holder. A secure candle fit and careful placement are essential for enjoying your DIY skull candle holder safely.


