admin
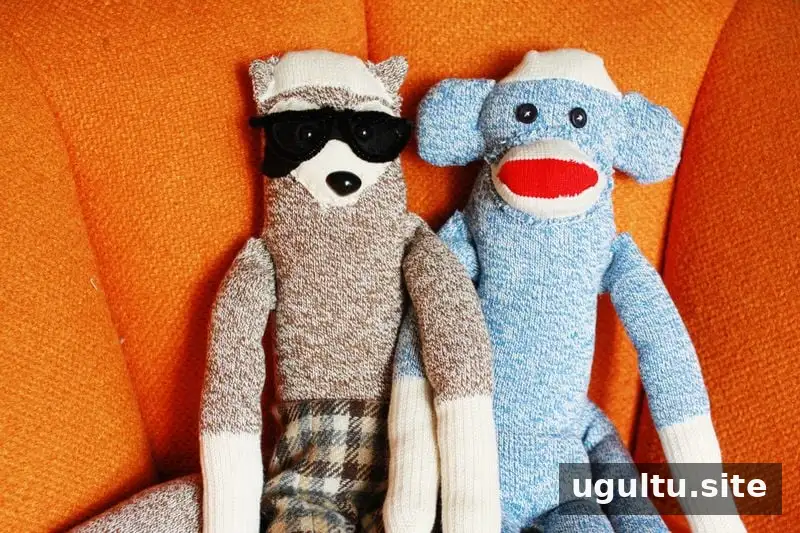
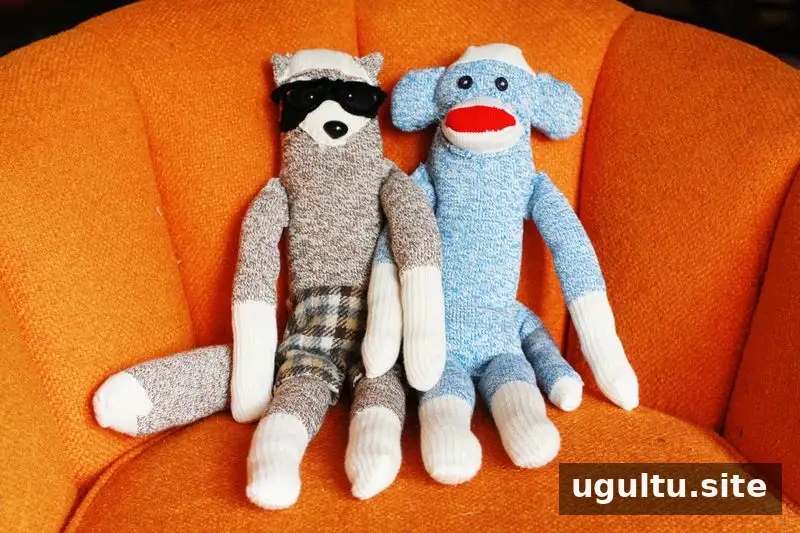
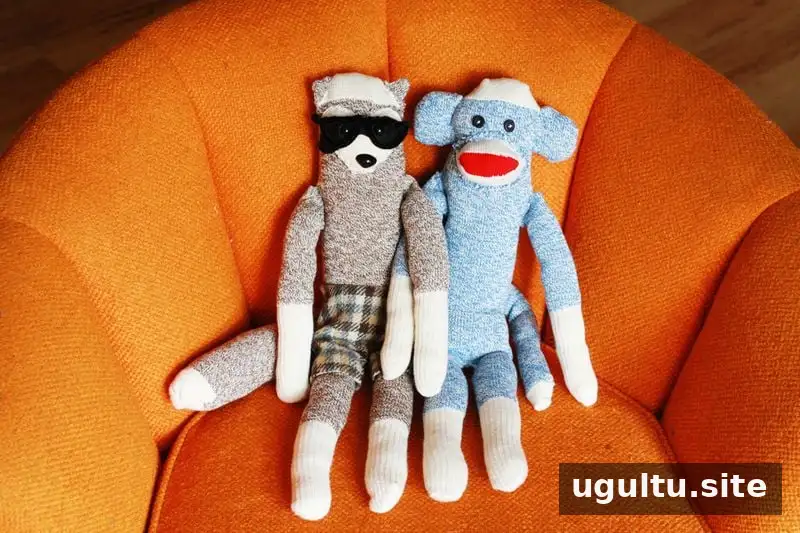
A sock monkey DIY project turns a pair of long, thick socks into a soft handmade companion. The basic design is approachable for beginners and can also be adapted into other sock animals, such as a raccoon. Before you start, choose socks without holes and decide how you will make the face safe for the person who will use the finished toy.
For a gift intended for a young child, avoid small buttons and other detachable parts, which can present a choking risk. Use securely stitched felt or fabric features instead, or leave the eyes off. Keep needles and scissors away from children while you work.
Sock Monkey DIY Supplies
Gather these materials before cutting so you can keep the pieces together and work through the sewing steps smoothly:
- Two long, thick socks
- Needle and thread
- Scissors
- Polyester plush stuffing
- Two black buttons for a toy that is not intended for a young child; otherwise, use felt or fabric features
Use thread that is suitable for sewing the sock fabric, and make sure the stuffing is clean and evenly distributed as you fill each section. A small opening left in each sewn piece makes it easier to add stuffing before closing the seam.
How to Make the Sock Animal
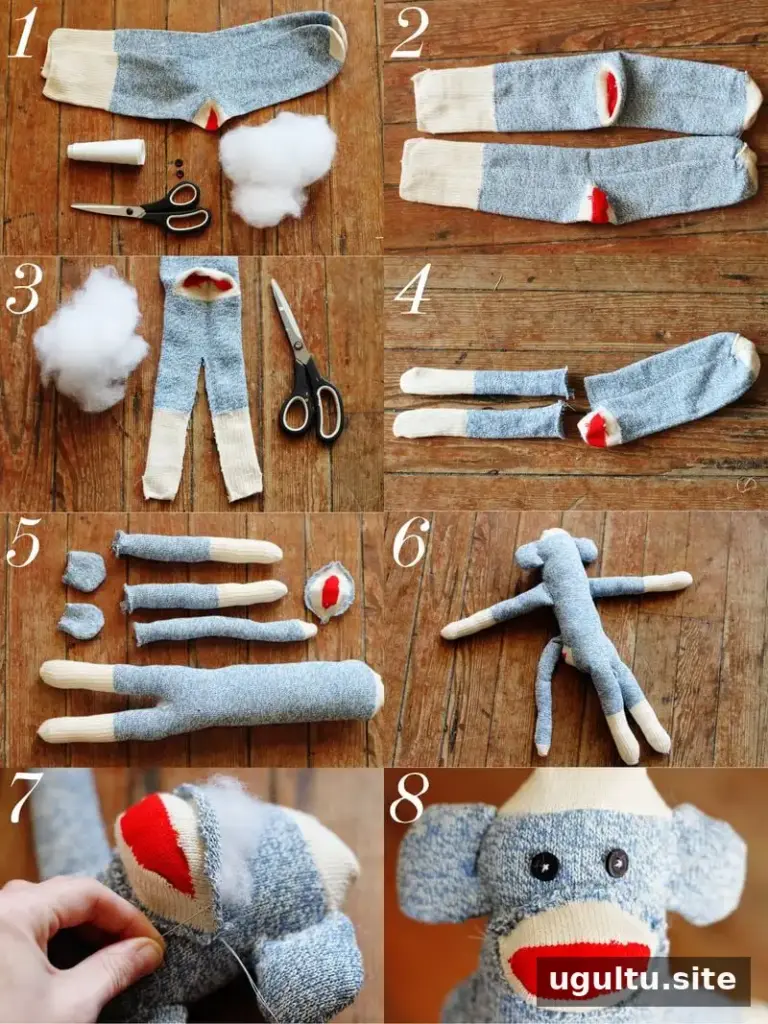
Follow these steps to form the body and smaller parts. Take care when cutting, and check that each seam is secure before adding the stuffing.
- Make the body and legs. Use the first sock for the body. Cut and sew the legs, leaving a small opening for stuffing.
- Stuff and close the body. Fill the body and legs with polyester plush, distributing it gently so the shape is even. Hand-stitch the opening closed.
- Prepare the remaining pieces. Use the second sock to cut and sew the arms, tail, and ears.
- Fill each piece. Add plush stuffing to the arms, tail, and ears. Avoid packing the pieces so tightly that the seams are strained.
- Attach the parts. Sew the arms, tail, and ears securely to the body. Reinforce the stitching where the pieces meet.
- Add the muzzle and face. Use the heel of the second sock as the mouth area. Hand-stitch it onto the face, leaving part of the seam open. Add stuffing, then sew the remaining side closed. Finish the face with buttons only when appropriate, or use securely stitched felt or fabric details.
Make a Raccoon Friend
To adapt the pattern into a raccoon, make the tail a little bigger by using less fabric for the ears. Small finishing touches can give the toy a distinct style; for example, you can add pipe-cleaner glasses or plaid shorts. If you add accessories, make sure they are firmly attached and suitable for the intended user.
Take a moment to inspect the completed toy. Check the seams, the attachments, and any facial details, especially if the project is a gift. A careful final check helps ensure that the stuffed animal is ready to enjoy.
Conclusion
This sock monkey DIY project uses two long, thick socks, simple sewing, and polyester plush to create a handmade toy. Once you are comfortable with the basic steps, adjust the shapes to make a raccoon or another sock buddy. Choose age-appropriate facial details and secure every seam before giving the finished creation as a gift.