
 admin
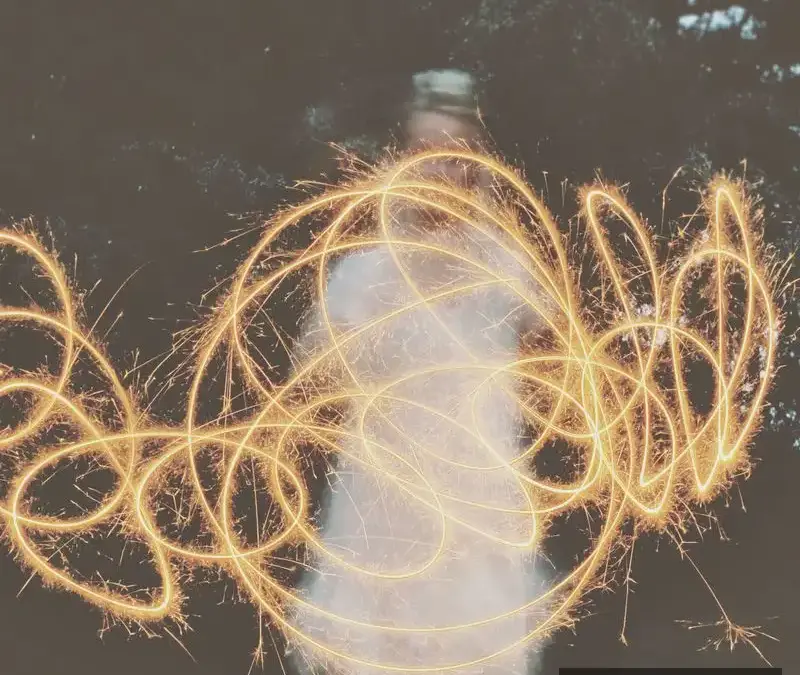
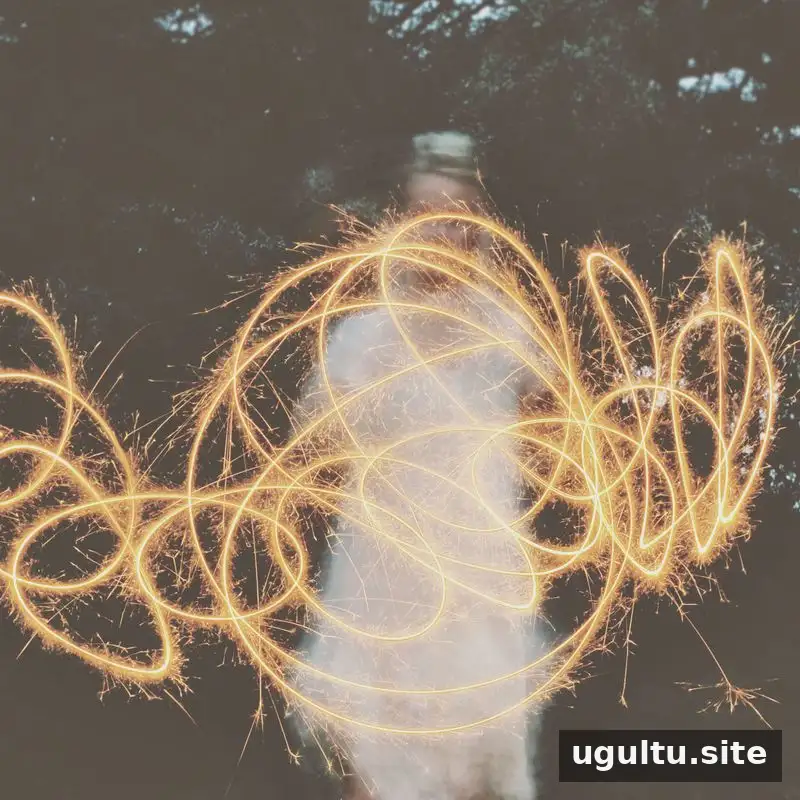
Sparkler photography uses a slow shutter speed to record the movement of light, creating bright lines, shapes, or letters in a photograph. With a camera that offers manual controls, a stable tripod, and a little planning, you can try this light-painting technique at dusk.

Before you begin, decide whether you want the sparkler trails to stand out against a dark background or to appear alongside some ambient light. The tips below cover the basic equipment, camera setup, focusing, and timing.
Sparkler photography: what you’ll need
- A DSLR camera
- A tripod or another stable surface for your camera
- Sparklers
Set up your camera before lighting a sparkler so you can focus on the composition and timing once the sparkler is lit. Choose a location with enough open space to work safely.
Choose the right time and light
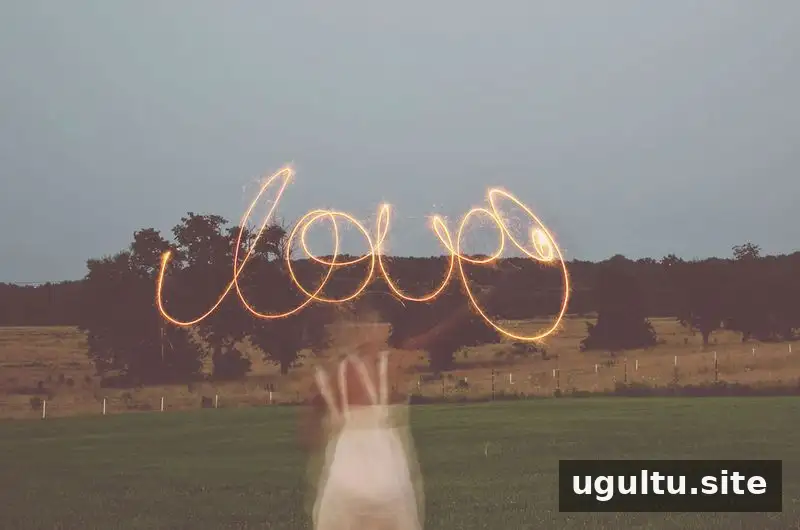
Dusk is a useful time to start. Just after golden hour, there may still be enough ambient light to show the scene, while the sparkler creates a distinct trail. The trails may look less prominent than they would in complete darkness, but the remaining light can make it easier to see your subject and surroundings.
If you are new to light painting, try a dusk exposure before moving on to a very dark location. Ambient light is a creative choice: keep some in the frame for visible surroundings, or wait until it fades to emphasize the sparkler’s lines.
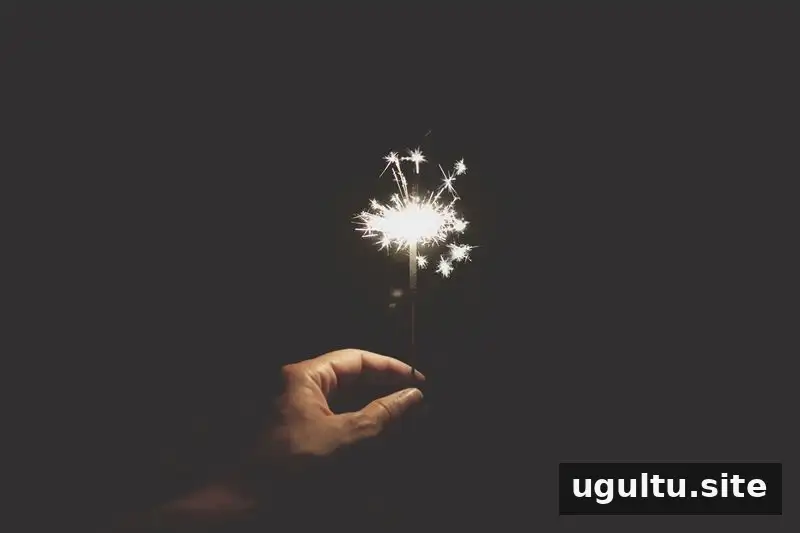
For a darker scene, bring a flashlight to help illuminate the subject while you focus, and have a companion assist if needed. Place the camera on a sturdy tripod or other stable surface; even small movements can soften an image during a long exposure.
Camera settings for sparkler photography
A long shutter speed gives the camera time to record the sparkler’s movement. A 10-second exposure is one example to try, but the best duration depends on how much of the trail or design you want to capture. Keep the camera still throughout the exposure.
Use a higher f-stop number to increase depth of field and help keep more of the scene in focus. Setting ISO to 100 can reduce visible image noise. If the photograph is too bright or too dark, adjust the exposure and test again rather than moving the camera.
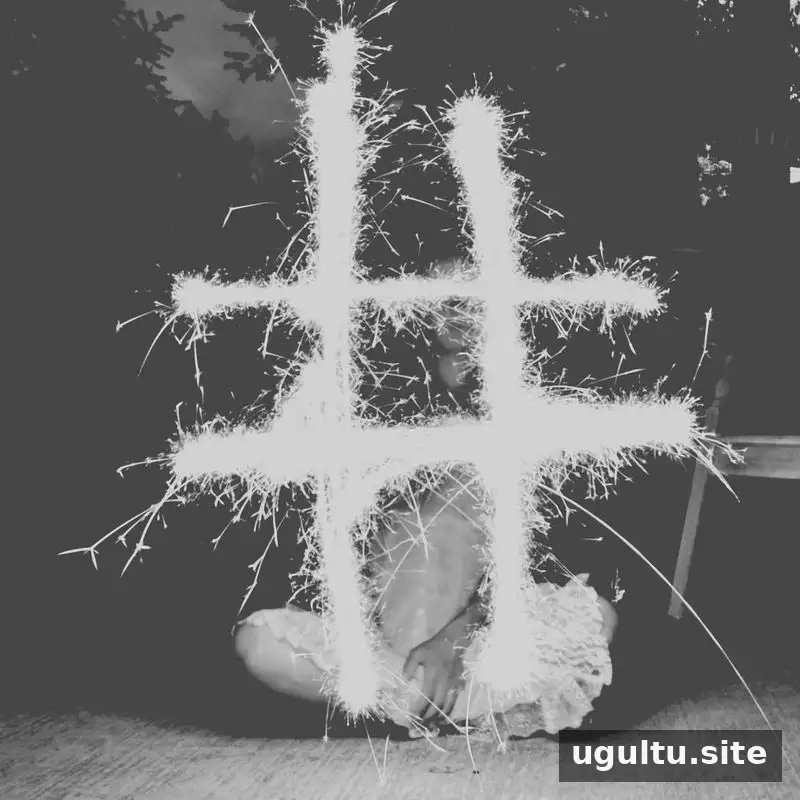
How to focus in low light
In a dark scene, autofocus may struggle to find your subject. Ask the subject to illuminate themselves with a flashlight, switch the lens to manual focus, and adjust focus until the subject looks sharp in the viewfinder.
Alternatively, use autofocus to focus on the illuminated subject. Once focus is sharp, switch the lens to manual focus so it stays fixed. Ask the subject to remain in the same position after focus is set; moving closer or farther away can make them appear out of focus.
Plan the sparkler movement
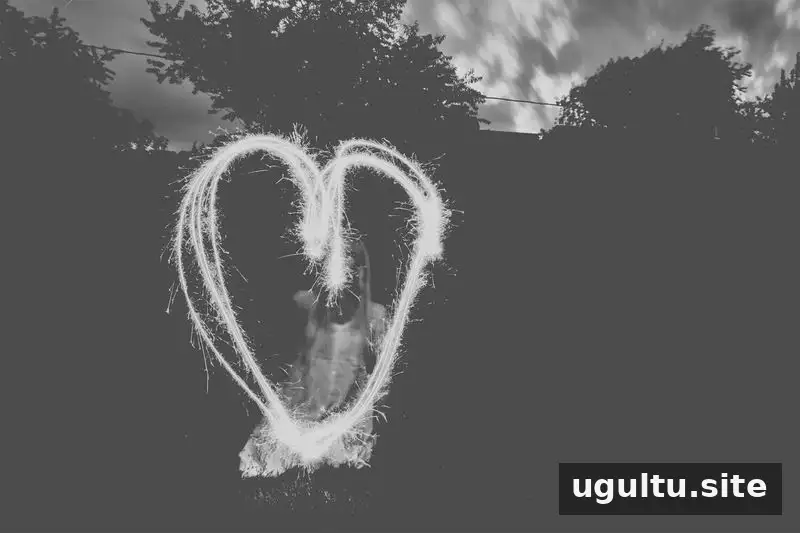
Agree on a simple signal before starting the exposure. Tell the subject when to begin moving the sparkler and how long the shutter will remain open. Faster movement tends to make smoother, more fluid lines, while slower movement can create more broken-looking trails.
Continuous cursive lettering can work well because the camera records the light’s path as it moves. Simple shapes are another approachable option. To make a word appear readable from the camera’s viewpoint, write it backwards, or have the person writing face away from the camera.
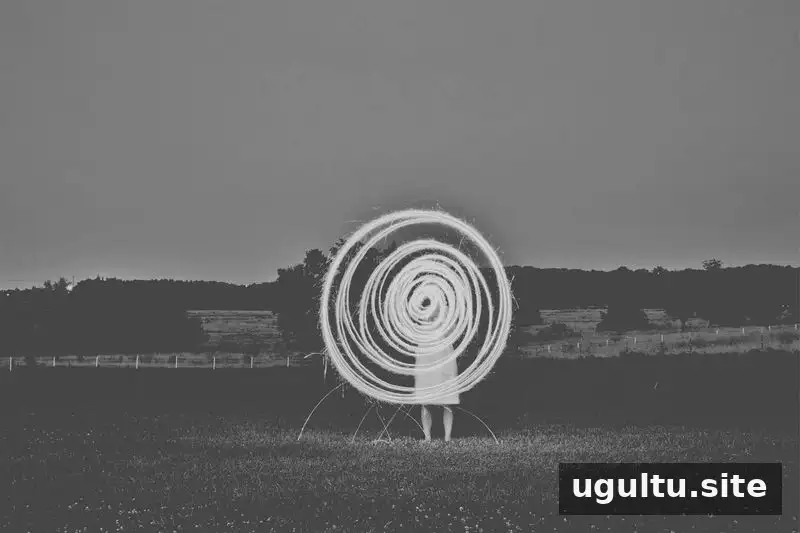
Safety and a final creative idea
Keep sparklers away from people, clothing, dry plants, and other flammable materials. Follow local rules, use them only in a suitable outdoor area, and make sure a responsible adult supervises where required. Prepare the camera and agree on movements before lighting the sparkler.
The same slow-shutter approach can also capture the path of fireworks as they rise into the sky. Keep the camera steady and experiment with framing to include the trail and its surroundings. — Janae
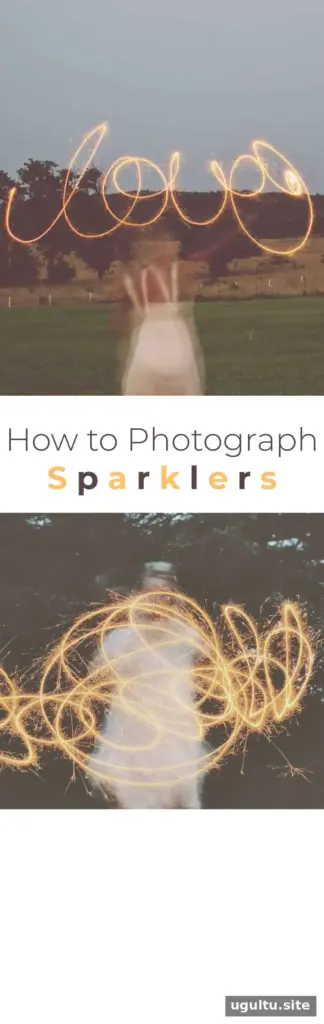
For successful sparkler photography, prioritize a stable camera, careful focus, and clear timing. Start at dusk, test a long exposure, and adjust the movement or exposure between shots to create the light trails you want.


