
 admin
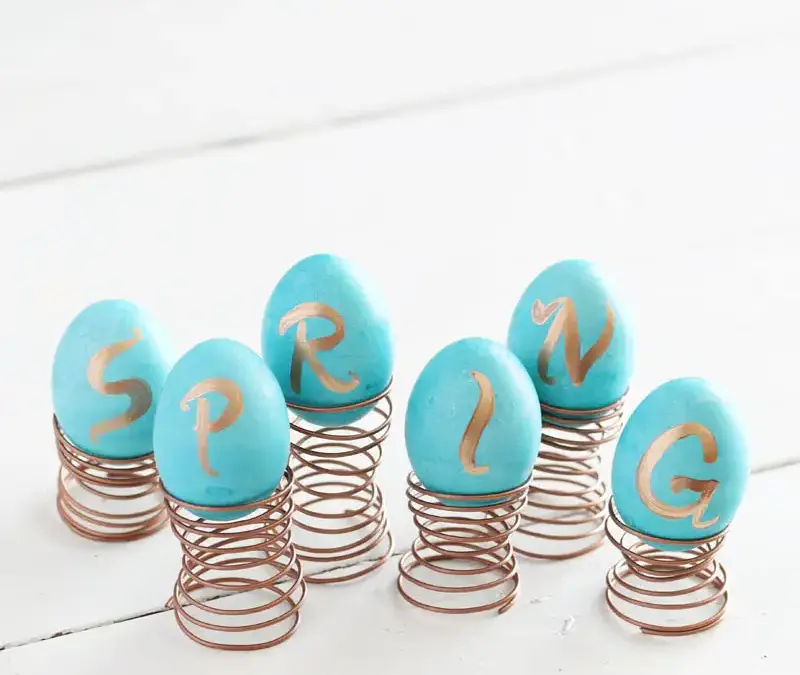
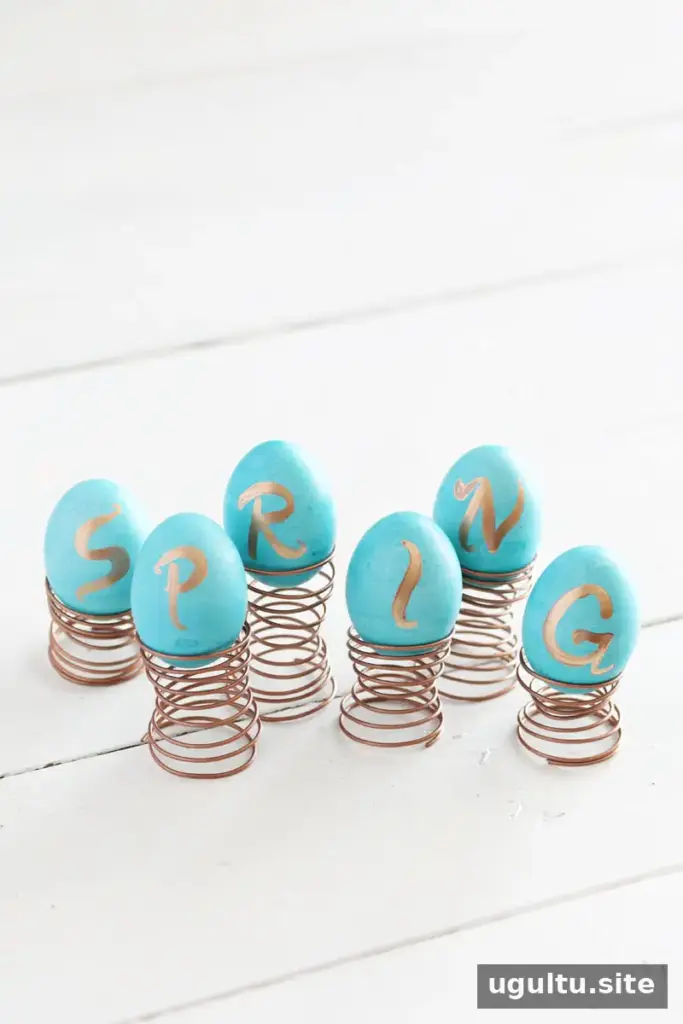
A spring Easter egg display can feel fresh and distinctive without relying on traditional pastel colors. This simple DIY project pairs jewel-toned dyed eggs with handmade copper-colored wire springs for a playful, understated decoration. Vary the spring heights for a more casual look, and choose a stable surface where the finished eggs can be arranged safely.
Materials for a Spring Easter Egg Display
Gather these supplies before starting. A paint bottle will also be useful as a form for shaping the wire.
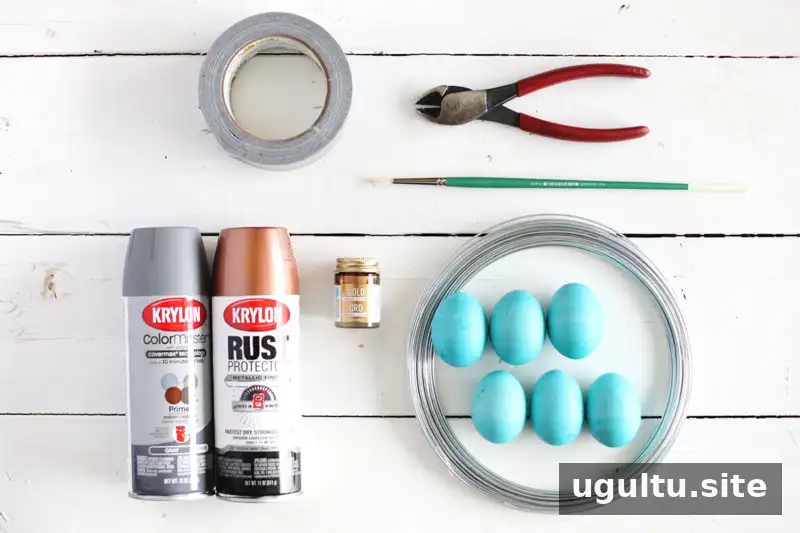
Supplies:
- 12-gauge galvanized steel wire (about $5 at the hardware store; approximately one-third of the wire was used)
- Wire cutters
- Copper spray paint; primer is optional but advisable if you plan to reuse the springs in future years
- A few small pieces of duct tape
- Dyed eggs; do not eat them after painting the shells
- Paintbrush
- Gold leaf paint
Work carefully with the wire and cutters, and keep the work area protected when spray-painting. Follow the paint product’s label for application and drying instructions.
How to Make the Wire Egg Holders
Step 1: Shape the wire
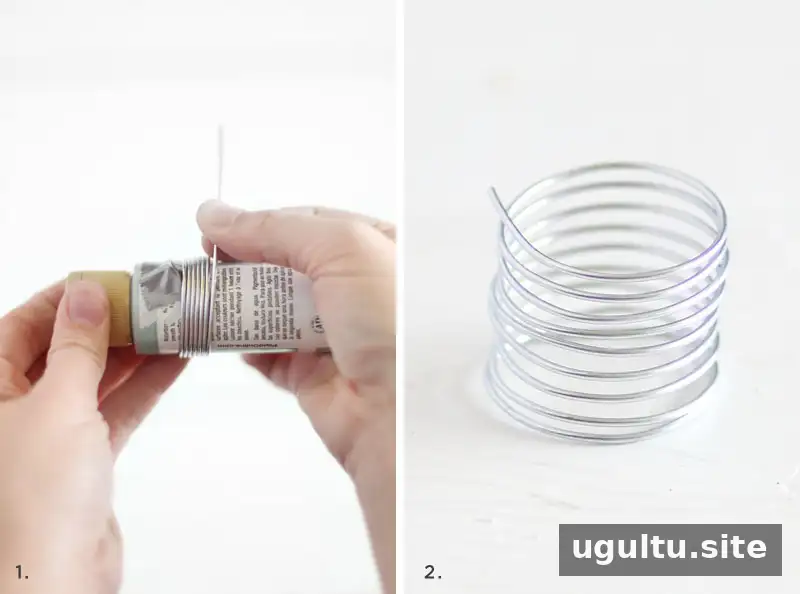
Step One: Cut a length of wire about 18–24 inches long. Use a small piece of duct tape to secure one end to the paint bottle, then wrap the wire tightly around it to create a spring. The bottle serves as a simple guide for forming the coils.
Step 2: Trim and adjust the springs
Step Two: Slide the wire off the bottle and trim both ends to the size you want. Check the spring’s height before making several holders: a spring that is too tall may make an egg unstable. Making springs at different heights creates a less uniform, more whimsical display.
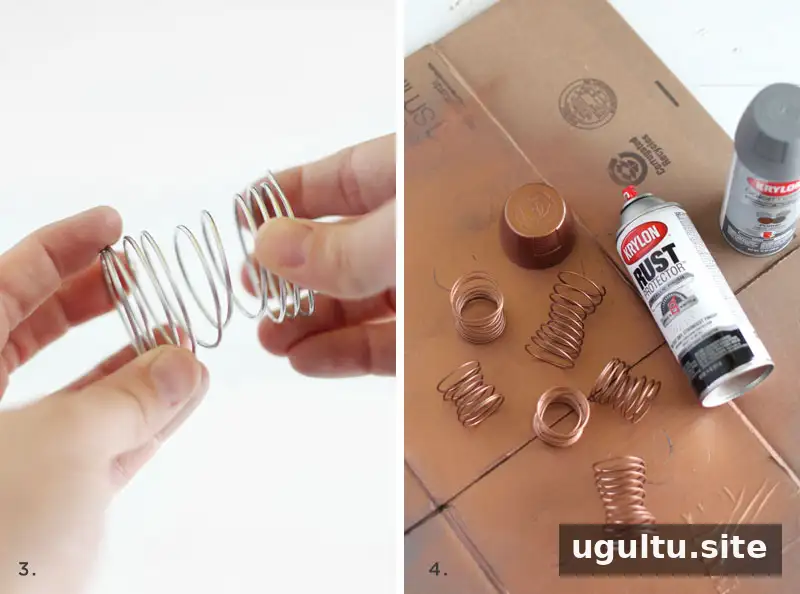
Step Three: Hold the spring at both ends and gently twist until its middle section is narrower. Adjust the coils as needed so the spring sits straight. Test each holder on a flat surface before painting; small changes to the shape can help correct a lean.
Step 3: Paint the wire
Step Four: Apply a few light coats of copper spray paint rather than one heavy coat. Too much paint can make the wire stick to the surface beneath it, and the finish may peel when the spring is lifted. Primer is a helpful option if you intend to keep and reuse the holders year after year. Let the paint dry according to its label before handling the springs.
Decorate the Eggs and Arrange the Display
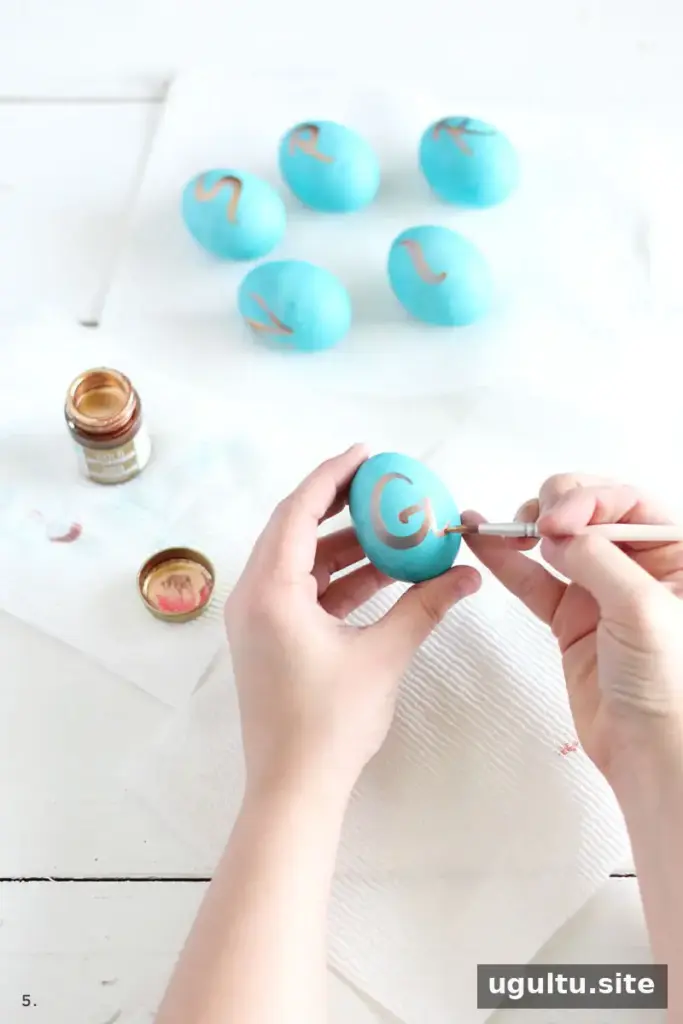
Step Five: Use a paintbrush and gold leaf paint to add letters to the eggs. If you want to plan the lettering first, practice on paper. Paint with steady strokes, and if a mark does not turn out as expected, turn the egg and decorate the opposite side instead.
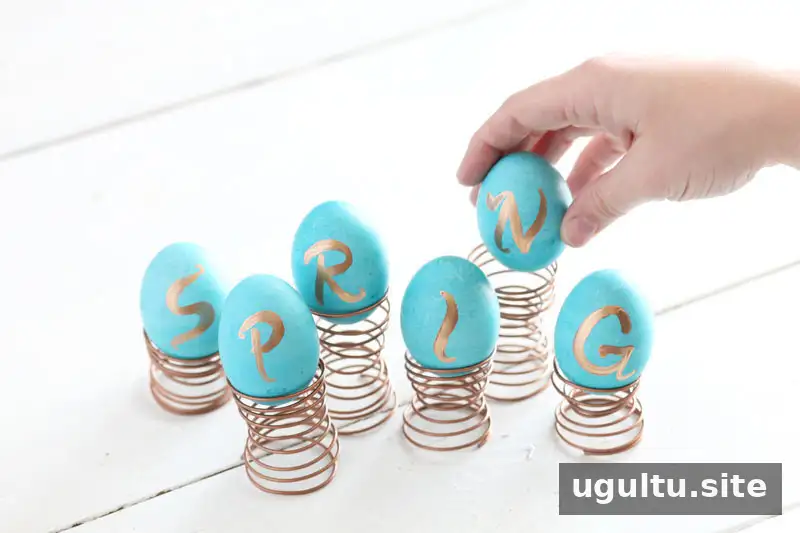
Arrange the finished springs on a stable surface, such as the top of a china cabinet, and carefully set an egg on each one. Check that the eggs sit securely and adjust any spring that leans. Keep the display away from spots where it could be bumped, especially if it is placed on a high or narrow surface.
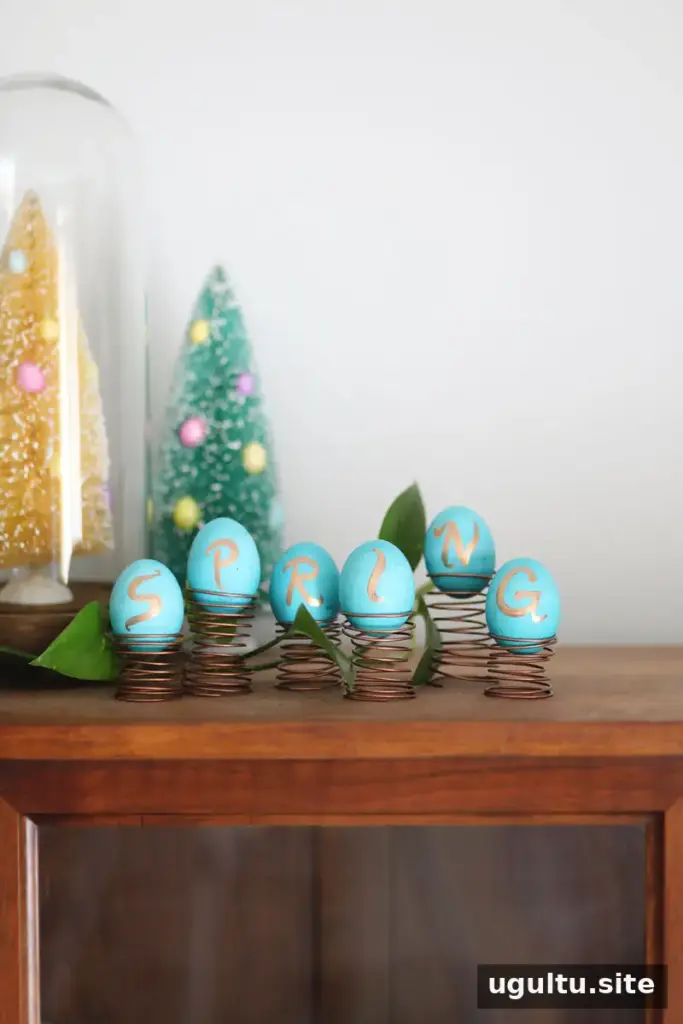
This project combines simple materials with jewel-toned color for an alternative to classic pastel Easter decorations. For a different visual effect, consider how the arrangement might look with black eggs while keeping the same copper springs and gold lettering. Whatever colors you choose, test each holder for balance before completing your spring Easter egg display.
—Mandi


