
 admin
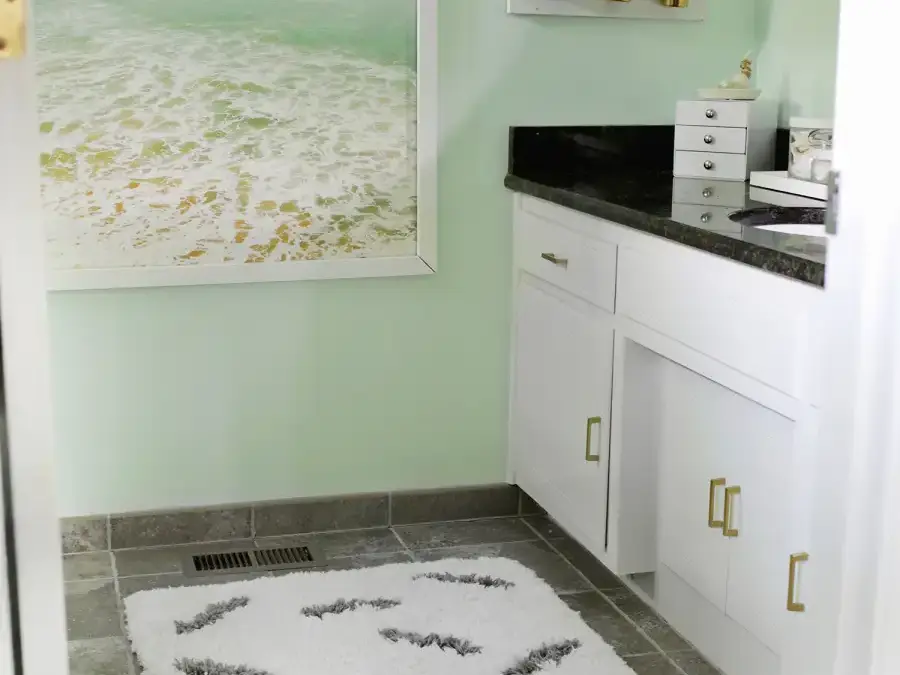
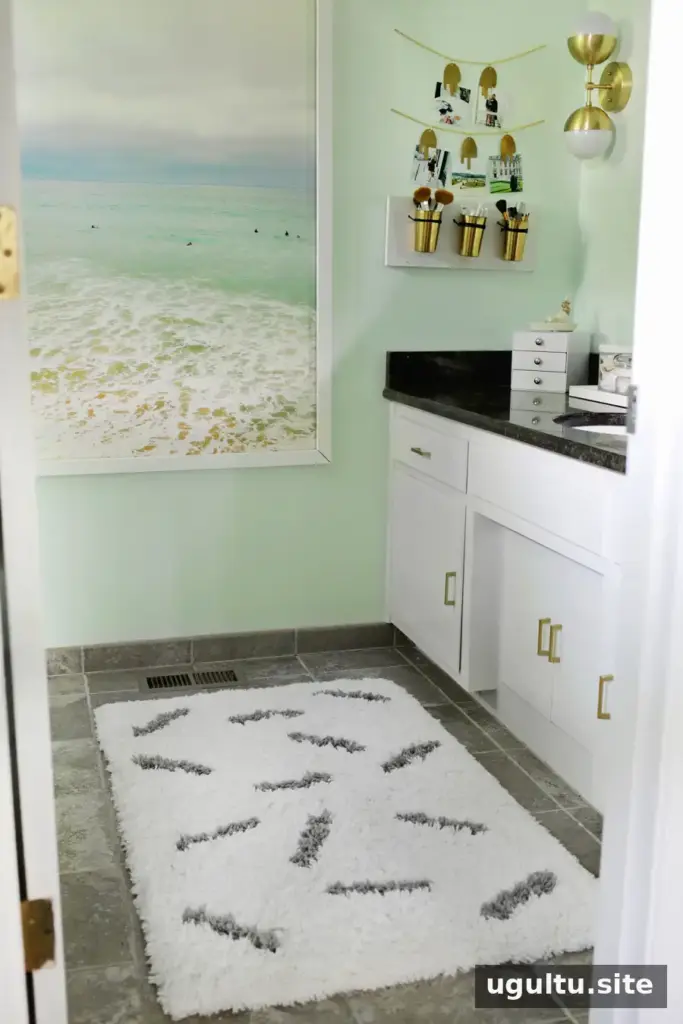
A DIY sprinkle rug is an easy way to add a playful pattern to a bathroom without giving up the soft, fluffy feel of a bath mat. Instead of replacing a plain rug, you can customize it with small pieces cut from a second rug and secure them with fabric glue.
This project works best with a fluffy rug made of individual yarns or fibers attached to a backing. A woven rug may unravel when cut, so check the construction before you begin. Choosing rugs with a similar pile length can also help the added shapes sit more evenly with the base.
Materials for a DIY Sprinkle Rug
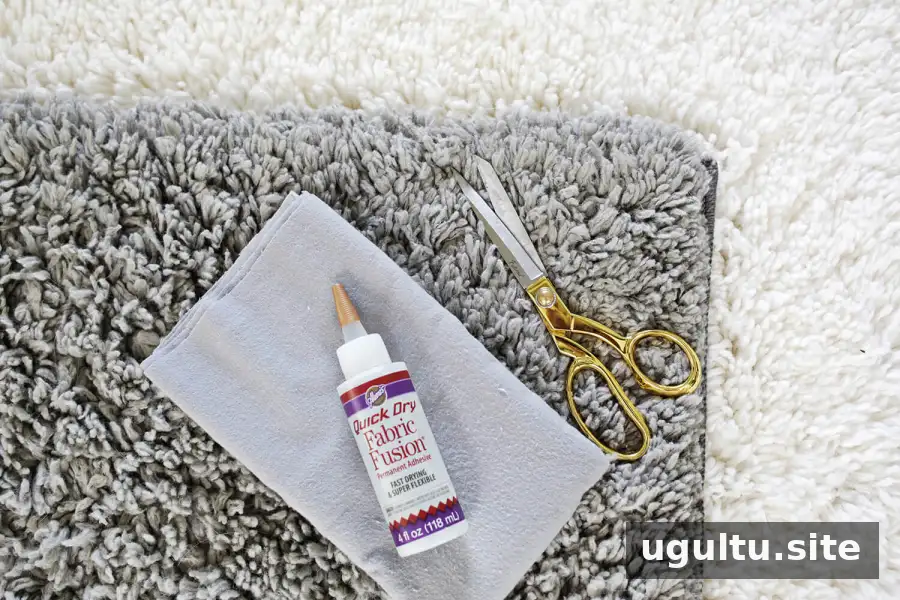
Supplies:
- White bathroom rug with individually attached fibers, not a woven surface
- Grey bathroom rug; it can be smaller than the white rug if the pile is the same length
- Fabric glue
- Flannel material
- Fabric scissors
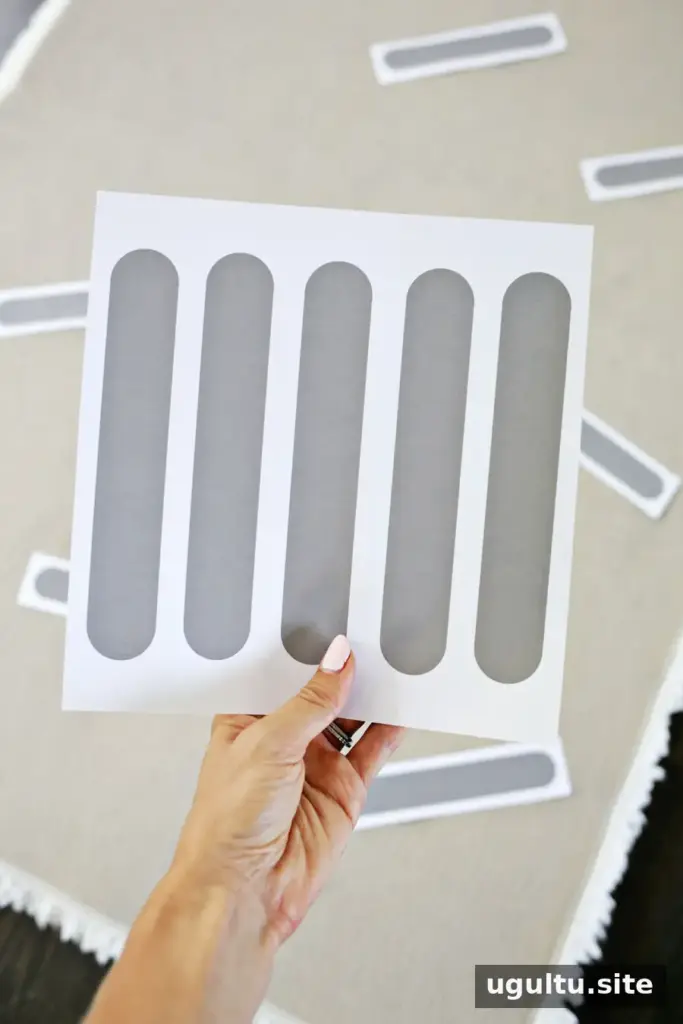
- Sprinkle stencil
Before cutting, place the rugs on a stable work surface and check that the scissors can cut through their backing. Keep the cut pieces and loose fibers away from children and pets while you work.
How to Make the Sprinkle Pattern
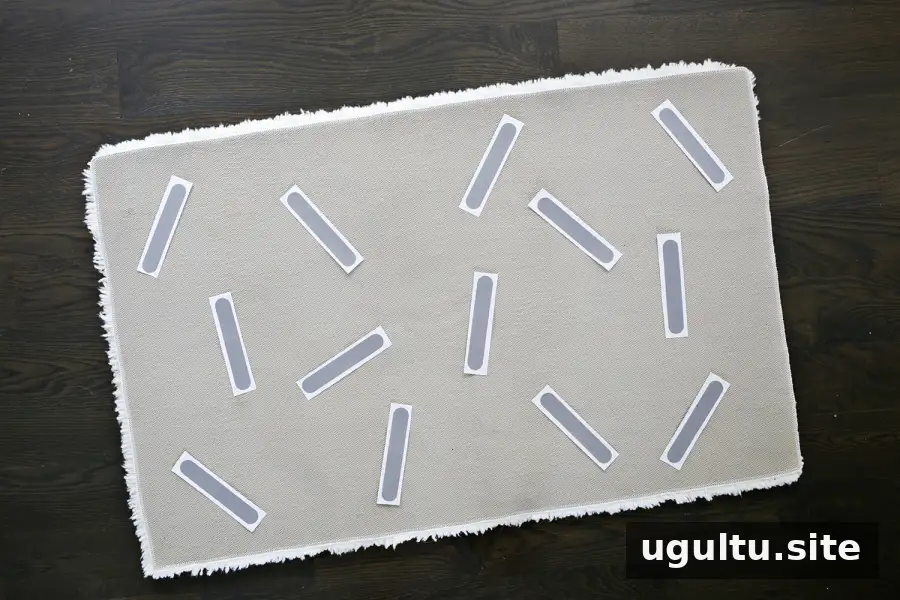
Print several copies of the sprinkle stencil and cut out the individual shapes. Arrange them on the back of the white rug to plan the pattern. Remember that the layout will appear reversed when you turn the rug right side up, so position the shapes accordingly.
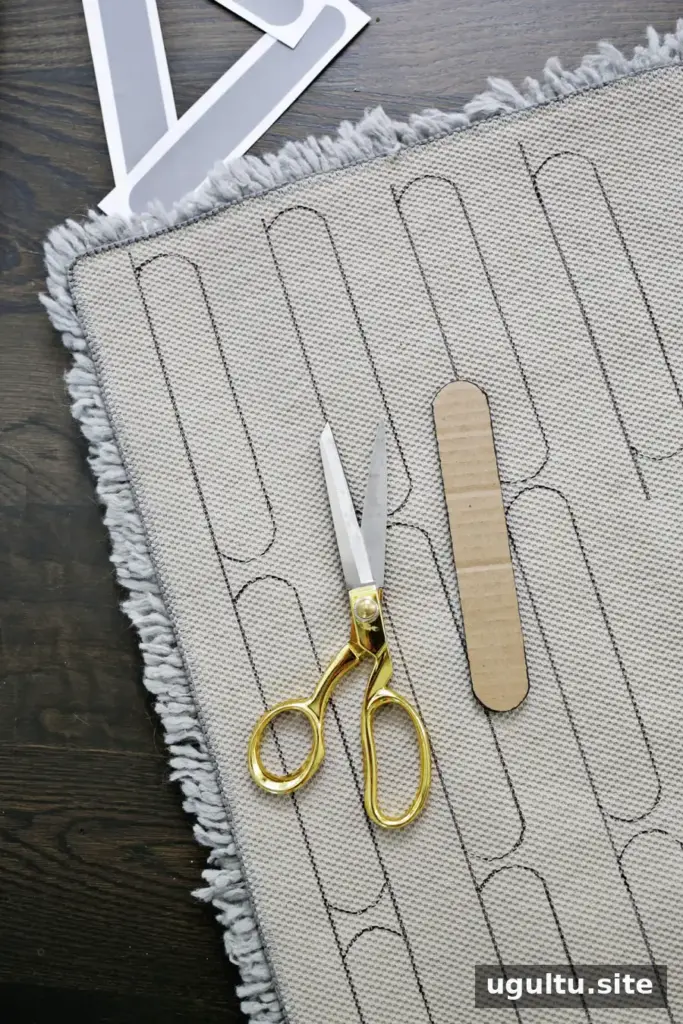
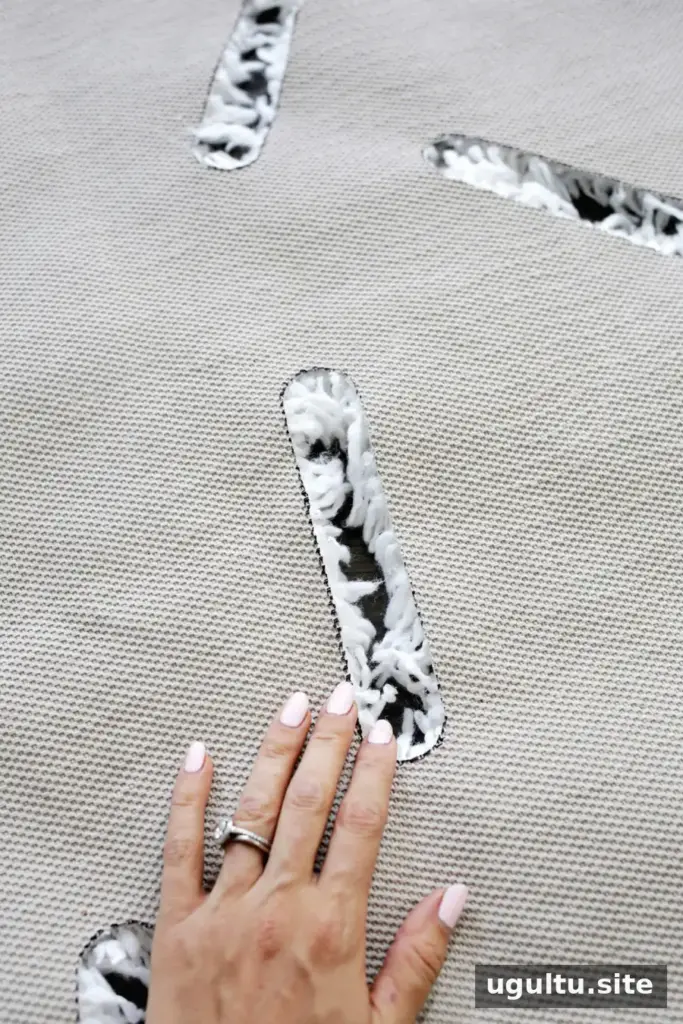
Trace one sprinkle shape onto cardboard to make a reusable stencil. Use it to mark each sprinkle location on the back of the white rug, then trace the same number of shapes onto the back of the grey rug. Cut out the marked shapes from both rugs with fabric scissors. Take your time around the edges to keep the openings and inserts as neat as possible.
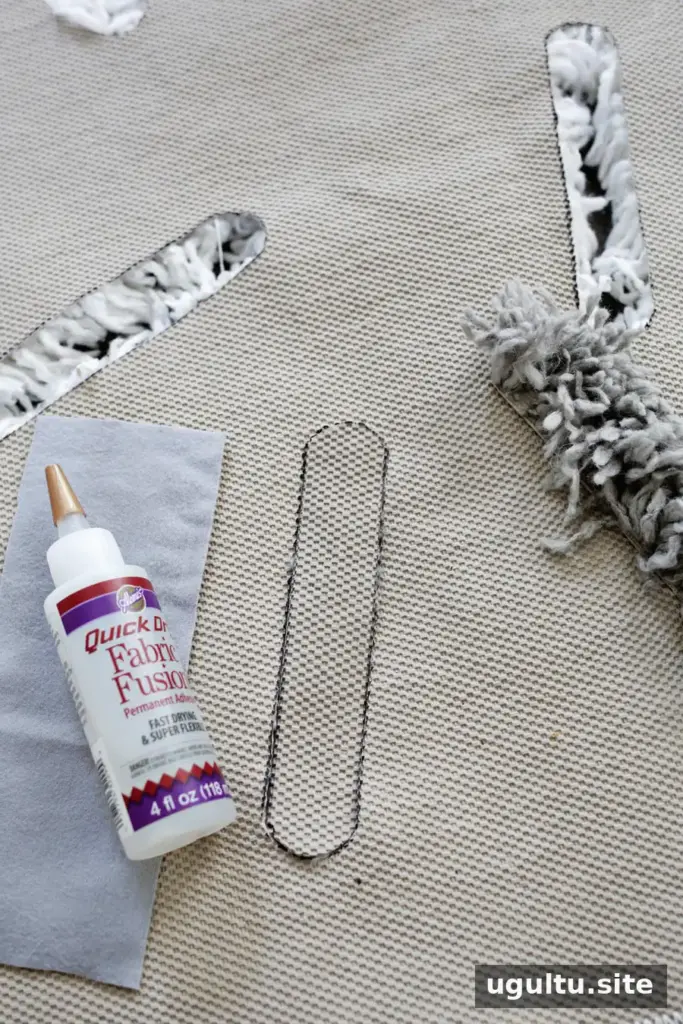
Attach the Sprinkles to the Rug
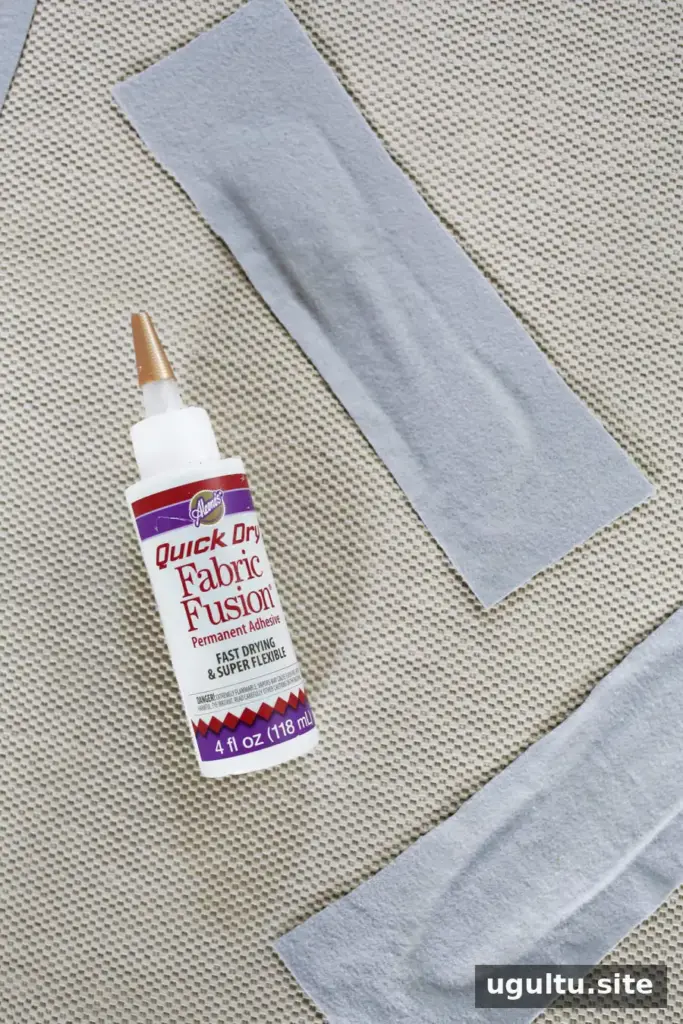
Place each grey sprinkle face down into an opening in the white rug. Apply fabric glue around both the outer and inner edges of the cut shape. Cut a piece of flannel slightly larger than the sprinkle, place it over the glue, and press to bond the layers. You can support the rug from underneath while pressing the fabric in place.
Repeat this process for every shape. Leave the rug flat until the glue has dried according to the product instructions. Using enough glue to secure the edges helps keep the inserts in place, but avoid applying so much that it spreads beyond the fabric.
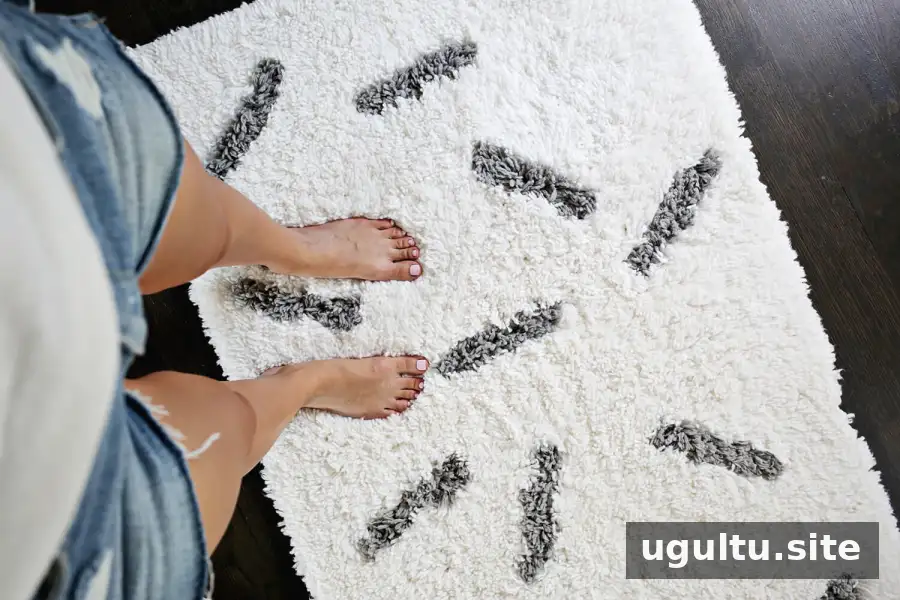
Finishing and Caring for Your Rug
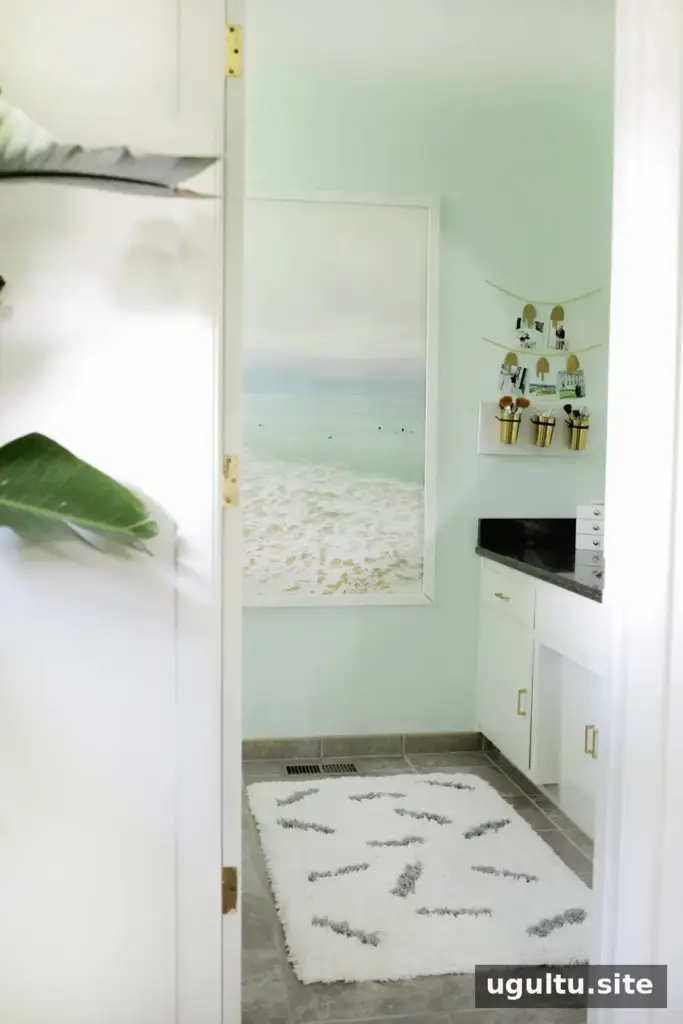
Once the glue is fully dry, shake the rug outdoors or over a suitable surface to remove loose fibers from cutting. Check that each insert is secure before putting the rug into use. If you plan to machine-wash it, read the fabric glue’s care instructions first; many fabric glues recommend a gentle cycle. Test the rug’s materials and construction before washing, and follow the care guidance for the rugs as well.
The finished rug adds a cheerful, custom pattern while keeping the plush texture many people prefer after a shower. You can adapt the same method for a larger rug or arrange the shapes in a different pattern, provided the materials can be cut and secured safely.
— Laura


