admin
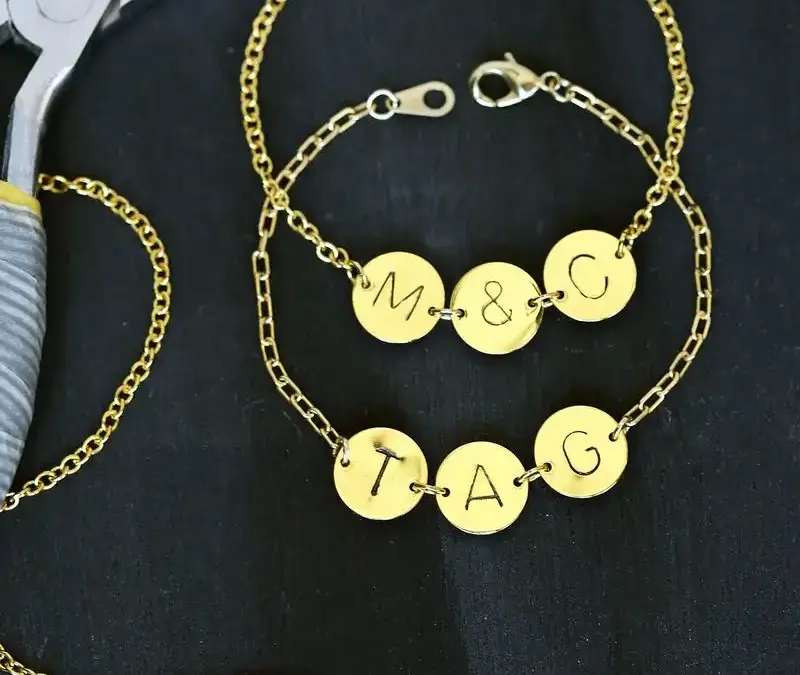
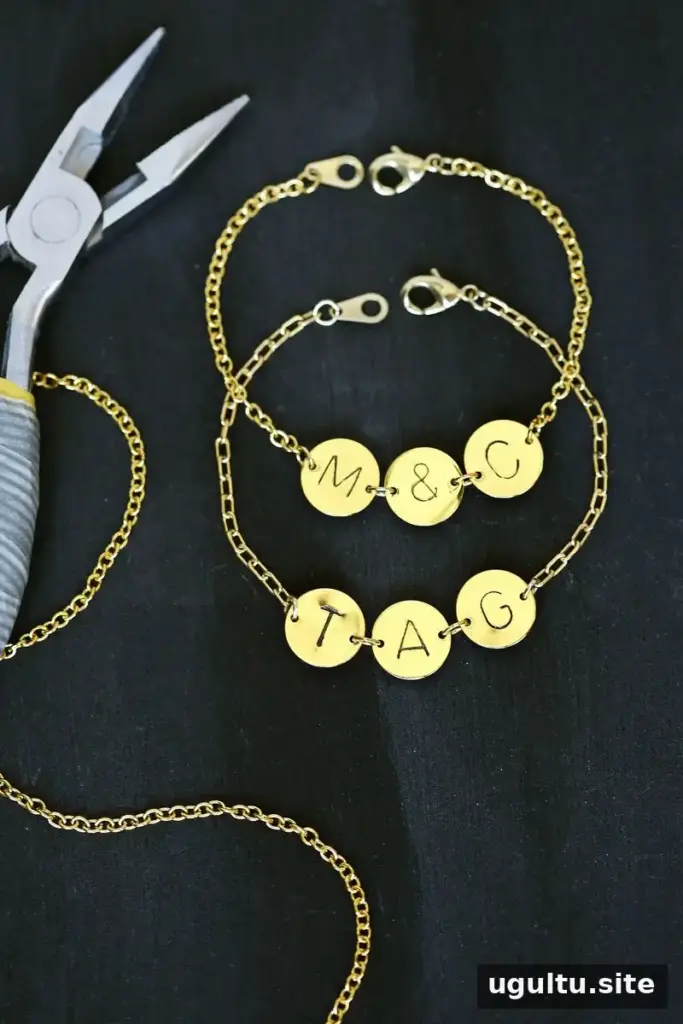
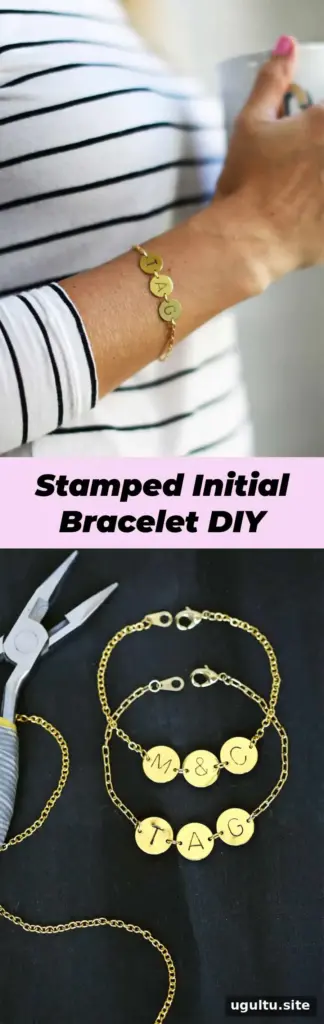
A stamped initial bracelet is a simple way to create personalized jewelry using metal discs, letter punches and chain. Choose initials, a short combination of letters or meaningful numbers to make a piece for yourself or as a thoughtful gift. The finished bracelet has a clean, custom look, and you can adjust the chain length to suit the wearer.
Materials for a Stamped Initial Bracelet
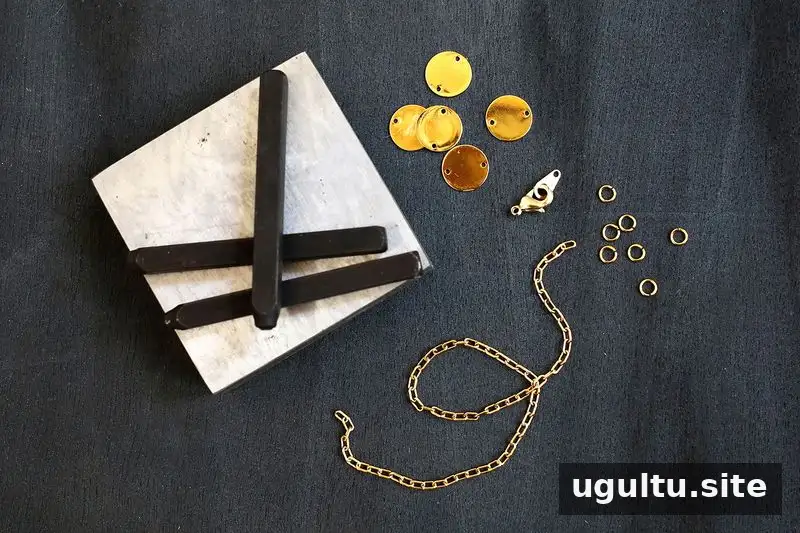
Gather your materials before you begin so the discs are easy to hold and assemble after stamping:
- Gold coin discs with holes already punched
- Gold chain
- Jump rings
- Lobster claw closure
- Jeweler’s bench block
- Letter or number punch stamps; 6 mm stamps were used for this project
- Hammer
- Tape
- Needle-nose pliers
- Jewelry wire cutters
- Rubbing alcohol (70% isopropyl alcohol) and a black marker, both optional
Check that the discs have holes suitable for connecting with jump rings, and that the punch size fits the space on the discs. Setting everything out first can make the assembly process smoother.
Prepare the Disc and Stamp the Initials
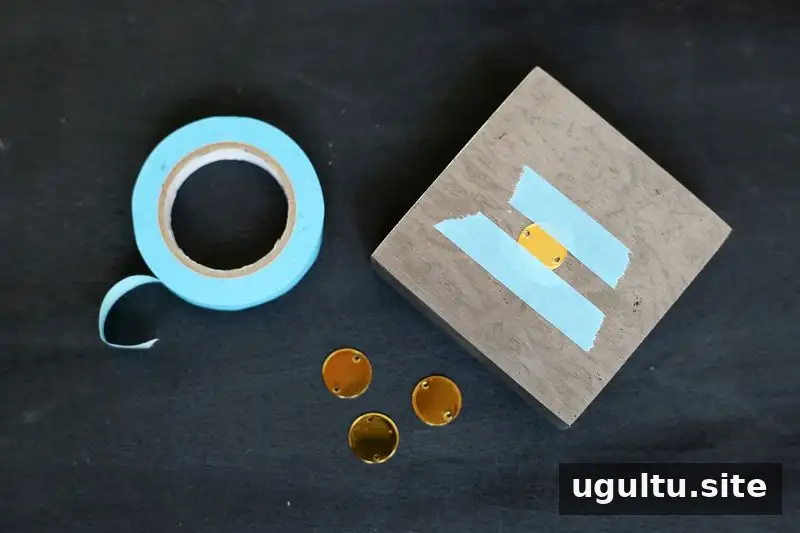
Place a coin disc on the jeweler’s bench block and secure its top and bottom edges with tape. Leave a gap slightly taller than the letter so the tape can help guide placement. A bench block is not strictly required, but its hard surface can help produce a clearer impression. Work on a stable surface and keep your fingers clear of the hammer and punch.
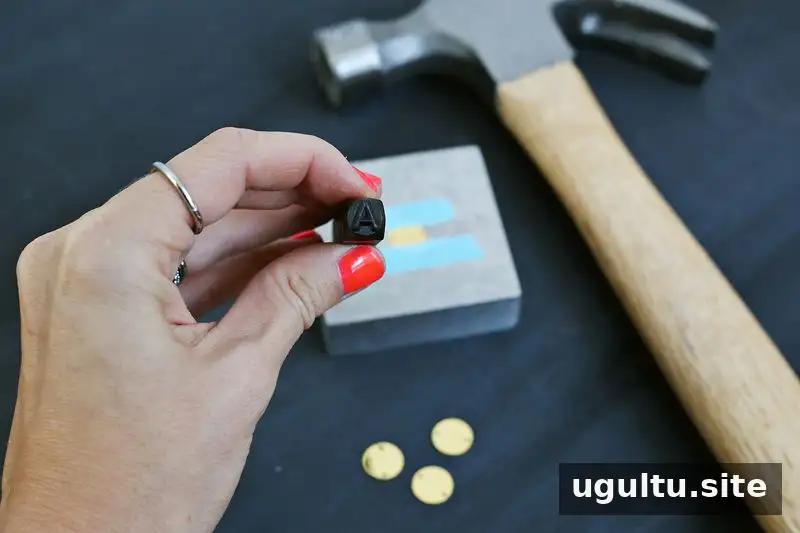
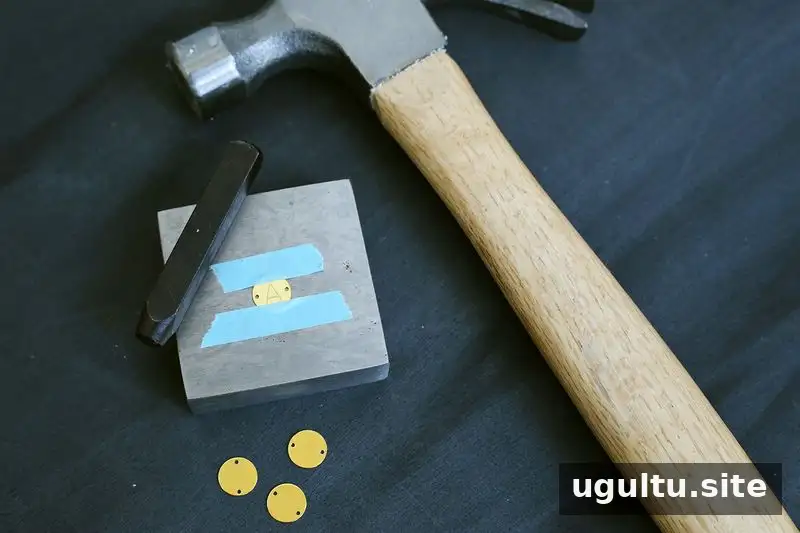
Choose a letter punch and position it face down in the center of the disc. Strike the top of the punch with the hammer to imprint the letter. If you would like the impression to stand out more, color the stamped lines with a black marker. Put a small amount of rubbing alcohol on a paper towel or cotton ball and wipe the disc’s surface; this can remove excess ink while leaving color in the indented letter.
Repeat the stamping process for each disc in your design. Before working on the pieces you plan to wear, practice on inexpensive blanks. Practice helps you find a steady rhythm and understand how much force to use. Extra discs are useful in case you want to test the layout or make a replacement.
Connect the Bracelet Components
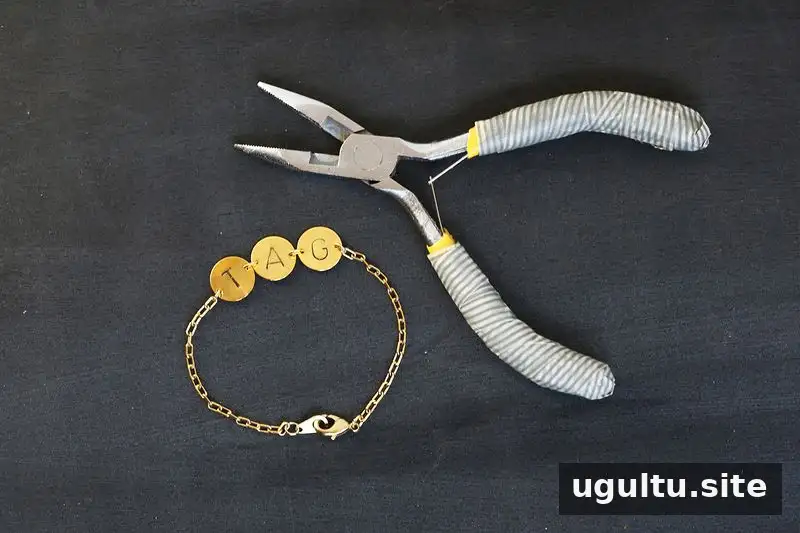
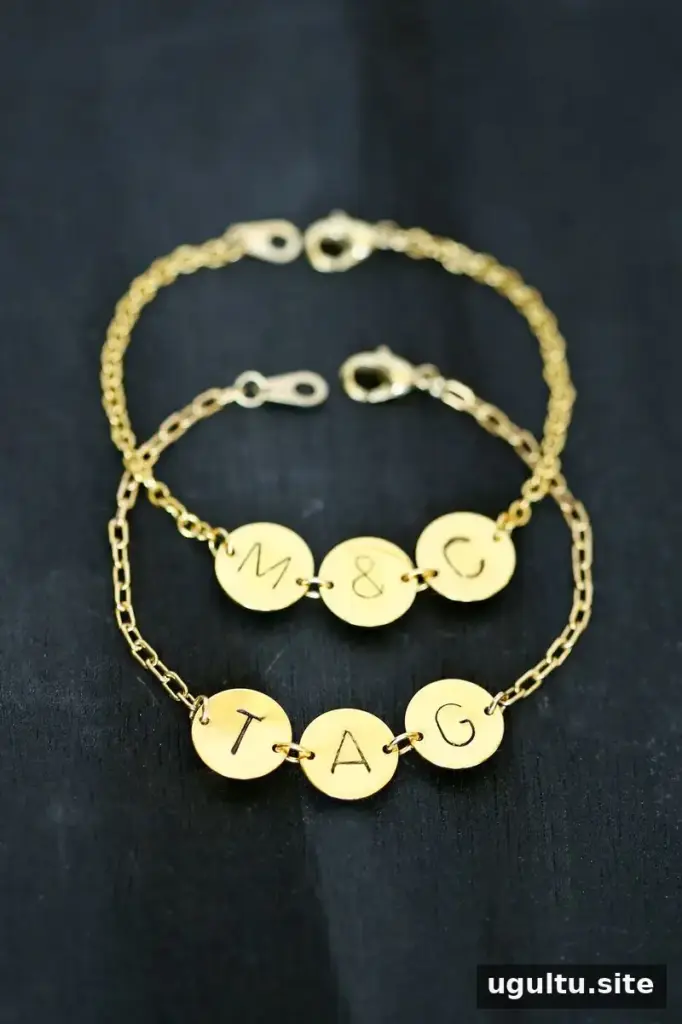
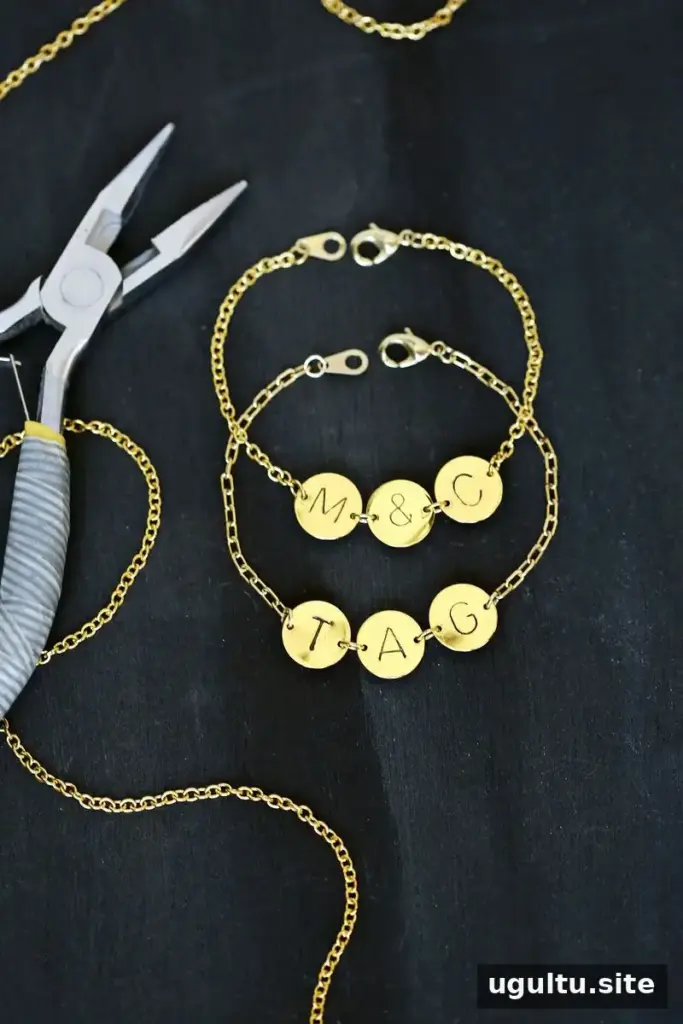
Use jump rings and needle-nose pliers to connect the stamped discs. Cut two lengths of chain with the wire cutters, measuring them to the bracelet length you want. Attach one chain section to each side of the group of initials with jump rings. Then use two more jump rings to connect the chain ends to the lobster claw closure. Check that each connection is secure before wearing the bracelet.
Personalize Your Design
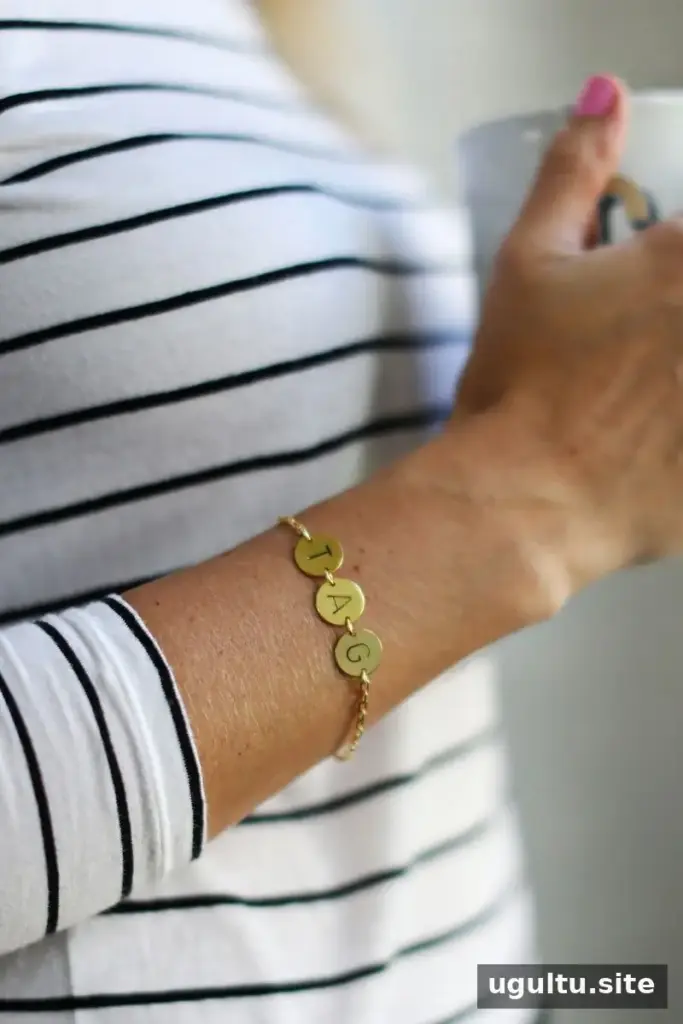
The discs can display your own initials, another person’s initials, a pair of names or numbers that mark an important date. A design can also be made for a group, such as friends or bridesmaids. Keep the layout short enough to fit comfortably across the bracelet, and practice the spacing on spare blanks before stamping the final pieces.
With a little preparation and careful assembly, a stamped initial bracelet can become a personal everyday accessory or a handmade present. Laura