
 admin
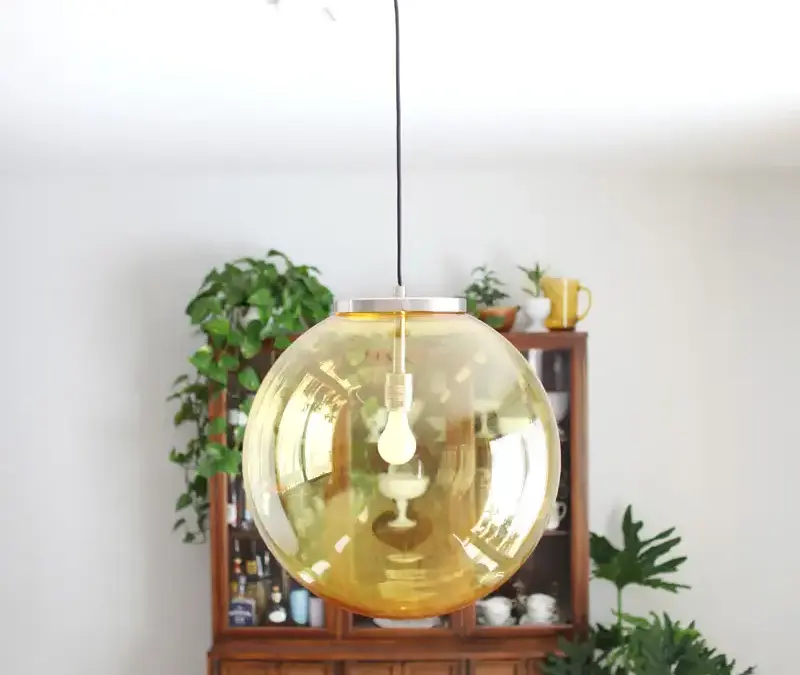
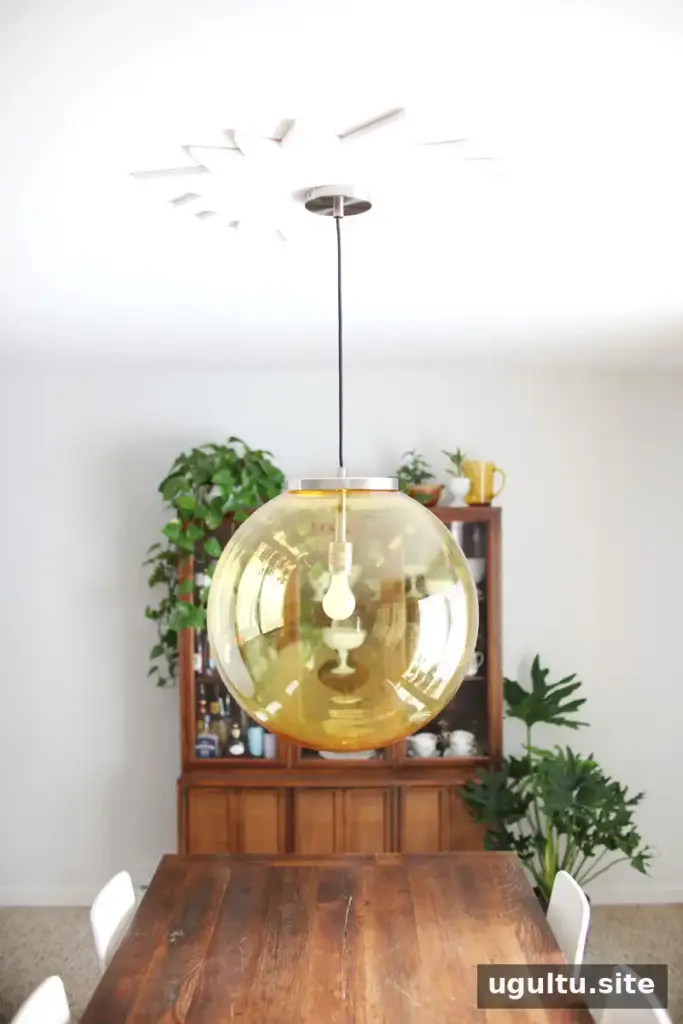
A starburst ceiling medallion DIY project can add a distinctive detail around a pendant or ceiling light without making the room feel overly decorated. This version uses a 30-inch square of Baltic birch plywood and a simple geometric layout to create a sunburst shape. The work involves measuring, cutting, sanding, painting, and mounting the medallion; plan the electrical work separately and use a qualified professional if you are not comfortable handling wiring.
Project instructions by Mandi.
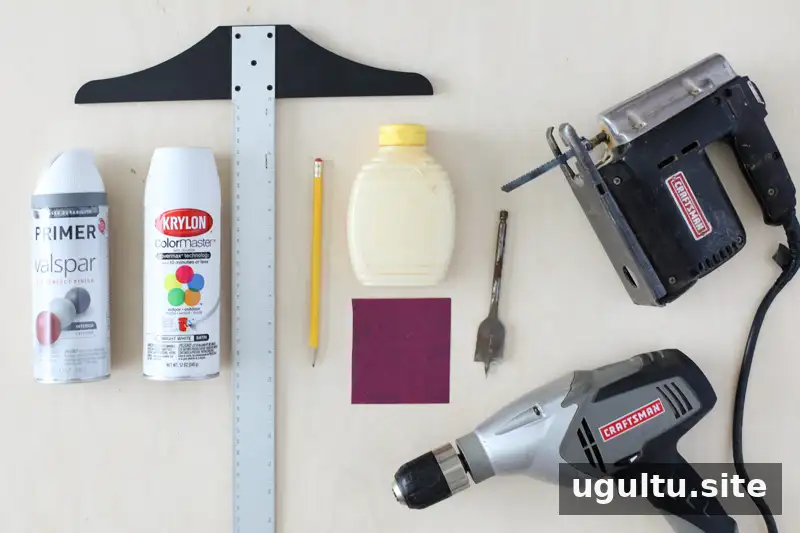
Materials and tools for a starburst ceiling medallion DIY
- One 30-inch square piece of ½-inch Baltic birch plywood. Its layered construction helps resist warping and chipping. A lumberyard may be able to cut a smaller piece to size.
- Jigsaw and power drill
- Standard drill bits and a spade or circular drill bit for the center opening
- T-square or long yardstick, ruler, and pencil
- Sandpaper, around 180 grit, plus 320-grit sandpaper for smoothing primer
- Primer and ceiling paint, or flat white spray paint
- Construction adhesive; wood glue and caulk are optional
Before cutting, put on safety glasses, a dust mask, and protective footwear. Secure the plywood on a stable work surface, and follow the tool manufacturer’s instructions.
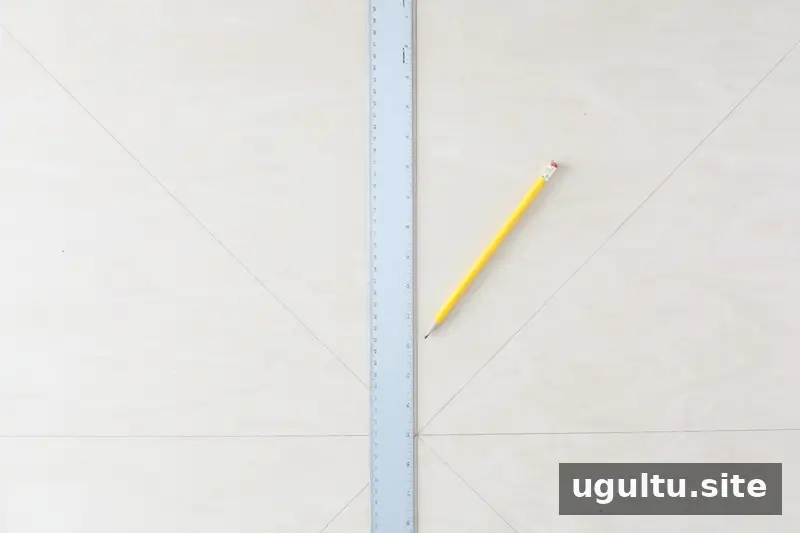
How to make the starburst shape
1. Mark the plywood
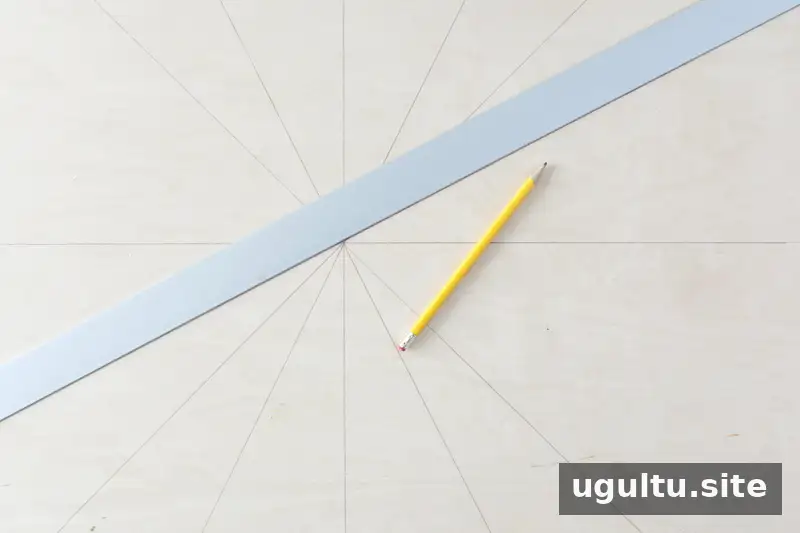
Draw diagonal lines between opposite corners of the square. Then draw a line through the midpoint of each side, crossing the board’s center. These guide lines form the basis of the symmetrical pattern.
2. Divide the edges into smaller sections
Along each side, mark the midpoint between the center line and each corner so that the edge is divided into four equal sections. Use a T-square or yardstick to connect each mark to the diagonal line beside it.
3. Add another set of guide lines
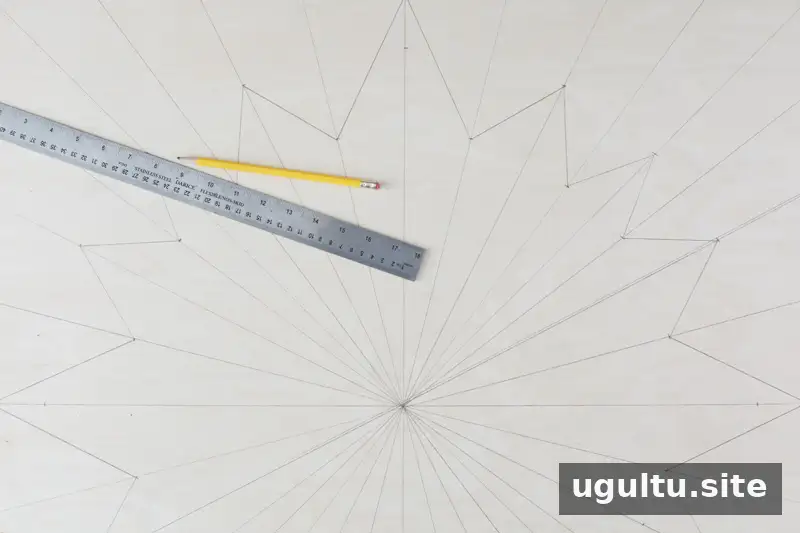
Find the midpoint between the newly drawn lines and connect those marks to the corresponding diagonal lines. The extra guides help keep the points evenly spaced. Check the layout from several sides before moving on so the pattern remains balanced.
4. Draw the starburst outline
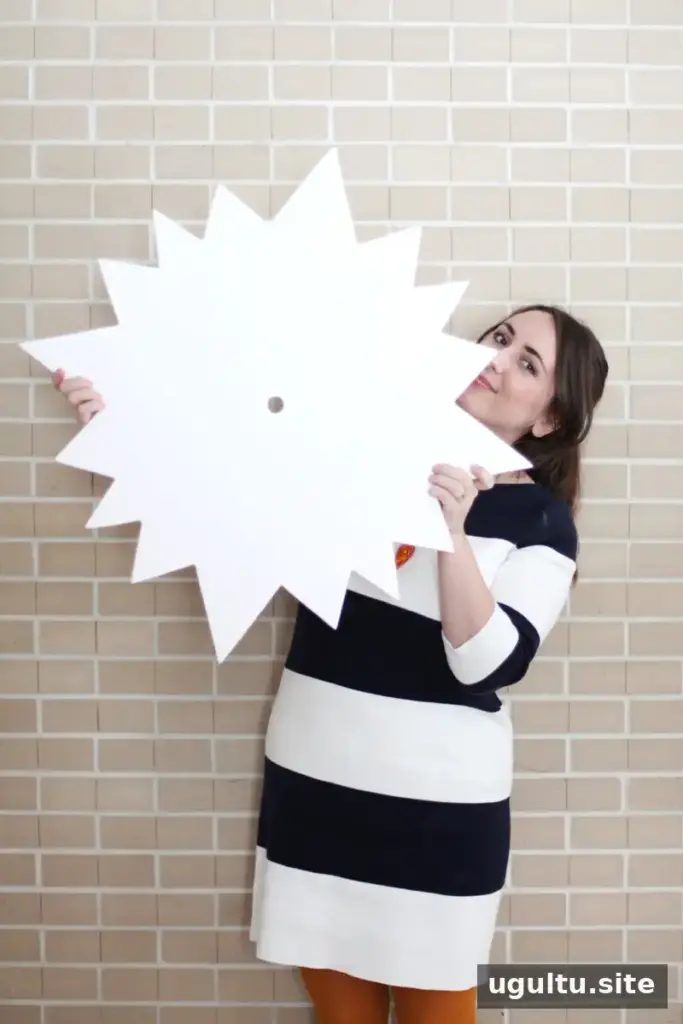
Starting from the center of the board, measure 13 inches along every other line, beginning with the middle lines from the first step rather than the diagonals. On the lines between those marks, measure 11 inches from the center. Connect the marked points with a straightedge, except for the original middle lines: extend those to the board’s edge, 15 inches from the center, to create the four longer points. Review the reference image before cutting if the intersecting lines are difficult to follow.
Cut, drill, and finish the medallion
5. Cut out the design
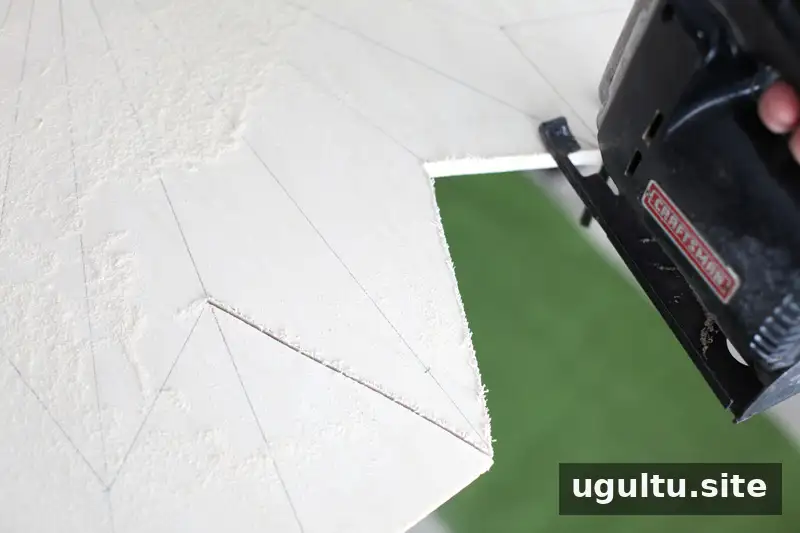
With the plywood supported securely, use a jigsaw to cut along the outline. Start each cut from the outside edge and guide the blade toward the meeting point of the lines. Avoid cutting past the corners; overcuts can require filling and sanding. Keep your hands clear of the blade and make sure the offcut is supported as it separates.
6. Make the center opening
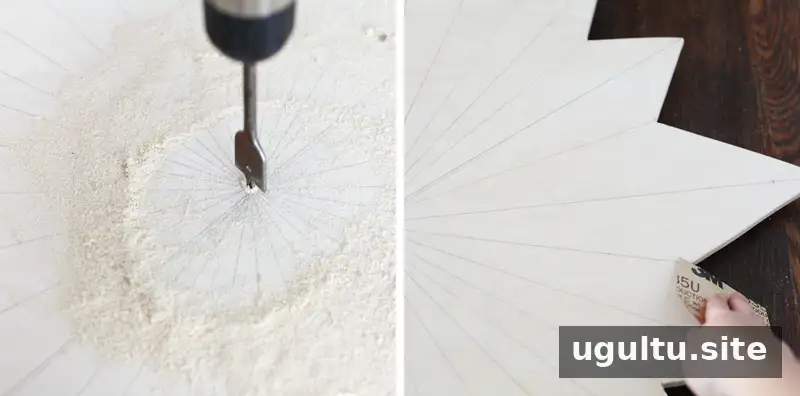
Drill a hole in the center for the light fixture’s wires. Place scrap wood beneath the drilling area, or ensure there is clear space below the board. To reduce splintering, drill from one face until the bit tip begins to emerge, then turn the board over and finish from the other side.
7. Sand the edges
Sand the cut edges with around 180-grit paper, then wipe away the dust with a damp cloth. A power sander can speed up the work, but hand sanding is also suitable. Let the surface dry before priming.
8. Prime and paint
Apply primer and allow it to set for a few hours. The original finish used three coats of primer, followed by light sanding with 320-grit paper, then two coats of flat white spray paint. Flat paint reflects less light and can make small surface flaws less noticeable. Follow the drying and recoat guidance on the products you use.
Mounting and lighting considerations
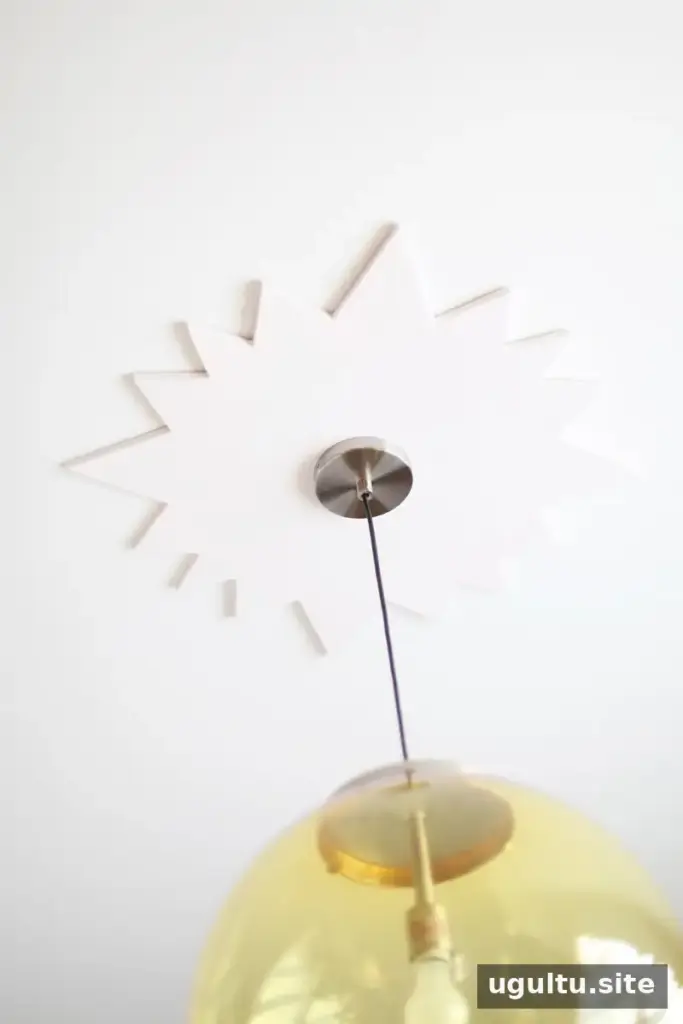
The medallion can be attached with strong construction adhesive or secured with screws at the existing ceiling electrical box, depending on the installation and the box’s suitability. Adhesive can provide a flush fit, and the perimeter may be sealed with caulk; screws can make later removal easier. Choose mounting hardware appropriate for the ceiling and fixture, and do not rely on the medallion to support a light’s weight unless the installation is designed to do so.
Turn off power at the breaker before work near the fixture. If removing or installing a light involves wiring, use a qualified electrician when you are unsure or local requirements call for one. Confirm that the center opening aligns with the electrical box and that the fixture’s canopy covers it before permanently attaching the medallion.
Final tips for a starburst ceiling medallion DIY
A carefully measured starburst ceiling medallion DIY can give a ceiling light a more finished, custom appearance. Take time to check the symmetry before cutting, support the plywood securely, and test the fit around the electrical box before painting or mounting. The finished medallion works best when its scale and finish complement the light and the surrounding room.


