
 admin
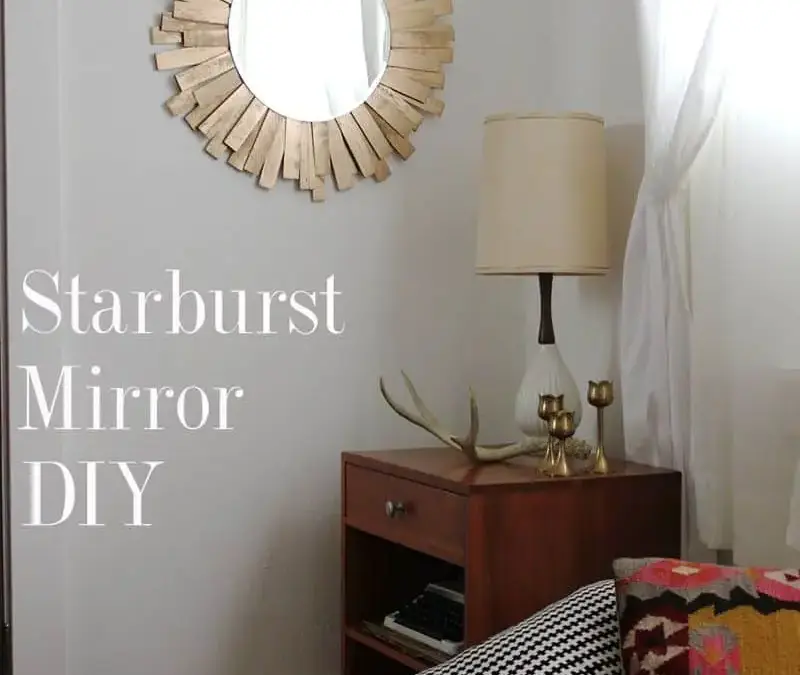
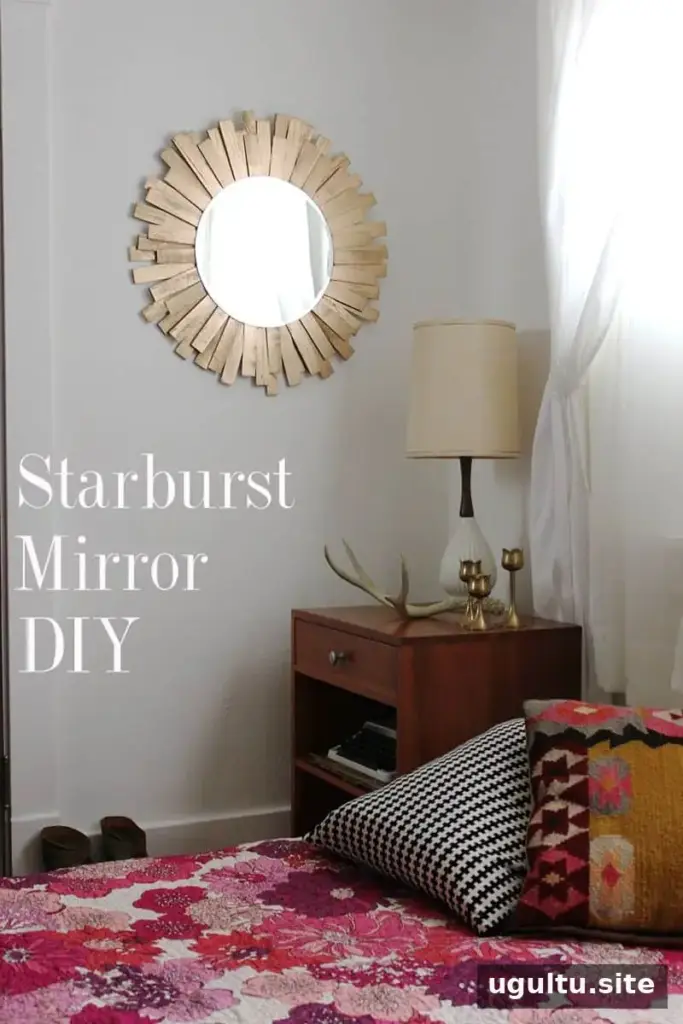
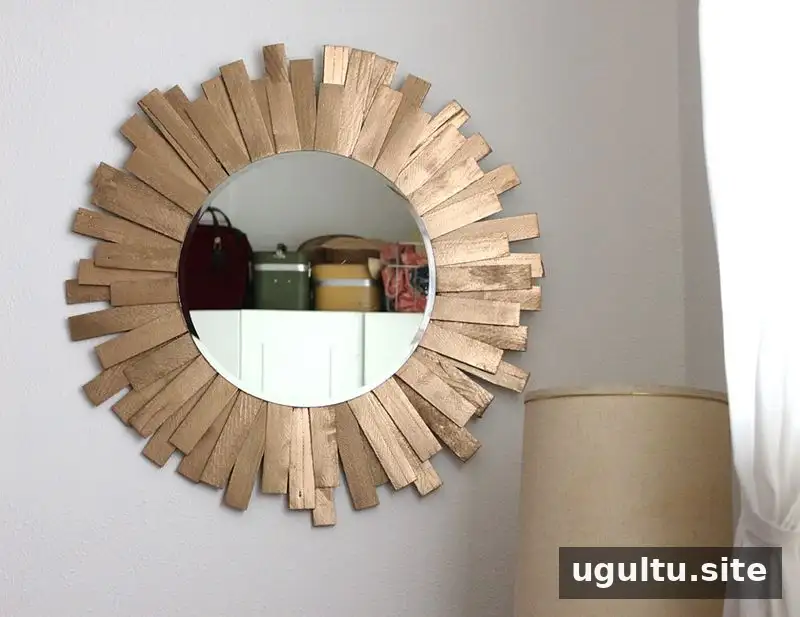
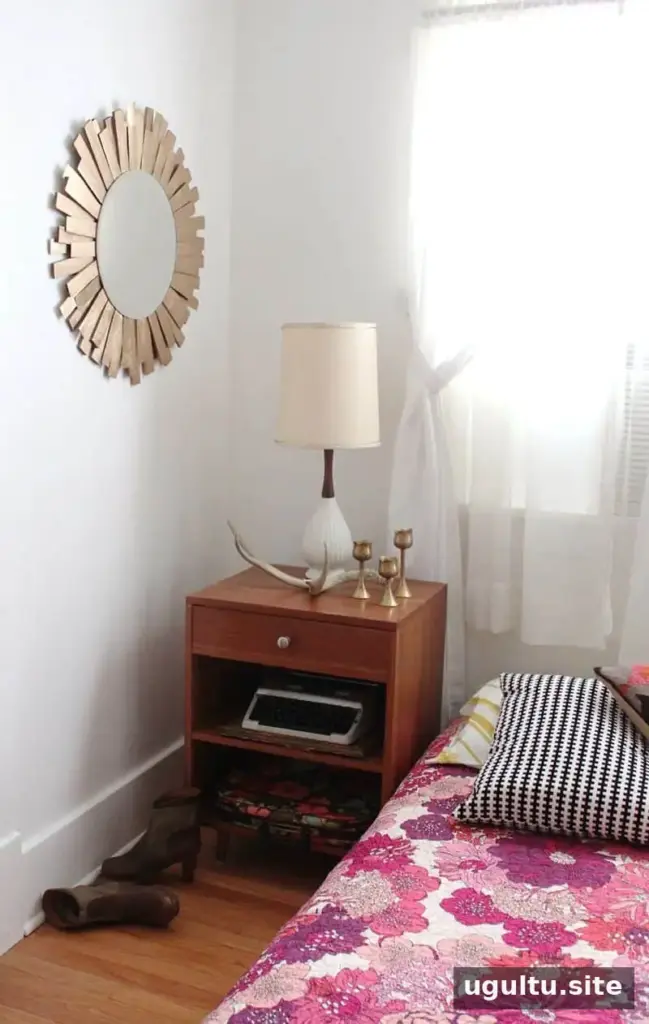
A starburst mirror DIY project can turn a plain round mirror into a decorative focal point while adding brightness to a room. This version uses contractor shims arranged in layers around a mirror, with a painted finish to suit your decor. The finished piece is about 26 inches in diameter and can work above a console, end table, or mantel.
Materials for this starburst mirror DIY
Gather the supplies before assembling the mirror so you can sort and place the shims efficiently:
- 1 pack of contractor shims
- 12-inch-diameter circular wood backing
- 14-inch circular mirror
- Strong adhesive suitable for the mirror backing and wood
- Hot glue gun and glue
- Two clamps or heavy books
- Hook for the back of the mirror
- Primer and spray paint in your preferred color
- Painter’s tape and paper to protect the mirror
- Cardboard to protect the work surface
- Hammer for attaching the hook
- Scissors for trimming splinters, if needed
Check that the adhesive is appropriate for the mirror’s backing, and work in a well-ventilated area when using spray paint. Protect the surface beneath the project before you begin.
Prepare the backing and shims
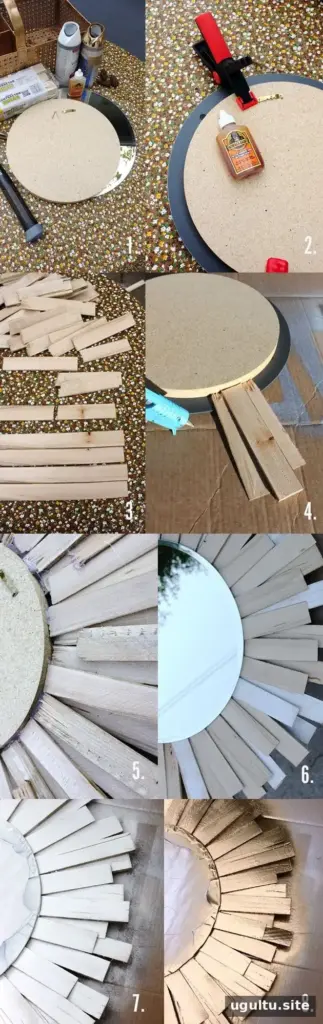
Attach the hanging hook to the back of the wood, positioning it about 1 inch below the edge. Apply adhesive to the opposite side of the wood, then center it on the back of the mirror. With a 12-inch wood circle and a 14-inch mirror, the mirror extends about 1 inch beyond the backing on each side. Use two clamps or heavy books to hold the pieces together while the adhesive sets, following its instructions.
Next, split the shims lengthwise. They tend to separate along a natural line, producing one shorter and one longer piece. Some ends may be rough or splintered. Trim loose splinters with scissors or carefully scrape them away, then sort the shims into short and long piles. Set aside any medium-sized pieces in a separate group; sorting makes it easier to create an even arrangement.
Arrange and glue the starburst rays
Place the shims around the back of the mirror with any rough, split ends facing inward, where they will be less visible from the front. Start with the shorter pieces, spacing them as evenly as possible around the circle. Add longer pieces over them to build the starburst shape, then fill open areas with additional shims.
Layer about two or three pieces where needed. Avoid building the backing higher than three layers, since uneven thickness can stop the mirror from sitting flat against the wall. Shorter pieces can be extended outward, but make sure there are no gaps that expose a splintered end when viewed from the front. Allow the adhesive to secure the arrangement before moving the mirror.
Paint and finish the mirror
For a coastal look, paint about one-quarter or one-third of the shims white or another color before attaching them, distributing the colored pieces around the design. For a uniform finish, cover the mirror with paper and secure the paper and mirror edges with painter’s tape. Keep the shims uncovered so the spray paint can reach them.
Apply primer, followed by your chosen spray paint, and allow each coat to dry according to the product directions. White paint creates a crisp, simple look, while metallic paint gives the rays a warmer shine. Remove the tape only after the paint is fully dry to help keep the mirror clean.
Handle the finished piece carefully when turning it over or hanging it. Check that the shims are firmly attached, and use a wall hook or fixing suitable for the mirror’s weight and the wall surface.
Final thoughts on this starburst mirror DIY
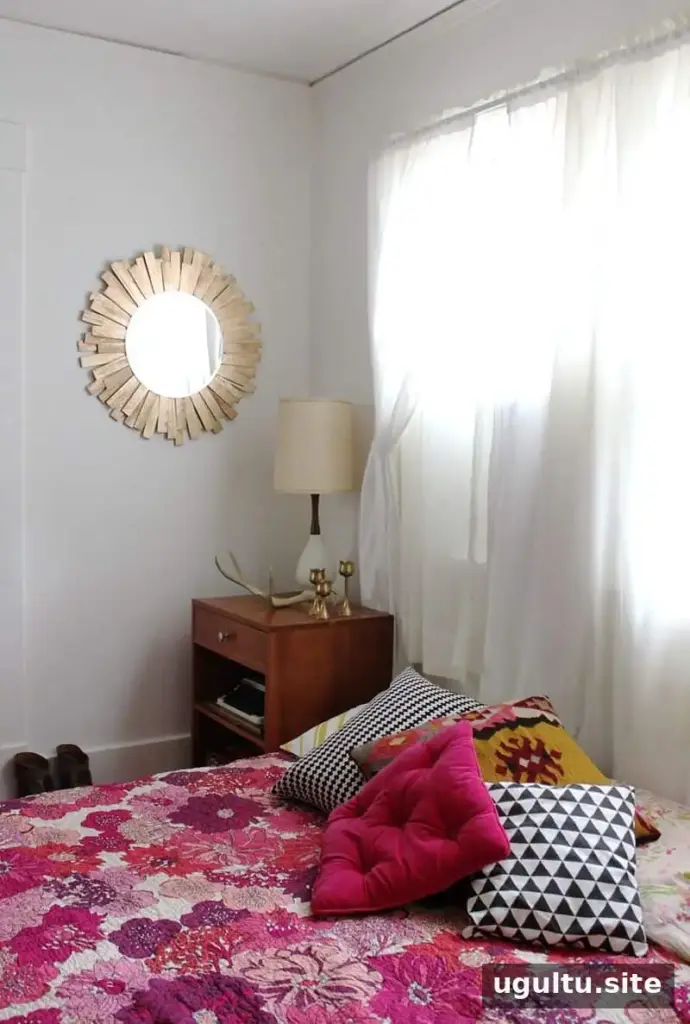
The completed mirror measures about 26 inches across, making it substantial enough to stand on its own as a wall accent. It can also be made larger by using the shims without splitting them, though the finished dimensions will vary. With a little planning, this starburst mirror DIY offers a customizable way to brighten a dark corner or add a decorative detail to a living room. —Rachel


