
 admin
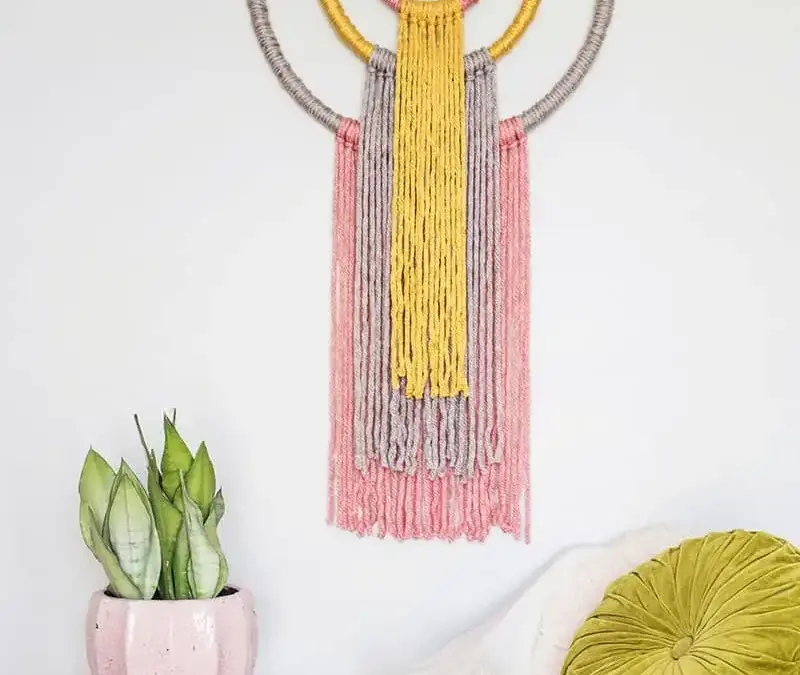
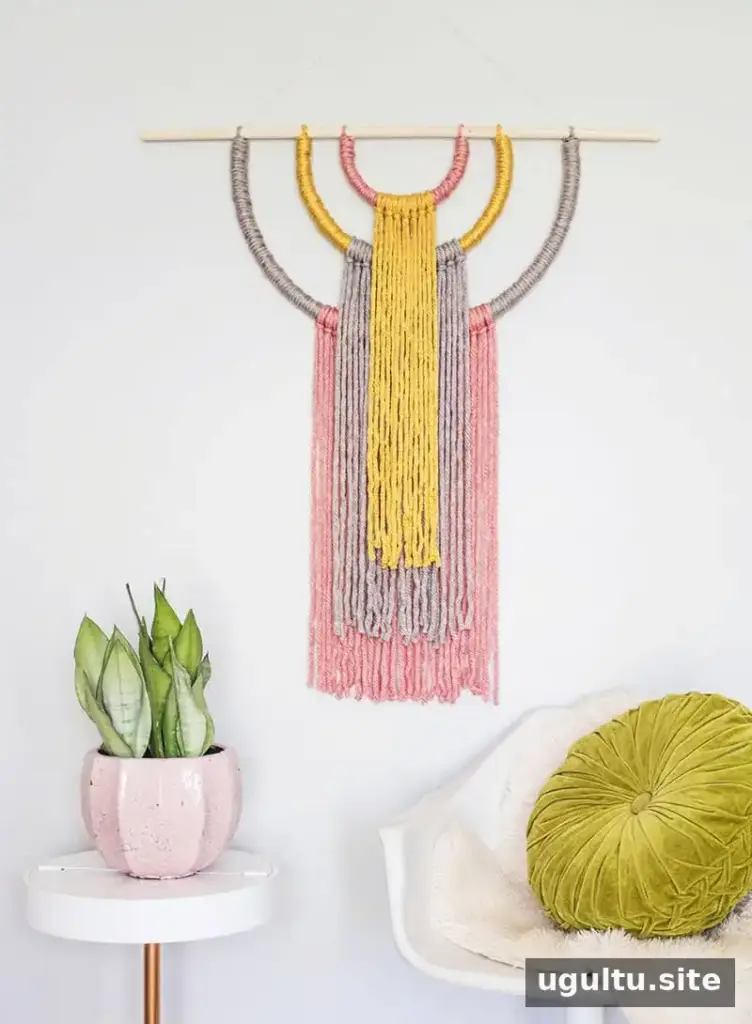
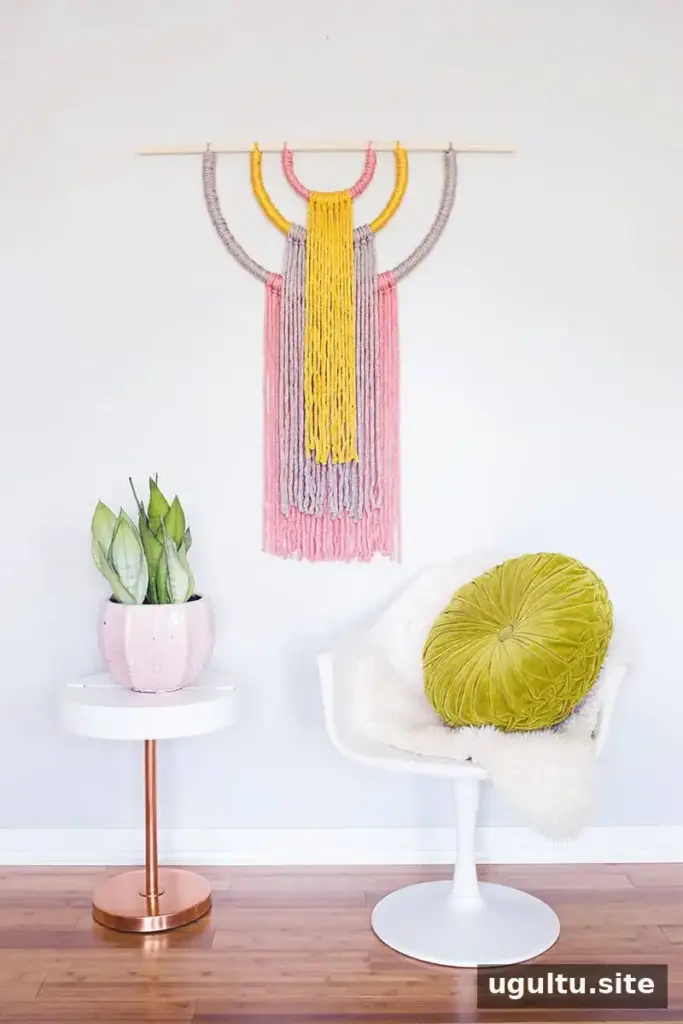
A handmade statement wall hanging can bring color and texture to an empty wall without the cost of a custom piece. This project uses yarn, embroidery hoops and a wooden dowel to create a design with three curved shapes and soft fringe. Choose colors that complement your room, or use contrasting shades to make the hanging stand out.
Materials for the Statement Wall Hanging
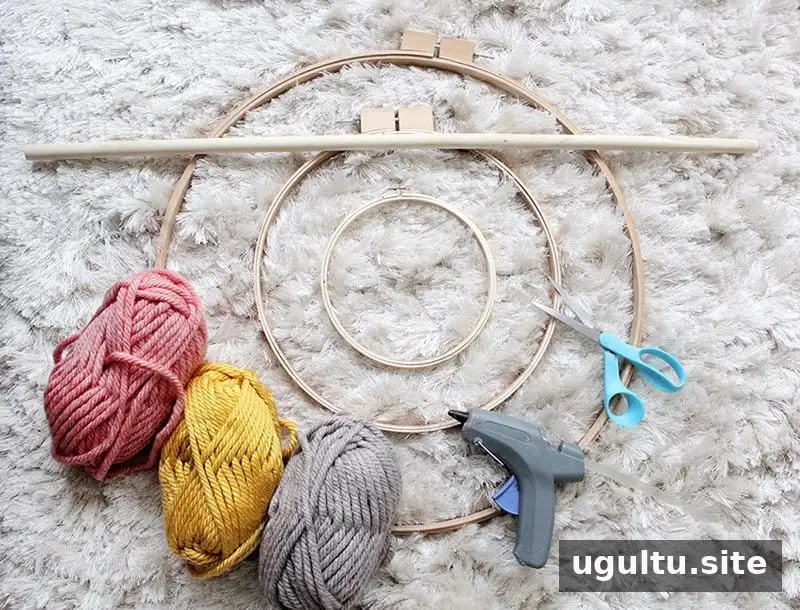
Supplies:
- One wooden dowel
- Yarn in three different colors (five skeins total)
- Three embroidery hoops: 23 inches, 14 inches and 8 inches
- Hot glue gun and glue
- Scissors
- A thin piece of string for hanging
Before you begin, lay out the yarn colors and decide how you want to arrange them across the three shapes. Check that the dowel is long enough to hold the hoops with a little space between them.
Make the Curved Shapes
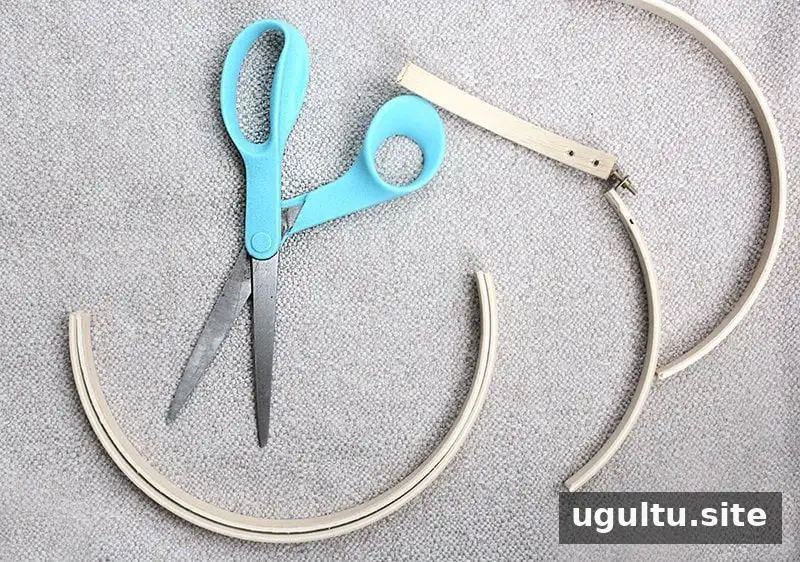
Carefully cut each embroidery hoop in half with sharp scissors. Use the two moon-shaped sections that do not have the screw attachment. Apply hot glue to join the cut pieces as needed, taking care to keep the curved outline even. Let the glue set before wrapping.
Wrap the Hoops with Yarn
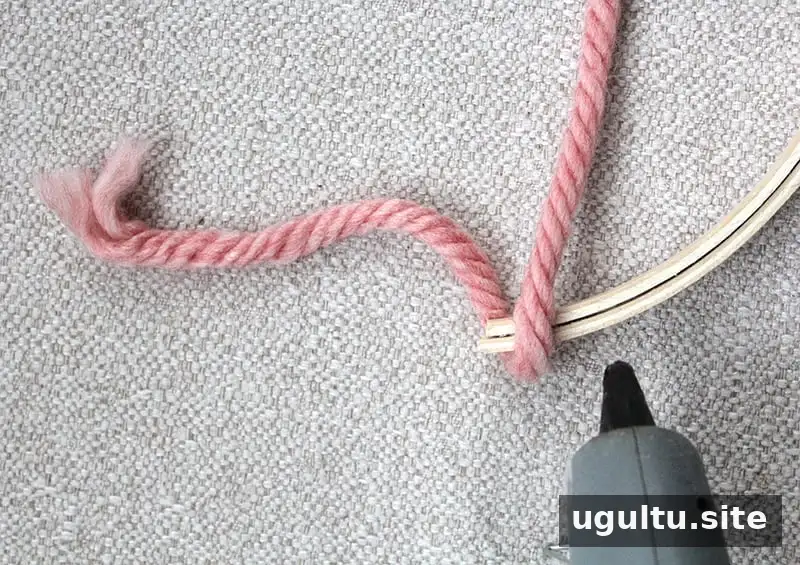
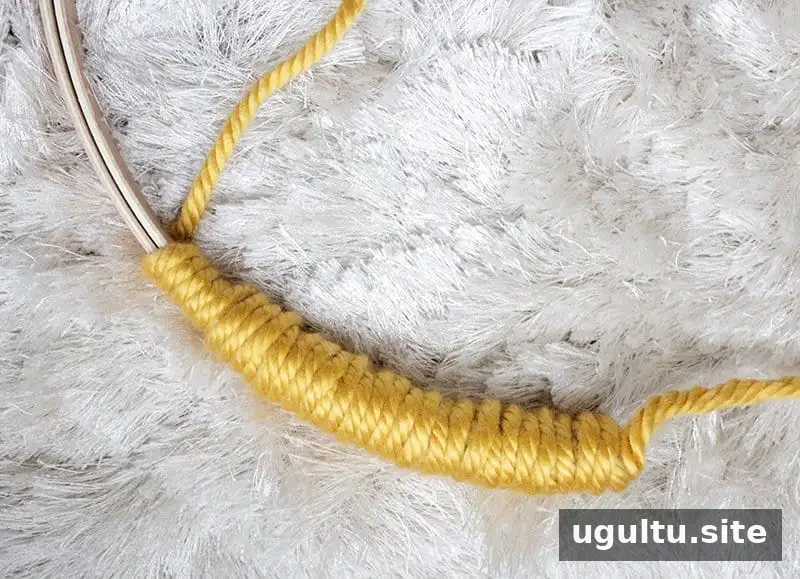
Secure the end of your first yarn color to the smallest curved shape with a dab of hot glue. Leave a long tail for attaching the shape to the dowel later. Wrap the yarn around the outer edge, keeping each pass close to the previous one so the frame is covered.
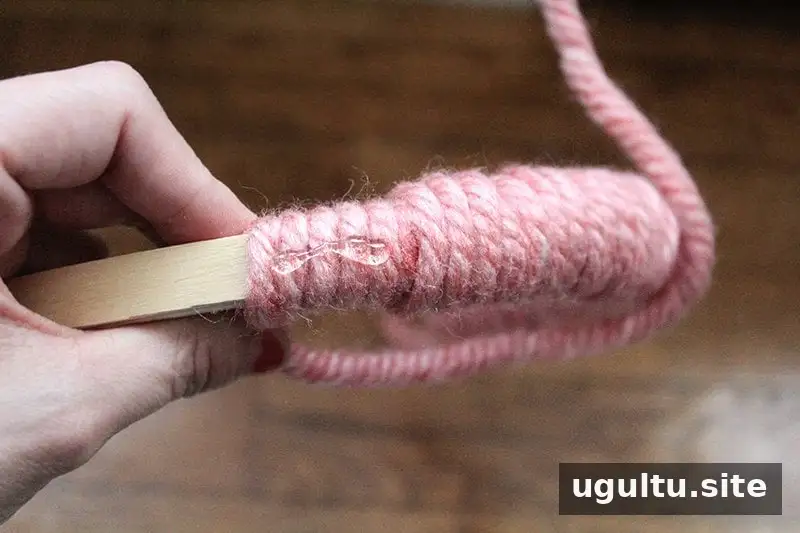
After every four or five wraps, add a small line of glue and continue wrapping over it. This helps hold the yarn in place and softens the angular appearance of the hoop. Avoid using too much glue, since excess can show through the yarn. Repeat the wrapping process for the other two shapes, using your chosen colors.
Attach the Shapes to the Dowel
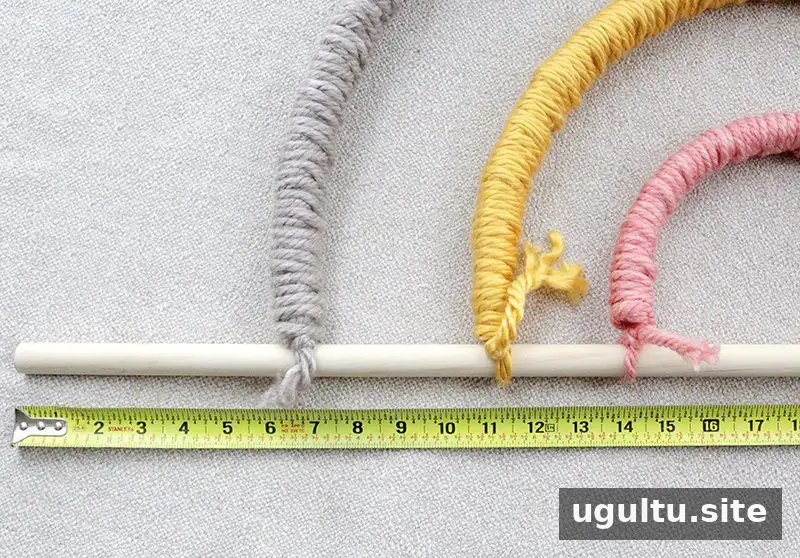
Arrange the three wrapped shapes along the wooden dowel, adjusting their spacing until the composition looks balanced. Tie the yarn tails around the dowel to hold each shape in position. Check the arrangement before gluing, because small placement changes can affect how the finished piece hangs.
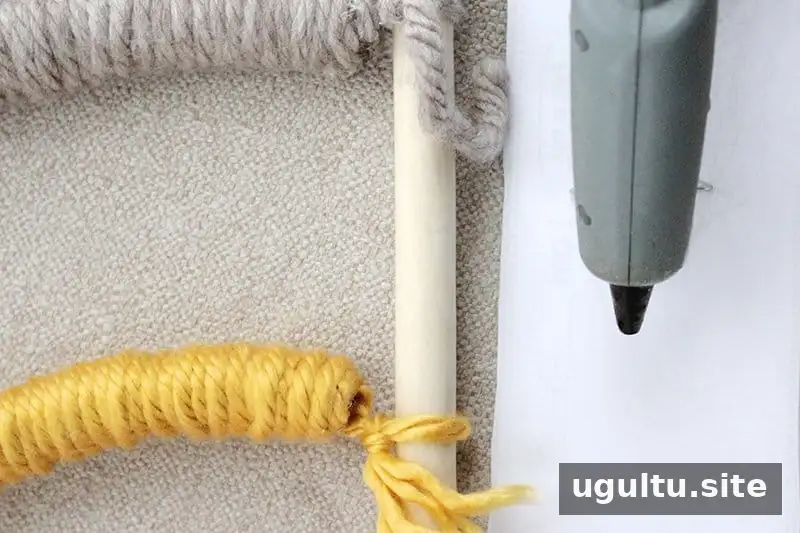
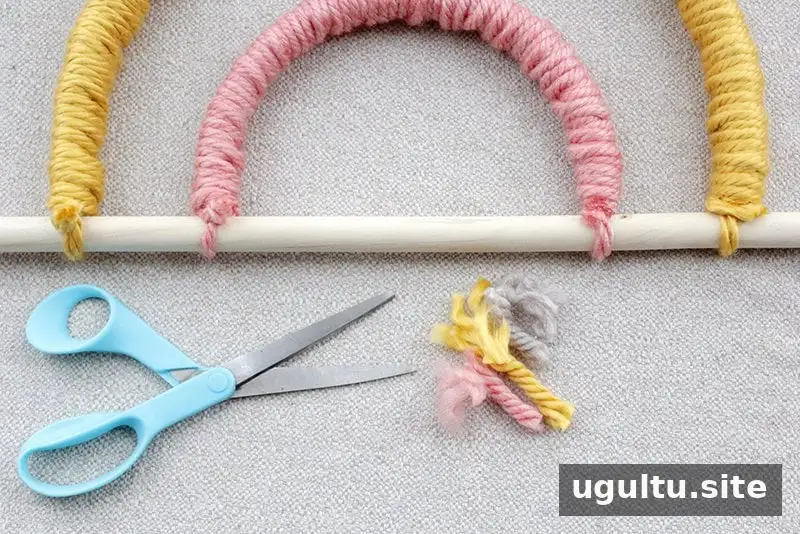
Use hot glue to secure the curved shapes flush against the dowel. Keep the knots and any visible glue on the back so they are less noticeable from the front. Once the glue has cooled, trim the extra yarn tails.
Add Fringe and Hang Your Wall Decor
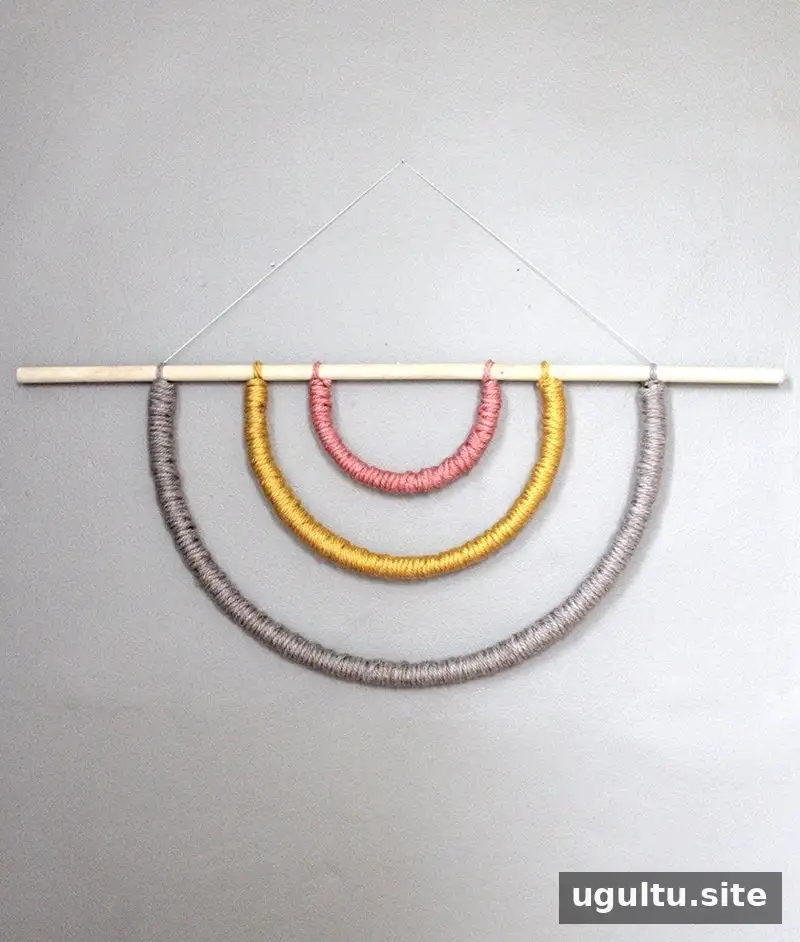
Tie a thin piece of string to both ends of the dowel to make a hanging loop. Choose a secure spot on the wall and check that the fastener is suitable for the wall surface and the weight of the finished decoration.
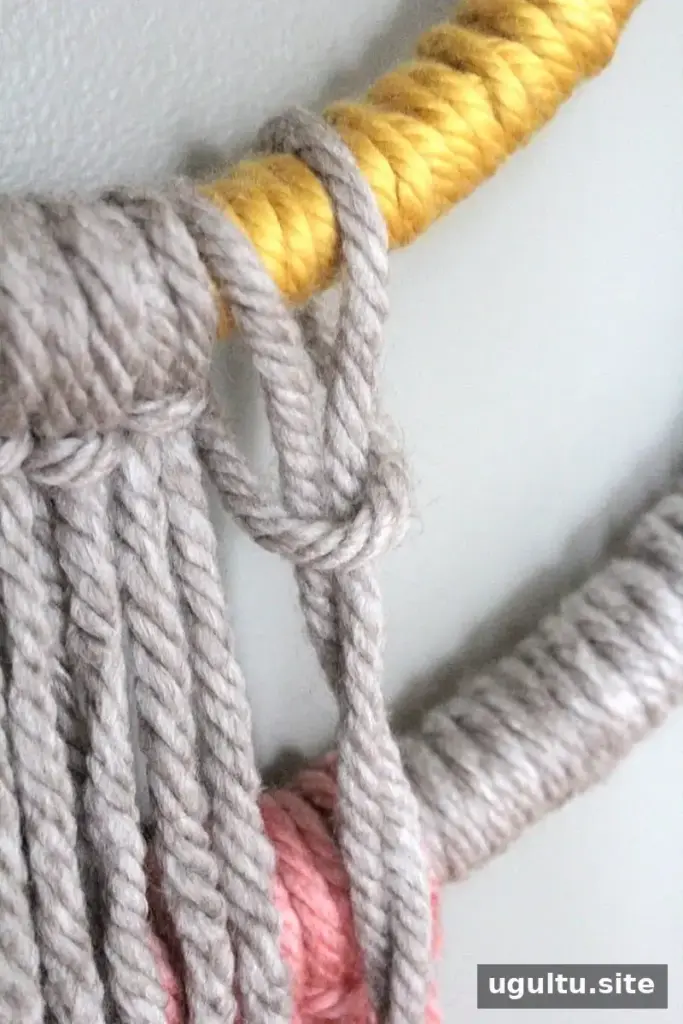
To make fringe, fold a length of yarn in half and drape the folded end over one of the curved shapes. Pass the loose ends through the folded loop and pull snugly. Repeat as often as you like, mixing colors or keeping the fringe consistent. Trim the ends evenly with scissors for a neat finish.
Finishing Tips
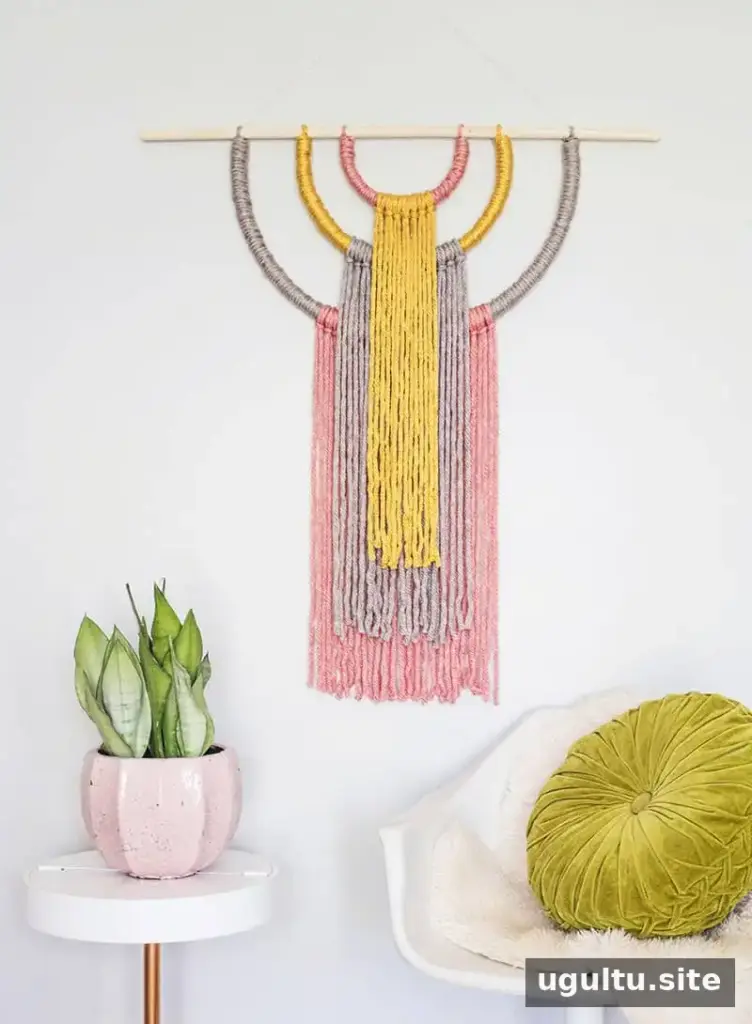
Step back from the wall before making final adjustments. If the fringe looks uneven, trim it gradually rather than cutting off too much at once. Keep the back of the piece tidy, and allow all glued sections to cool completely before hanging. The finished statement wall hanging adds a handmade touch and a pop of color to a plain space.
Craft by Katie.


