
 admin
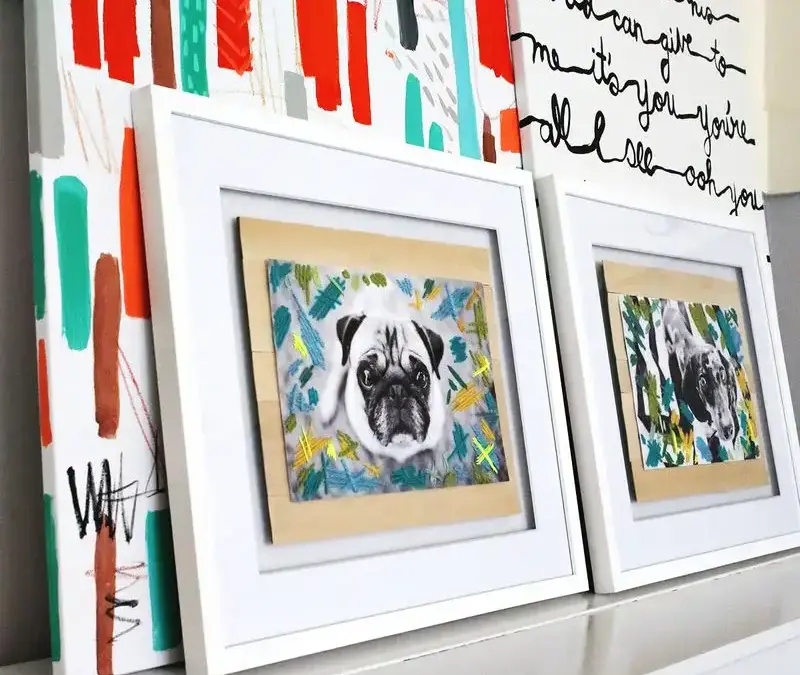
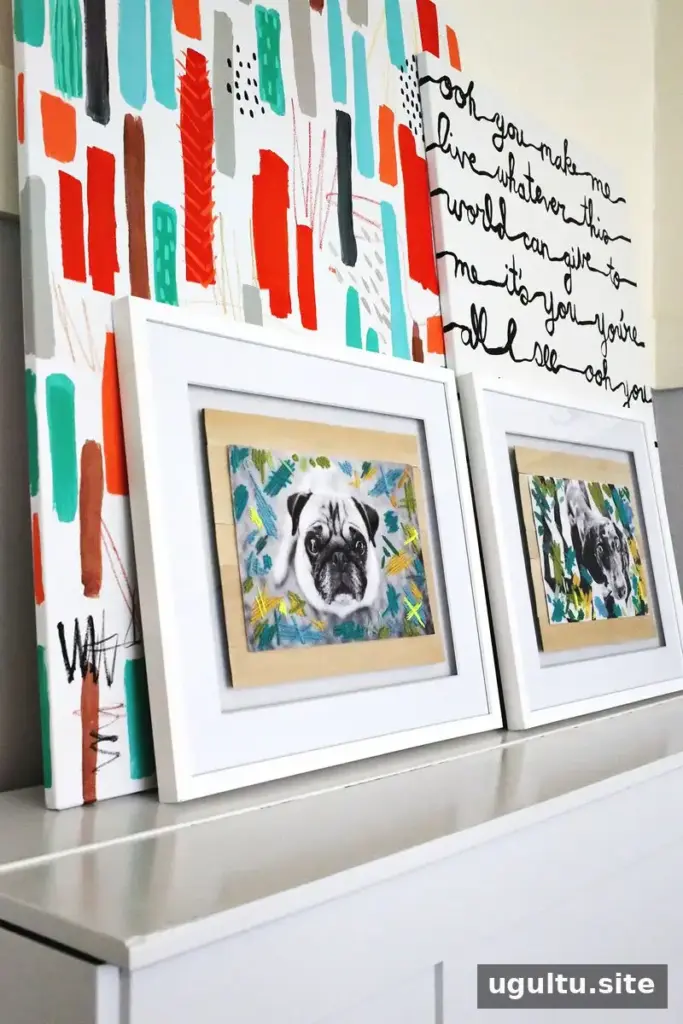
Stitched photo art turns a printed photograph into a colorful, textured piece by adding yarn and embroidery thread directly to the image. A black-and-white print makes a useful starting point because it lets the fiber colors stand out. Choose a favorite photo, gather a small selection of threads, and work at a relaxed pace as you build up an abstract design.
How to Make Stitched Photo Art
Step 1: Print your photograph
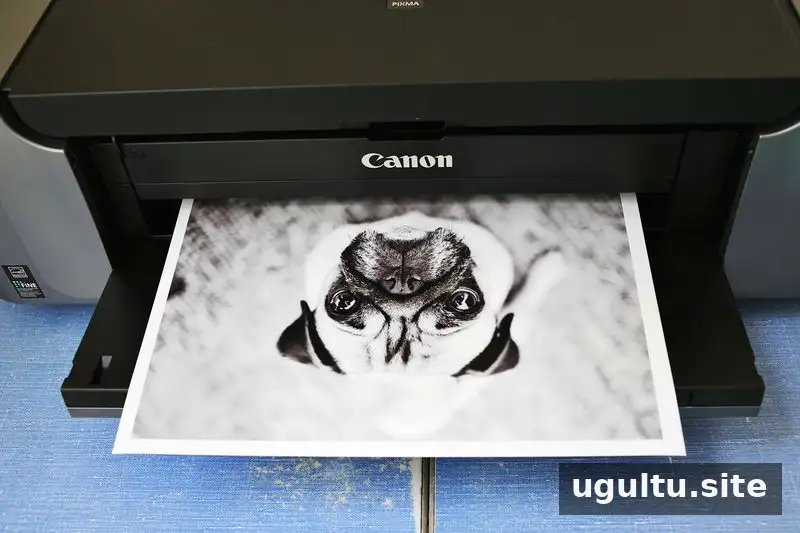
Print the image in black and white at the size you want for the finished artwork. In this project, two 8×12-inch photographs fit on one 13×19-inch sheet of photo paper. A semi-gloss finish was used. Before printing, check the paper size and orientation in your printer settings, and confirm which side of the paper should face up. Printer trays vary, so checking the instructions can help prevent printing on the wrong side.
Step 2: Plan the colors and begin stitching
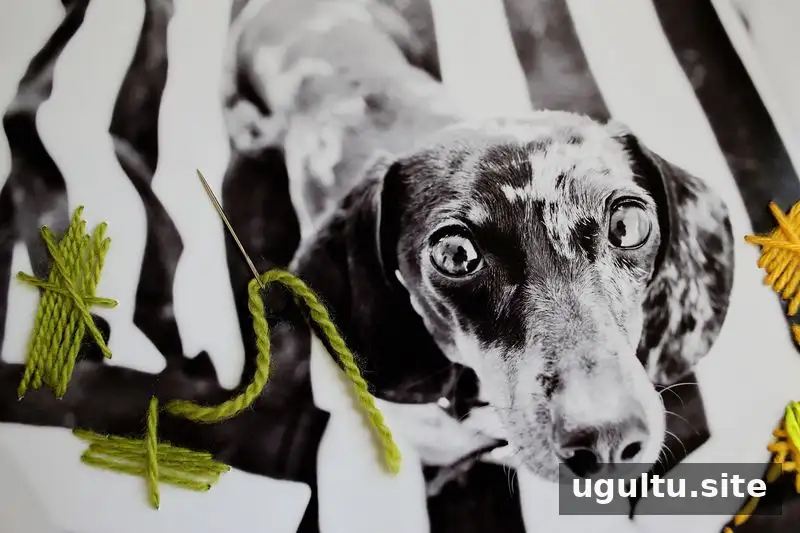
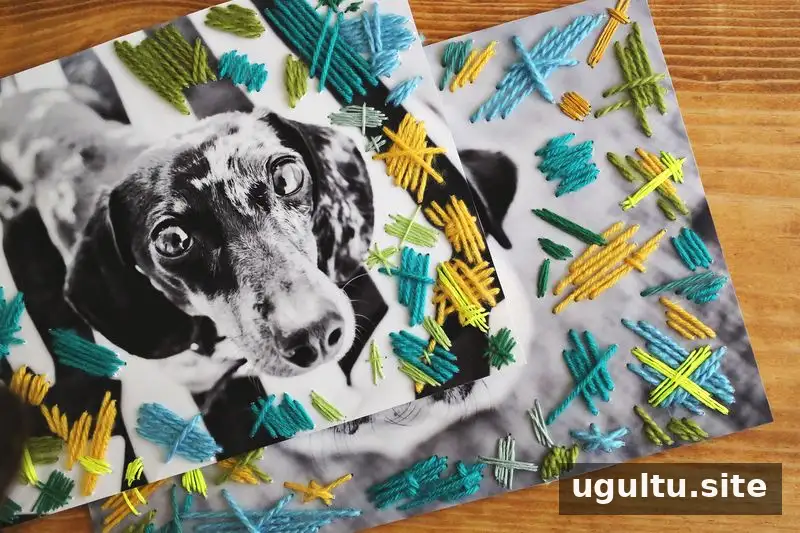
Use yarn and embroidery thread to add freeform stitches across the printed image. For a cohesive look, try limiting the palette to warm colors or cool colors. Place the fibers next to one another before you start so you can see how the shades work together.
Work gently: pulling thread too tightly may wrinkle or damage the paper. If you are unsure how the print will handle stitching, test your needle and thread on a spare print first. Each photograph in this project took about four hours to embroider, so it can be helpful to divide the work into shorter sessions.
Step 3: Fill the image with texture
Continue adding stitches through the open areas of the photograph. Mix stitch directions and styles, and overlap some colors to create depth. The design can be intentionally irregular; vary the spacing and length of the stitches rather than trying to make every section identical. Pause occasionally to view the piece from a little distance and decide where the image needs more color or texture.
Step 4: Frame the finished artwork
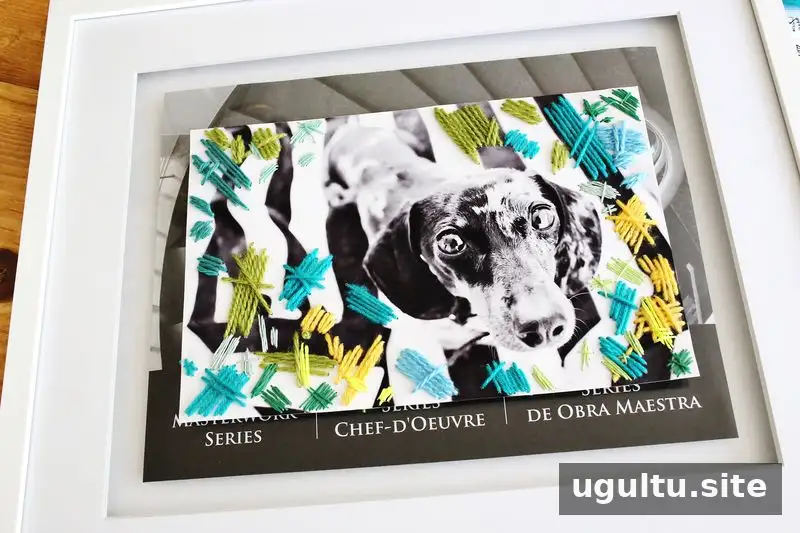
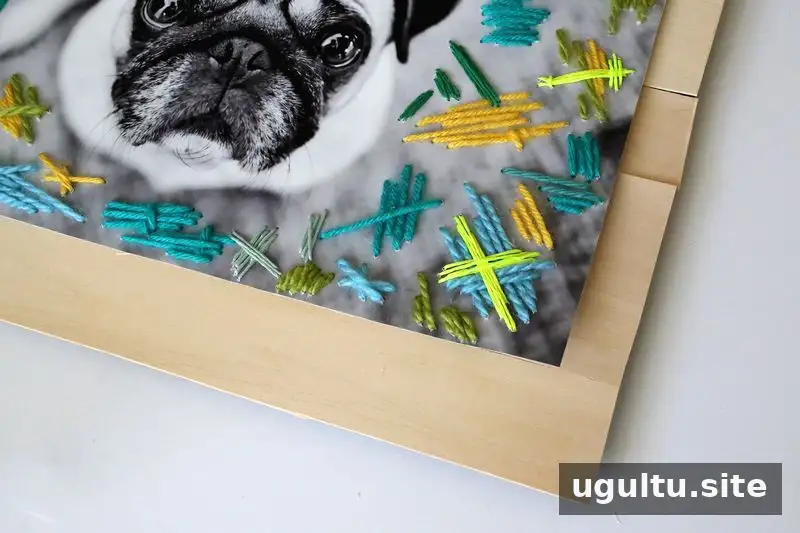
A floating frame can give the finished piece a clean display. If the frame is slightly larger than an 8×12-inch print, narrow balsa wood strips placed behind the photograph can help fill the extra space and add a simple detail. Measure the print and frame before assembling, and make sure the photograph sits evenly.
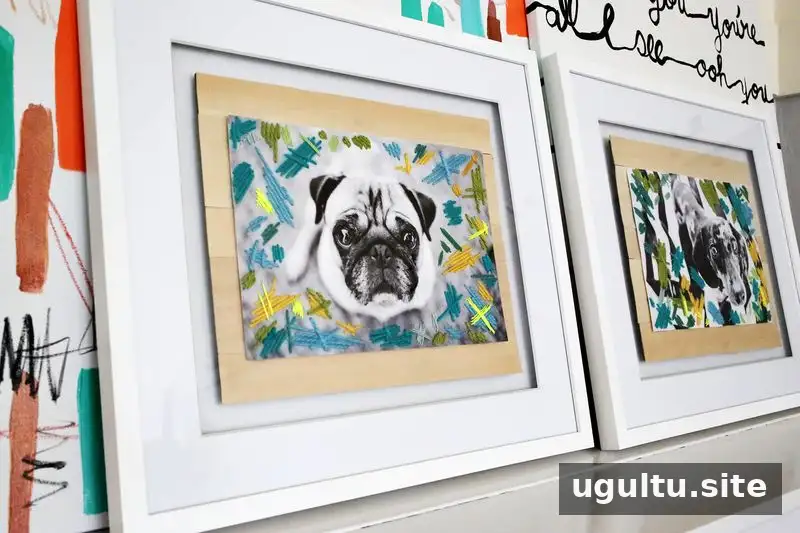
Once the stitching and framing are complete, the artwork is ready to display. Keep it away from damp areas and direct sunlight to help protect the paper and fibers over time.
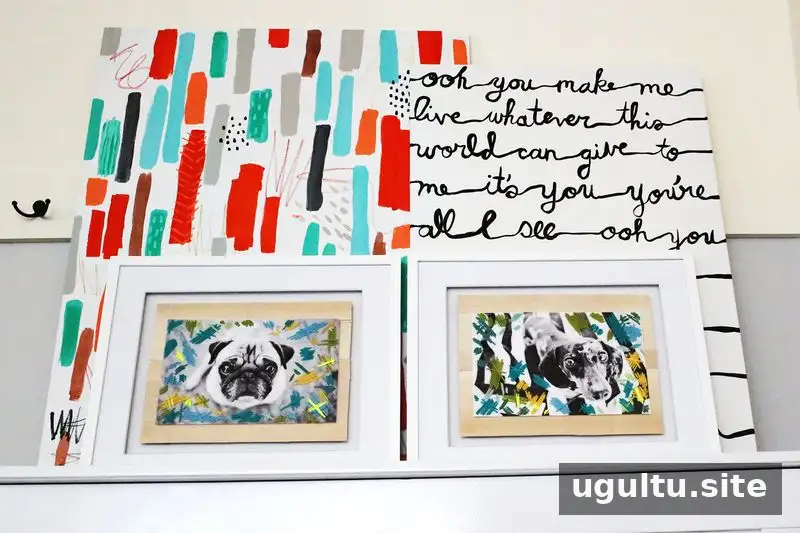
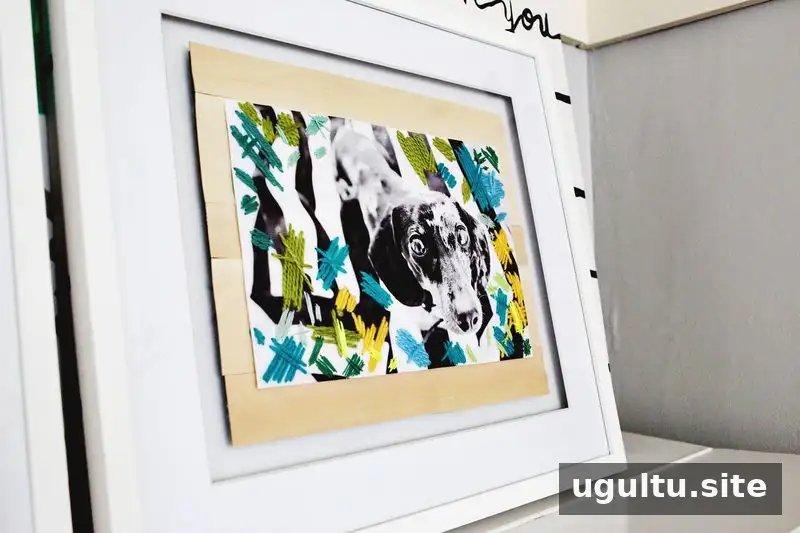
Choose a photograph with areas that can accommodate colorful stitches, then adapt the palette and stitch patterns to suit your style. Stitched photo art is a simple way to turn a familiar image into a one-of-a-kind decorative piece.
Project by Elsie.


