admin
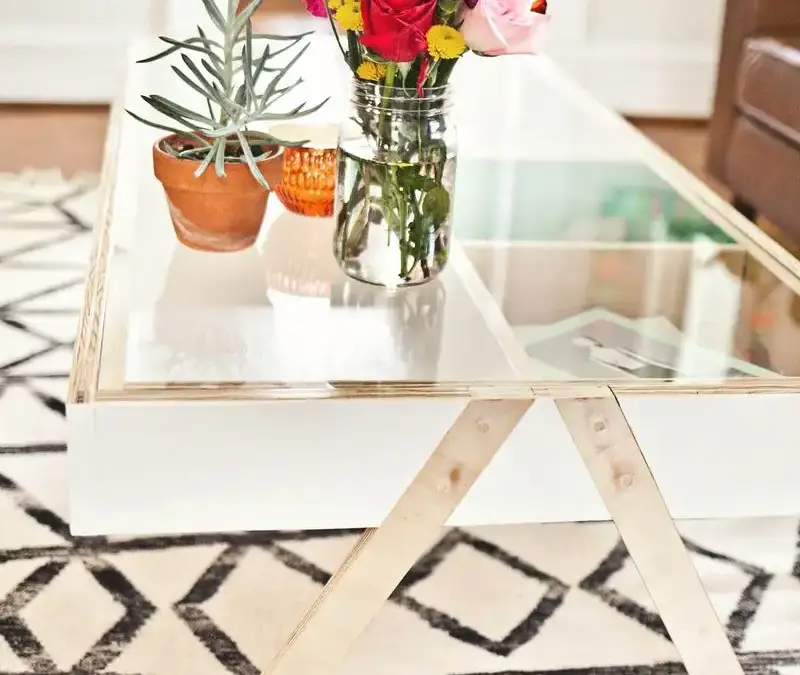
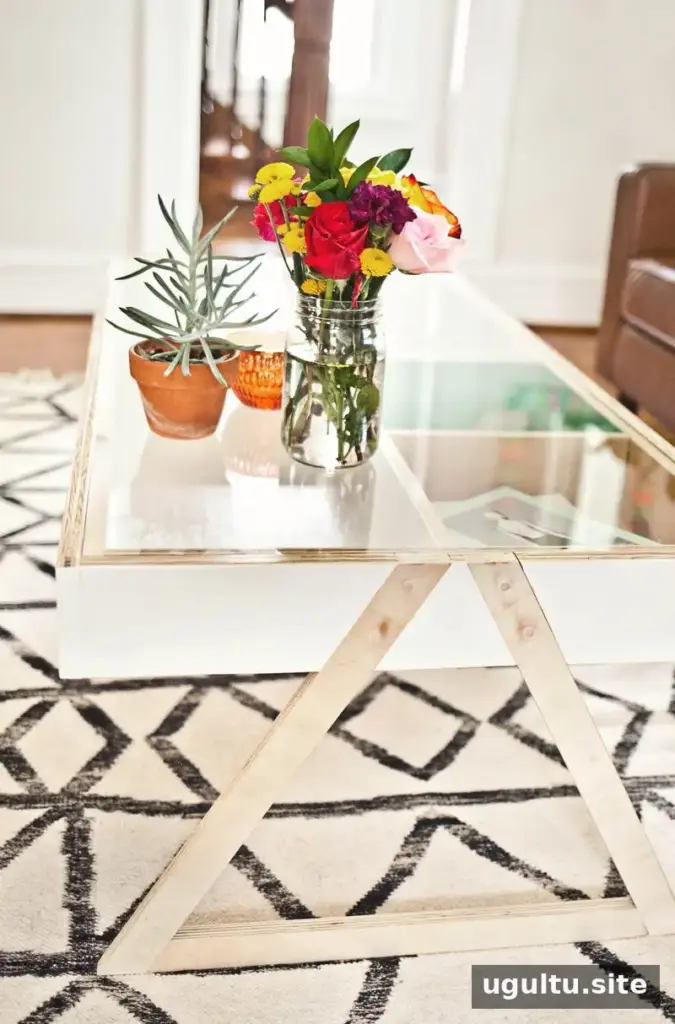
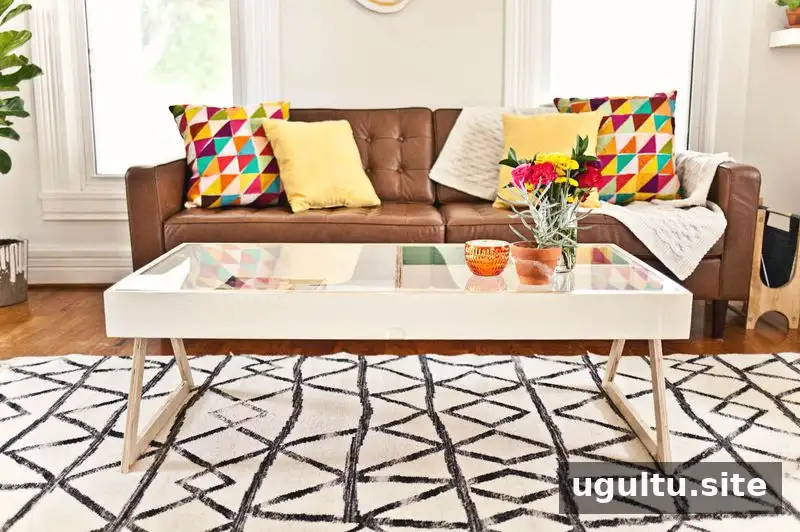
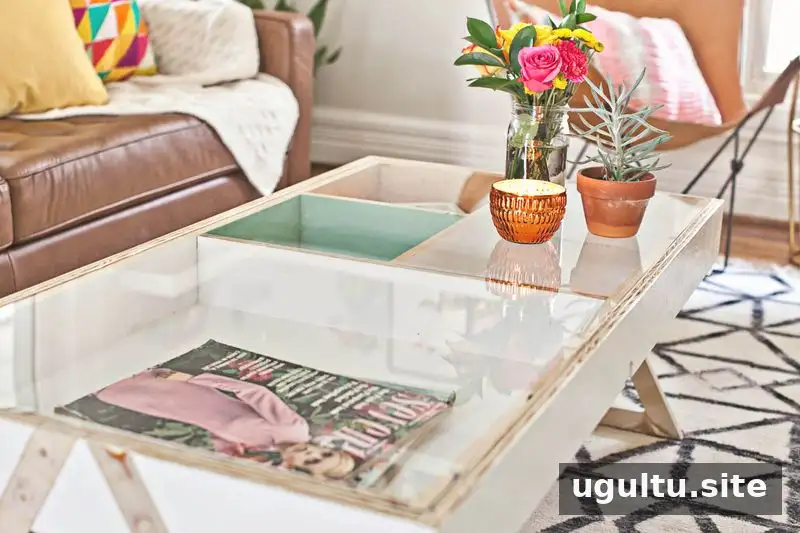
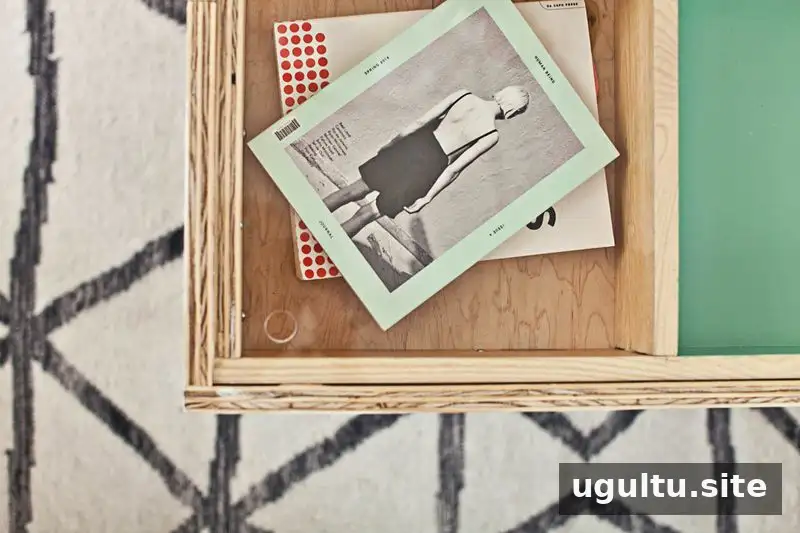
A Storage Coffee Table with Acrylic Top can combine useful hidden compartments with a light, modern surface. This DIY design pairs a plywood box and angular legs with a clear acrylic sheet, creating a practical table while leaving the construction details visible. The project also offers a way to use different wood materials together for a layered, workshop-made look.
The dimensions were planned around the acrylic sheet available, so the sheet did not need to be cut. If you are making your own version, measure the room and the acrylic first, then plan the box and leg placement around those measurements.
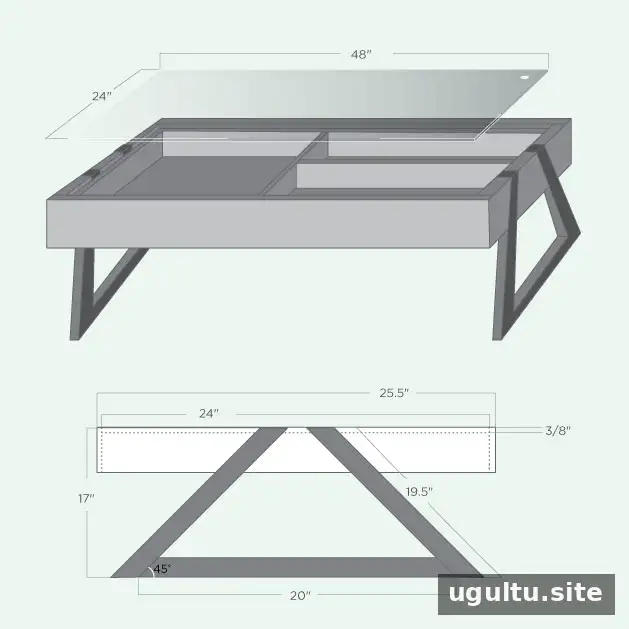
Materials and tools for the storage coffee table
The original build used a mix of materials to create visual contrast. Choosing plywood and lumber you already have can work well, provided the pieces are suitable for the parts they will form.
Materials
- 3/4-inch hardwood plywood. The build also used poplar hardwood, sheathing plywood, pine board, and 1/8-inch plywood for the bottom.
- Clear acrylic sheet, approximately 3/8 inch thick.
- Paint or stain.
- Wood screws and wood glue.
- 3/8-inch pine dowel rod.
Tools
- Table saw and miter saw.
- Sander, clamps, and utility knife.
- Kreg pocket-hole jig.
How to build a storage coffee table with acrylic top
1. Sketch and assemble the legs
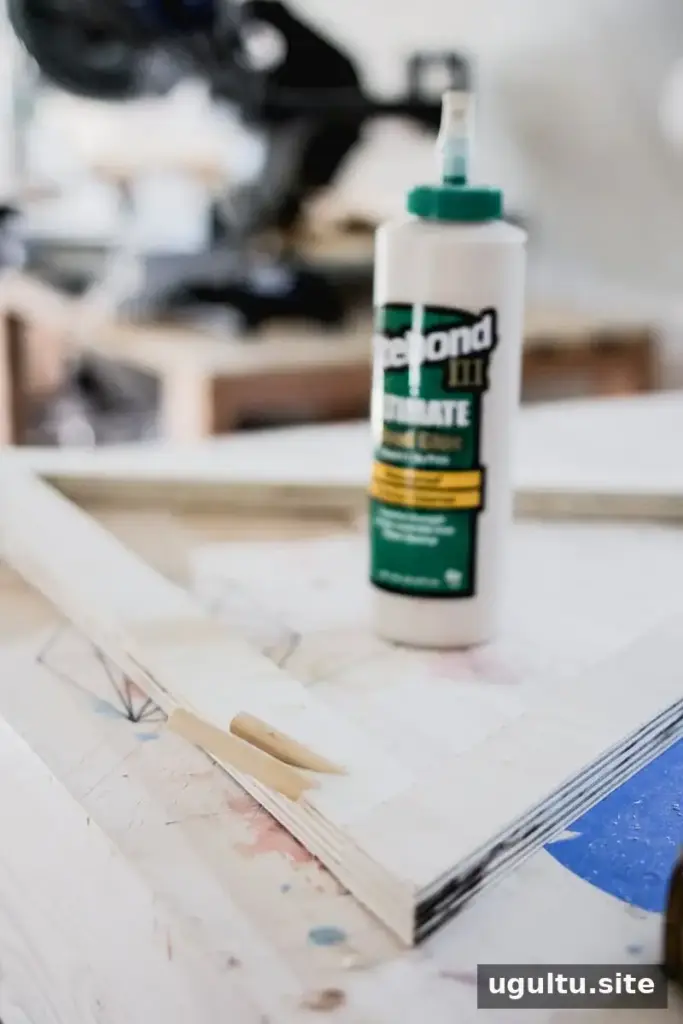
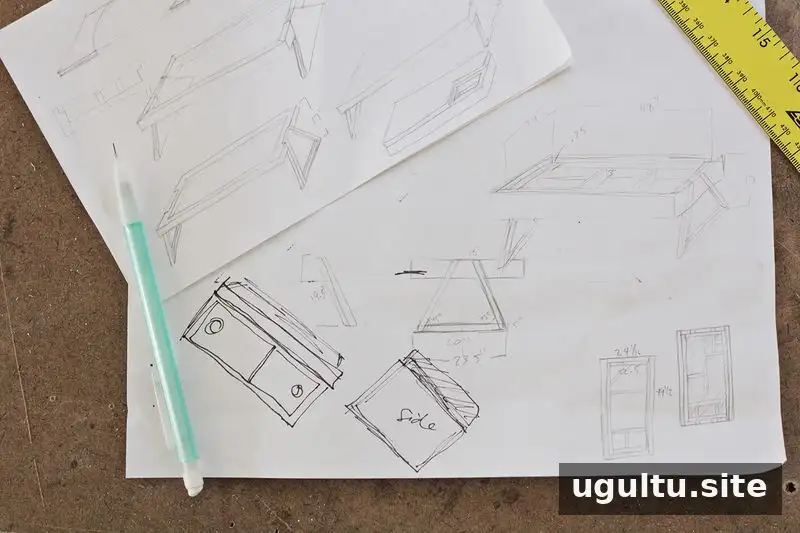
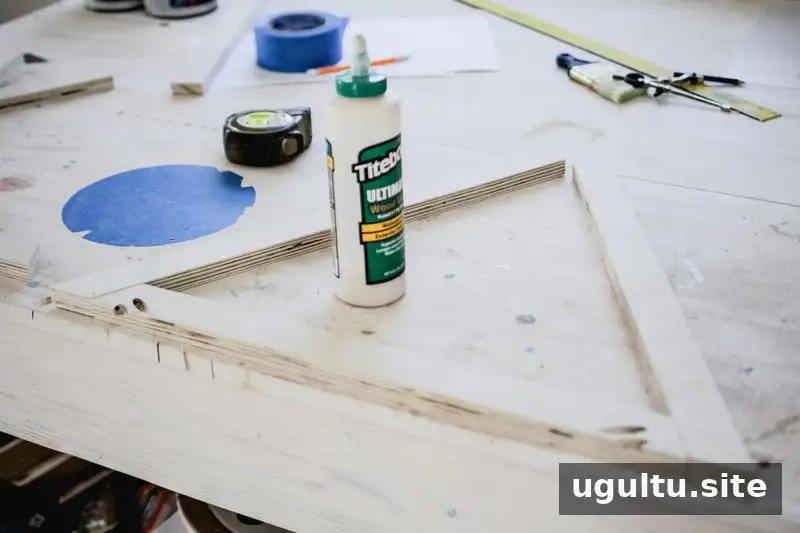
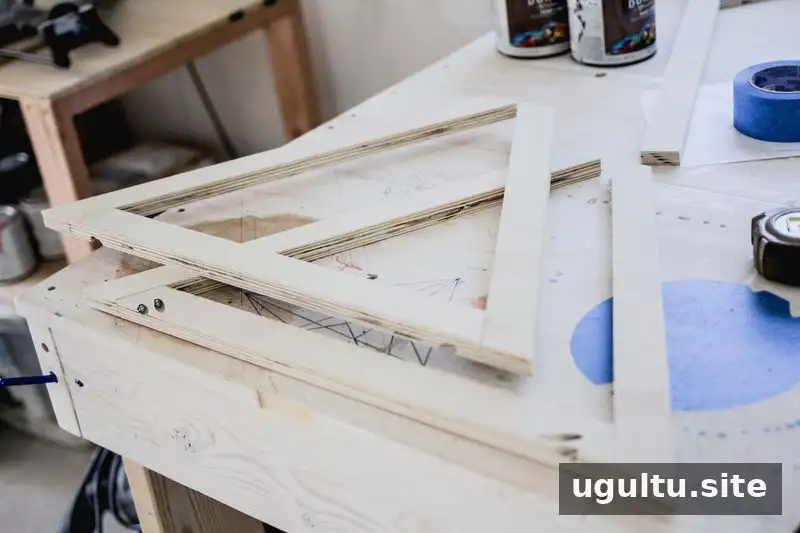
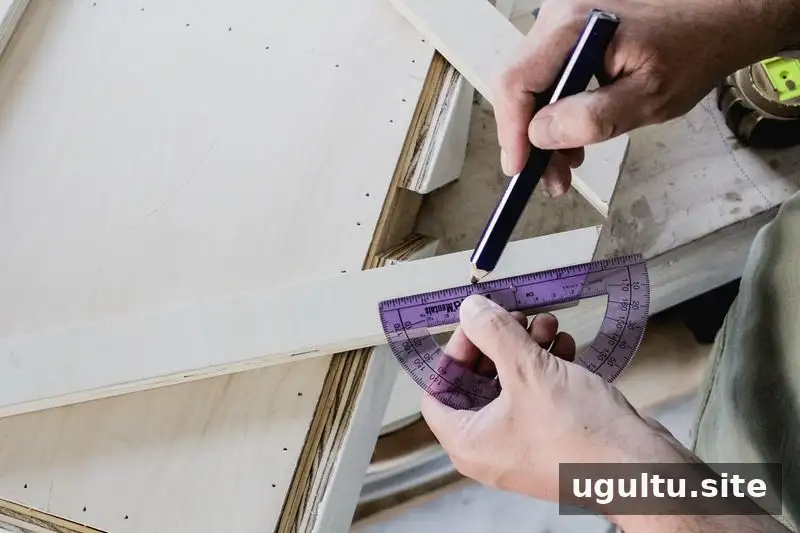
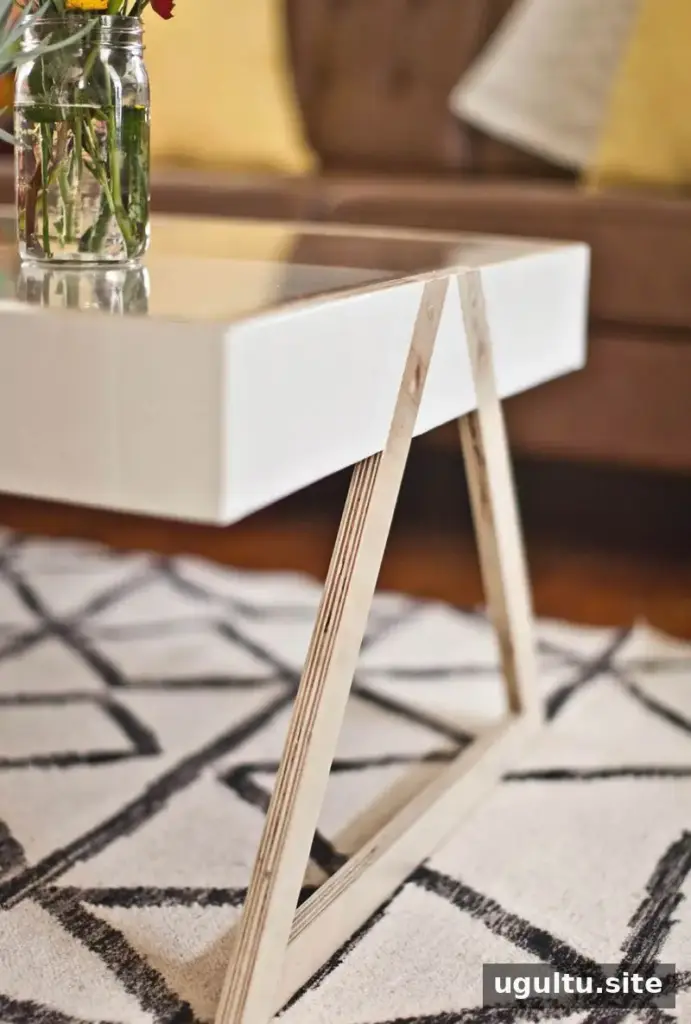
Start with a sketch and rough dimensions before cutting. Rip 1.5-inch strips from poplar plywood and arrange them into the angular leg shapes shown in the project diagrams. Join the pieces with pocket-hole screws and glue. Add 2-inch lengths of 3/8-inch dowel with glue, then trim and sand them flush once the glue has dried.
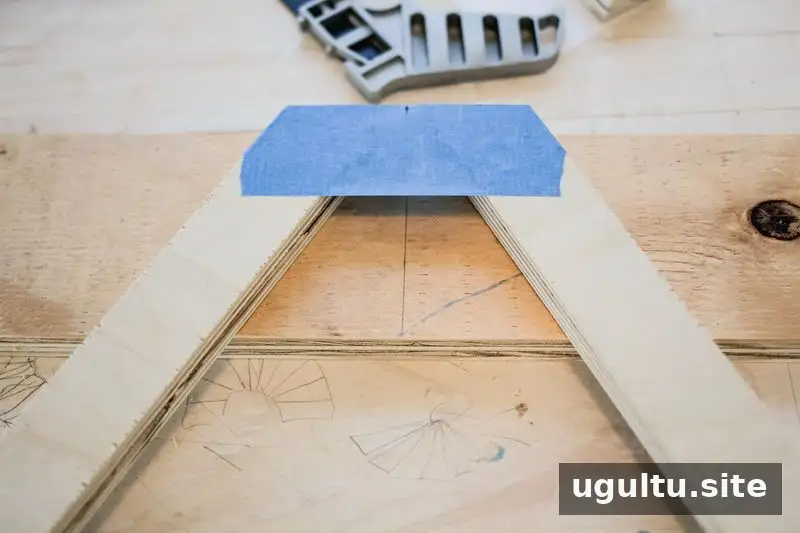
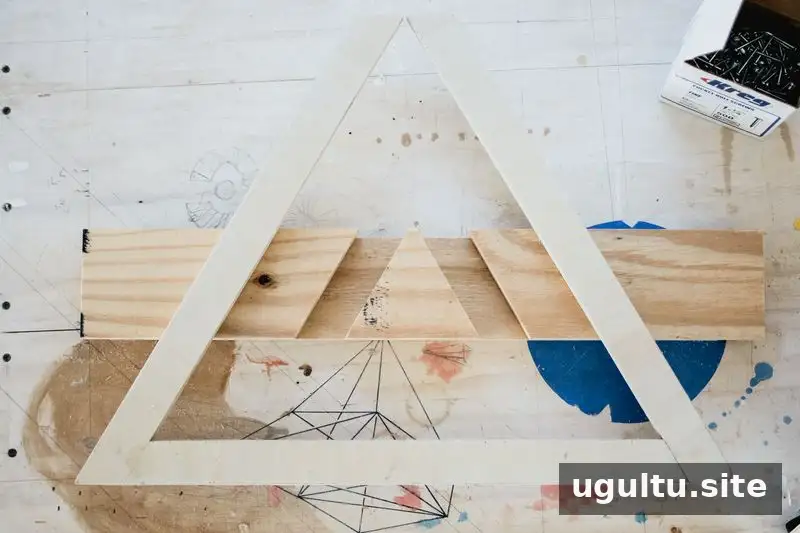
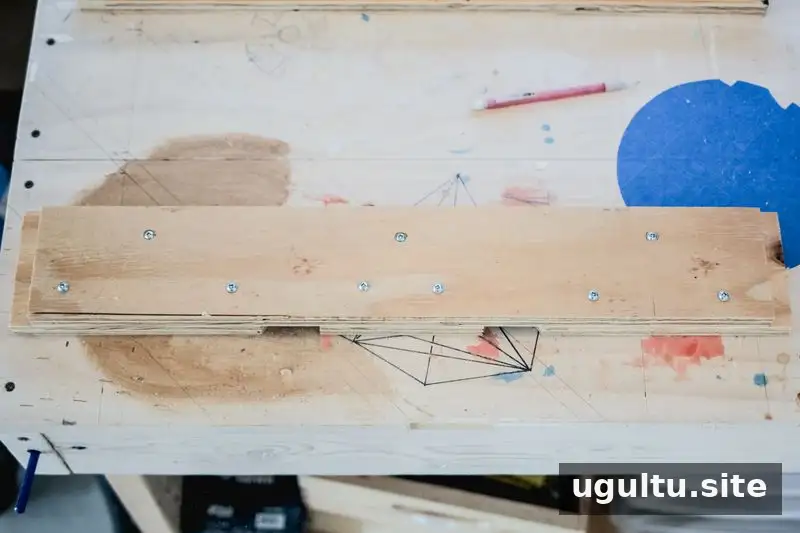
Practical tip: Check the angles and matching leg dimensions before assembly. Consistent legs make it easier to fit the supports and keep the finished table stable.
2. Make the leg braces and acrylic support
The leg braces also form the ends of the storage box and support the acrylic top. Build them from two pieces of plywood, tracing the leg positions and cutting snug notches so the legs fit securely. The acrylic rests on a lip inside the outer wall, allowing its surface to sit flush with the table’s edge.
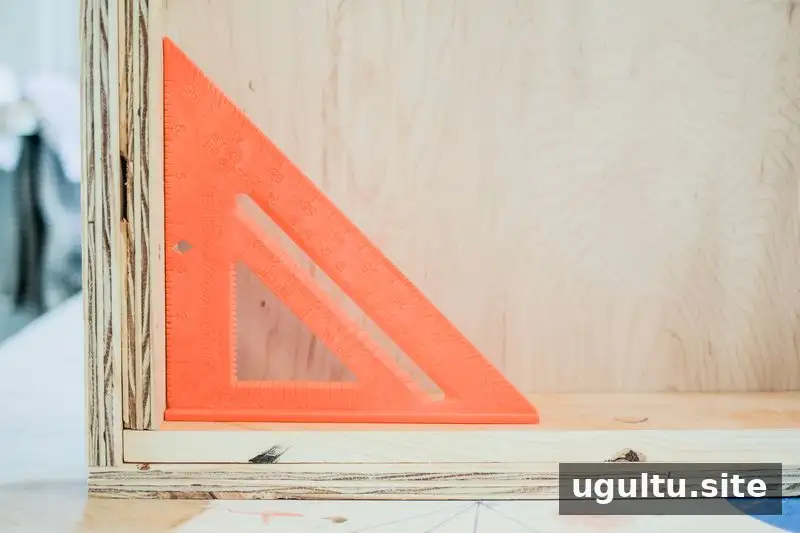
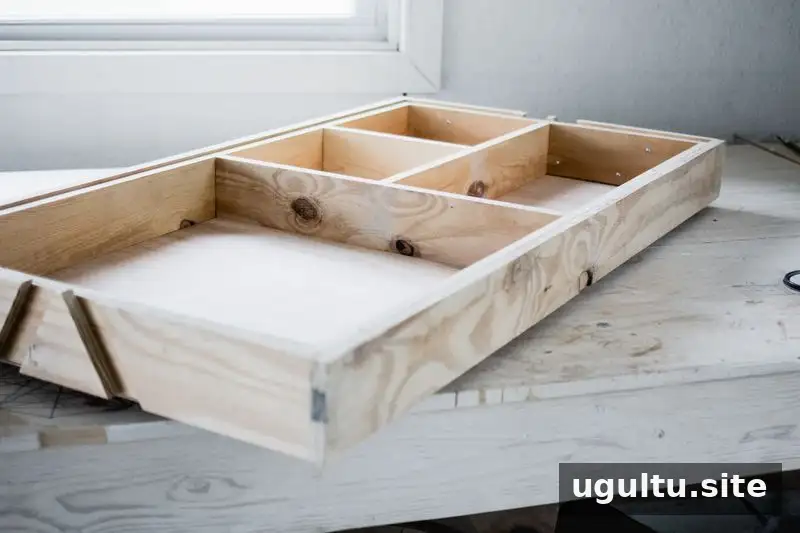
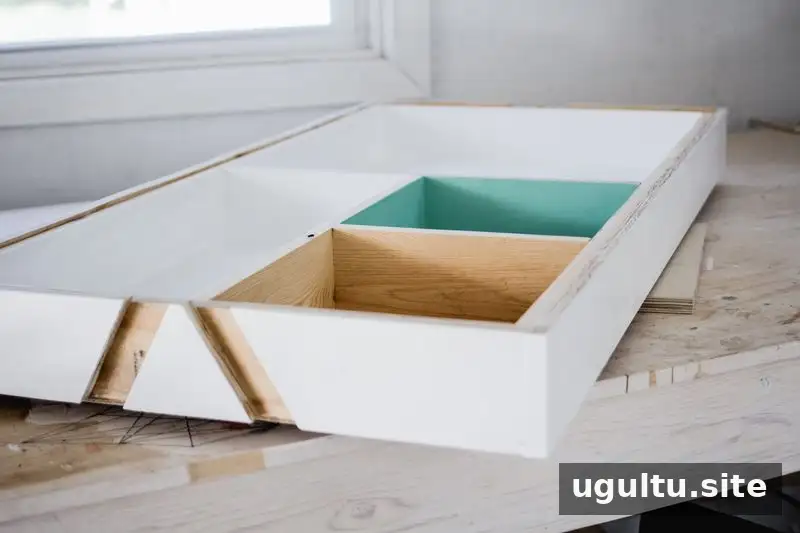
Plan the box around the acrylic sheet’s dimensions if you want to avoid cutting the panel. Test the fit as you work and keep the frame square; even a small difference in shape can prevent the top from seating properly.
3. Build the box and add compartments
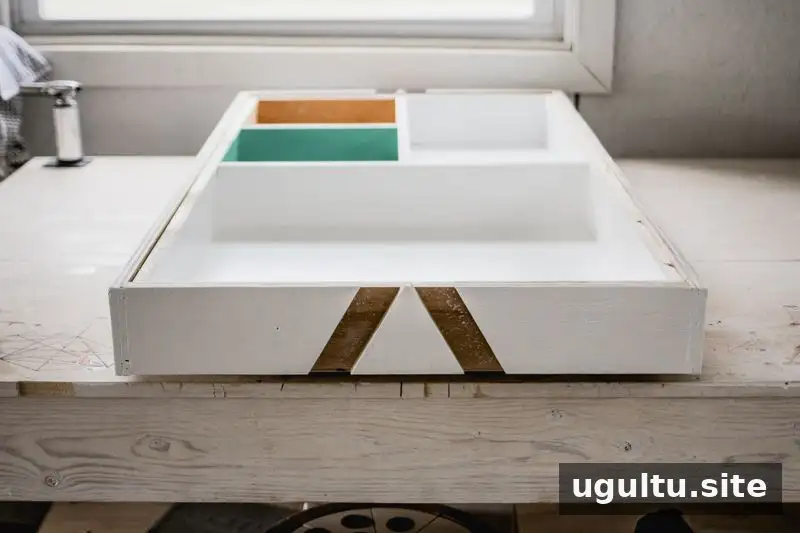
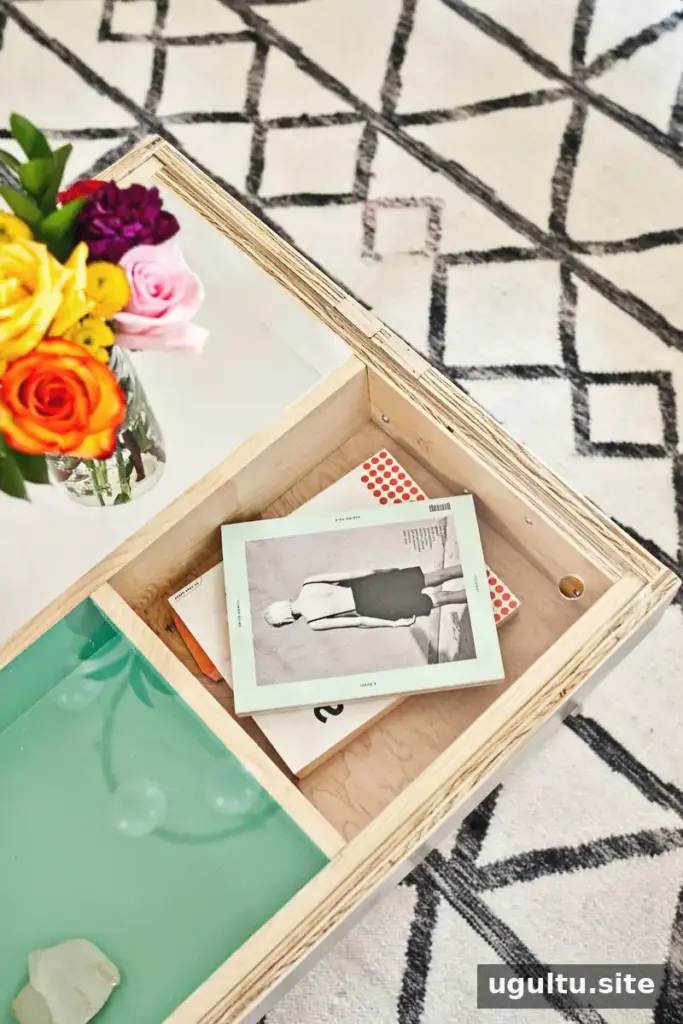
Connect the side and leg-support pieces to create a simple box. Attach the 1/8-inch plywood bottom, then add internal dividers to form the storage compartments. Paint the box before attaching the legs if you plan to finish the legs separately with polyurethane.
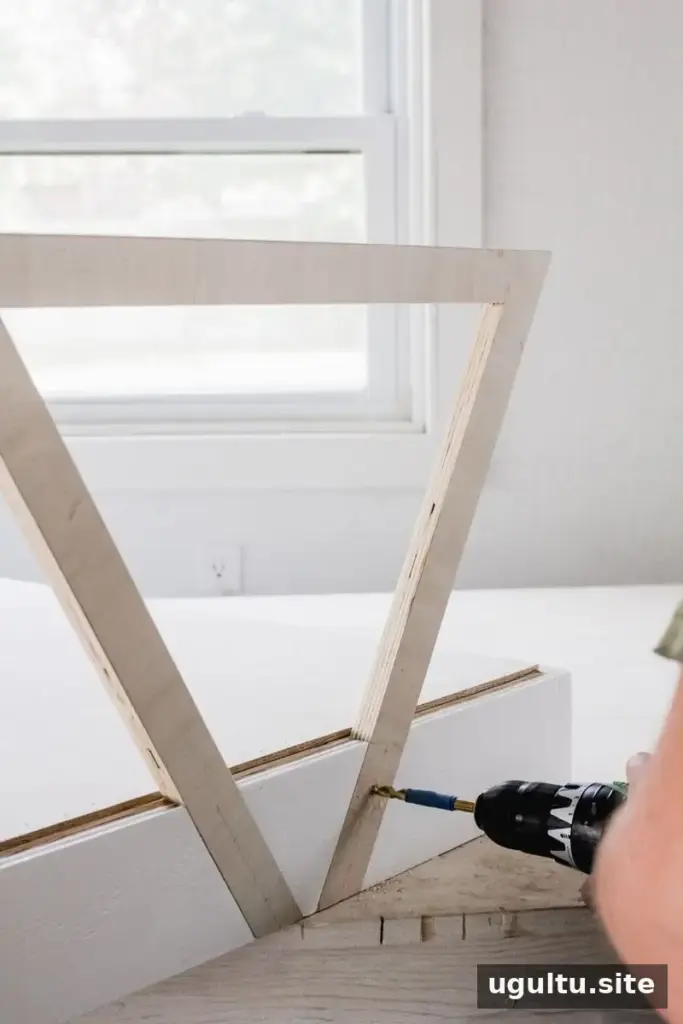
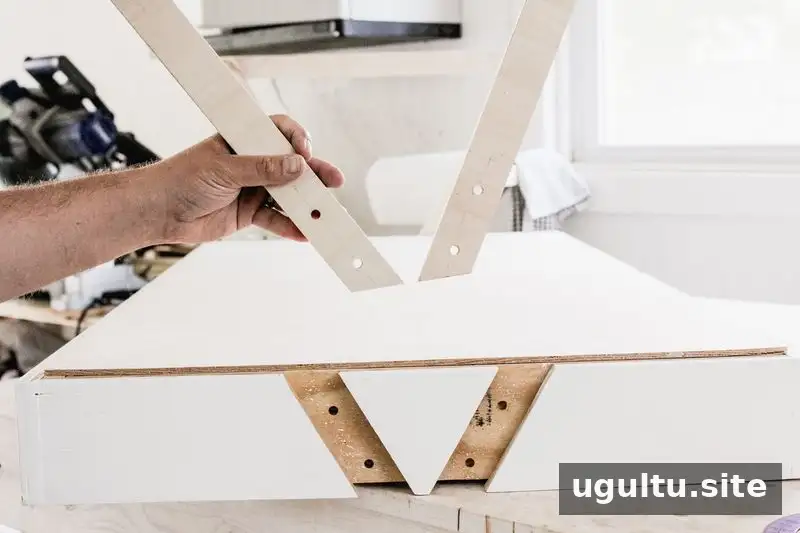
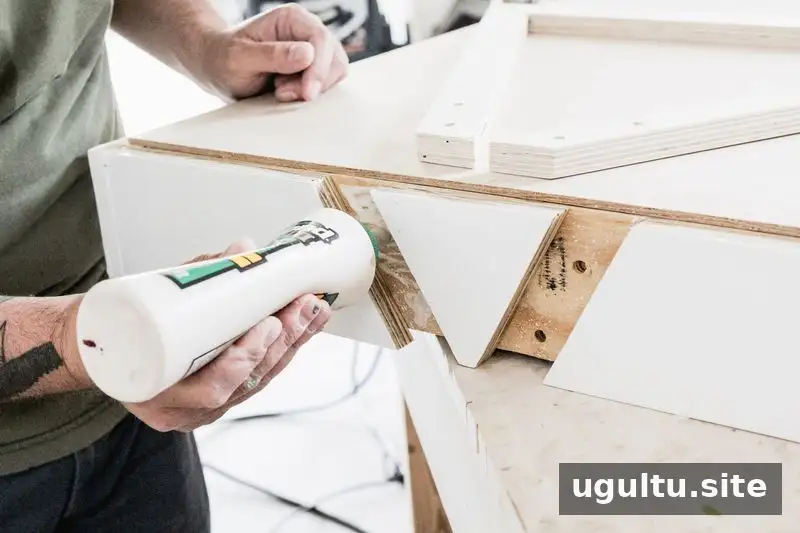
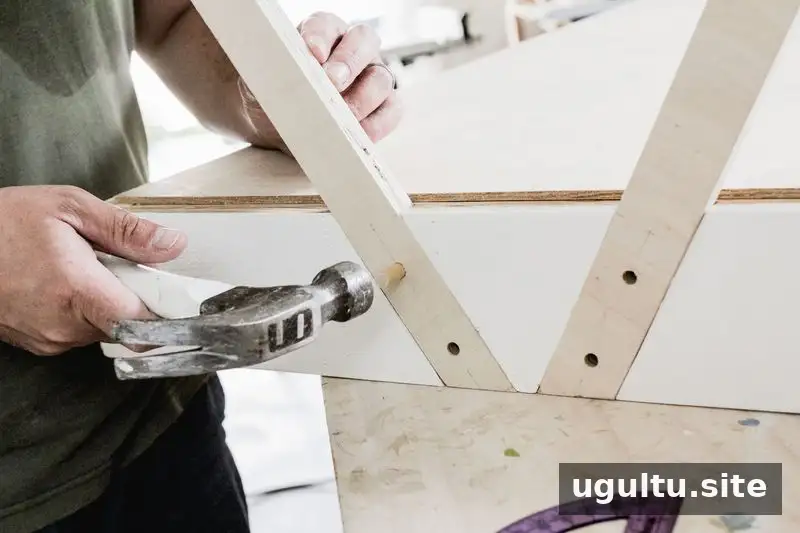
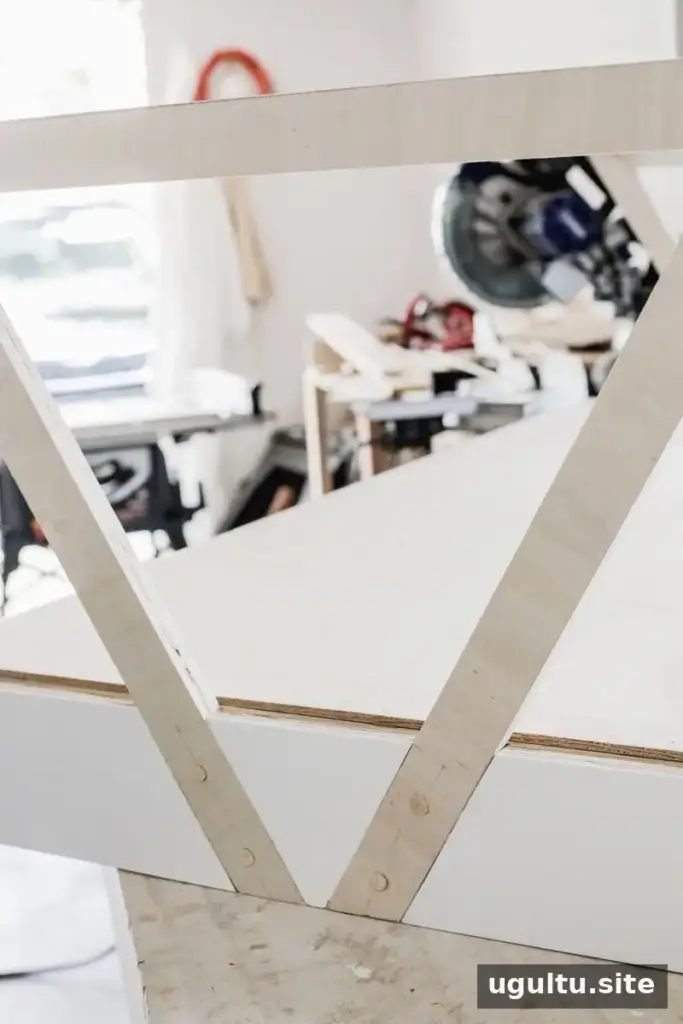
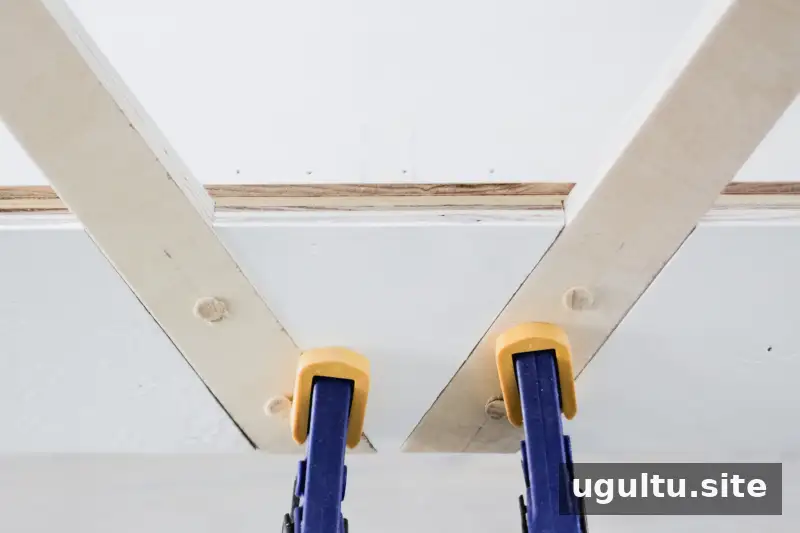
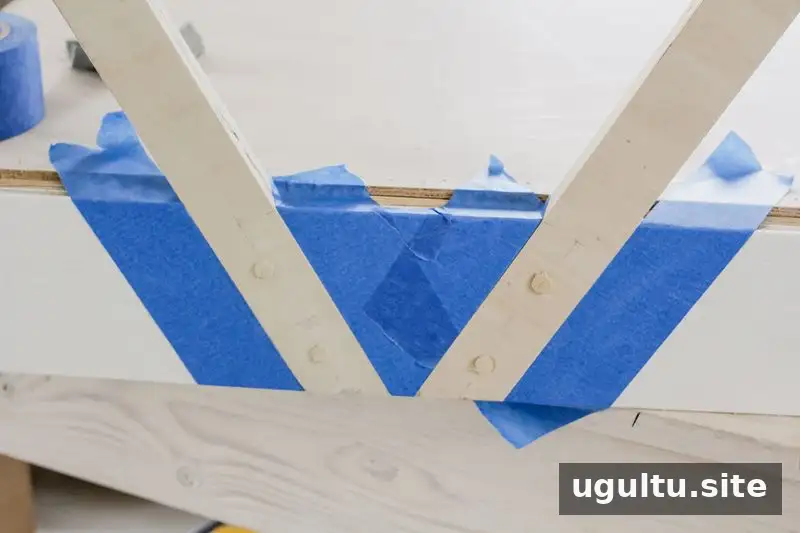
4. Attach the legs and finish the table
With the paint dry, attach the legs to the connecting walls. For this build, eight 1.25-inch dowels were used. Mark the center of the 3/4-inch-thick parts and drill two evenly spaced 3/8-inch holes on each side. A piece of tape on the drill bit at 1.25 inches can act as a depth guide and help prevent drilling through the material.
Remove the legs, apply wood glue, then reposition them. Tap the dowels into the holes, clamp the joints, and allow the glue to dry. Sand the dowels flush afterward. Turn the table over and apply a couple of coats of polyurethane, avoiding the surfaces that will touch the acrylic.

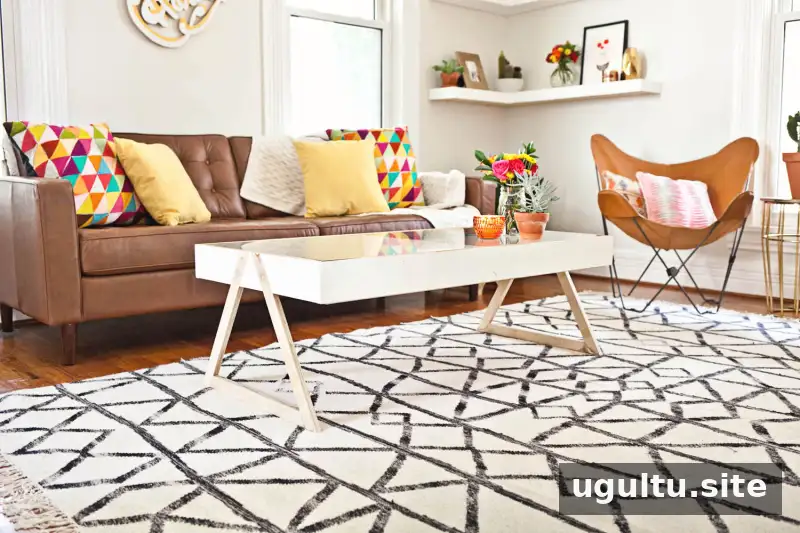
Fit and lift the acrylic top
Before installing the bottom panel or finishing the assembly, check that the box is square. In this build, correcting the alignment required removing the bottom plywood, so checking early can save time. If the acrylic needs trimming, score it against a straightedge with a razor blade or acrylic cutter, then apply controlled pressure to snap it along the scored line. Follow the cutter’s instructions and protect your hands and eyes while working.
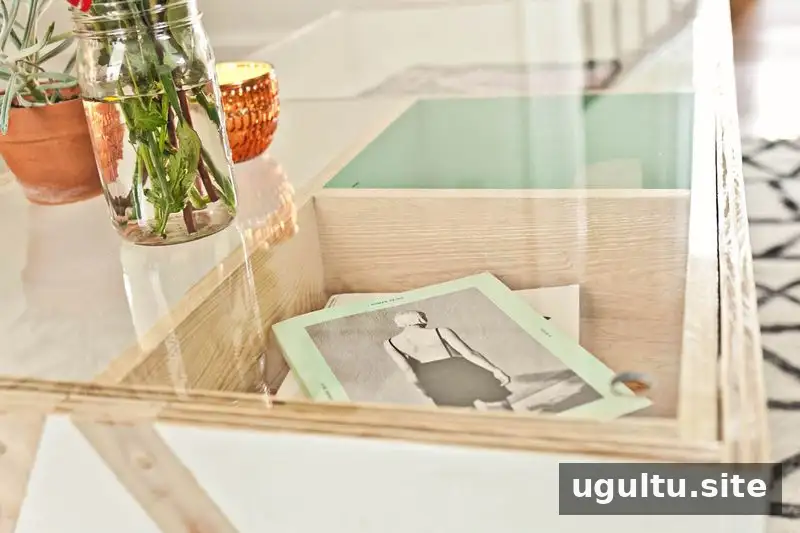
A 5/8-inch paddle bit was used to drill a hole in one corner of the acrylic, making it easier to lift the top and reach the compartments. Check the panel’s position before drilling so the hole is placed where it is convenient and does not interfere with the supporting lip.
Final notes
This Storage Coffee Table with Acrylic Top brings together geometric plywood legs, divided storage, and a clear cover. Measure the acrylic before building, verify that the box is square, and test the fit before applying the final finish. These checks help the top sit properly and keep the storage easy to access.
— Josh