
 admin
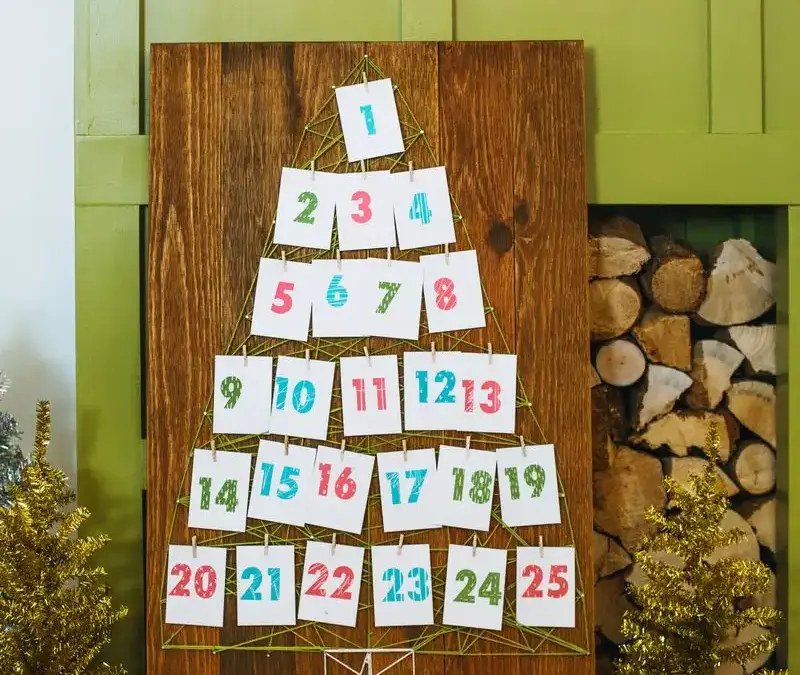
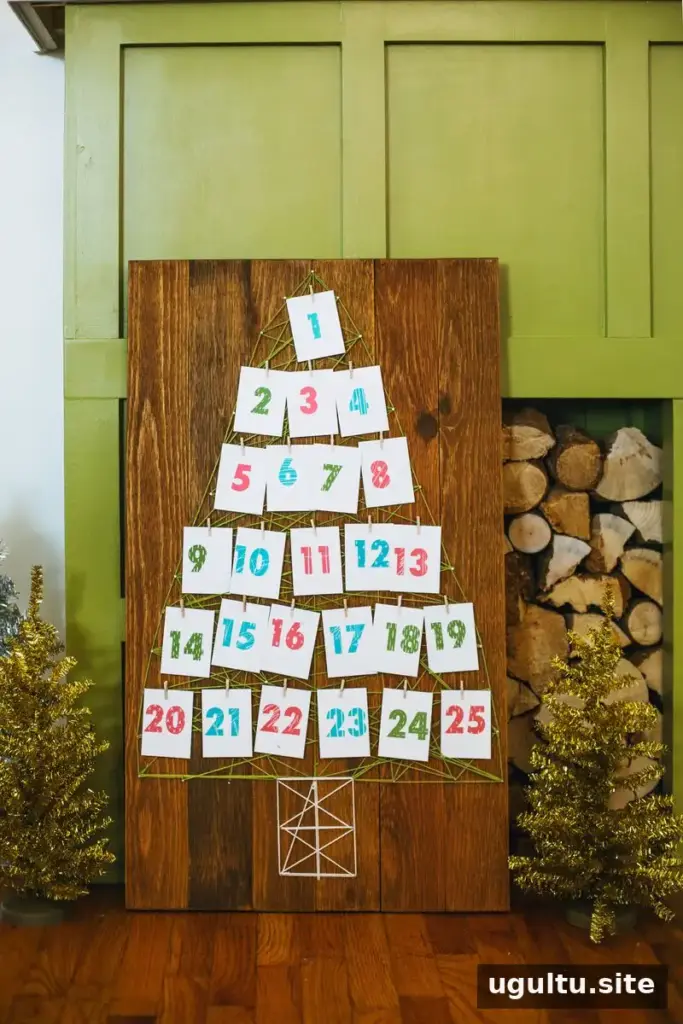
A String Art Advent Calendar turns the days before the holidays into a creative display and a reason to enjoy a small activity together each day. Fill numbered envelopes with ideas that suit your household, such as a recipe to make, a place to visit, or an album to listen to over dinner. The calendar can be personalized to fit different ages and routines.
Plan your String Art Advent Calendar
Before you begin, decide what to put inside the envelopes and how you want to arrange them on the board. The daily prompts do not have to be elaborate: simple activities can make the countdown feel special without adding a lot of planning. Choose ideas that are realistic for your schedule.
The project uses a wooden backing, nails, string, and numbered envelopes. The finished board is about 2 feet by 3 feet. If you are comfortable using a hammer and nails, the backing can be assembled from 3-foot planks; another option is a piece of plywood already cut to the desired size.
Print numbers on envelopes
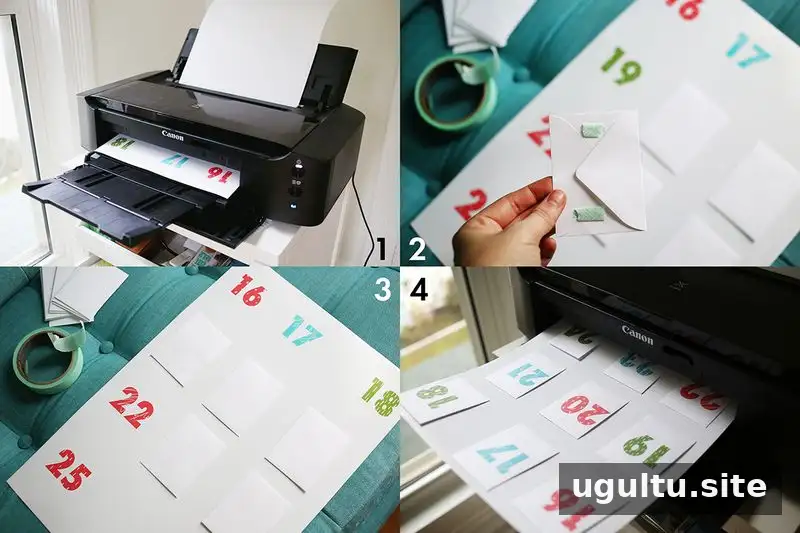
To position numbers neatly, first print them on a regular sheet of photo paper. This test sheet acts as a placement guide and lets you check the spacing before printing on the envelopes. Make a note of which edge of the paper enters the printer first so the numbers face the correct direction on the second pass.
- Print the numbered design on photo paper and check that the numbers are spaced without overlapping.
- Tape an envelope over each printed number. Cover the number completely so it prints in the intended position.
- Feed the covered sheet through the printer again to print the numbers onto the envelopes.
Use this method only with paper and envelopes that are suitable for your printer. Check the printer’s paper guidance before feeding the sheet, and keep the envelope edges flat to reduce the chance of a paper jam.


The printable is provided in two size options: 8.5 x 11 inches or 9 x 13 inches. Choose the version that fits your paper and printer settings, and verify the size before printing.
Make the string-art tree
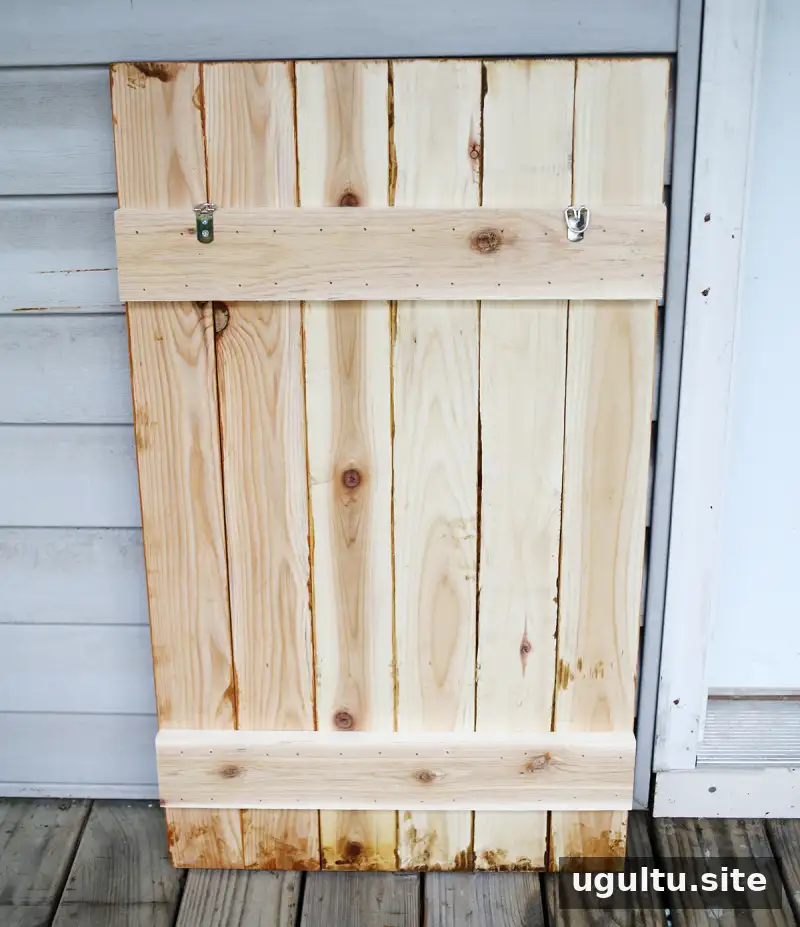
Use the board as the base for the tree design. The nail layout creates the outline and gives you points to wrap the string around. If building the backing from planks, make sure it is stable before adding nails. Work carefully with the hammer, and keep fingers clear of the nail points.
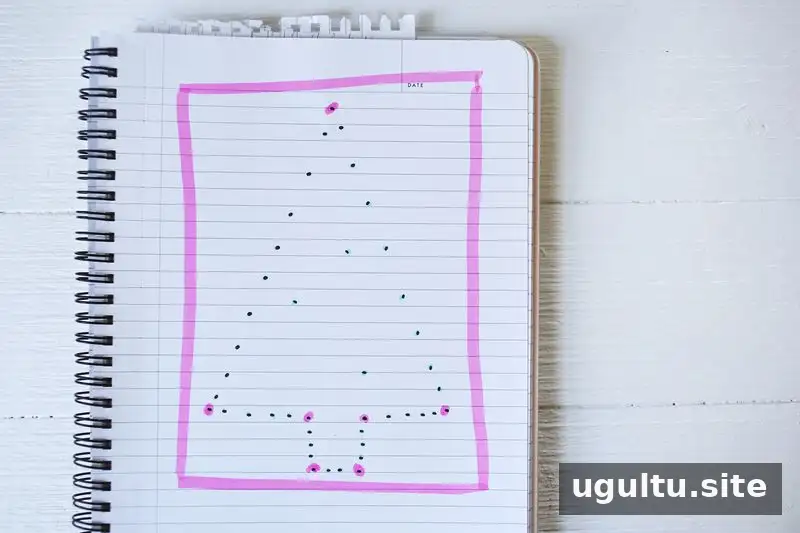
Start by placing the pink nails at the marked points. Then add nails in mostly straight lines between those points. Three additional nails in the middle provide more places to wrap the string and help create a fuller appearance. Follow the sketch for the layout, and keep the spacing as consistent as practical.
Once the nails are in place, wrap the string between them to form the tree. Attach the numbered envelopes to the display so they are easy to find and remove as the countdown progresses.
Finish and personalize the calendar
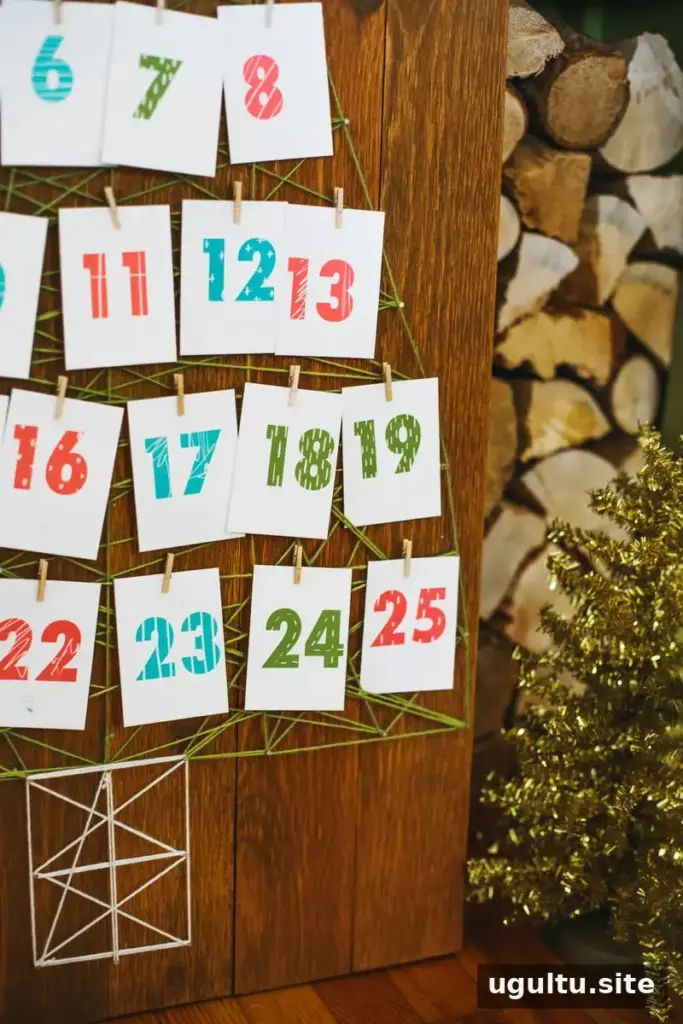

Before using the calendar, check that the envelopes are secure and that the string is firmly wrapped around the nails. Add activities that work for your family, and keep the daily plans flexible so the project remains enjoyable throughout the holiday season.
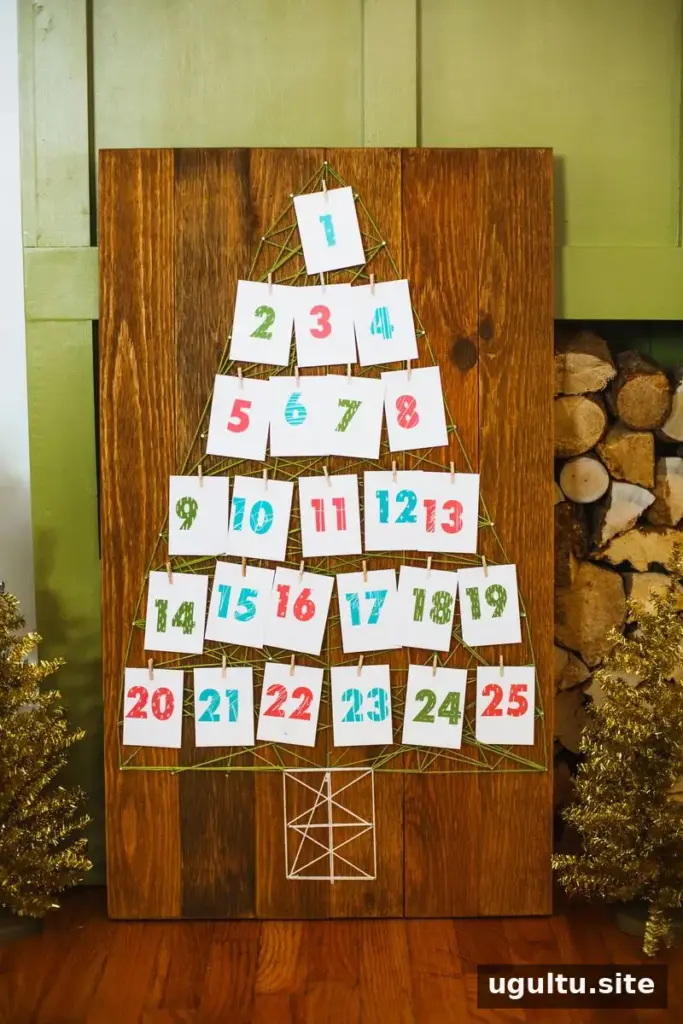
A String Art Advent Calendar combines a handmade seasonal decoration with a simple daily tradition. With a wooden board, a careful nail layout, printed envelopes, and activities chosen to fit your household, it can make the holiday countdown more personal. — Elsie


