admin
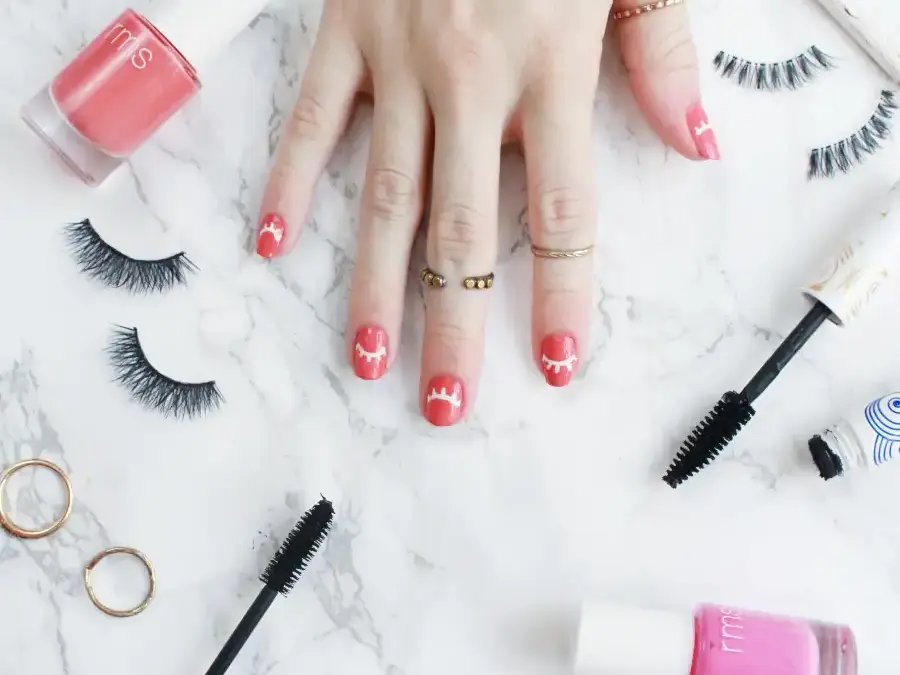
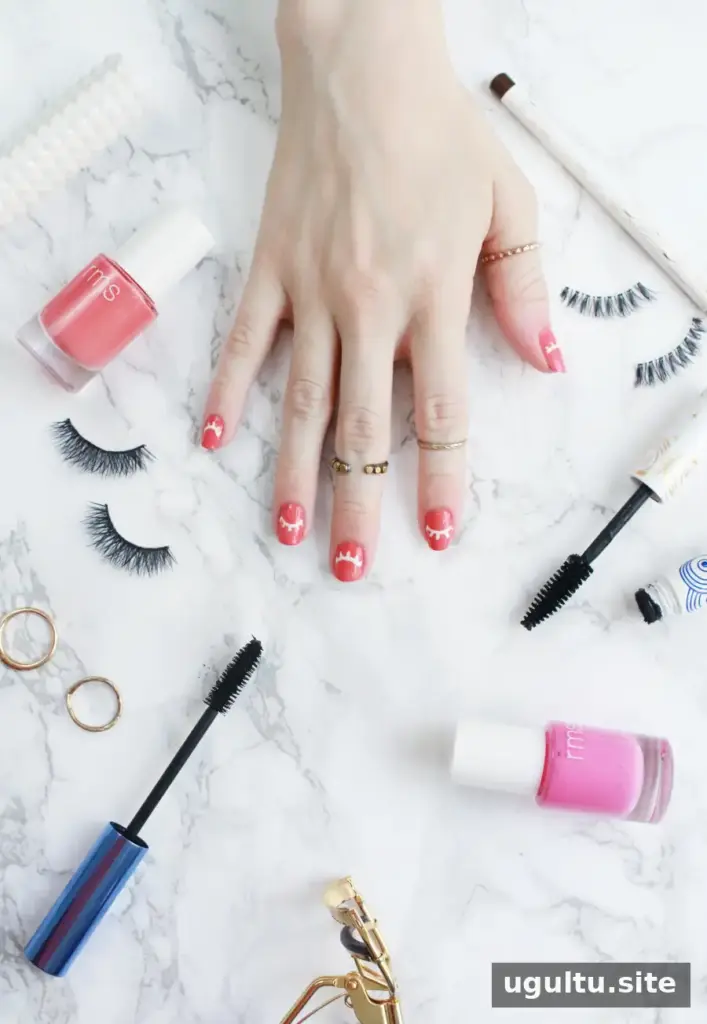
Wink nail art is a simple way to add a playful detail to an at-home manicure, even if you are new to nail art. A few curved lines and small lashes create the look, and the design works well on every nail or just one or two accent nails. A white gel pen makes the drawing process easier to control, especially over a soft nude or peachy-pink polish.
Supplies for Wink Nail Art
- Your favorite cream nail polish
- Nail polish remover
- A small, stiff makeup brush
- A white gel pen
- Base coat and top coat
Set out your supplies before you begin. Choose a polish color that contrasts with the white design, and make sure the gel pen is suitable for drawing fine lines. Avoid getting the pen ink or remover on irritated skin.
How to Create a Wink Manicure
Step 1: Apply the base color
Start with a base coat to help protect your nails from staining. Apply two coats of your chosen cream polish, allowing each coat to dry as directed. Nude and peachy-pink shades are especially effective because they let the white artwork stand out while keeping the overall look understated.
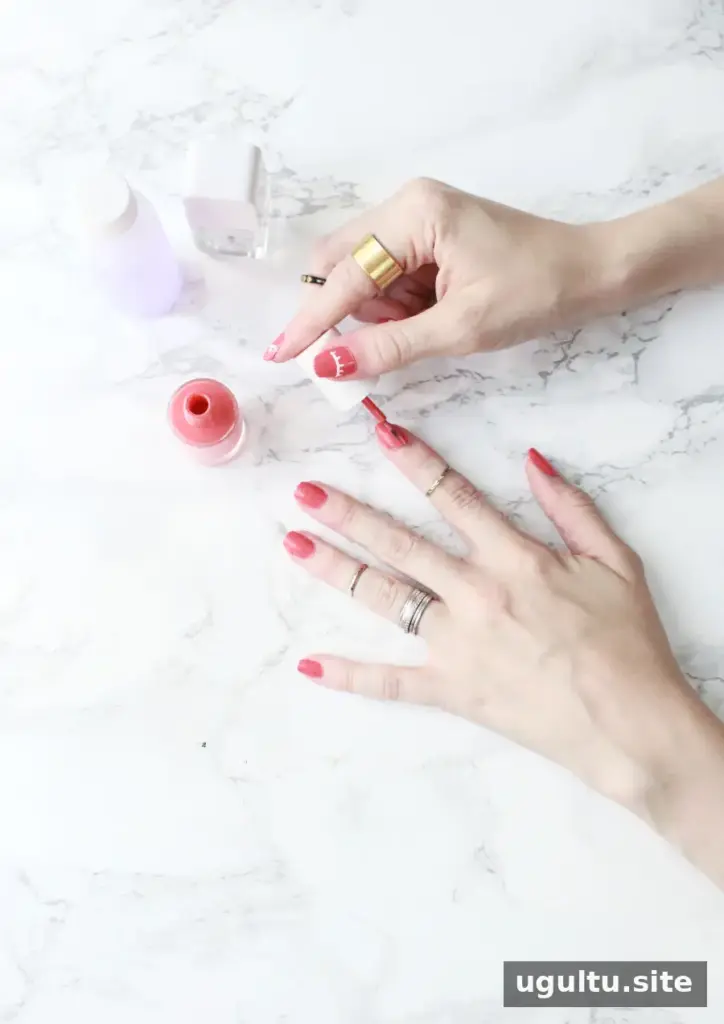
Wait until the polish is completely dry before drawing. Working on a dry surface helps prevent the design from smudging or dragging through the color.
Step 2: Draw the wink design
Test the gel pen on a spare piece of paper first. This helps get the ink flowing and gives you a chance to check that the tip is making a clean line. Draw a half-circle on each nail to suggest a closed, winking eye, then add a few short lashes along the curve.
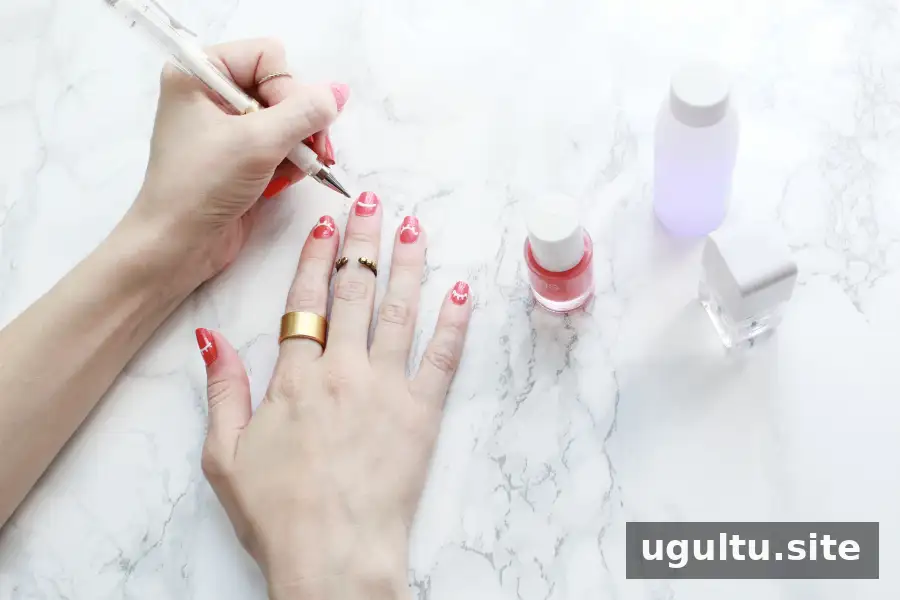
Use light pressure and small strokes for better control. If the pen starts to skip, scribble on the paper again before continuing. For a more minimal design, add the wink only to accent nails instead of repeating it across every finger.
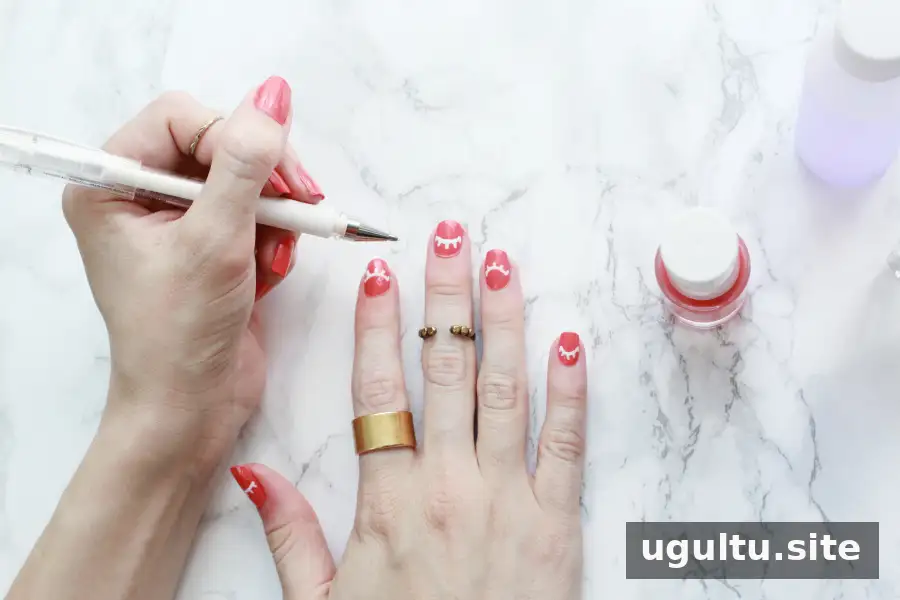
If a line lands outside the design, dip the small, stiff brush in polish remover and carefully tidy the area. A narrow brush gives you more precision than wiping around the nail, particularly near the cuticles. Use only a little remover at a time so you do not disturb the finished artwork.
Step 3: Seal with top coat
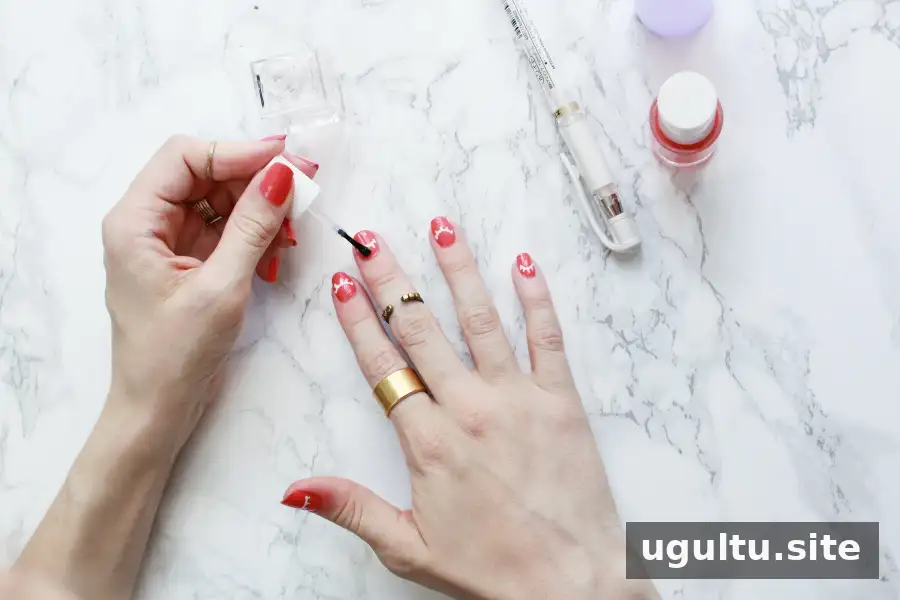
Once the drawing is dry, apply a top coat over the entire nail. This step helps seal the gel-pen design, adds shine, and can reduce early chipping. Brush gently over the artwork rather than repeatedly going back and forth, which may smear the lines.
Finishing Tips
Let the top coat dry fully before returning to everyday activities. If you are trying this technique for the first time, practice the curved line and lashes on paper before drawing on your nails. You can also coordinate your nail color with your lipstick or choose a different pen color for another variation, provided the pen works well on the dry polish.
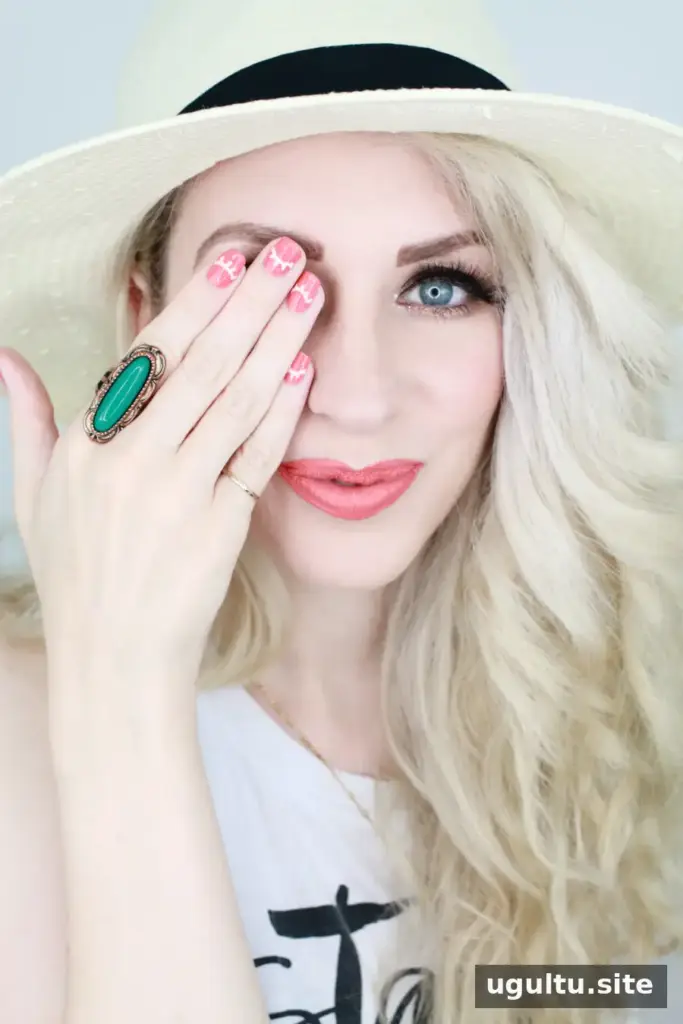
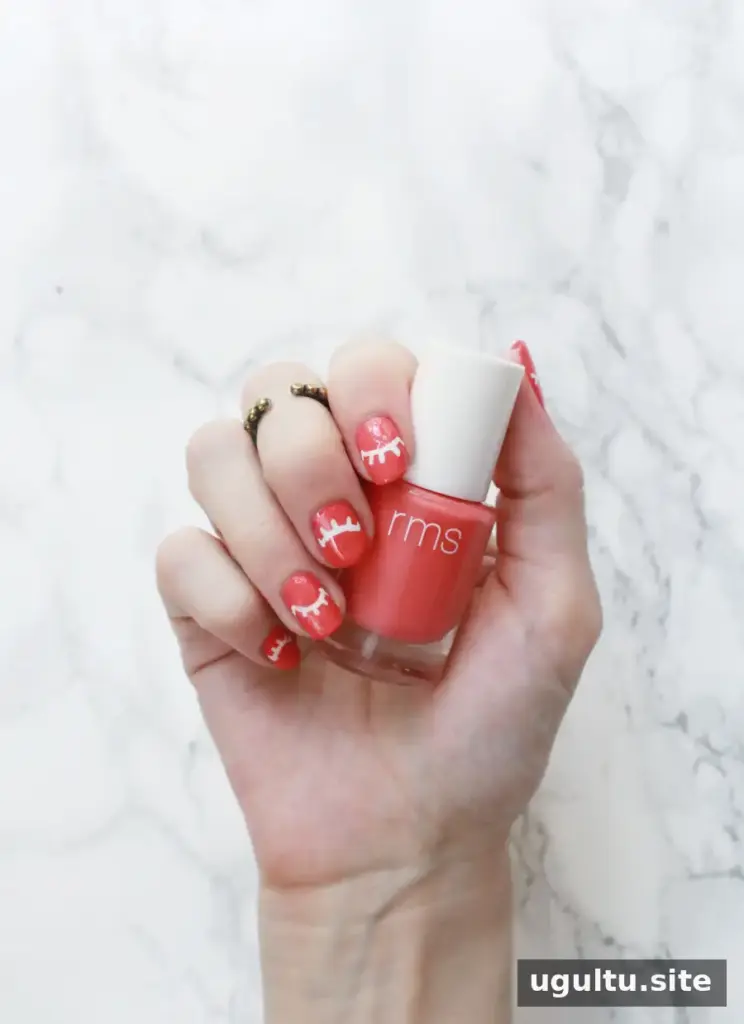
The finished wink manicure is an easy, customizable design for a relaxed nail-art session. Keep the lines simple, clean up small mistakes with care, and remember that a top coat is an important part of helping wink nail art look smooth and last longer.
Tutorial by Sav.