admin
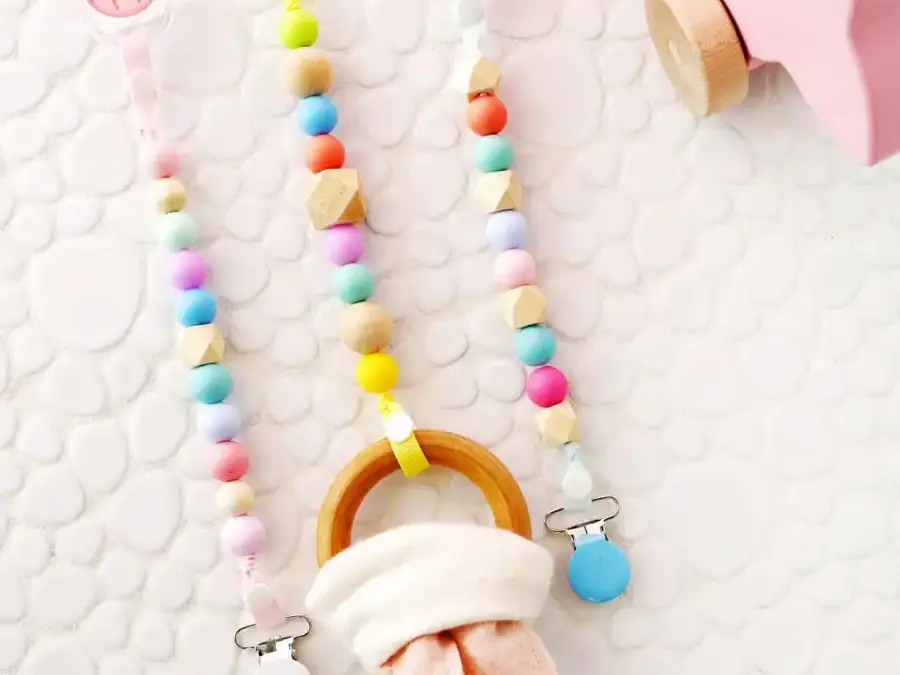
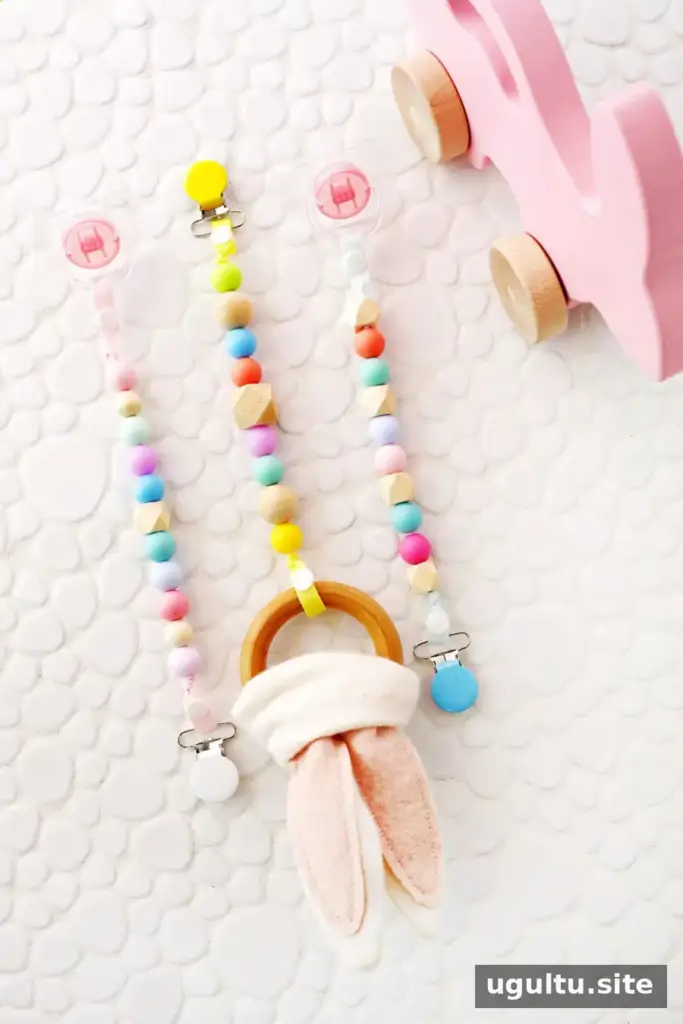
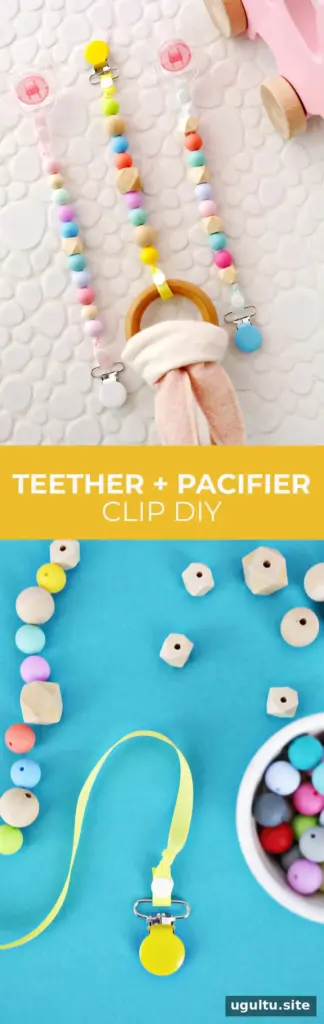
Pacifiers and small toys can easily fall onto the floor when a baby is out and about. A teether and pacifier clip can help keep these items within reach and reduce how often they touch dirty surfaces. This DIY version uses silicone and unfinished wooden beads, a ribbon, snaps, and a metal clip.
The project lets you choose the bead pattern and ribbon length, but homemade baby items need careful assembly and frequent inspection. Keep the finished clip under close adult supervision and follow the safety guidance below.
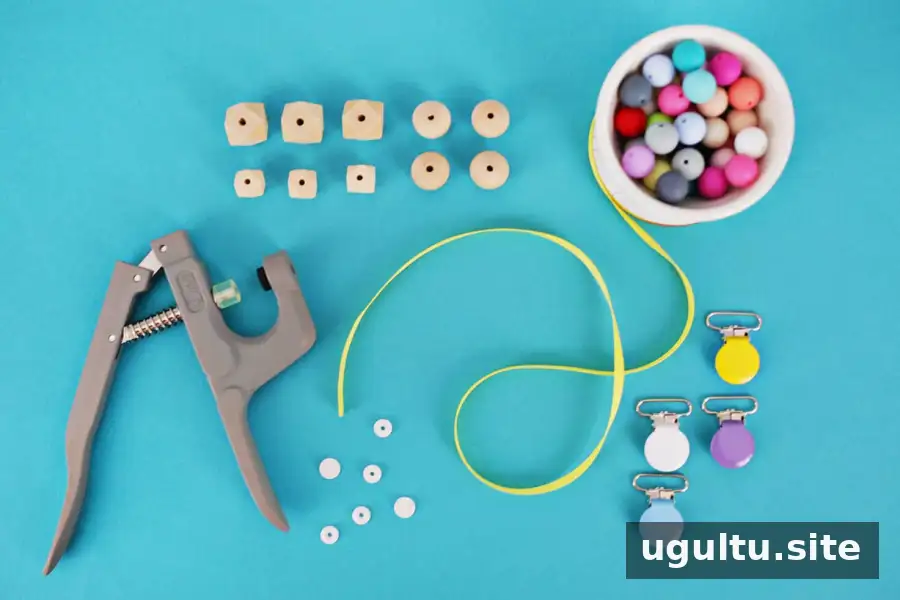
Materials for a Teether and Pacifier Clip
Gather the supplies before starting. Choose materials intended for baby products, and check their instructions for use and care.
- Food-grade, BPA-free silicone beads suitable for teething
- Unfinished, sanded wooden beads
- 3/8-inch grosgrain ribbon
- A large needle that can pass the ribbon through the beads
- A baby snap setter and size 16 snaps designed for baby items
- A metal pacifier clip
- A lighter for carefully sealing the ribbon ends
How to Make the Clip
Prepare the ribbon and attach the first snaps
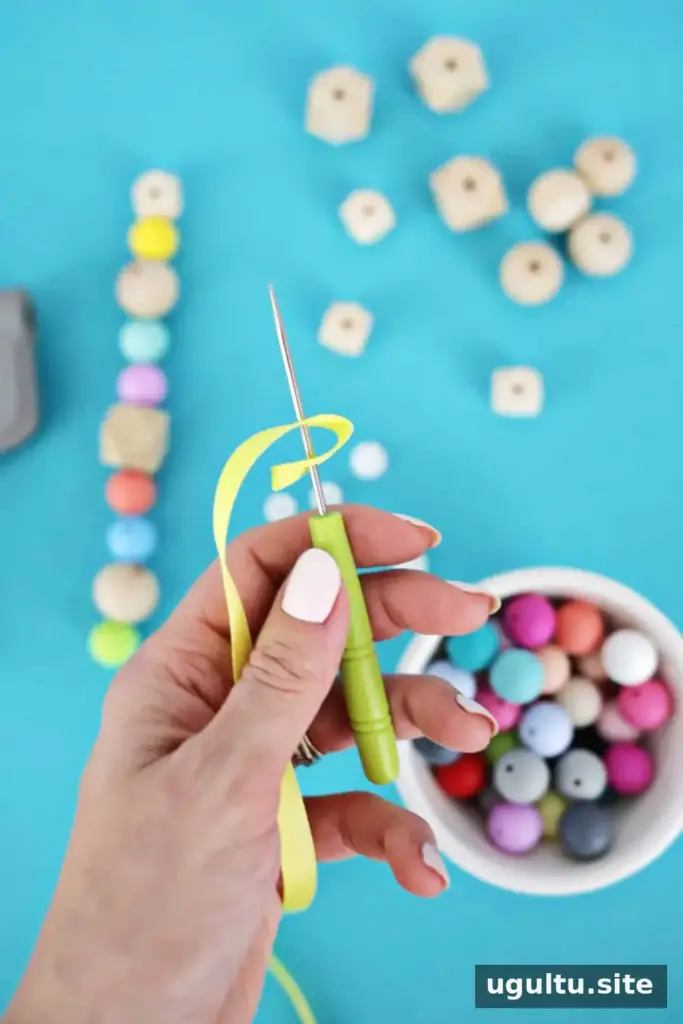
Cut a piece of ribbon longer than the finished clip needs to be. Carefully hold a lighter about 1 inch from the cut edge to seal fraying. Keep the flame away from your hands and other materials, and let the ribbon cool before handling it.
Fold over 1 inch of ribbon. Using a large needle or the pointed awl supplied with the snap kit, make a hole through both layers about 1/4 inch from the end. Follow the snap setter’s instructions to attach the first snap components in the holes, with the snap halves facing one another.
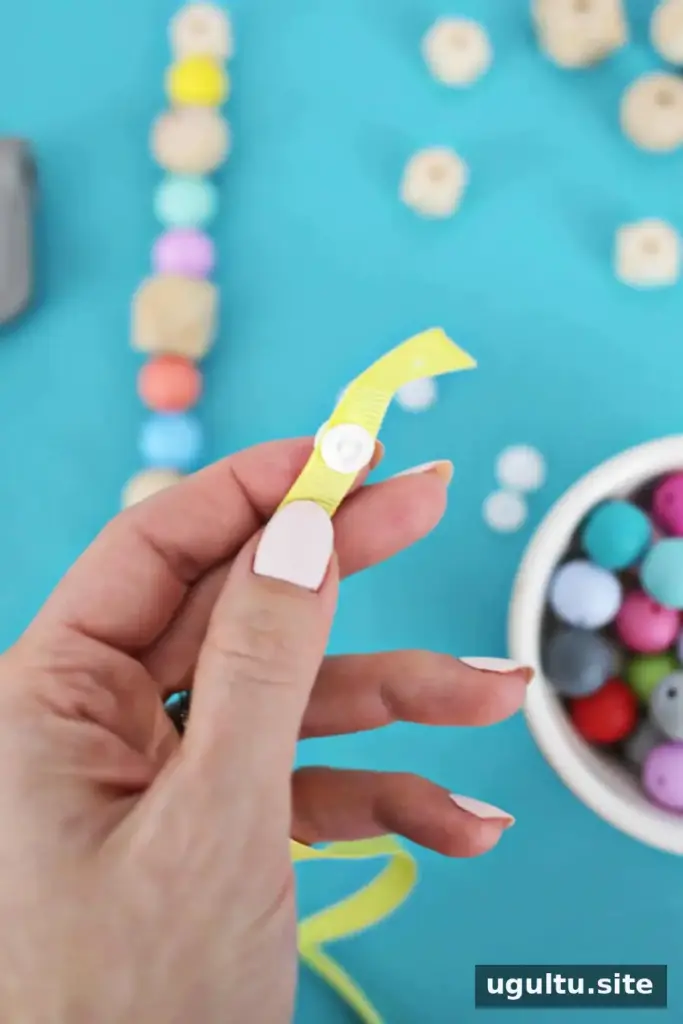
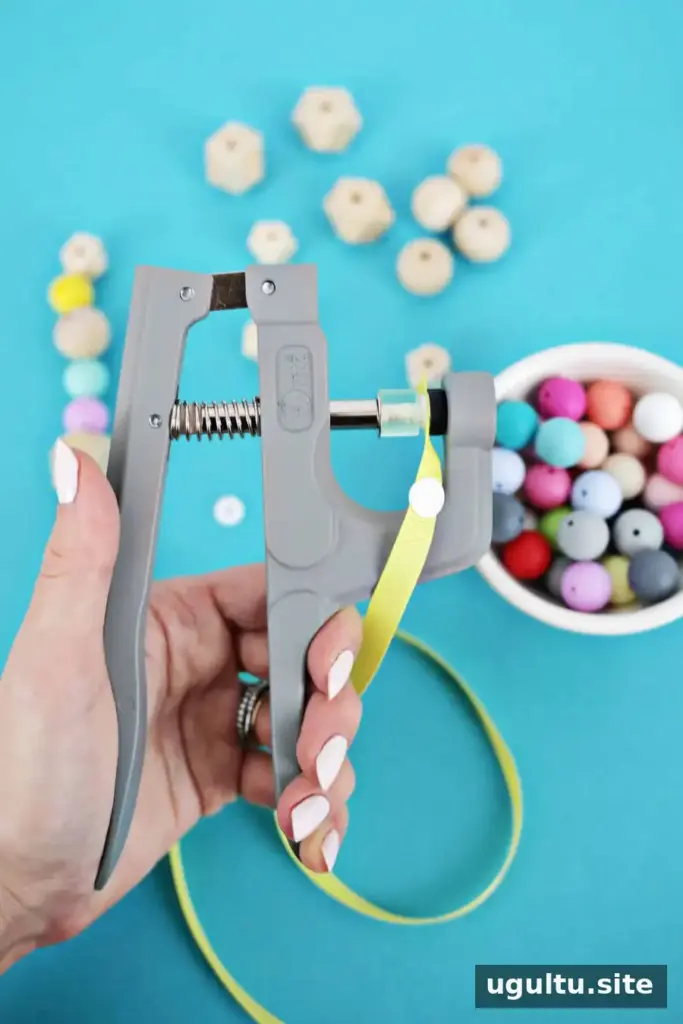
Check that each snap is attached correctly. Gently pull on the snap and ribbon to look for movement or a weak connection before continuing.
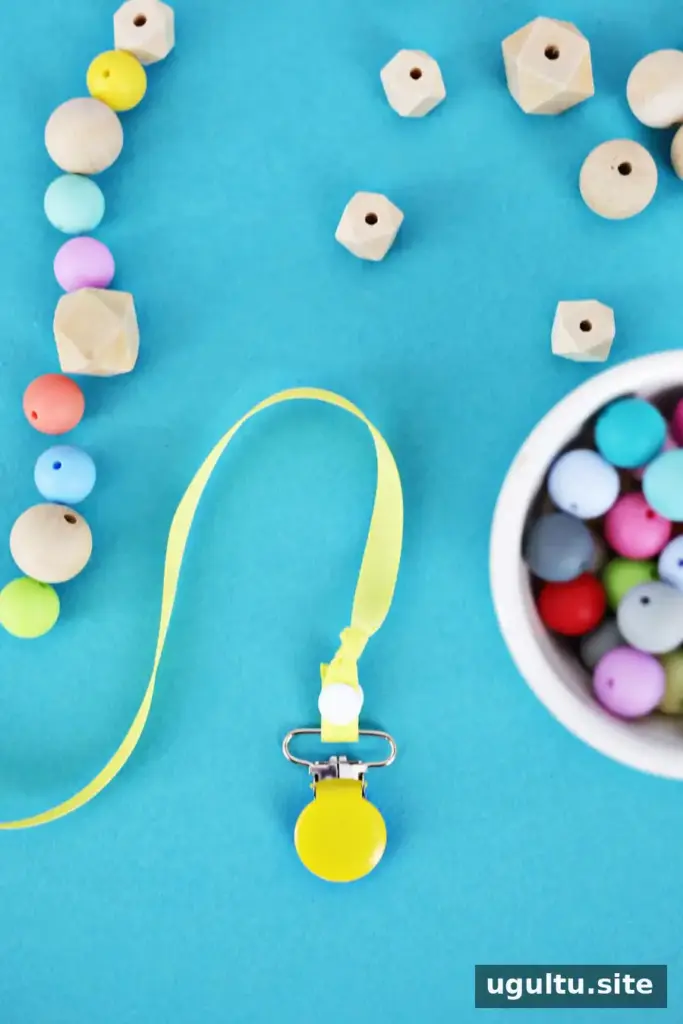
Fasten the metal pacifier clip to this end of the ribbon, then tie a secure knot immediately above the snap.
Add the beads and finish the other end
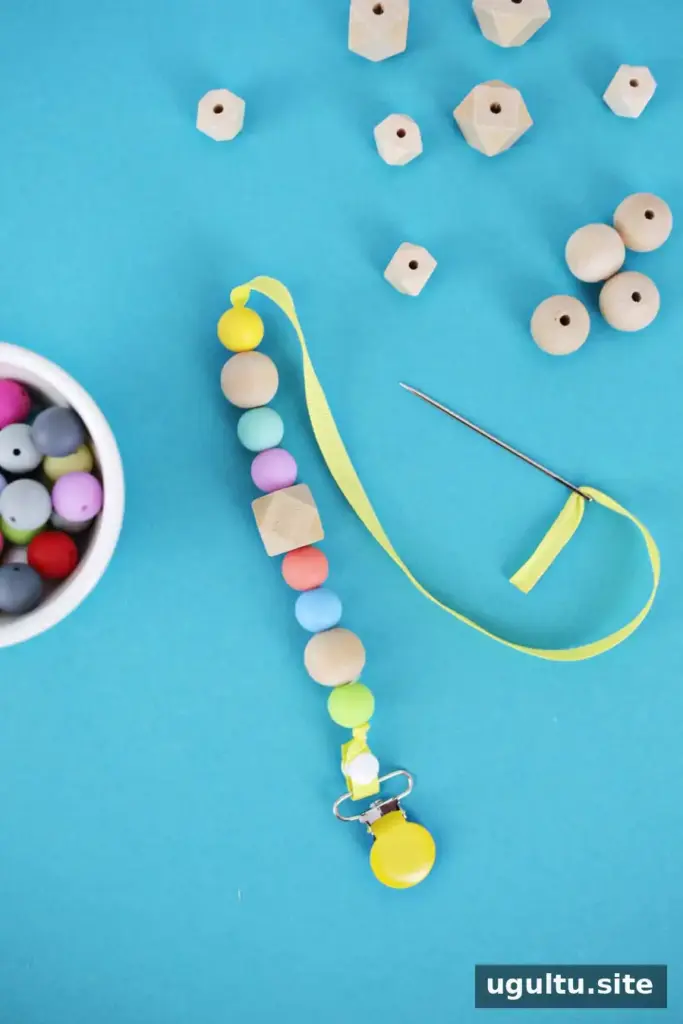
Thread the silicone and wooden beads onto the ribbon in your chosen pattern. The original design uses about 6 1/2 inches of beads. Keep the beads close together and make sure the ribbon passes through each one securely.
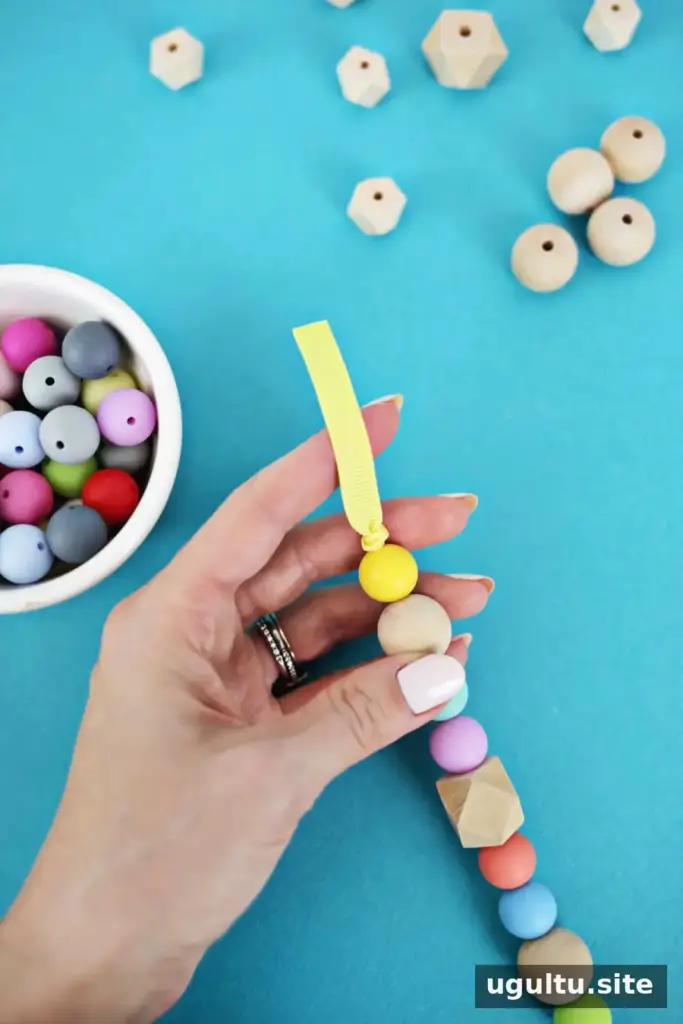
Tie a knot at the top of the beaded section. Check that the knot is snug and that the beads cannot slide off.
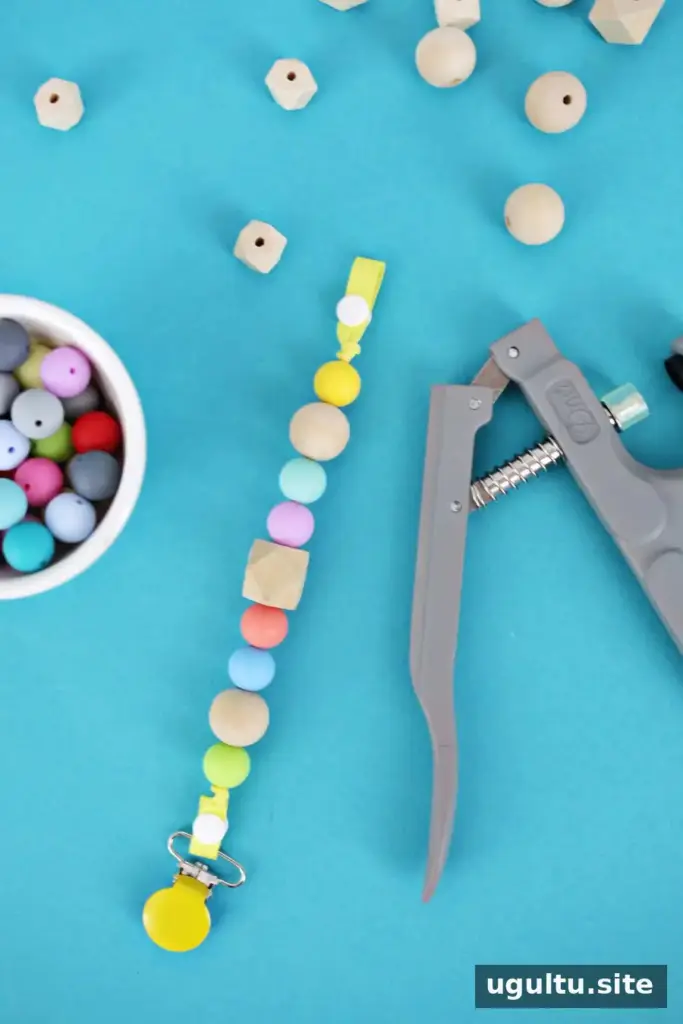
Cut the ribbon about 2 inches beyond the knot. Leave it longer if you want to use the clip with toys as well as pacifiers. Make a hole through the folded ribbon and attach the remaining snaps using the same method as before.
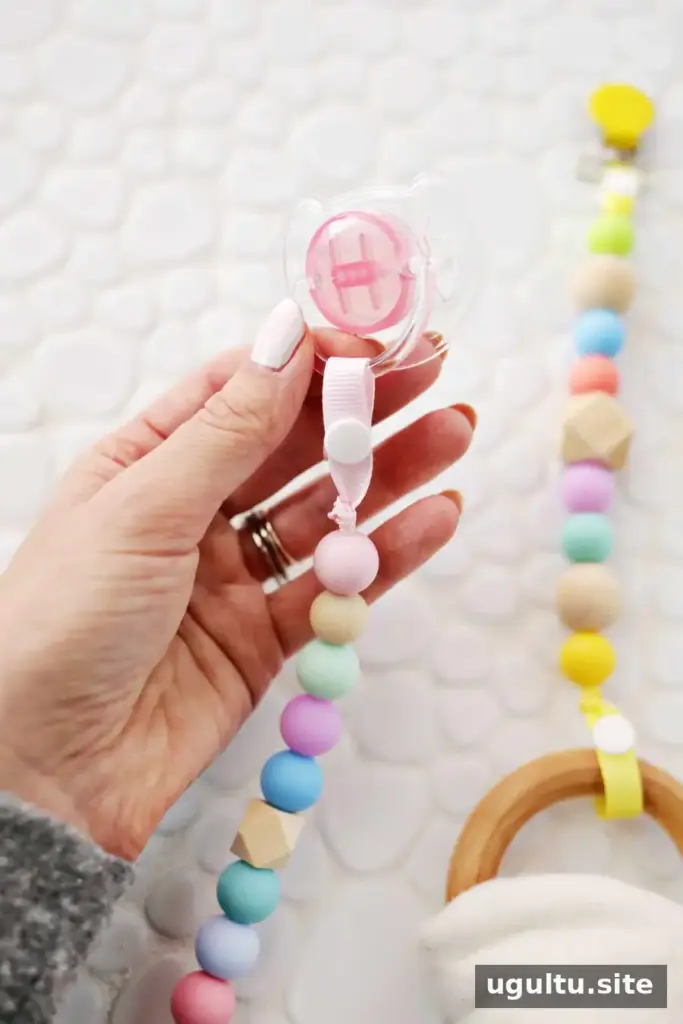
The clip is now assembled. Check the entire item for loose beads, sharp edges, frayed ribbon, or snaps that come undone. Do not use it if any part is damaged or insecure.
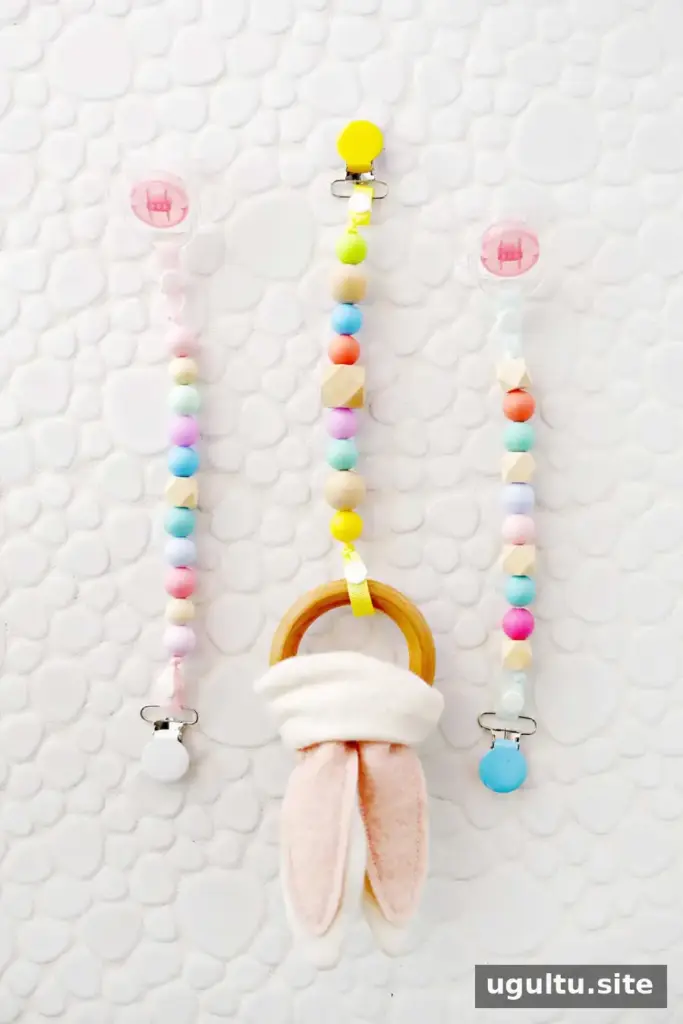
Cleaning and Baby Safety
Because this project combines ribbon, wood, silicone, snaps, and a metal clip, the finished item may not be suitable for a sterilizer. Wipe it with hot water as needed, or use a cleaning product only if its label confirms it is safe for items that go into a baby’s mouth. Let the clip dry fully and inspect it again before use.
Always supervise a baby while using a beaded teether or pacifier clip. Do not place it around a baby’s neck, use it during sleep, or leave it attached when the baby is unattended. Keep the clip away from a car seat or other setting where it could become caught or create a hazard. Stop using it if a bead, snap, or other component loosens.
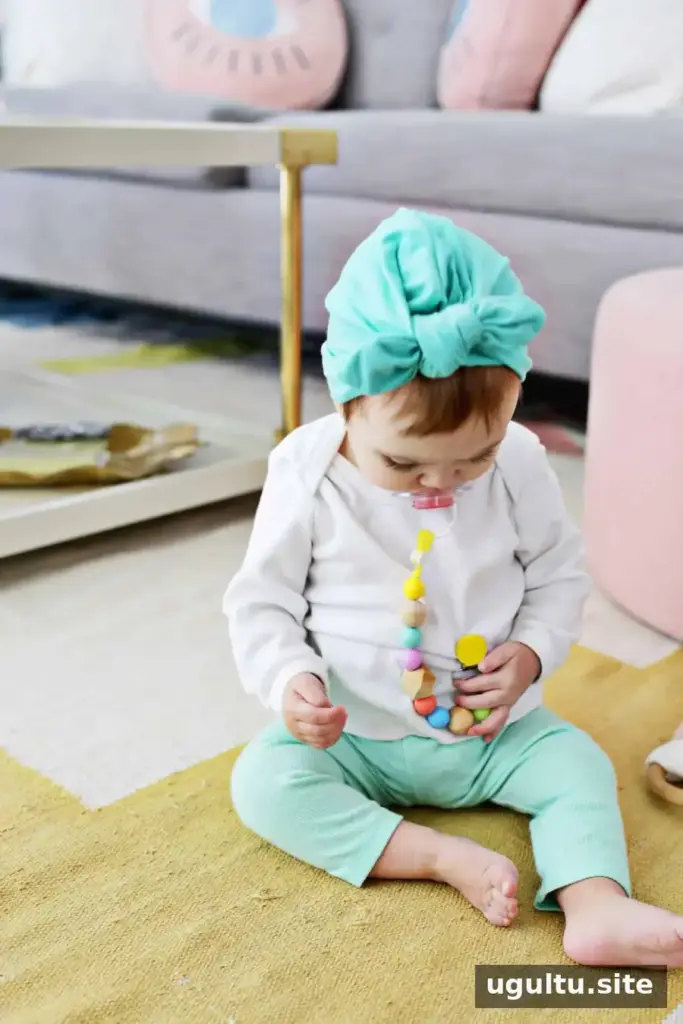
Snaps make it convenient to switch between a pacifier and a toy. If you prefer not to use snaps, the ribbon can be sewn into loops instead, but every seam and connection still needs to be secure. Grosgrain ribbon is sturdy, yet strength alone does not guarantee that a homemade item is safe; inspect it before each use.
Conclusion
A teether and pacifier clip can be customized with different bead textures and patterns, and the snaps make it easy to change what is attached. Use suitable materials, assemble each connection carefully, clean the item according to material guidance, and supervise the baby throughout use. This DIY project is by Laura.