
 admin
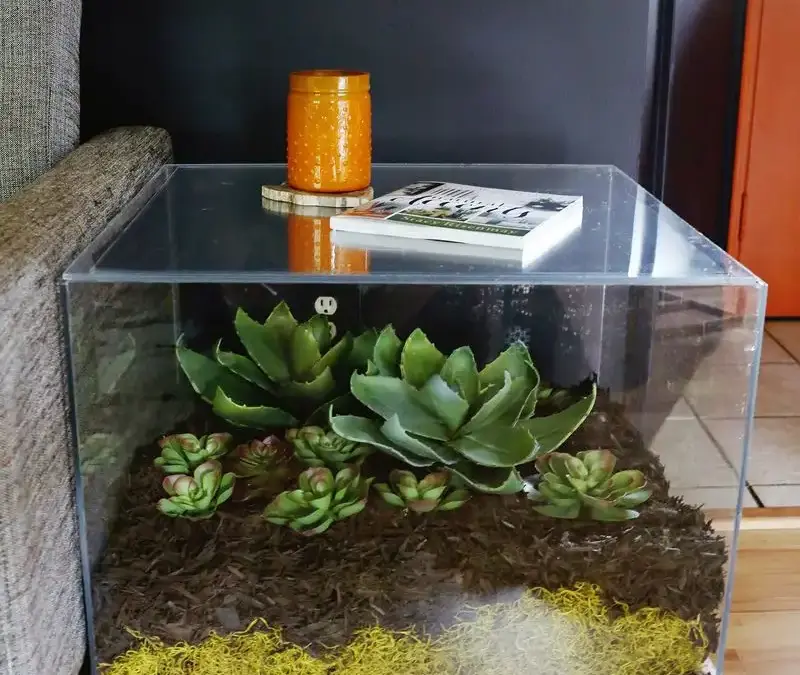
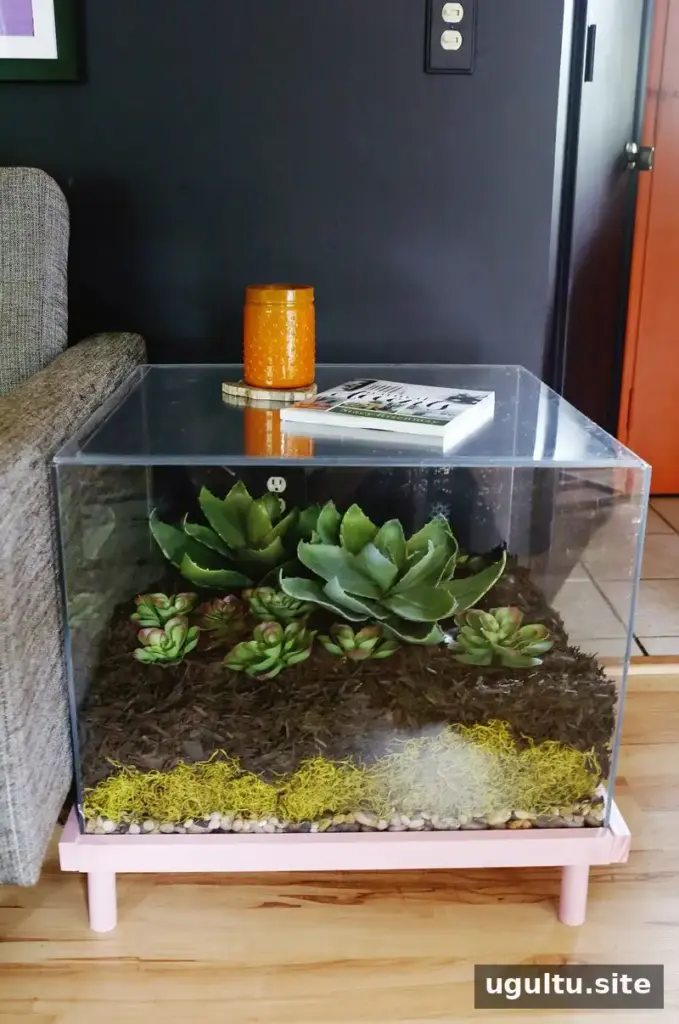
A terrarium side table DIY combines a piece of display furniture with a clear enclosure for decorative plants and natural-looking layers. This project uses plexiglass panels fitted into a wooden base, with a removable top that lets you access the inside. It is best suited to someone with experience measuring and assembling larger DIY projects: careful planning is important for both a snug fit and a stable table.
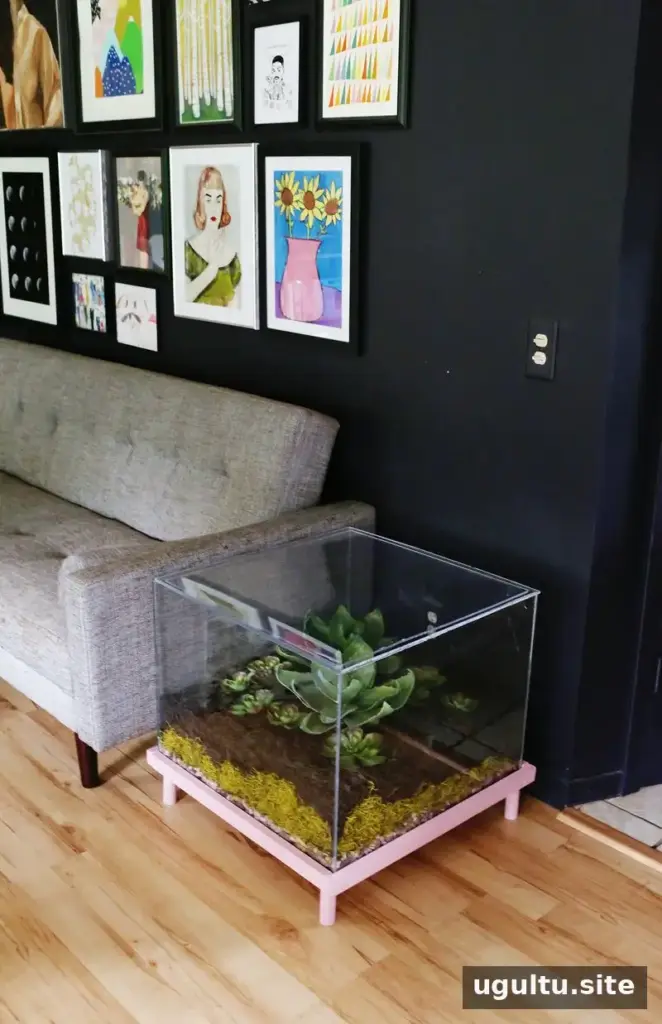
Materials and tools
- Four plexiglass sheets measuring 24 x 18 inches
- Two plexiglass sheets measuring 24.5 x 24.5 inches or larger
- Weld-On #4 and an applicator bottle with a needle
- One 24.5 x 24.5-inch sheet of OSB or plywood
- Two 24.5-inch 1×2 wood pieces and two 26-inch 1×2 wood pieces
- One 1-inch dowel for the legs
- Four screws, a drill, and paint
- A plexiglass knife and saw, if needed
- Terrarium materials such as gravel or river rock, moss, manufactured mulch, and faux succulents
The original project materials and terrarium contents cost $225, not including tools. Costs can vary depending on local prices and what you already have. Before buying, confirm the panel sizes and inspect the pieces for damage. This is an advanced project, so allow time to measure, dry-fit, and make adjustments.
How to make a terrarium side table DIY
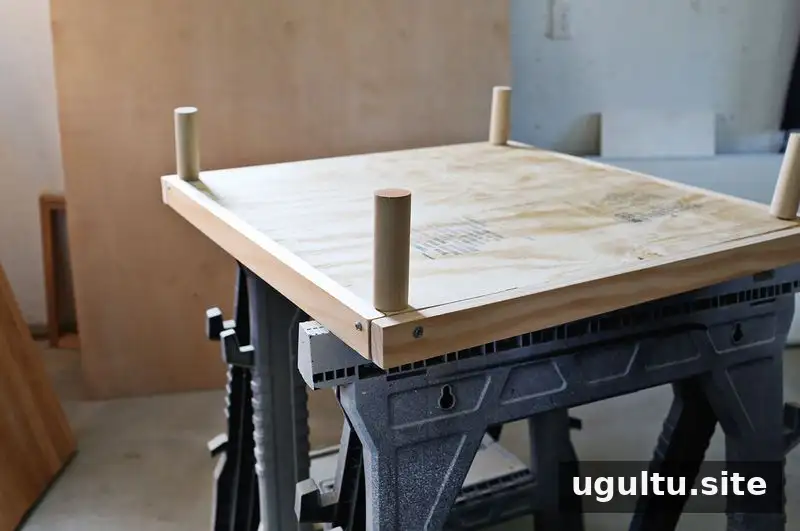
1. Assemble the wooden base
Build a short table base with a raised edge sized to hold the plexiglass box. Check the dimensions of the box against the inside of the base before fastening the wood. Measure twice before cutting or drilling; even a small mismatch can make the enclosure difficult to fit.
2. Join the plexiglass panels
Arrange the side panels into a box and use electrical tape to hold the corners in position while joining them with Weld-On #4 and the applicator bottle. The side panels can be ordered in the required size or cut if you have the appropriate tools. Keep the protective film on the plexiglass during assembly to help prevent scuffs.
Follow the adhesive product instructions, and work in a well-ventilated area. Check that the panels are aligned before the joints set. Leave the protective film in place until the enclosure is ready to display.
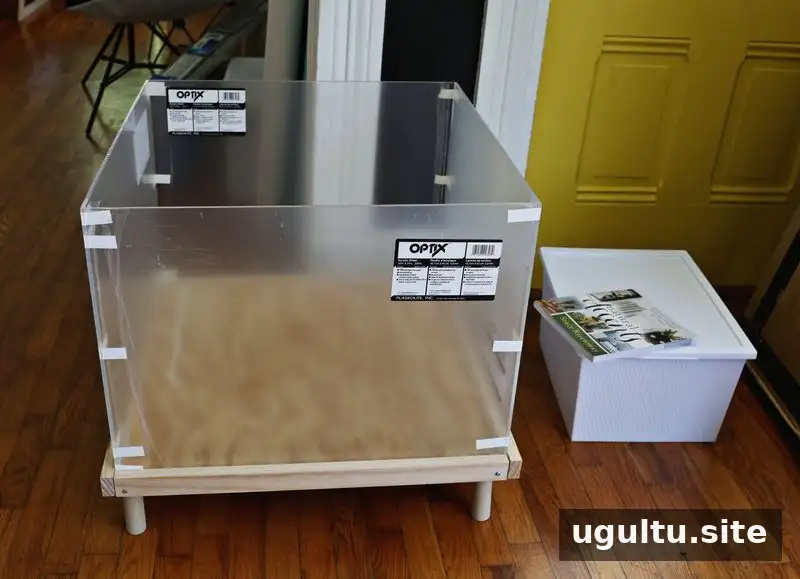
3. Make the removable top
Fuse the two top panels together, with one sheet smaller than the other. The smaller panel underneath acts as a stop, helping keep the top from sliding completely off while still allowing access to the terrarium. Test the fit and make sure the lid can be lifted when you need to reach inside.
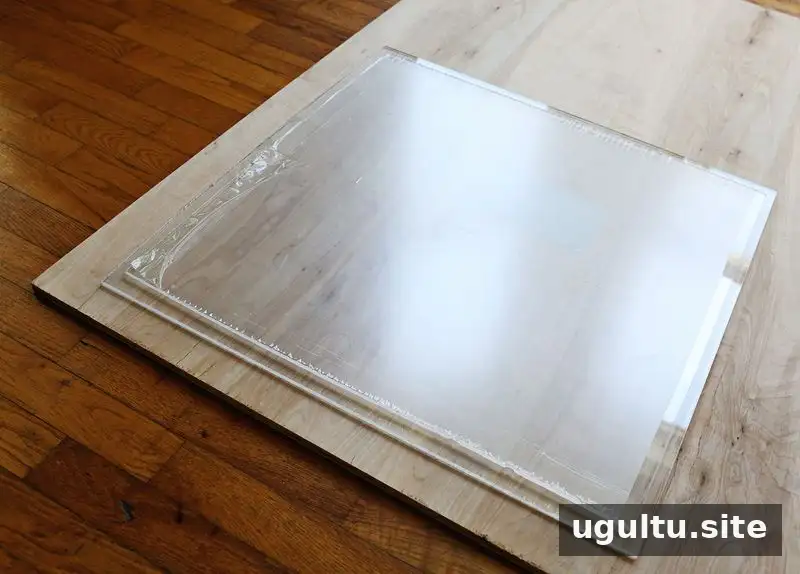
4. Finish the base
Fill gaps or uneven edges in the wooden base with wood filler, then paint it. Painting after checking the box fit makes it easier to adjust the base first if needed. Let the finish dry according to its product directions before placing the plexiglass enclosure on it.
5. Add the decorative layers
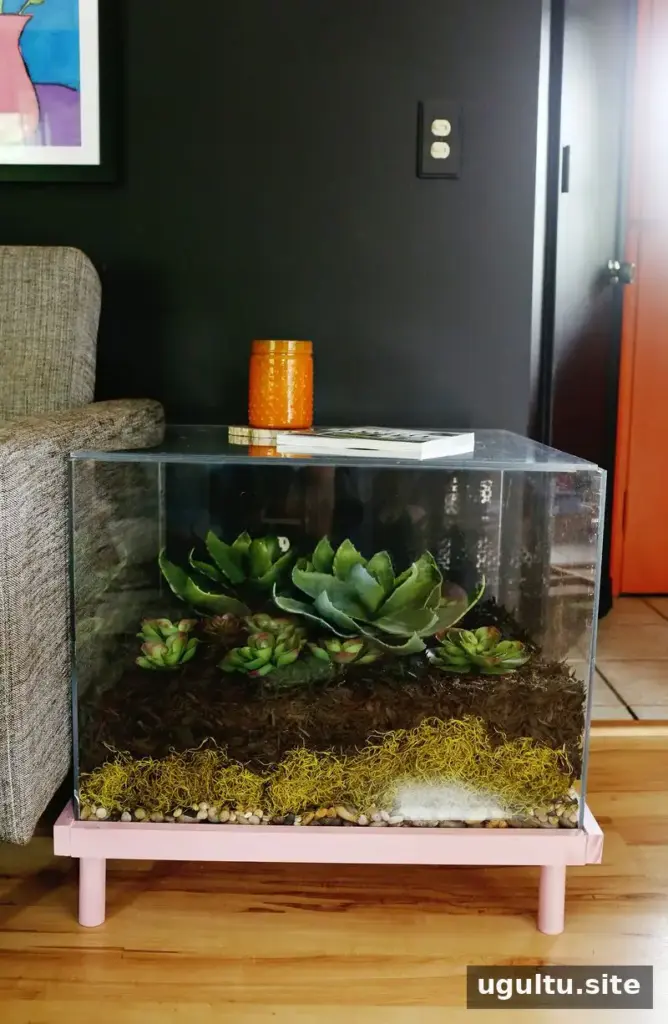
Arrange gravel or river rock, moss, manufactured mulch, and faux succulents inside the box. In this design, the layers are decorative rather than intended to support living plants. If you choose real plants instead, plan for their care and consider how you will access the enclosure for watering.
Planning and care tips
- Dry-fit the enclosure in the base before painting or filling it.
- Keep the finished table on a level surface and avoid placing heavy objects on the plexiglass top.
- Use faux plants for a low-maintenance display, or make sure real plants can be reached through the removable top.
This terrarium side table DIY creates a compact display feature with a custom-painted base and a clear box. Accurate measurements, careful panel assembly, and a secure fit are the key steps to plan before decorating. Project version by Emma.


