
 admin
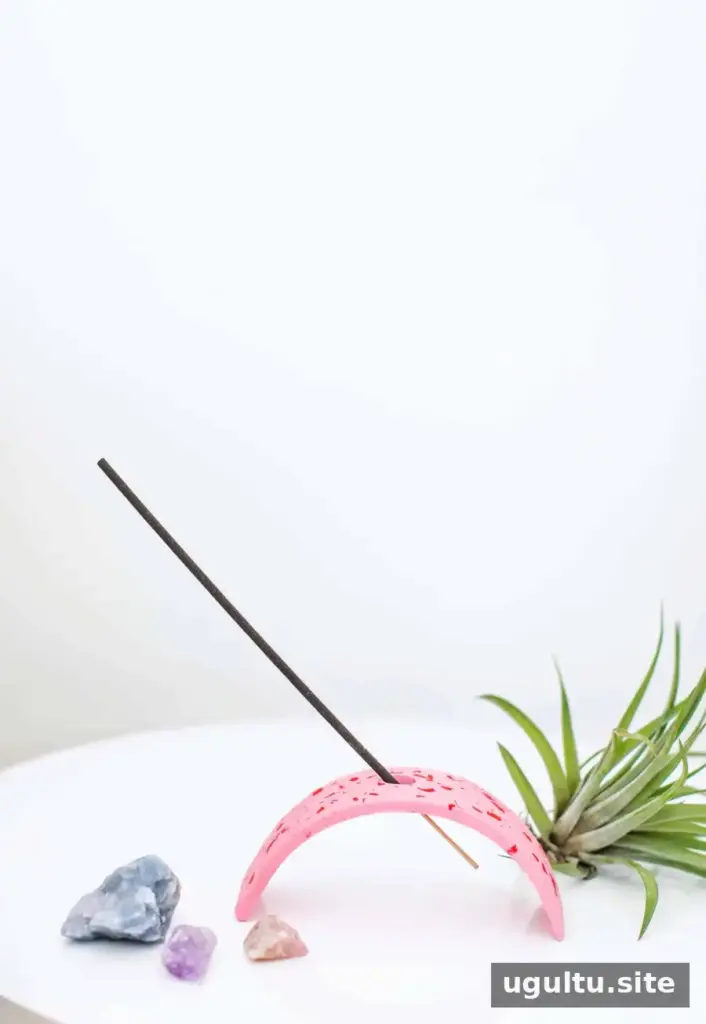
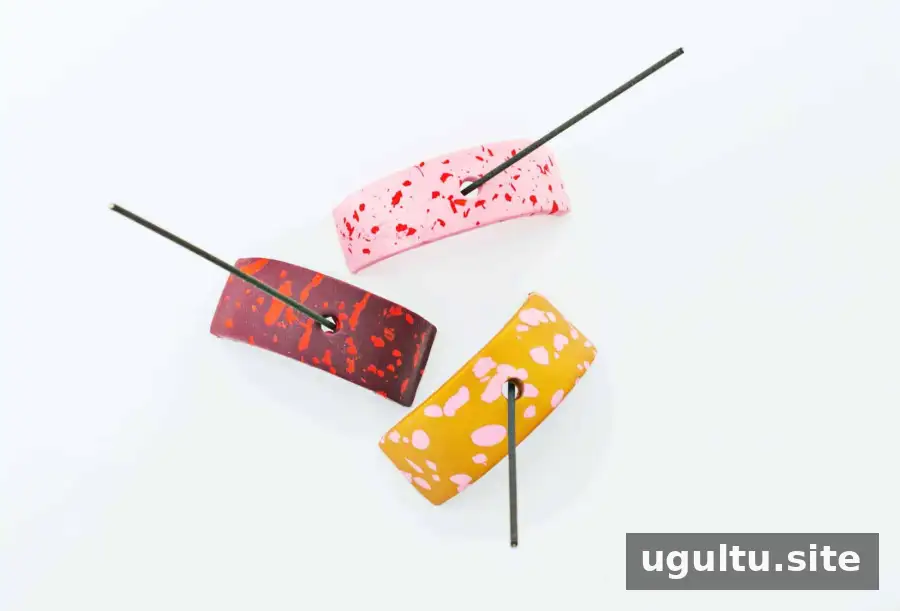
A terrazzo clay incense holder is a simple way to add a handmade decorative touch to a desk, shelf, or relaxation space. This project uses oven-bake clay to create a curved holder with colorful flecks and a central opening for incense. Choose colors that suit your room, or keep the palette classic with a neutral base and contrasting specks.
The finished holder can be stored flat when it is not in use, and its compact shape makes it suitable for smaller spaces. The terrazzo effect comes from pressing small pieces of colored clay into the base. For a more even pattern, use small crumbs and spread them across the surface before rolling.
Supplies for a terrazzo clay incense holder
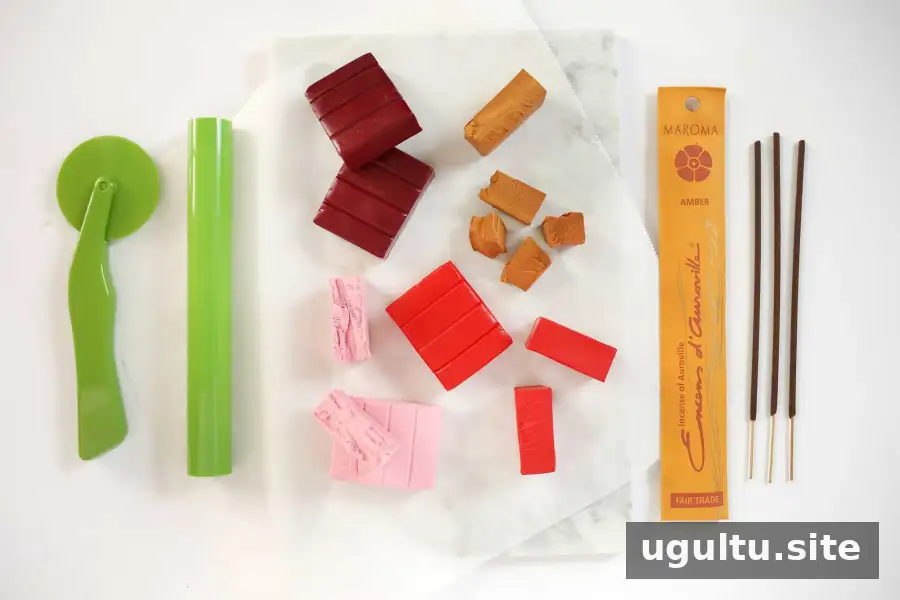
Gather the following materials before you begin. Check that your clay is labeled for oven baking, and follow its packaging for the correct curing temperature and time.
- Acrylic roller
- Clay cutter
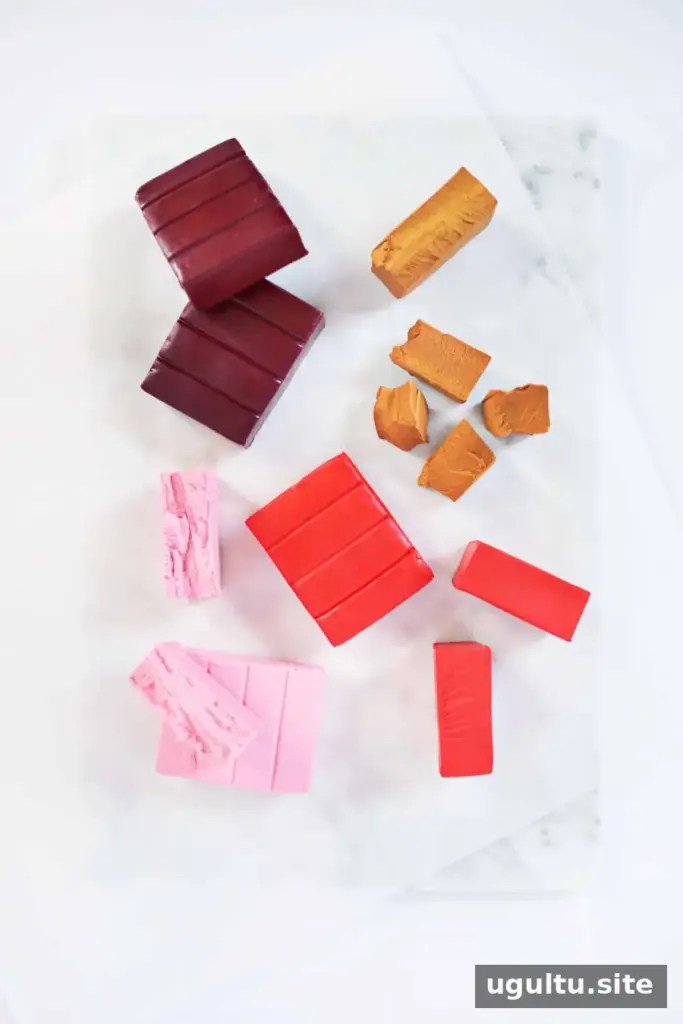
- Two small packages of colored oven-bake clay for the base color
- One small package of colored oven-bake clay for the specks
- Parchment paper
- Plastic straw
- An oven-safe cylinder, such as a glass jar or aluminum can
How to make the holder
1. Soften and shape the base clay
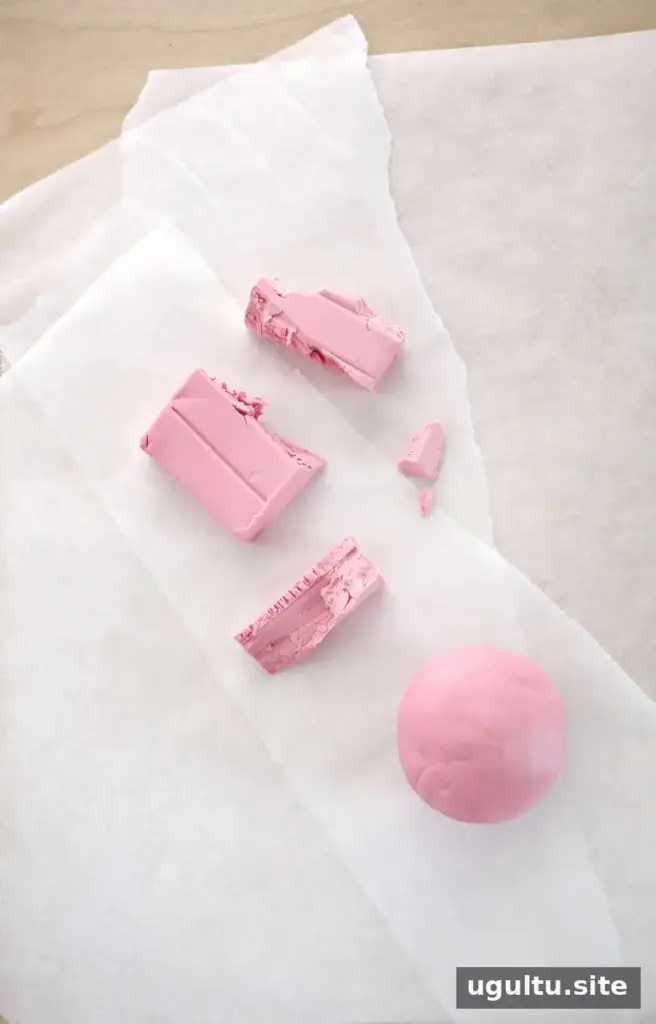
Break the base clay into smaller pieces and roll them between your hands to soften them. Combine the pieces, then roll the clay into a cylinder about 1 inch wide. Place it on parchment paper. Conditioning the clay until it feels pliable helps reduce cracks as you flatten and shape it.
2. Add the terrazzo specks
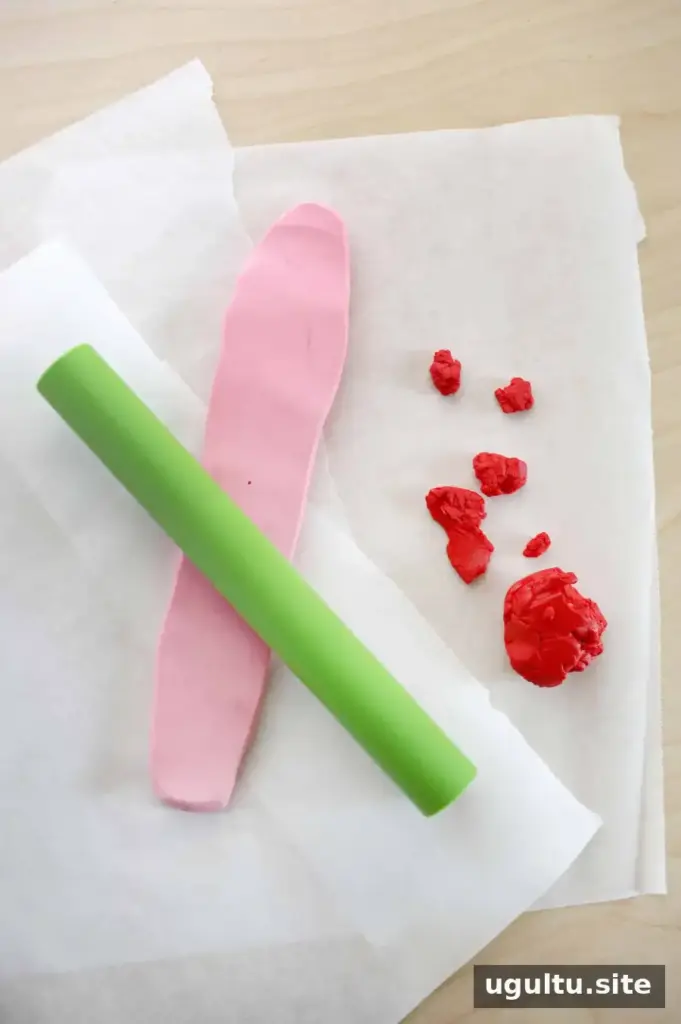
Flatten the cylinder with the roller until it is about 1 inch wide and at least 1/2 inch thick. The length is up to you. Keep the thickness reasonably even so the holder bakes uniformly.
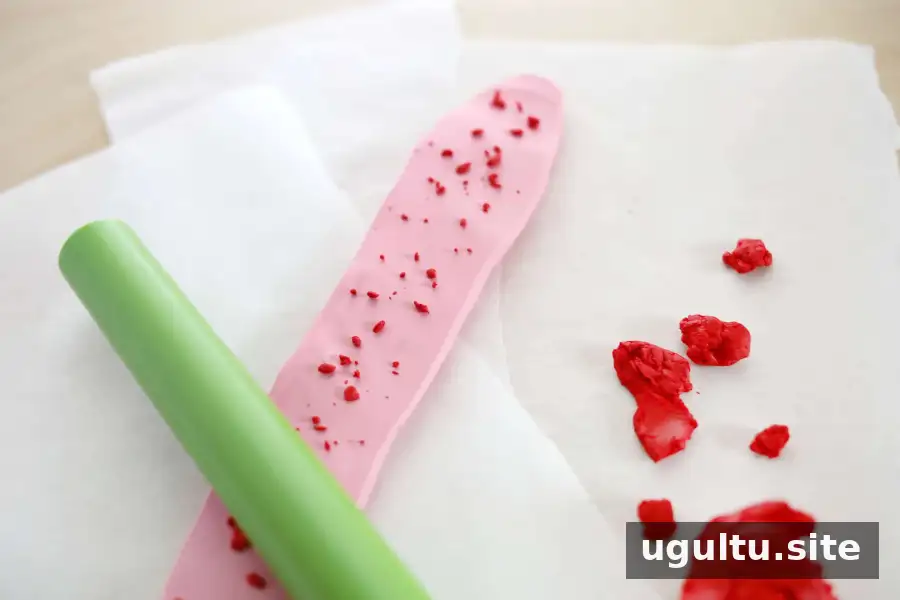
Break very small crumbs from the contrasting clay and sprinkle them over the base. Distribute the colors across the surface, leaving enough space between pieces for the pattern to remain visible.
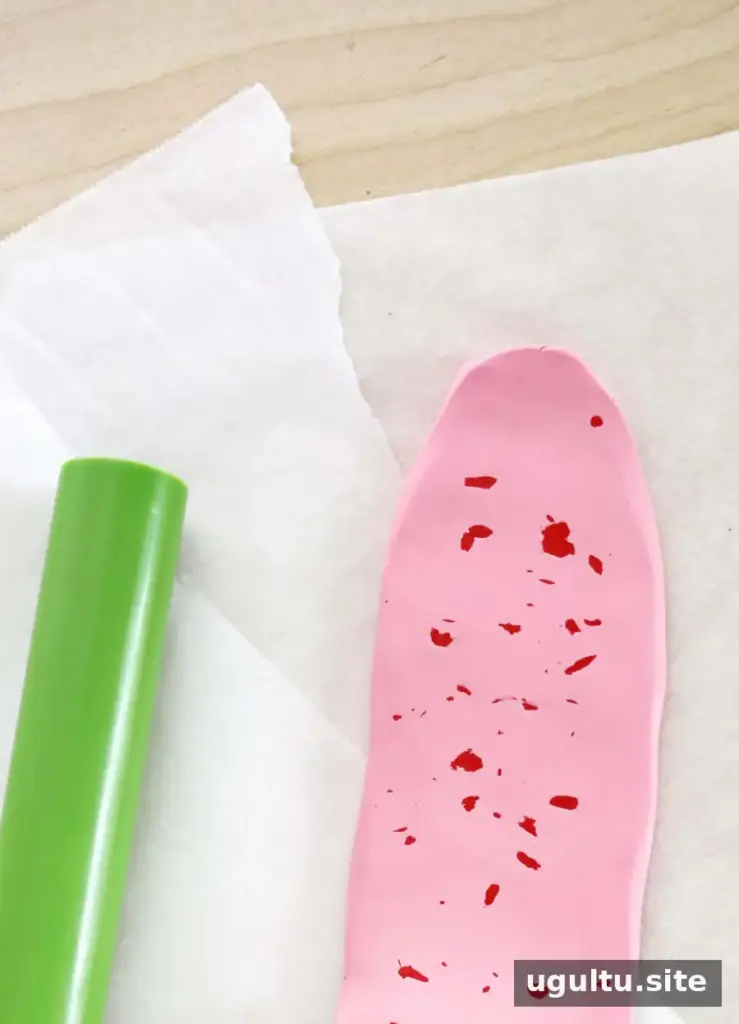
Roll gently from one end to the other once to press the specks into the base. Then roll back and forth until the clay is a little thicker than 1/4 inch. Avoid pressing so firmly that the colored pieces disappear into the base.
3. Cut and form the incense opening
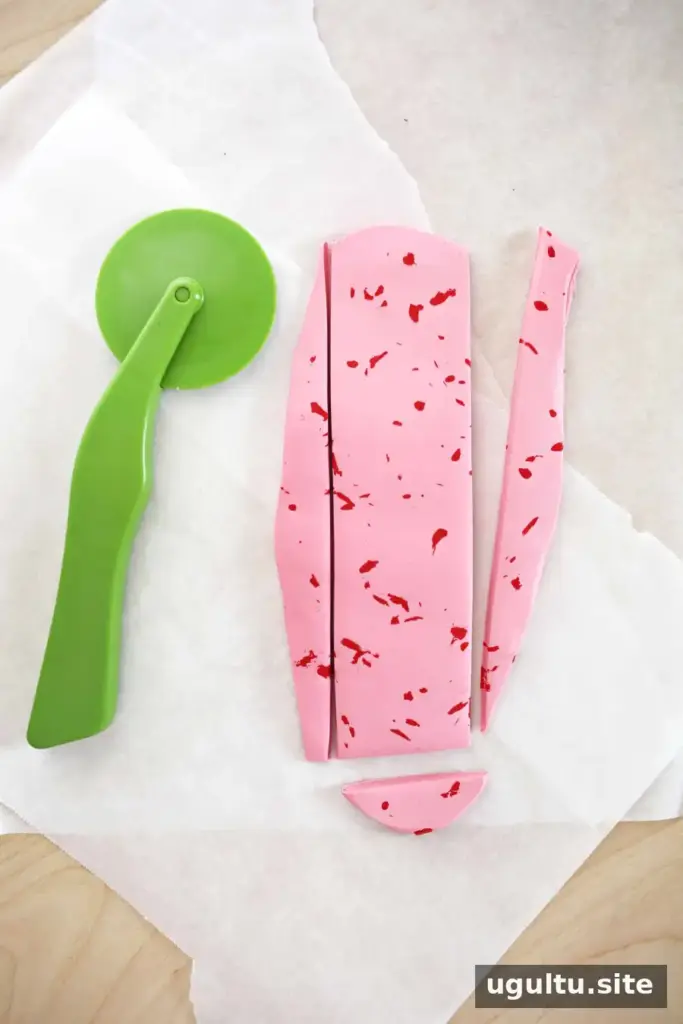
Use the clay cutter to trim the edges into a rectangle. Aim for clean, straight sides, while keeping the clay on the parchment for easier handling.
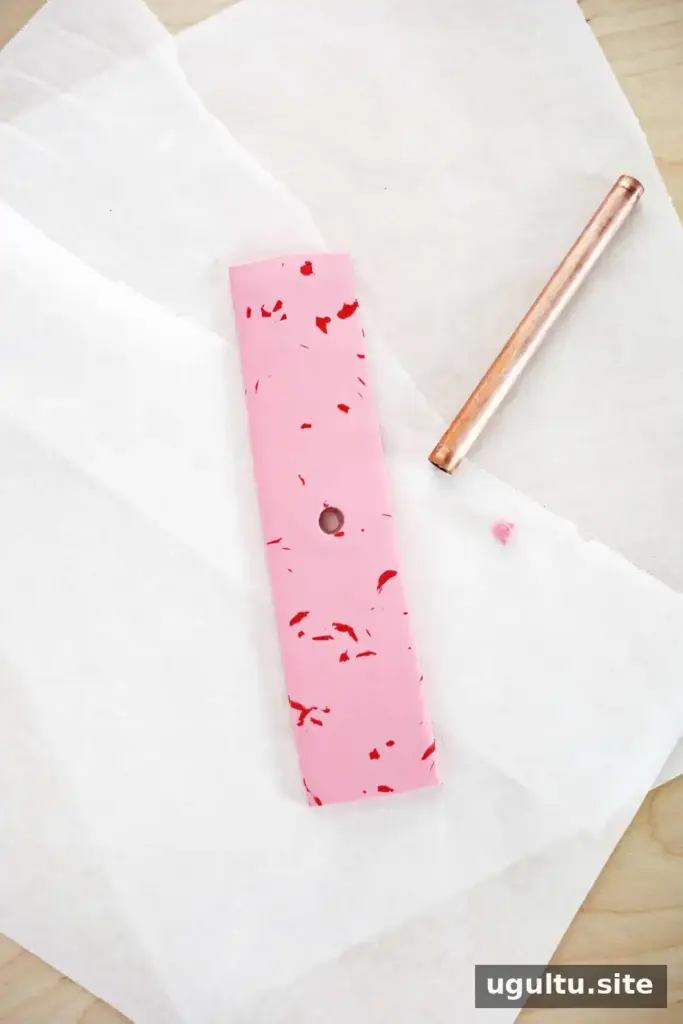
Press a plastic straw or another small tube into the center of the clay to make an opening. Twist it gently in both directions to separate the clay, then lift it out carefully. Check that the opening is suitable for the incense sticks you plan to use.
4. Curve and bake the clay
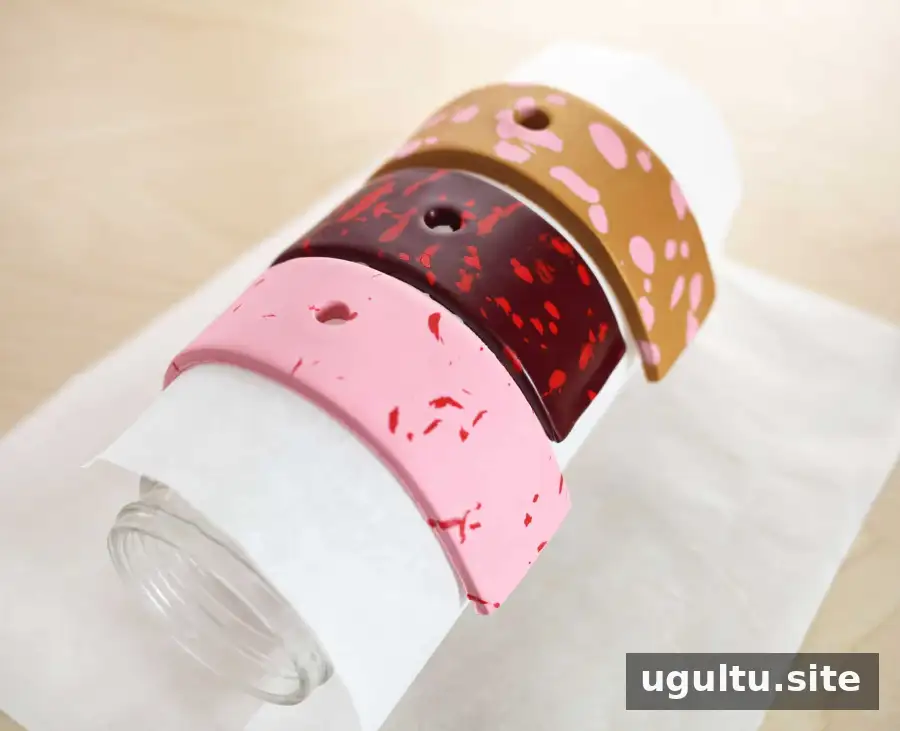
Cover an oven-safe cylinder, such as a glass jar or aluminum can, completely with parchment paper. Carefully lift the clay rectangle from its original parchment and place it over the covered cylinder. This supports the clay and gives the holder its curved shape during baking.
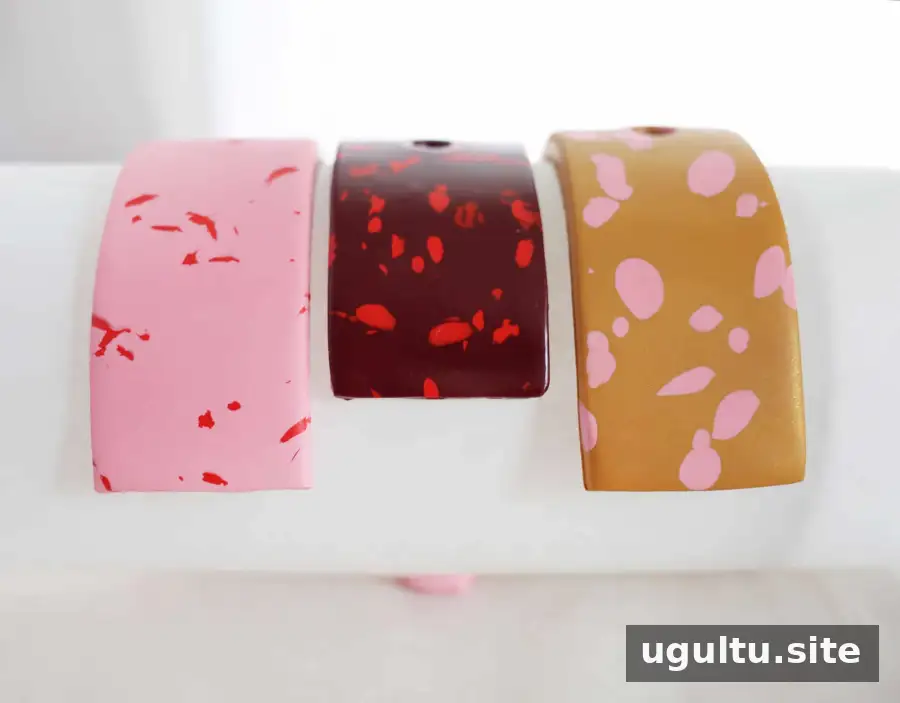
Line a baking sheet with parchment paper. Place two small pieces of spare clay beneath the cylinder to keep it steady; these temporary supports will be discarded afterward. Set the cylinder and supports on the lined sheet, position it in the center of the oven, and bake according to the clay manufacturer’s directions. Let the holder cool fully before removing it from the form.
Using your terrazzo clay incense holder
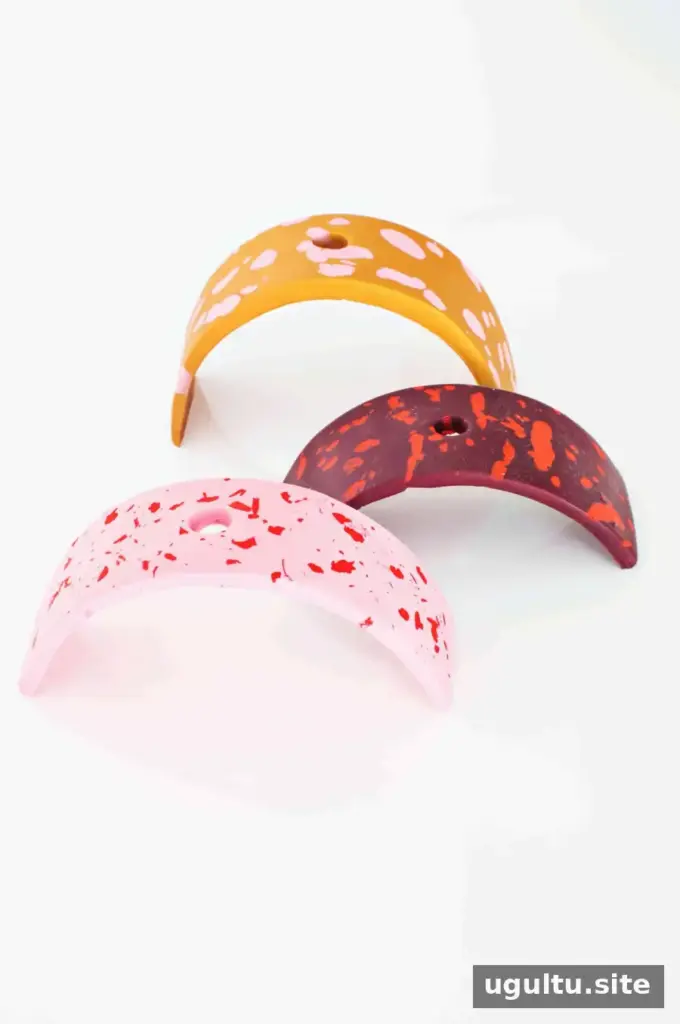
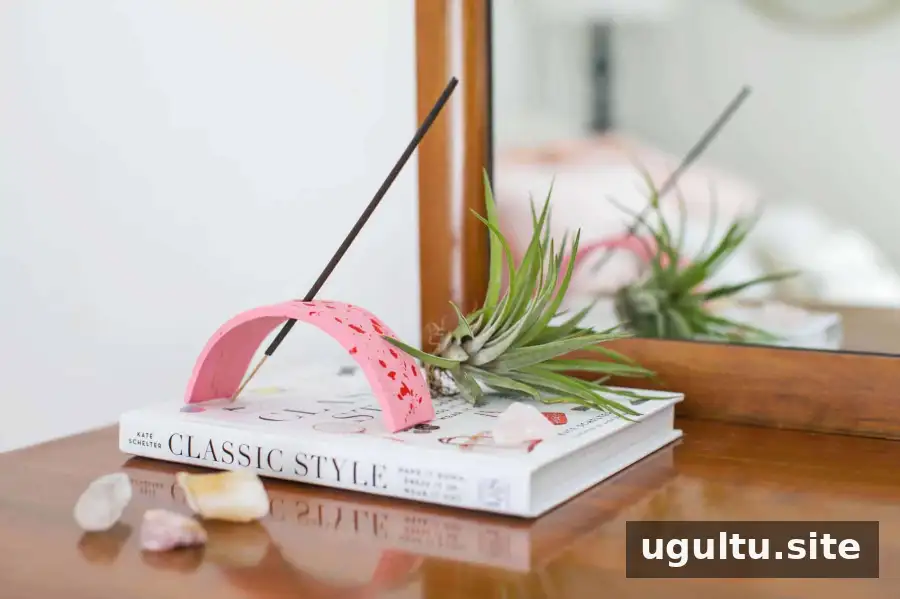
Once the holder has cooled, place it on a stable, heat-resistant surface and add your favorite incense. Keep burning incense in view, away from flammable materials, and allow ashes to cool before disposal. A handmade holder can bring a little color and a calmer atmosphere to a room. Enjoy! – Rachel


