
 admin
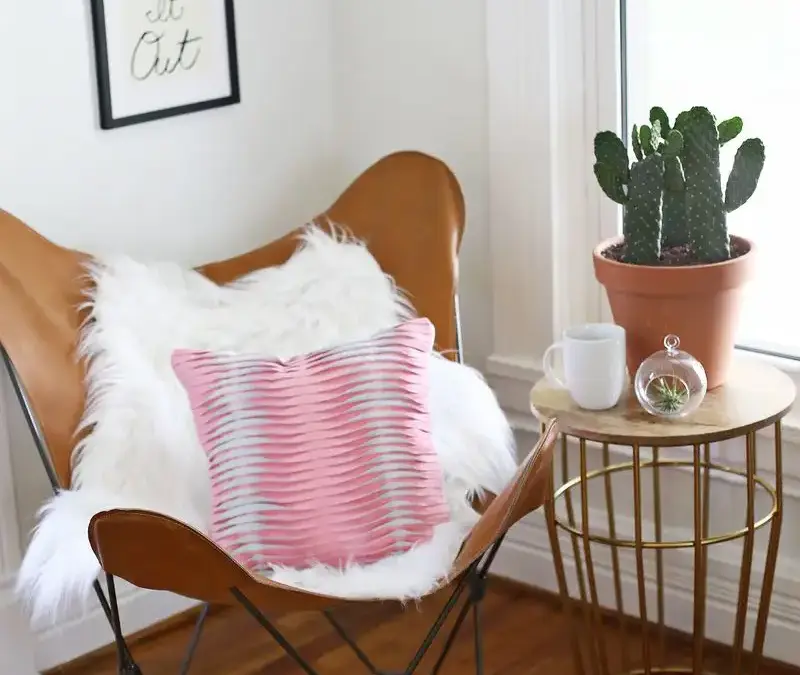
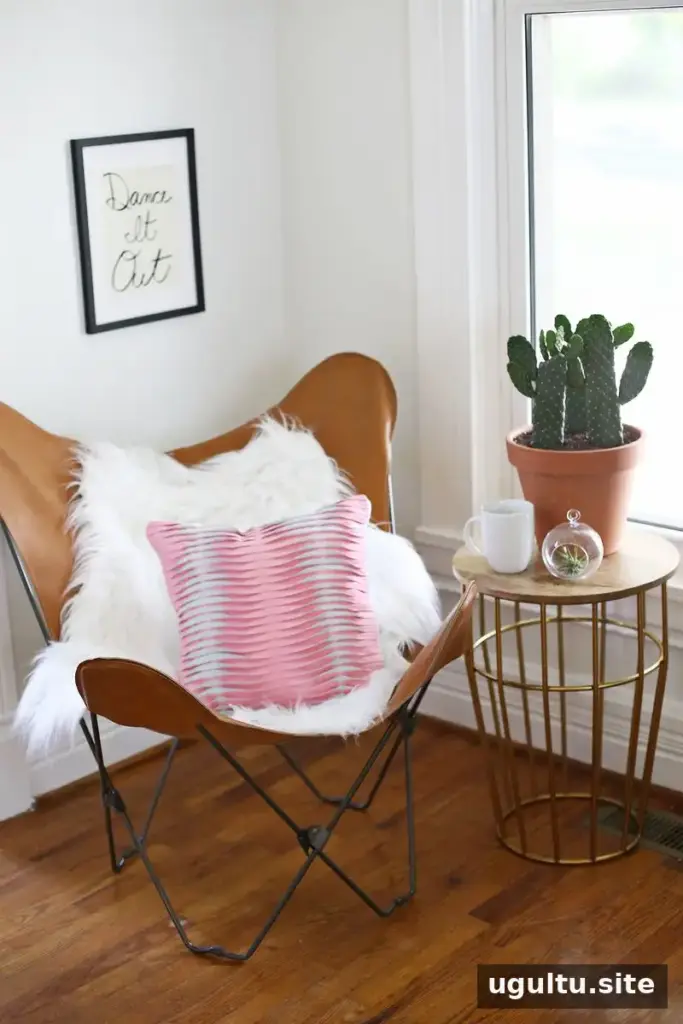
A textured leather pillow DIY project can add depth and contrast to a sofa or chair without changing the furniture itself. This design uses overlapping strips of leather or faux leather to create a dimensional surface, with the reverse side of the material showing through folded sections. The construction is easier to manage when the strips are glued in place before sewing, so prepare the pieces carefully and work in stages.
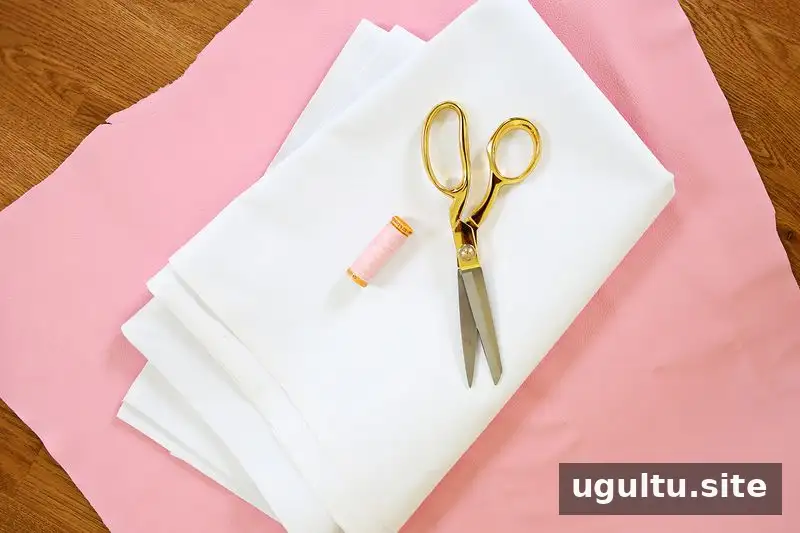
Supplies:
- Leather or faux leather, at least 30″ x 17″ wide
- White canvas material, enough for two 17″ x 17″ squares
- Fabric scissors
- Rotary cutter and cutting mat
- Metal ruler
- Fabric glue
- Standard sewing machine with a zipper foot; a non-stick foot and leather needle are optional
- Pillow stuffing
Choose leather or faux leather with a contrasting reverse side if you want the folded areas to stand out. Before starting, check that your machine can feed the material smoothly; a non-stick foot can help reduce sticking.
How to Make a Textured Leather Pillow DIY
1. Cut the fabric and leather strips
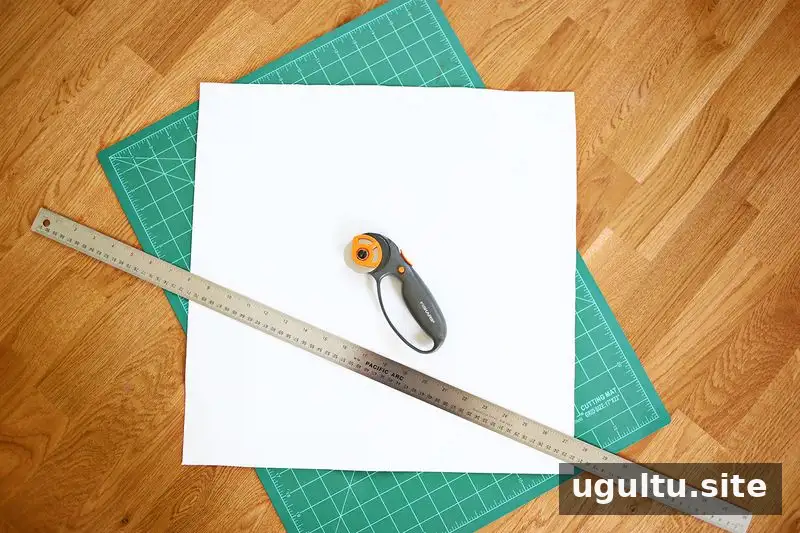
Use a rotary cutter, ruler, and cutting mat to cut two 17″ x 17″ squares from the canvas. One square will be the pillow front and the other will form the back. Accurate, square cuts make it easier to align the panels later.
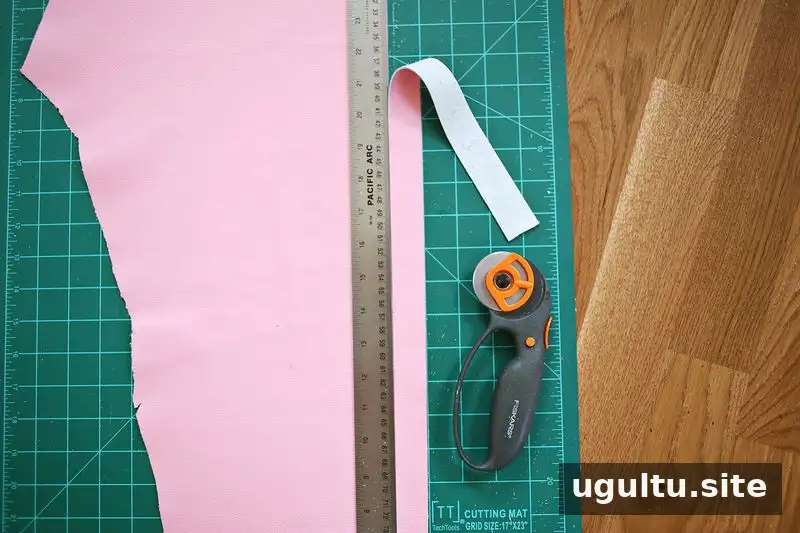
Cut 30 leather or faux-leather strips, each 1″ wide and at least 17″ long. Keep the strips as even as possible so they overlap consistently across the pillow front.
2. Layer and secure the strips
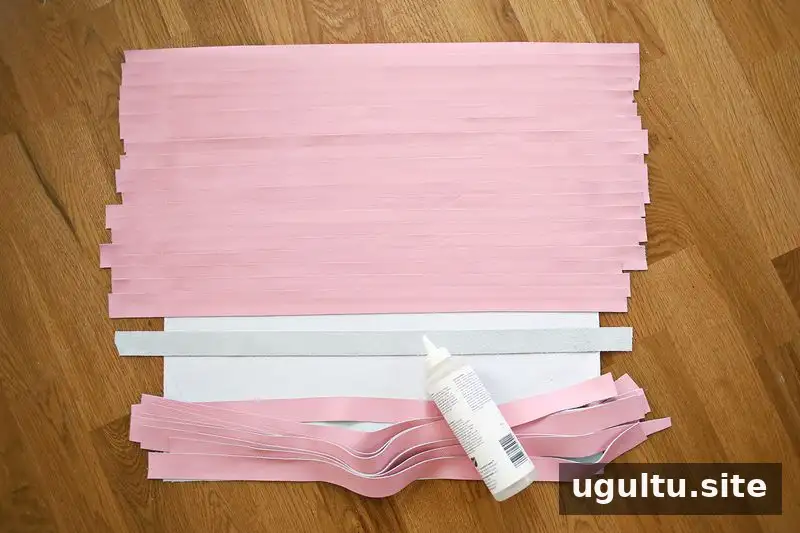
Apply fabric glue along the bottom edge on the reverse side of one strip. Turn it right side up and align its unglued top edge with the top edge of the front canvas square. Glue the bottom edge of the next strip, then place it so the middle of that strip meets the bottom edge of the first one.
Continue adding overlapping strips until the canvas front is covered. Keep the overlap even and check that the strips remain aligned with the panel edges. Let the glue dry, then trim any excess from the sides.
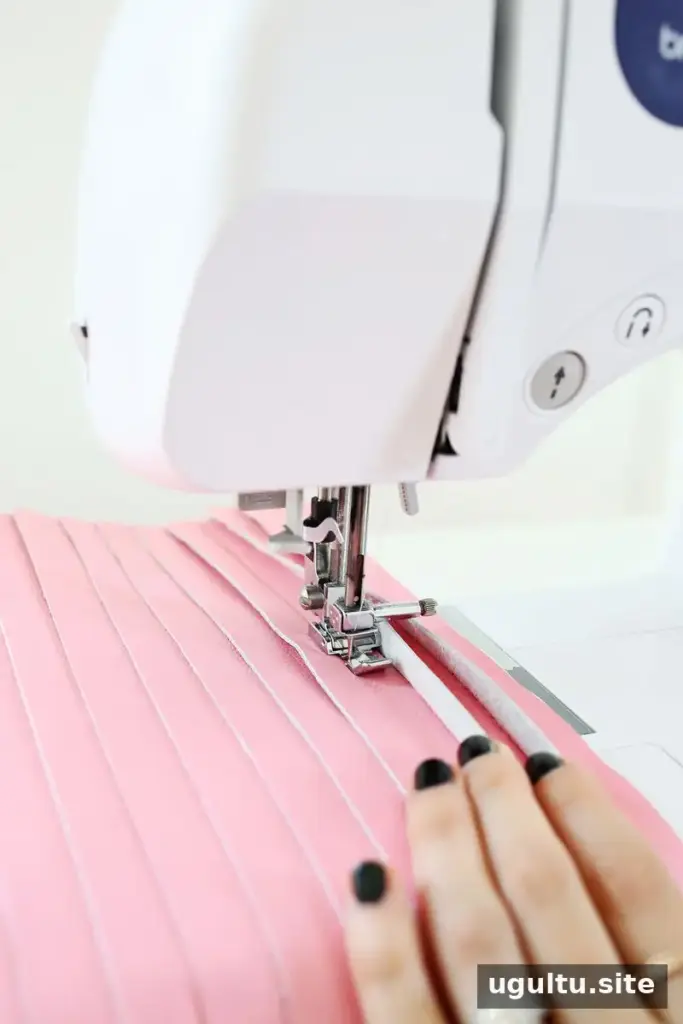
3. Sew the strips to the front panel
Fit a zipper foot to the sewing machine. Position the left edge of the foot around the middle of the first strip, close to the edge of the strip beneath it, and sew down the strip. Repeat along each strip, stitching beside the lower strip’s edge. Sew steadily to keep the lines straight and avoid pulling the material.
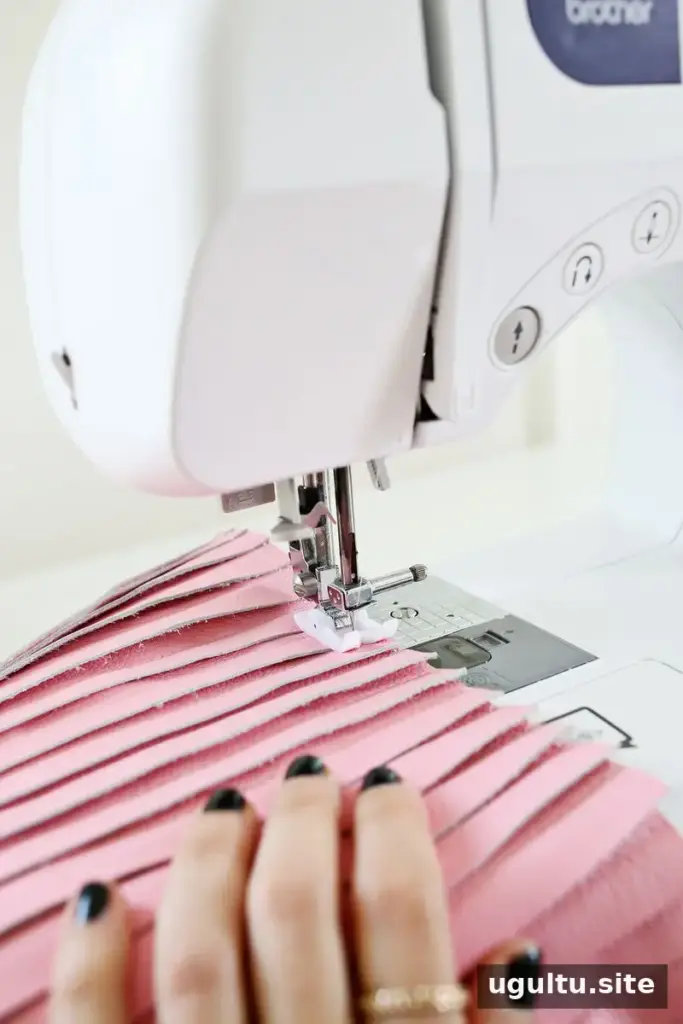
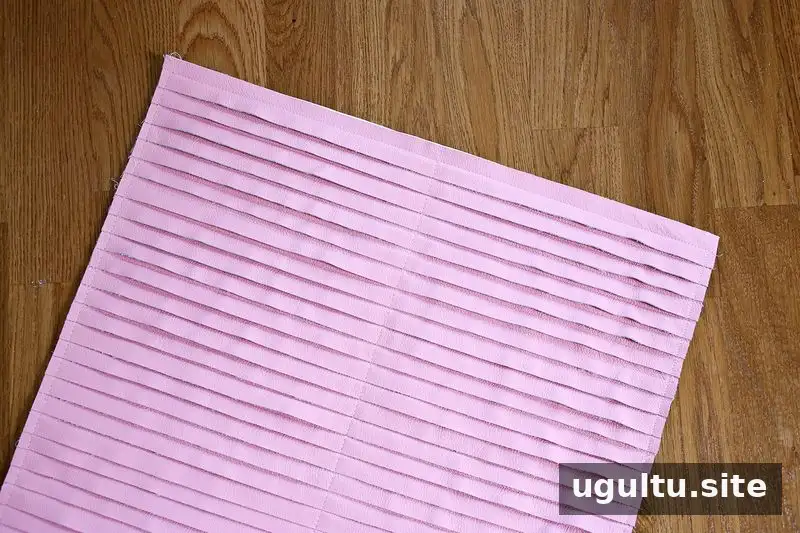
If available, switch to a non-stick foot. Sew vertical lines along both sides of the panel, 1/4″ from the edges, and one line directly down the center. These stitches help hold the layered design in place.
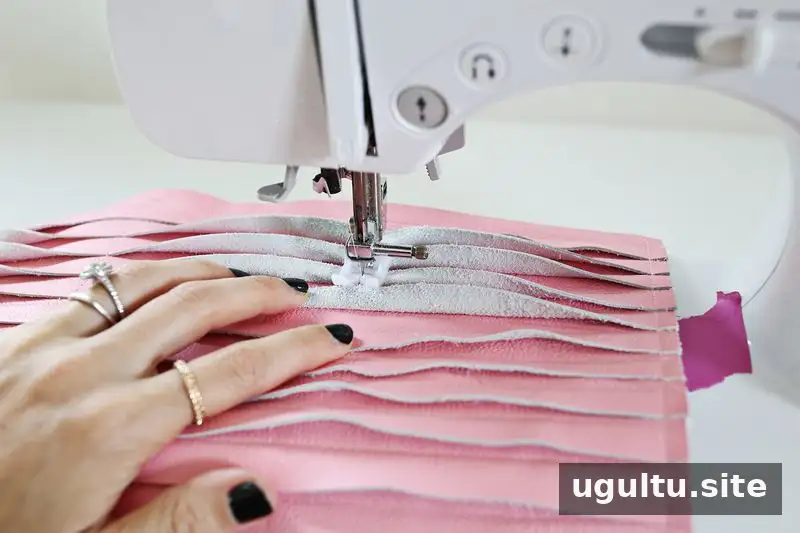
4. Create the folded texture
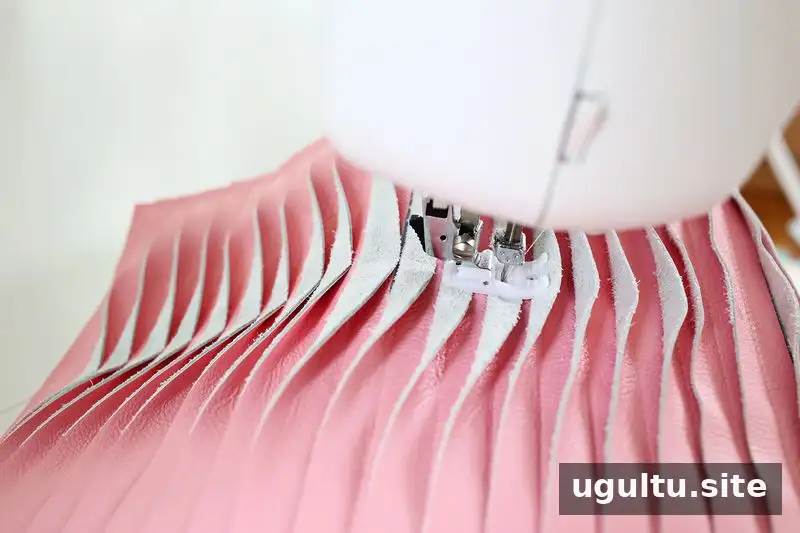
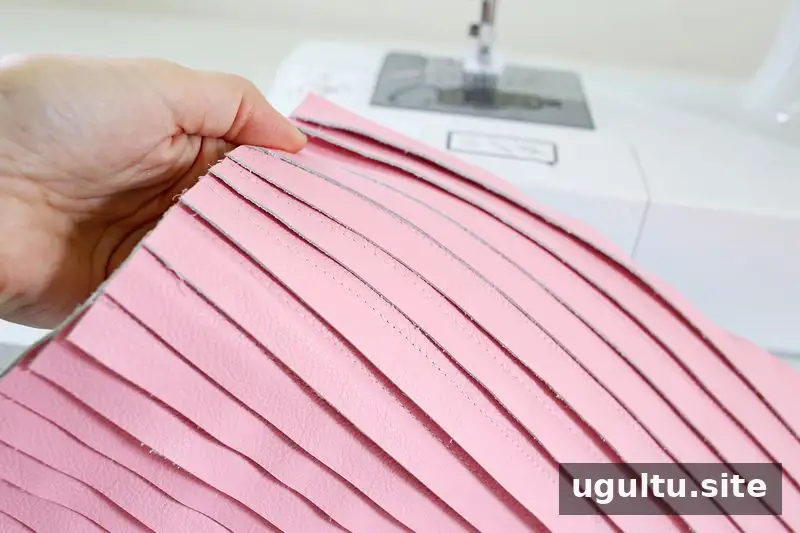
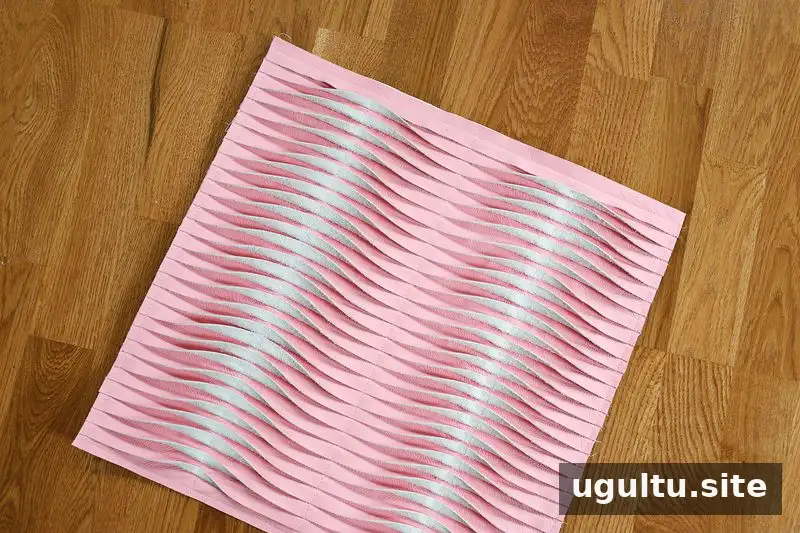
Measure 4 1/2″ to the right of the machine needle and place a piece of tape on the machine as a guide. Align the panel’s right side with the tape. Starting with the second strip from the top, sew a vertical line down the panel. As you cross each strip, fold its bottom half upward so the reverse side becomes visible and forms the textured effect.
Check the tape guide as you sew to keep the folds in a straight line. Leave the last strip unfolded so the top and bottom edges stay flat and the final seams are easier to sew. Repeat the folding and stitching process on the other side.
5. Assemble and stuff the pillow
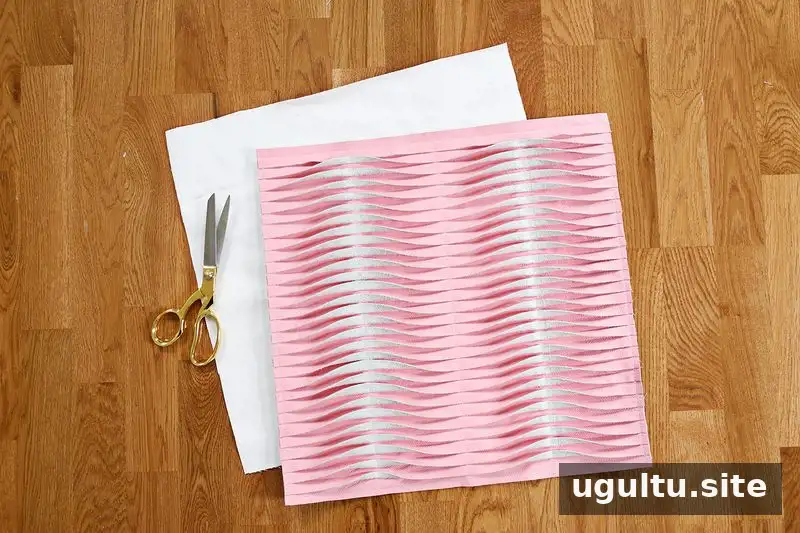
Place the back canvas square over the right side of the finished front panel. Pin the layers together, or use a small amount of fabric glue to keep them from shifting.
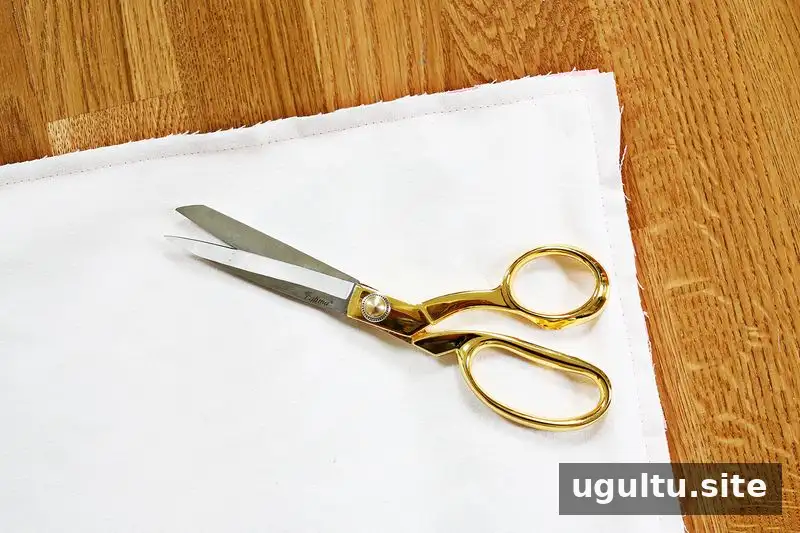
Sew around the pillow with a 1/2″ seam allowance, leaving an opening of about 3″–4″. Turn the cover right side out through the opening and fill it with pillow stuffing. Close the opening by hand with a blind stitch.
Sewing through a leather front can take extra effort, so a metal thimble may help protect your fingers when guiding the needle. If you prefer not to hand-sew the opening, add a zipper to the bottom seam or make an envelope-style back instead.
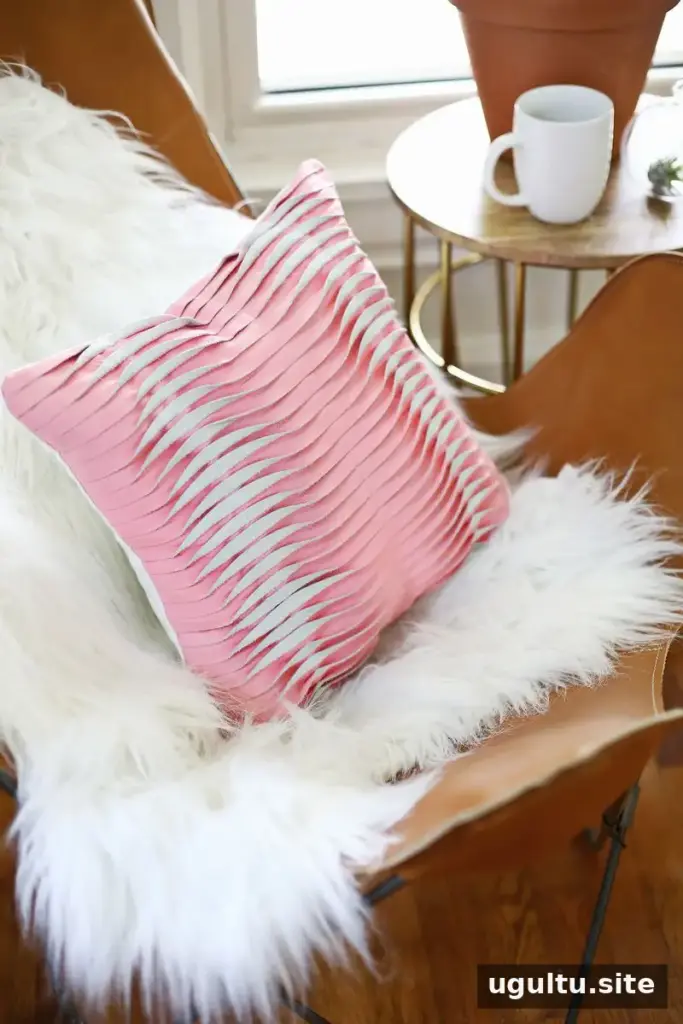
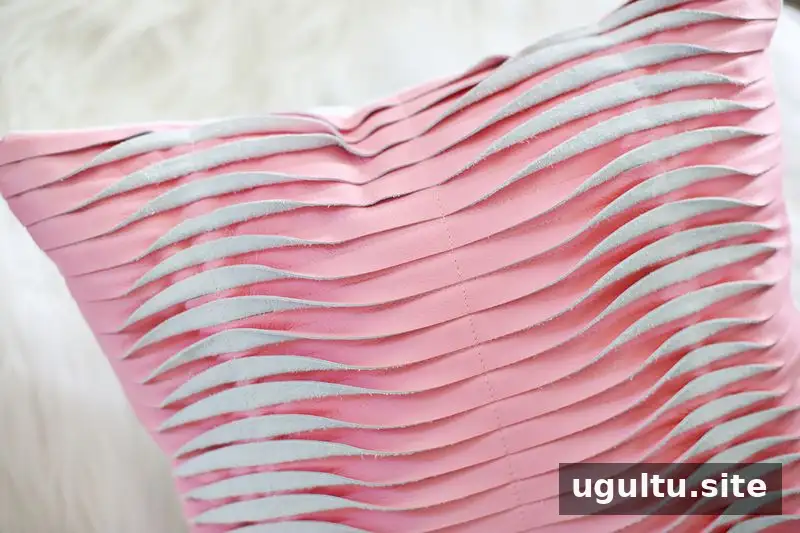
Finishing Tips for Your Textured Leather Pillow DIY
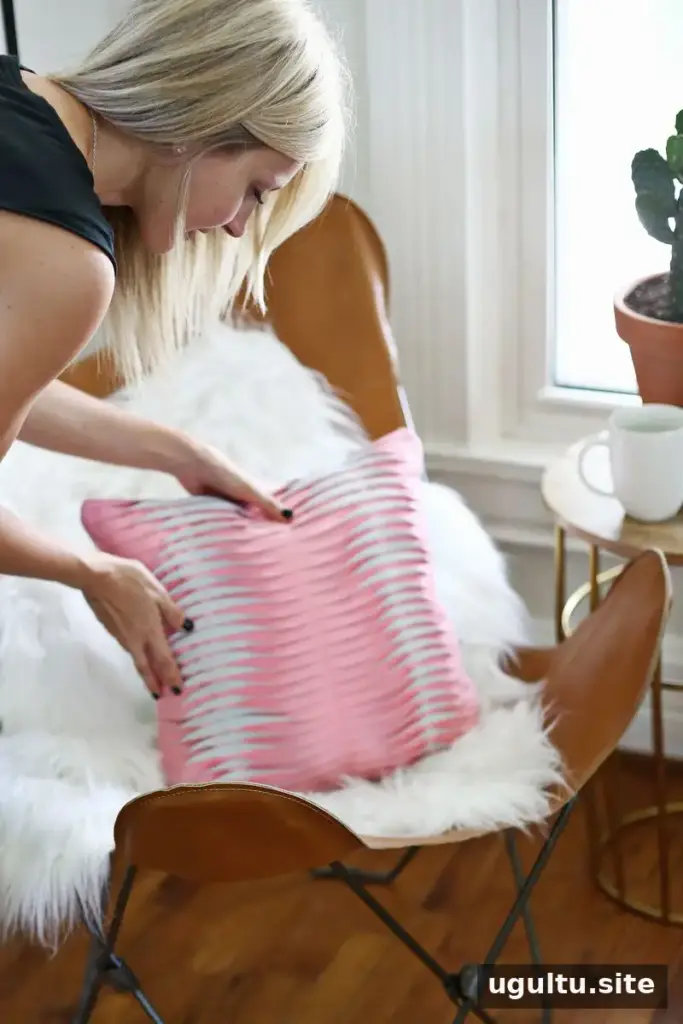
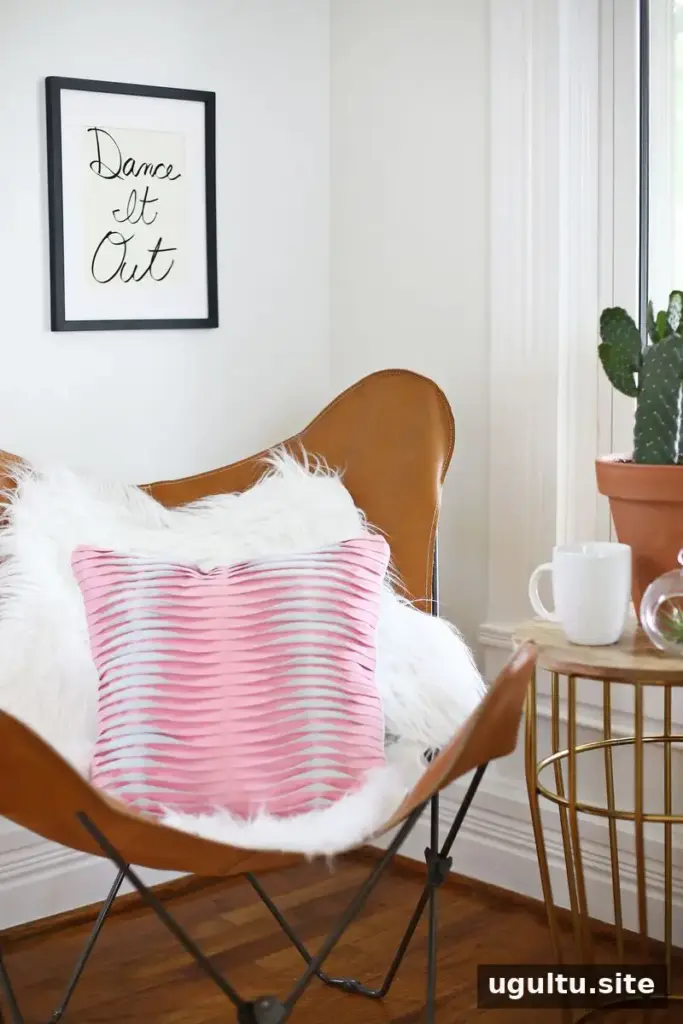
A textured leather pillow DIY is a practical way to create a decorative accent with a distinctive, layered finish. For the cleanest result, measure carefully, keep the overlaps consistent, and test your machine settings on a spare piece of material if possible. The finished pillow can refresh a room’s look with a combination of texture and contrast.
— Laura


