
 admin


A textured linen coverlet is a simple way to add a lightweight layer and extra detail to a bedroom. This no-sew project pairs natural-looking linen with handmade yarn tassels, creating a decorative throw that can sit over a duvet or bedspread. The fabric can also be left in its original color or chosen to coordinate with your existing room decor.
The coverlet described here is sized for a full or queen bed. For a twin or king, measure the width of the mattress and add 24 inches to calculate the coverlet’s length. Linen is commonly available in a width of 54 inches, and some fabric comes in widths up to 58 inches. Heavier linen is recommended because it holds up well as a decorative layer. Before cutting, check that the fabric’s dimensions suit your bed and desired drape.
Supplies for a Textured Linen Coverlet

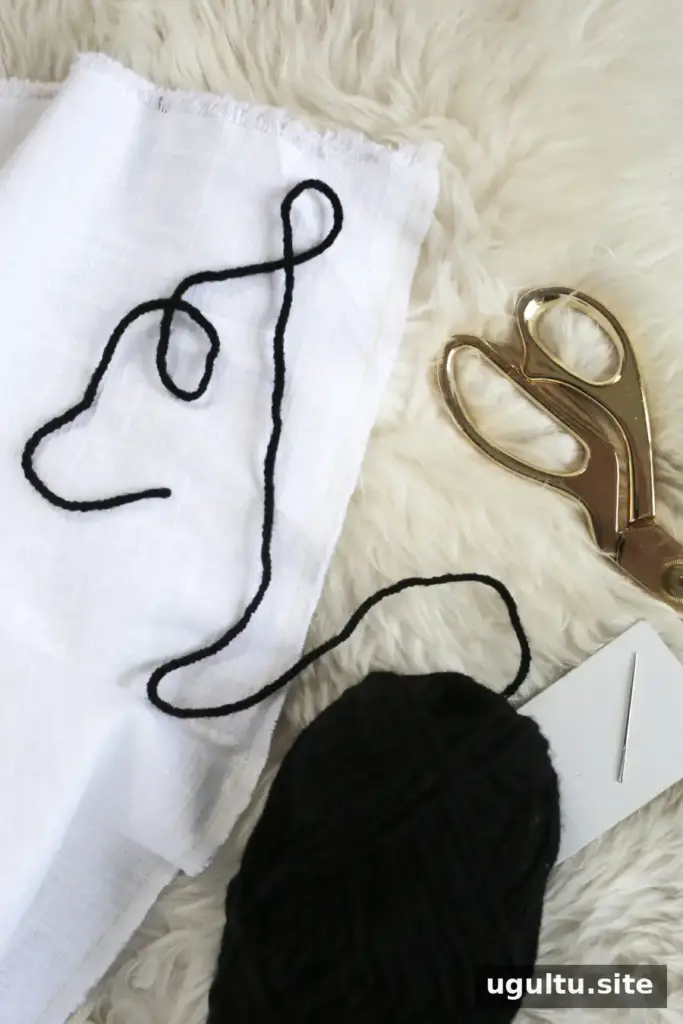
Gather these materials before starting:
- 2 yards of linen fabric, 54–58 inches wide; heavier fabric is preferable
- 1 skein of black worsted-weight acrylic or cotton yarn; avoid wool, which may felt or shrink
- 3-inch embroidery needle
- 2-by-5-inch piece of cardboard
- Scissors
- Sewing machine and thread, optional
- Iron and ironing board
Prepare a clear, flat work surface so you can lay out the linen and check the tassel spacing before attaching anything. If you plan to leave the edges raw, make sure the fabric is cut as straight as possible.
How to Make the Linen Coverlet
1. Wash the linen and prepare the tassels
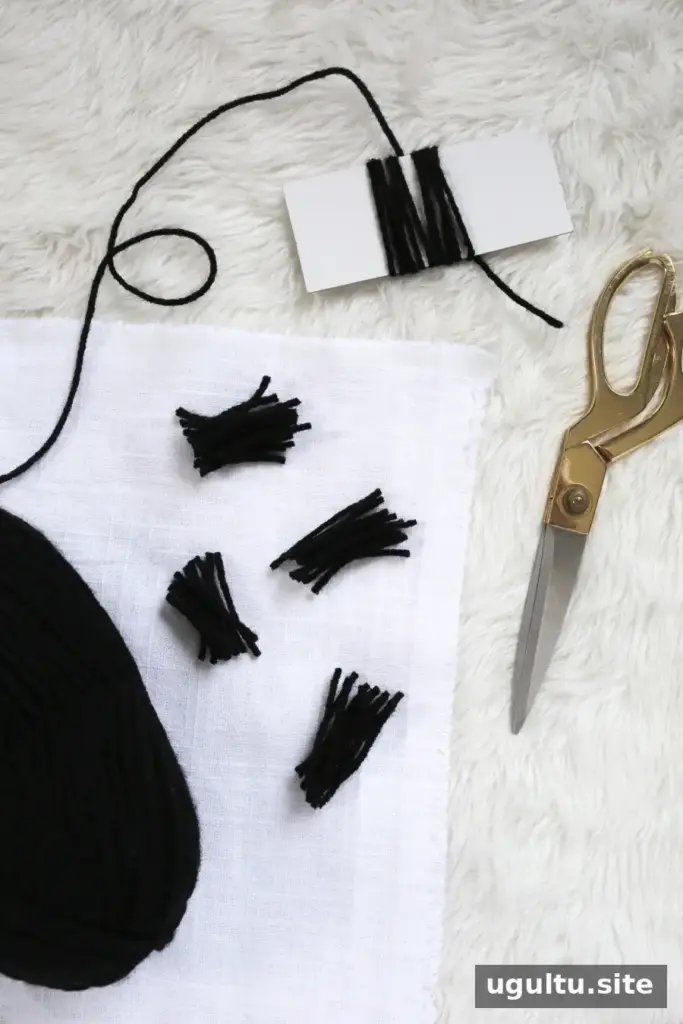
Pre-wash the linen on a gentle cycle. Remove it while it is still slightly damp to help limit creasing. To make each tassel, wrap yarn around the cardboard 12–15 times, depending on how full you want it to look. Cut through the yarn at both the top and bottom of the wrapped bundle to create two bundles for separate tassels.
2. Secure each tassel
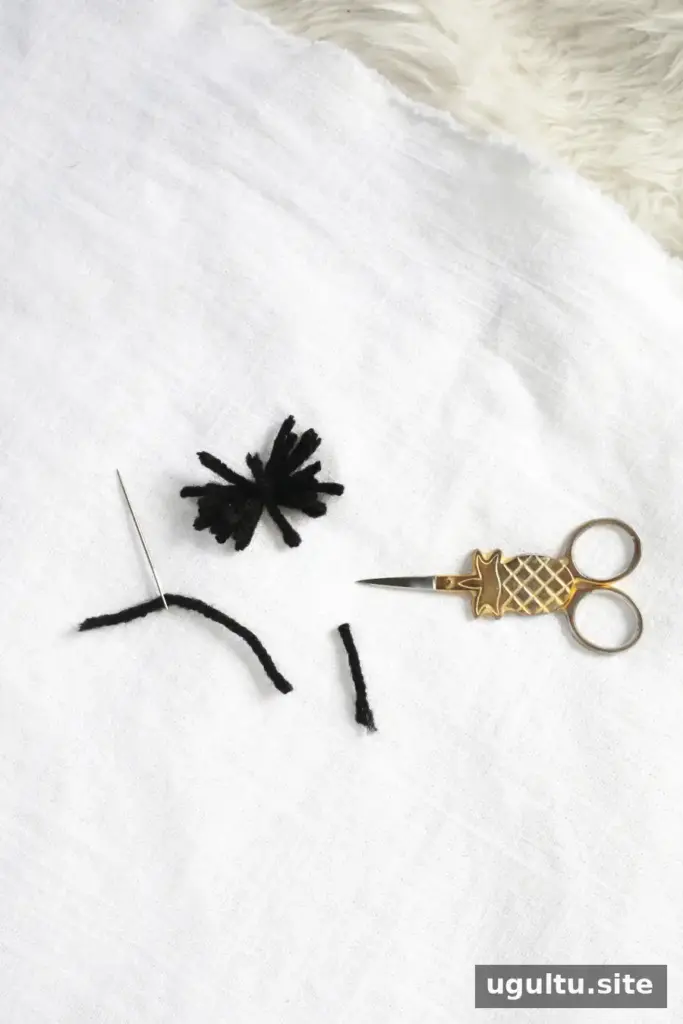
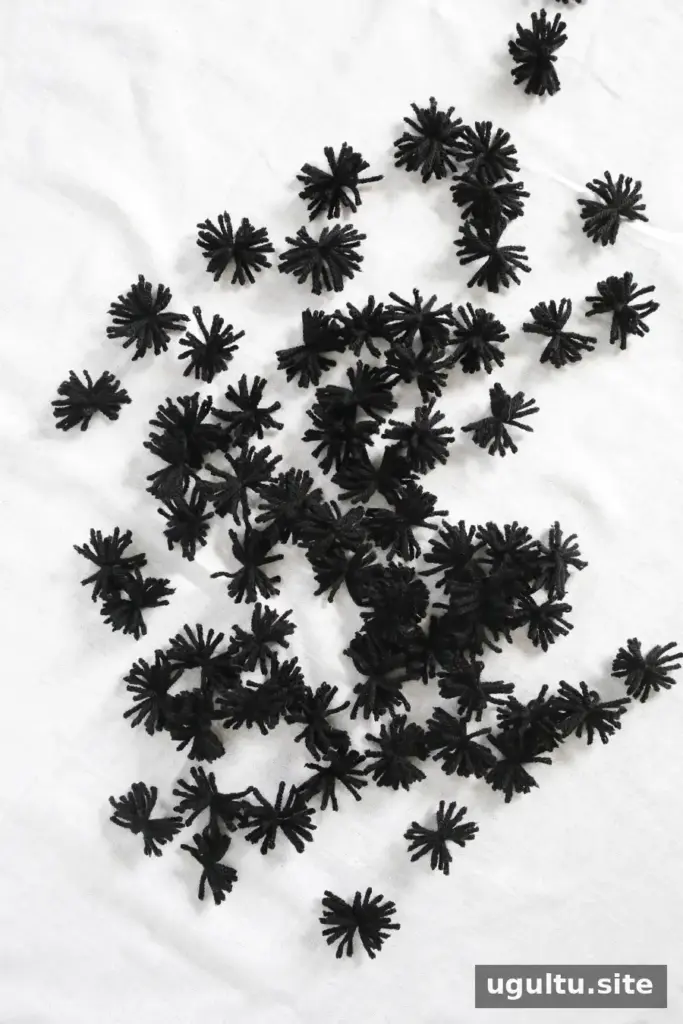
Cut a 2-inch length of yarn and tie it tightly around the middle of a bundle with a double knot. Trim the ends of this tie to match the tassel. Repeat the process to make enough tassels for your chosen layout; the project uses approximately 65 tassels.
3. Plan the arrangement and attach the tassels
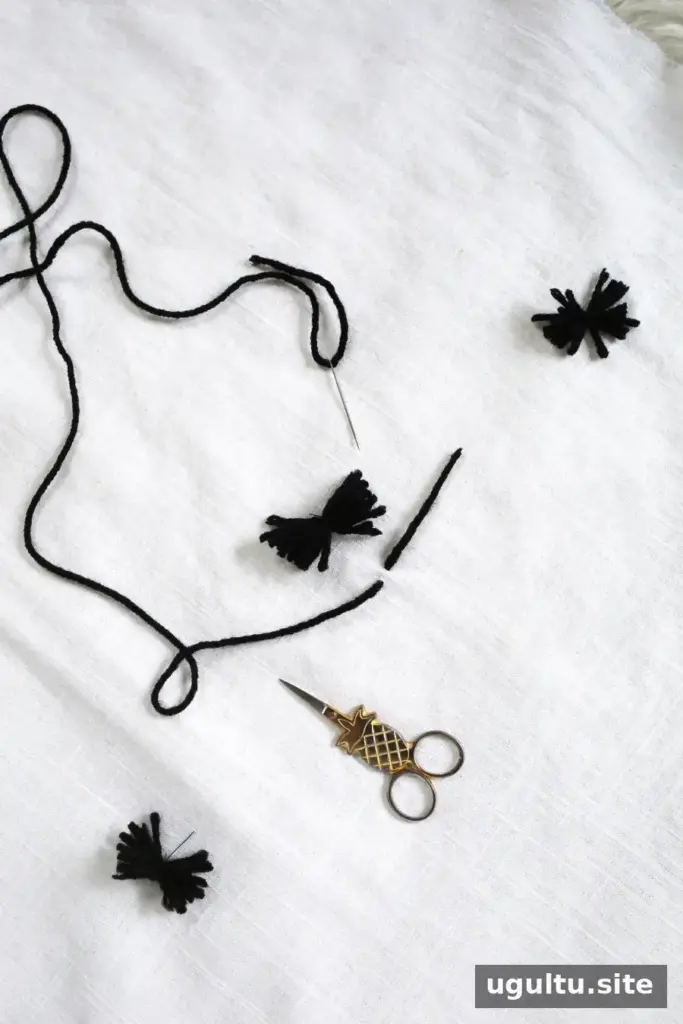
Spread the linen flat and arrange the tassels in a grid before stitching. In this example, the first row of eight tassels begins about 12 inches from each short end, with approximately 5–6 inches between tassels. Adjust the layout to suit your fabric and preference. Use straight pins or chalk to mark positions if you want a more even arrangement.
Thread the embroidery needle with yarn and stitch down through the linen, then back up, leaving a 3-inch tail. Set a tassel over the stitch and tie the yarn snugly around its top with a double knot. Trim the yarn ends to blend with the tassel. Repeat until all tassels are attached. Check that each knot is secure before using the coverlet.
Finish and Care for Your Coverlet
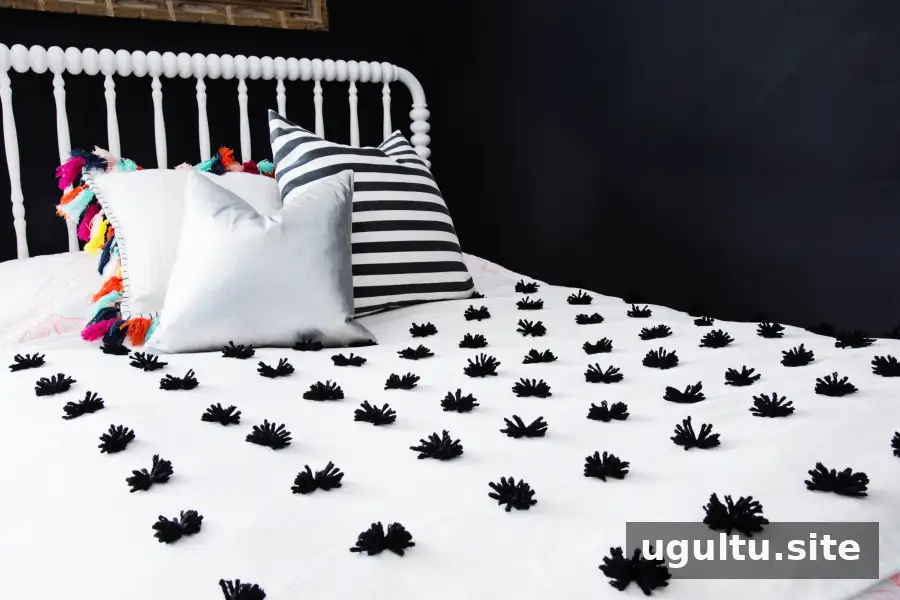
For a polished edge, hem the linen with a sewing machine. To keep the project no-sew, leave the edges raw: ensure the cuts are straight and gently pull away loose threads until the fringe is even. If the fabric is very wrinkled, lightly mist it using the iron’s water setting and press from the underside to avoid moving the iron over the yarn.
Wash the finished coverlet on a delicate cycle. Line dry it or tumble dry on low heat, then remove it while slightly damp to help prevent stubborn wrinkles. Follow the care instructions for your specific linen and yarn, as materials can respond differently to washing and heat.

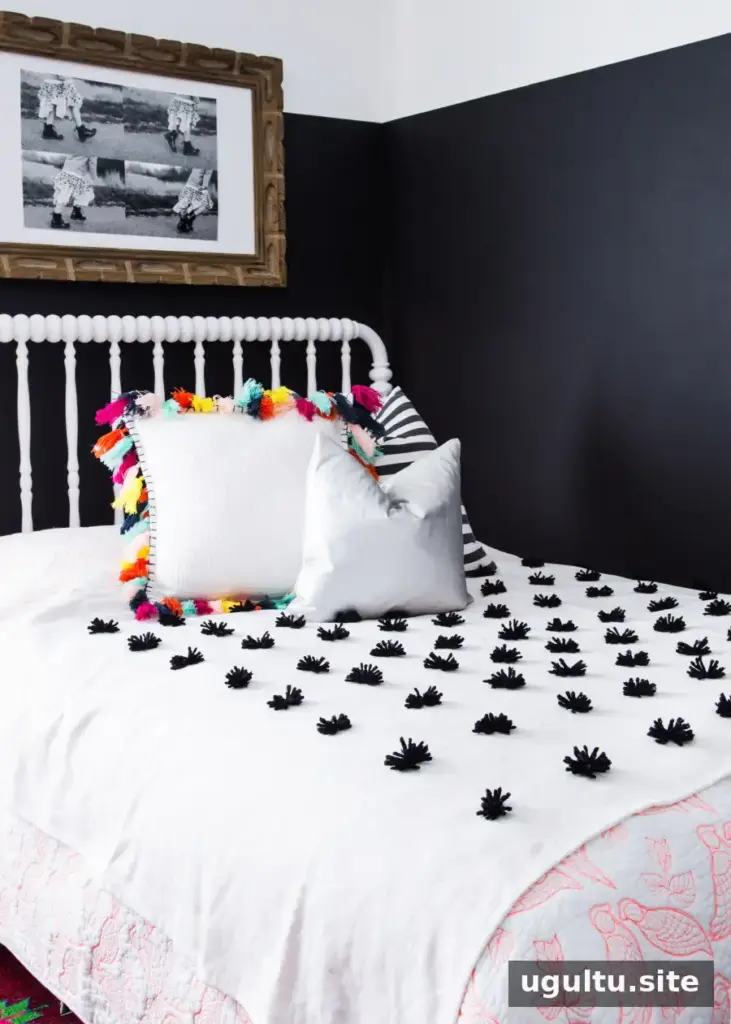
Layer the textured linen coverlet over a patterned quilt and add throw pillows for a finished bed, or make a smaller version to drape over a sofa. It is an easy way to introduce texture without adding a heavy blanket. –Rachel


